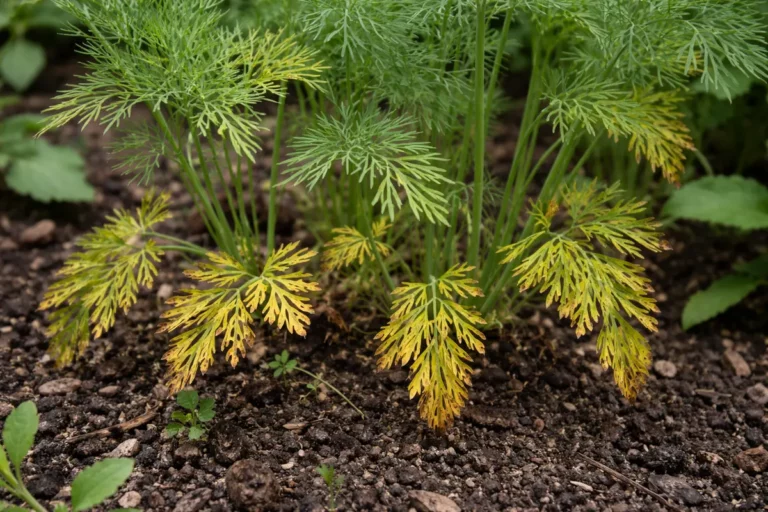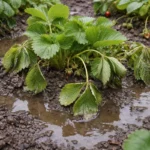
You may notice your ferns developing yellowing leaves during the stressful period after transplant, which is why you need to know how to prevent yellowing leaves on ferns after transplant. This yellowing can occur due to root shock or insufficient moisture, leading to signs of decline. If left unaddressed, this problem gets worse and can lead to more damage, weakening the plant and stalling growth, but fixing it is possible if you water thoroughly and monitor environmental conditions closely.
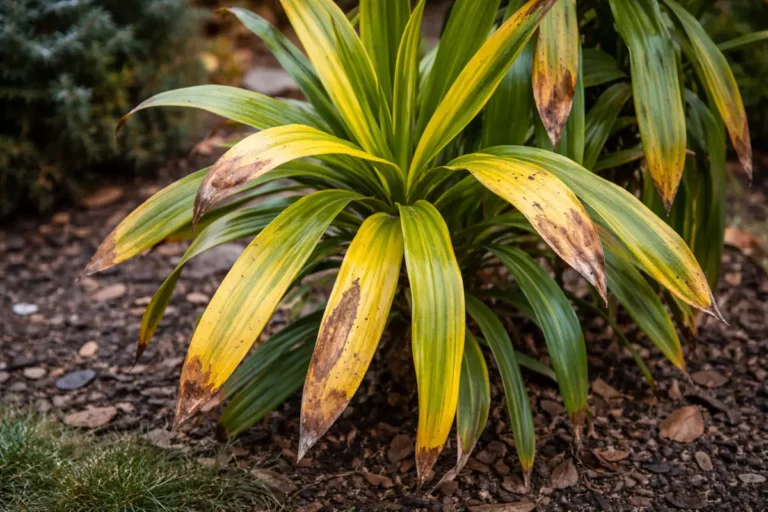
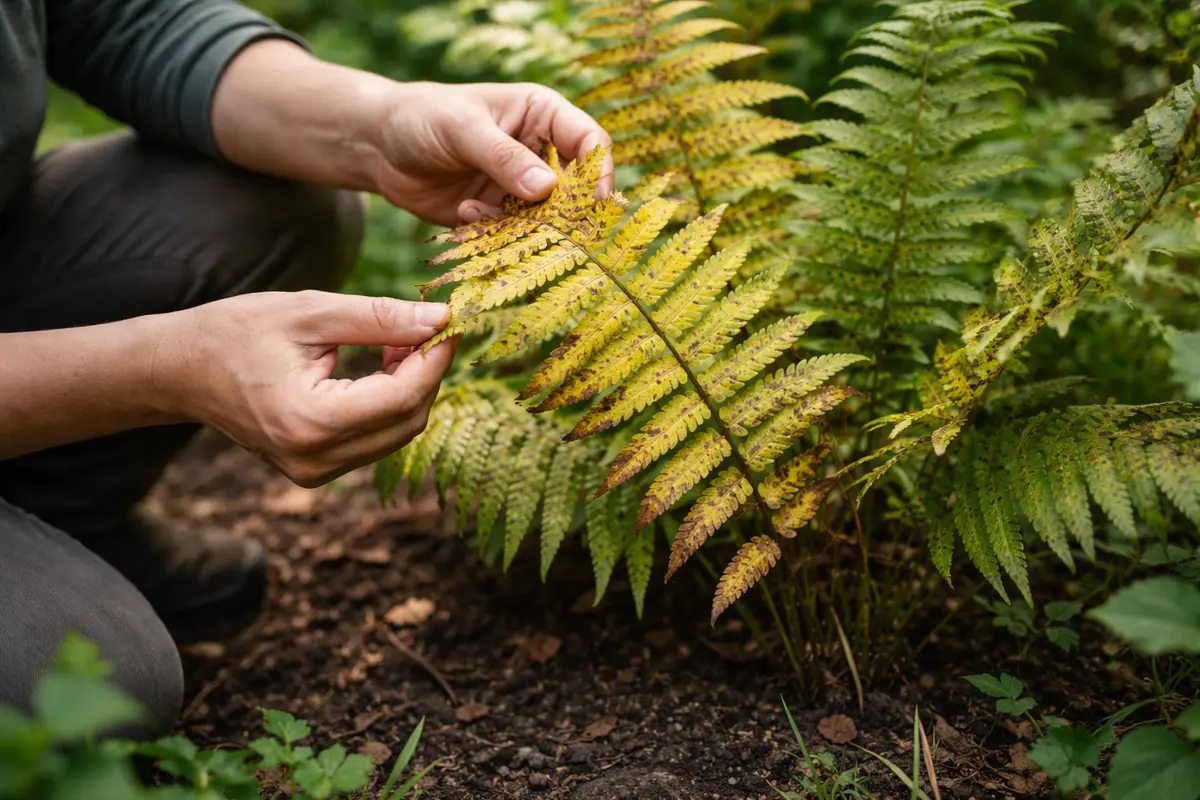
Step 1 – Trim Any Brown Fern Fronds Immediately
Start by checking the soil moisture level of the transplanted fern. If the top inch of soil feels dry, water the fern deeply, ensuring the water reaches the root zone. You should notice the leaves appearing firmer and less droopy within a few hours as the plant absorbs the moisture.
Responding quickly is crucial for ferns because their root systems are sensitive to transplant shock, which can lead to yellowing leaves. When moisture is lacking, the plant struggles to transport nutrients, resulting in discolored foliage. If you delay watering, biological processes like nutrient uptake slow dramatically, causing further decline.
A gardener once waited too long to water newly transplanted ferns, leading to widespread yellowing that took weeks to reverse. In contrast, those who tended to their ferns immediately saw them thriving and regaining vibrant colors within days. If yellowing persists despite watering, check for root damage or compacted soil that may affect drainage.
Acting fast is critical because ferns have delicate root systems that can suffer irreparable damage under waterlogged conditions. If water retention is excessive, roots can experience oxygen deprivation, leading to irreversible yellowing. Conversely, ferns planted in well-aerated soil thrive, maintaining vibrant green foliage. If you notice yellowing leaves, check the moisture level in the soil; if it’s dry to the touch, adjust your watering accordingly.
For instance, one gardener transplanted a fern and immediately watered it too heavily, causing yellowing leaves within days. They then realized that adjusting the soil moisture proactively could stem the problem before it worsened. A common mistake is neglecting to check soil drainage right after planting, which can swiftly lead to unhealthy roots and yellowing if ignored.
Cutting away the damaged fronds is crucial for ferns because brown, dead foliage does nothing to help the plant grow. Instead, it traps energy that could be utilized for viable parts of the plant. By eliminating these fronds, you not only clean up the appearance but also enable the fern’s resources to focus on the living, healthy parts. Without this timely action, the plant’s energy would continue to be wasted, which can exacerbate issues related to transplant shock. Furthermore, paying careful attention to the cuttings can reveal underlying issues; if multiple fronds are browning, it may indicate systemic problems that require deeper investigation. It’s also advisable to compost the removed fronds if they were healthy before transplantation to provide nutrient-rich material for other plants.
A common mistake gardeners often make is waiting too long to prune the damaged fronds. By delaying this essential task, they might risk allowing the stress from the damaged foliage to affect healthy parts of the plant. For instance, if too much energy is drawn toward the brown leaves, it might slow down healing. Instead, prune immediately for the best chance of recovery. Remember that fronds that show signs of yellowing but have not turned completely brown might still have the potential to recover, so assess each frond for its vitality before making a decision to prune. If a significant number of fronds are affected, consider that the environment may still be hostile to the plant’s well-being, requiring further adjustments. Pay attention to whether there are signs of new growth forming around the base; a total lack of new fronds could suggest that the root system is struggling more than initially thought.
Step 2 – Assess pH Levels Affecting Fern Roots
Start by checking the moisture level of the soil around your newly transplanted fern. If the soil feels excessively dry or waterlogged, adjust your watering habits accordingly. You should notice a gradual improvement in leaf color and overall plant condition within a few days if the root issue is addressed. Monitor the environment’s humidity levels as well, since ferns thrive in humid conditions and wilting leaves can happen if the air is too dry.
The yellowing leaves indicate that the fern is experiencing stress, often due to unsuitable soil moisture levels. When the roots remain too dry, they cannot absorb the necessary nutrients, leading to chlorosis, which manifests as yellowing leaves. Conversely, overly saturated soil can promote root rot, hindering nutrient uptake and causing similar symptoms. If symptoms persist despite adjusting watering, the soil pH might be off-balance.
If the soil smells sour, this is a sign of potential root rot from overwatering. In this case, replace the affected soil and improve drainage. Alternatively, if your fern exhibits yellowing but is in well-drained soil, inspect for pests such as spider mites, which also cause leaf discoloration but require different treatment methods. Assessing the pH level is essential; a pH of around 5.5 to 6.5 is optimal for most ferns. Testing kits are readily available at gardening centers, and using them can guide your adjustments.
Ferns prefer slightly acidic soil conditions because neutral or highly alkaline pH levels can hinder nutrient uptake, leading to yellowing leaves and stunted growth. In particular, soil that is too alkaline can limit the availability of trace minerals like iron, which is essential for vibrant green foliage. If left uncorrected, the damage can become extensive, and the plant may continue to show symptoms long after the initial transplant. Moreover, monitoring for changes in the growth rate over time can provide insight into whether the pH adjustments are effective. Frequent testing, adding small amendments incrementally, and observing ongoing plant responses will guide you effectively. If adjustments are needed, be patient; soil amendments can take time to alter the soil chemistry significantly.
If you find that your soil is too alkaline, consider amending it with sulfur or acidifying fertilizers. Dive into the specifics: usually, two tablespoons of elemental sulfur per square foot can help lower the pH gradually. Conversely, if the soil is too acidic, adding lime will help; around 5 to 10 pounds of ground lime per 100 square feet will typically do the trick. Keep an eye on the response of your ferns; if they do not seem to improve within a week or two, retesting the soil may dictate further adjustments. Strongly acidic soils may require drastic change for any improvement, such as repeated liming over several weeks. Additionally, the transition period can often reveal other deficiencies or imbalances in the soil, prompting an overall soil health evaluation. It is also practical to take notes on any amendments made, so you can account for variables in your care regimen and evaluate the effectiveness of each step taken.
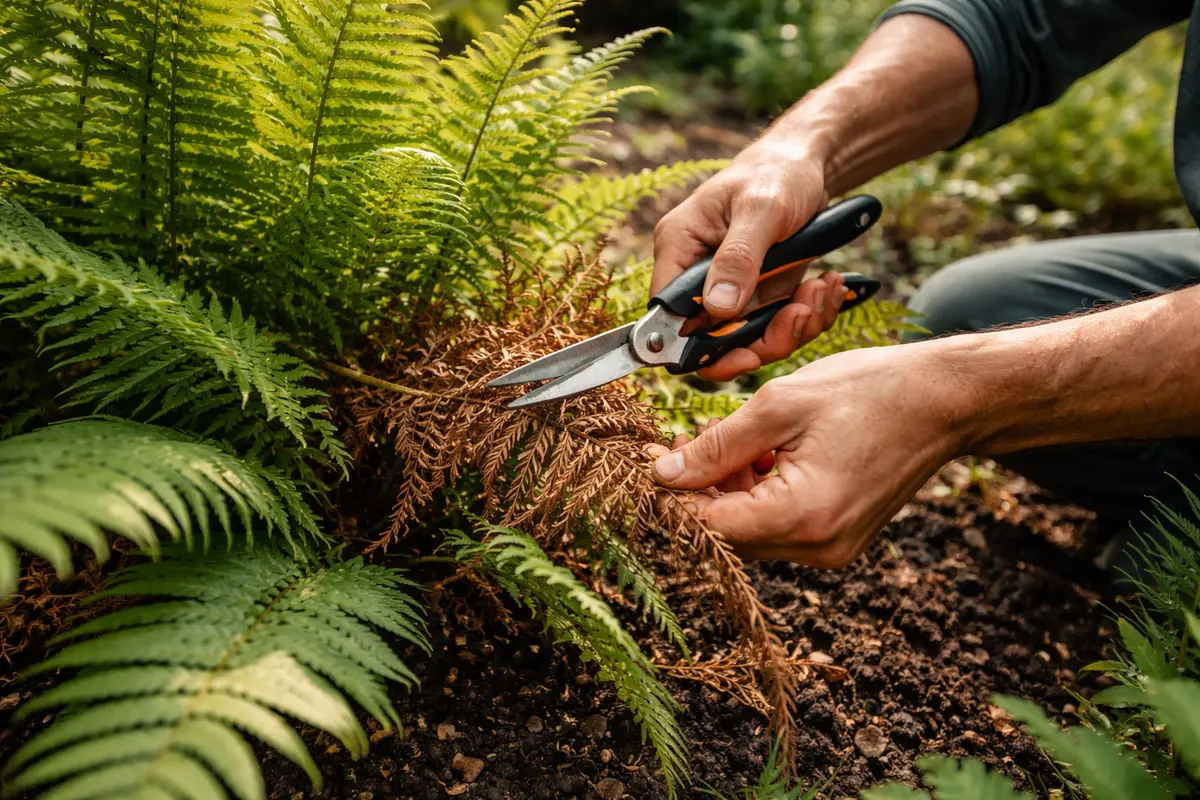
Step 3 – Watering Schedule to Revive Ferns
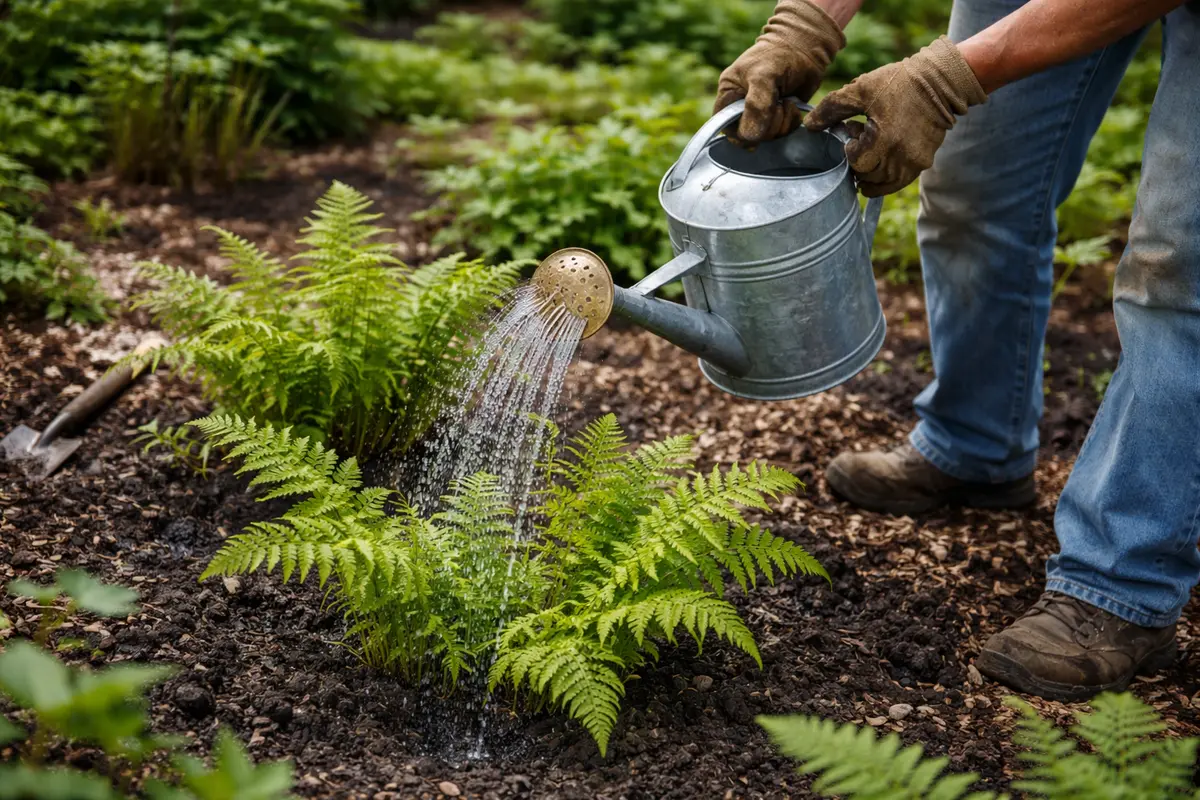
Start by watering the transplanted ferns deeply to ensure the roots are well-hydrated, aiming for consistency in moisture without waterlogging. Visible improvement signs include new leaf growth and regaining vibrant green coloration. To prevent recurrence of yellowing leaves, establish a routine of checking soil moisture levels every few days and applying a diluted liquid fertilizer bi-weekly during the growing season. Keep records of watering schedules and plant responses to fine-tune your approach.
Yellowing leaves during recovery can be a sign of root shock, often taking 2-4 weeks to stabilize. If the conditions remain dry or overly saturated, yellowing may return; moist soil with good drainage helps mitigate these issues. In contrast, ferns thriving in moderate light conditions will retain their lush color compared to those placed in direct sunlight, which can exacerbate stress. If the sun exposure is too harsh, consider moving the fern to a shadier location where it can gradually adapt to brighter conditions.
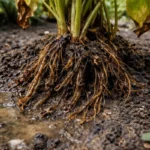
A common error during the recovery and prevention transition is over-fertilizing, which can lead to leaf burn, further stressing the plant. If the leaves begin to brown at the tips, adjust fertilization by switching to a balanced, slow-release formula. A good approach is to dilute the liquid fertilizer to half-strength when applying it to stressed plants. If yellowing persists despite proper moisture and light conditions, check for root rot by gently removing the fern to inspect growth and texture of the roots. This hands-on approach allows you to see firsthand whether there are signs of mushy roots or an unpleasant odor, which are both indicators that action is necessary.
Balancing moisture levels is critical because overwatering can lead to root rot, while underwatering results in dry, crispy foliage. Ferns thrive best in consistently moist, well-draining soils that replicate their natural habitats. A proper watering schedule not only ensures hydration but also fosters the delicate interactions between roots and soil microbes necessary for nutrient absorption. If a fern is still yellowing despite following a reliable watering routine, check for compacted soil or drainage issues that could be obstructing healthy root function. If you suspect soil compaction, it may be necessary to repot the fern in a fresh mix or amend the existing soil with perlite to improve aeration.
A common pitfall during the recovery phase is the temptation to water immediately after the first signs of dryness appear on the leaves. Overzealous watering after the yellowing appears can lead to waterlogged conditions, which suffocate roots and exacerbate any existing rot. Instead, always check the soil moisture depth—if the top inch feels dry but deeper layers remain moist, it’s time to wait for another day before watering. In extreme cases, if the soil is consistently damp, roots may become so compromised from undetected waterlogging that recovery methods including repotting might be required to ensure the plant’s survival. Watch for changes in texture and color of the soil when examining during this critical time; the soil should feel slightly damp and not overtly soggy.
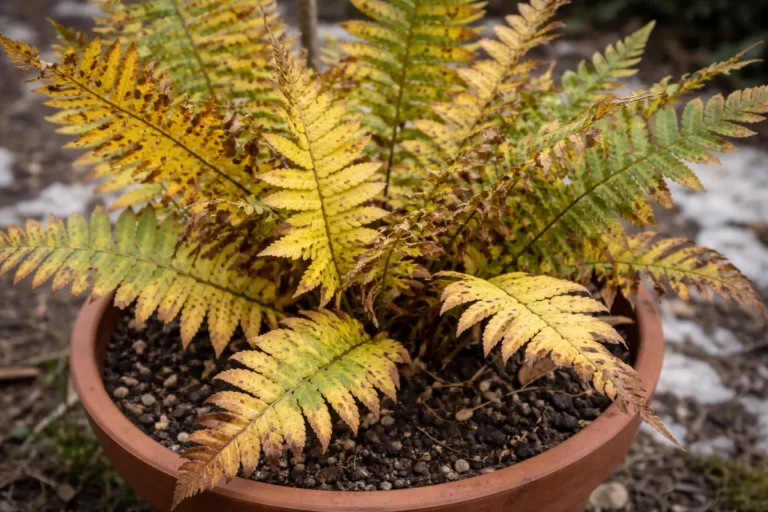
Step 4 – Check Fern Leaves for Recovery Signs
Inspect the fern leaves regularly, checking for signs of recovery such as new growth appearing at the base. You should plan to check the condition of the plant every 3 to 4 days to monitor its progress. Look for fresh, green fronds unfurling, which are indicative of a successful recovery from the yellowing condition. Documenting changes, such as measuring new leaf length or noting differences in color saturation, can aid in identifying the progress over time. This routine tracking creates a detailed record that can be helpful for future reference.
A recovered fern typically exhibits a vibrant green color in new growth with firm leaves. In contrast, returning issues may show signs like yellowing leaves coupled with limpness, indicating stress or relapse. Monitoring these signs closely will give you insight into whether your intervention has worked or if further adjustments are needed. If any fronds begin to show signs of wilting or continue to yellow, consider reassessing the plant’s environmental conditions, watering practices, and soil composition for further insights. Enhanced attention to humidity levels can also be crucial, as some ferns thrive in climates with naturally higher moisture in the air.
If you observe that new growth has yet to appear within a week or any additional yellowing manifests, consider reevaluating your practices. Perhaps your watering schedule was too infrequent, or your soil pH levels are still imbalanced. Additionally, sudden changes in temperature, drafts, or fluctuating light conditions can pose threats to fern health as well. Therefore, take note if the surrounding environment might also be a factor. In any case, prompt reevaluation and adjustment will be necessary to ensure the ferns do not regress further. By adjusting your care routine based on observations, you can enhance the chances of a successful recovery, making small adjustments as necessary to cater to the plant’s specific needs, including altering the fern’s location if environmental factors are unstable.
FAQ
How long will it take for my ferns to recover from yellowing leaves?
Recovery for ferns can generally take 2-4 weeks after addressing the underlying issues. You will notice the first signs of improvement within a week if conditions are corrected promptly and properly. Consistent care and monitoring will speed this process and ensure durable recovery. Be patient and respond to any changes in the environment that might signal a setback.
Can overwatering cause yellowing leaves on ferns?
Yes, overwatering can lead to root rot, a serious condition that severely affects the health of your ferns. This often manifests as yellowing leaves as the roots struggle to absorb nutrients. To prevent this, ensure the soil has proper drainage and only water when the top inch of the soil feels dry. If roots are diagnosed with rot, immediate action like repotting into fresh, dry soil may become necessary to protect the plant’s overall health; consider using a well-aerated potting mix tailored for ferns.
Should I remove all yellow leaves from my ferns?
Only remove yellow leaves that are completely brown and dead; if some leaves are only slightly yellow, they may still recover. Removing the dead fronds will help the plant focus its energy on healthier leaves. Keep monitoring for signs of recovery to determine which leaves to prune back. However, continuous yellowing without improvement suggests a deeper issue that may require more than simply pruning; continuing to assess soil health and environmental conditions is crucial for a full recovery.