You might notice that your potted succulents are exhibiting signs of distress, particularly after heavy rains or prolonged flooding, which is why you need to know how to prevent root rot in potted succulents after flooding. The excess moisture leads to issues like yellowing leaves and mushy roots, making the plants vulnerable to disease. If left unaddressed, this condition can worsen and lead to more damage, making recovery harder, but you can still fix it now by inspecting your pots and adjusting your watering practices.
Step 1 – Dry Out Overwatered Succulents Immediately
Start by removing the pots from the waterlogged area and placing them in a dry, sunny spot. You will notice the soil begins to dry out within a few hours, particularly in direct sunlight.
Immediate exposure to sunlight and airflow helps evaporate unnecessary moisture, which is critical because intact roots can only function effectively when they are not submerged. Succulents, especially, are adapted to dry conditions and excessive water can quickly lead to aerobic respiration failure, suffocating the plant. Acting swiftly can prevent the spread of rot, which often begins to set in within 48 hours of overwatering. Without intervention, wilting can escalate into leaf drop and visible decay.
A common mistake here is to leave the plants in their original location, hoping they will recover on their own. In many cases, this leads to further decline, and the roots may begin to turn mushy, making recovery even more challenging. For best results, check the moisture levels with your finger; if the soil remains squishy even after a few hours of drying in the sun, you need to take more decisive action. Remember, if the conditions are too humid or cool, drying may take longer than expected, so monitor the process continuously.
Step 2 – Assess Potted Soil for Poor Drainage
Next, inspect the potting soil quality and drainage holes for any blockages. You will observe that the soil should feel less soggy and more crumbly if it has good drainage, with no signs of compaction or pooling water on the surface.
Succulent plants thrive in well-draining soil, which allows excess water to escape and prevents root suffocation. Soil that retains too much moisture can lead to anaerobic conditions, perpetuating rot. The removal of compacted or clay-heavy soil often allows for better water retention and air circulation to the roots, reducing the risk of rot. Potting mixed with perlite, sand, or pumice improves drainage significantly.
If you notice that the drainage holes are clogged with sediment, roots, or debris, dig those out to facilitate proper drainage. Additionally, if the soil smells sour or looks overly wet despite being drained, consider repotting with fresh, well-draining soil. Many gardeners unintentionally plant succulents in heavy soils that are more appropriate for water-retaining plants, leading to chronic problems. Inspect the soil characteristics like texture and smell; if it feels sticky or has a pungent odor, you might need to replace the soil entirely.
Step 3 – Test Soil Moisture Before Taking Action
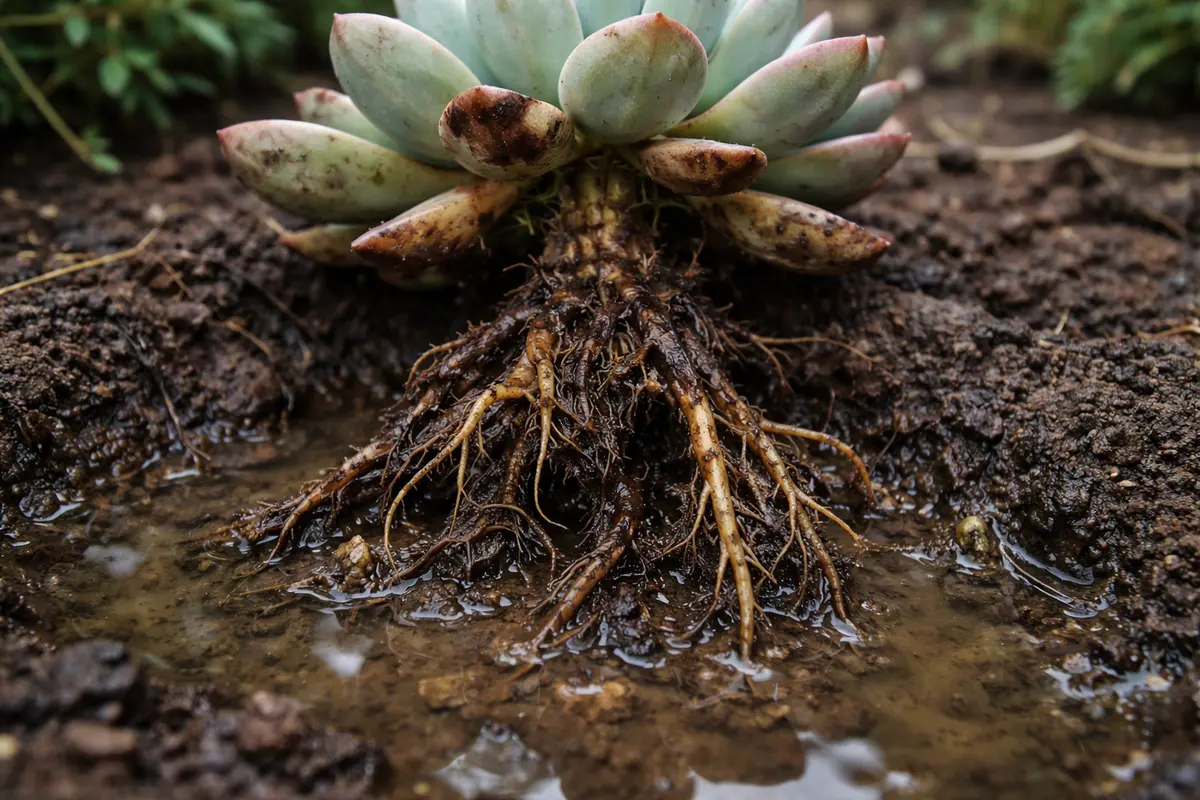
Check the soil moisture by inserting your finger 2-3 inches into the ground. If the top layer is dry while the bottom remains moist, you will know that root rot is likely developing at the lower roots, where moisture cannot easily evaporate.
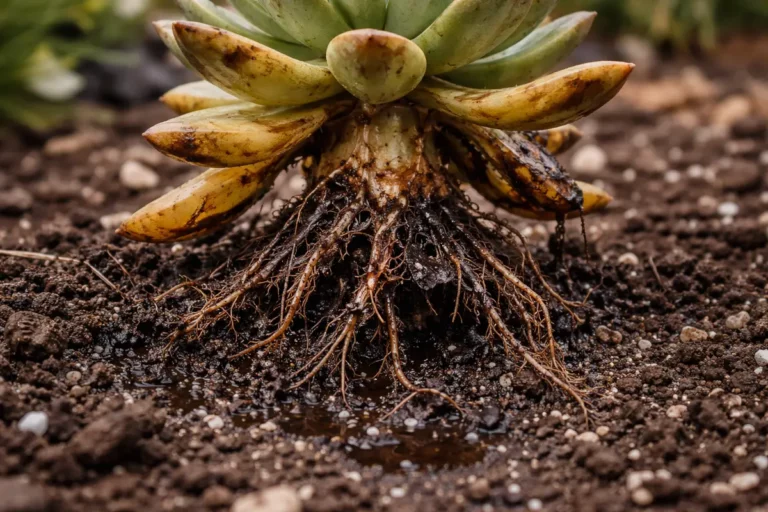
Visually, the leaves on the succulents may exhibit a waxy texture or dark spots, indicating rot caused by excessive moisture and poor drainage. The roots may become mushy upon inspection, distinguishing them further from healthy, firm roots. Establishing this contrast allows you to determine whether the plant is receiving too much water, is root-bound, or needs different care. Look for symptoms such as browning tips and a mushy base, as these are strong indicators of root issues.
If uncertain, consider letting the soil dry for a couple of days while observing any changes in the plant’s condition. If the leaves begin to yellow or drop, that’s usually a sign that the roots are not getting enough oxygen, and that additional treatments or adjustments to your care will be necessary. Inconsistent watering practices can easily lead to confusion in diagnosis, so clarity here is essential. If a sudden environmental change occurred—like an unexpected rainstorm—ensure it isn’t the sole cause of the moisture issue before taking drastic measures.
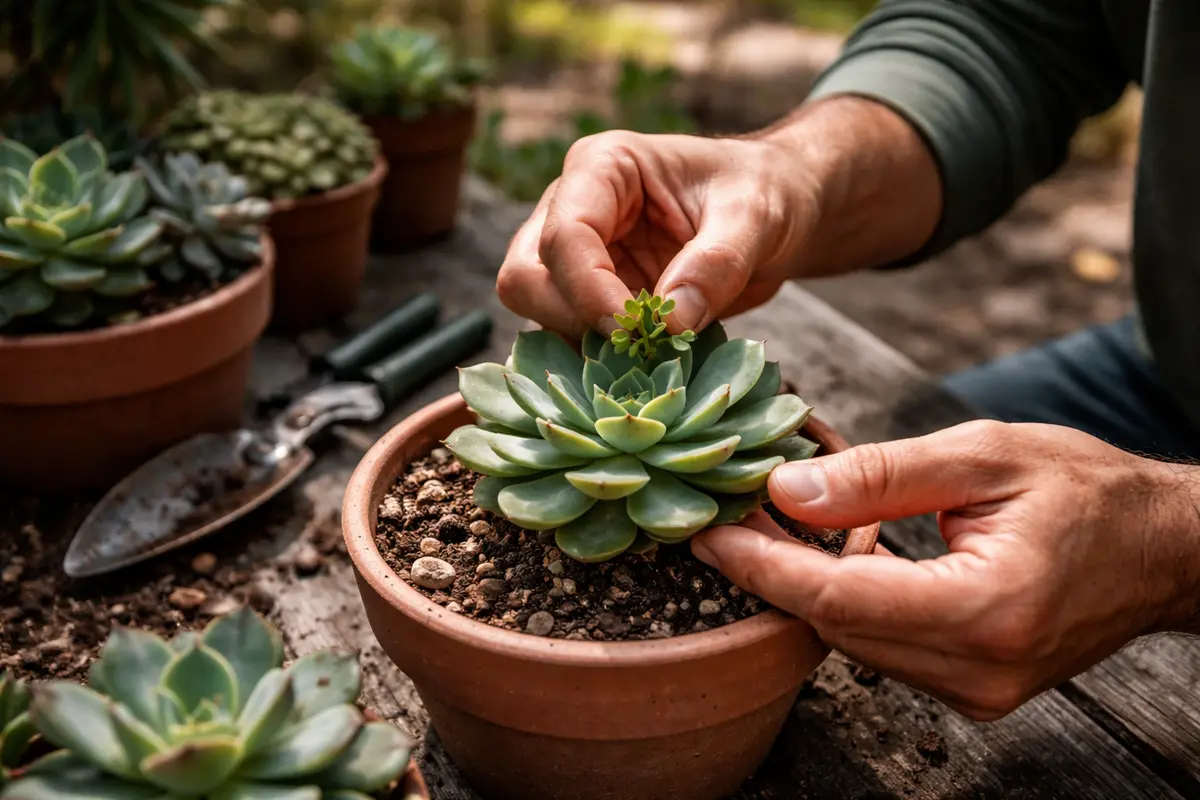
Step 4 – Repot Succulents to Revive Their Growth
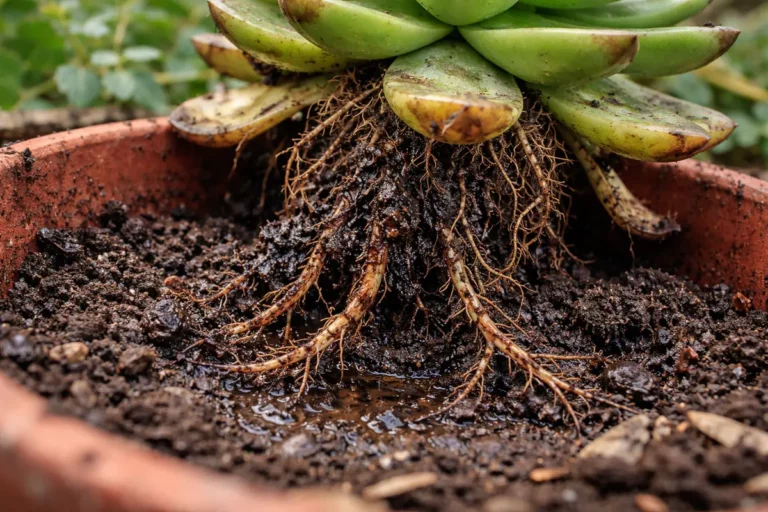
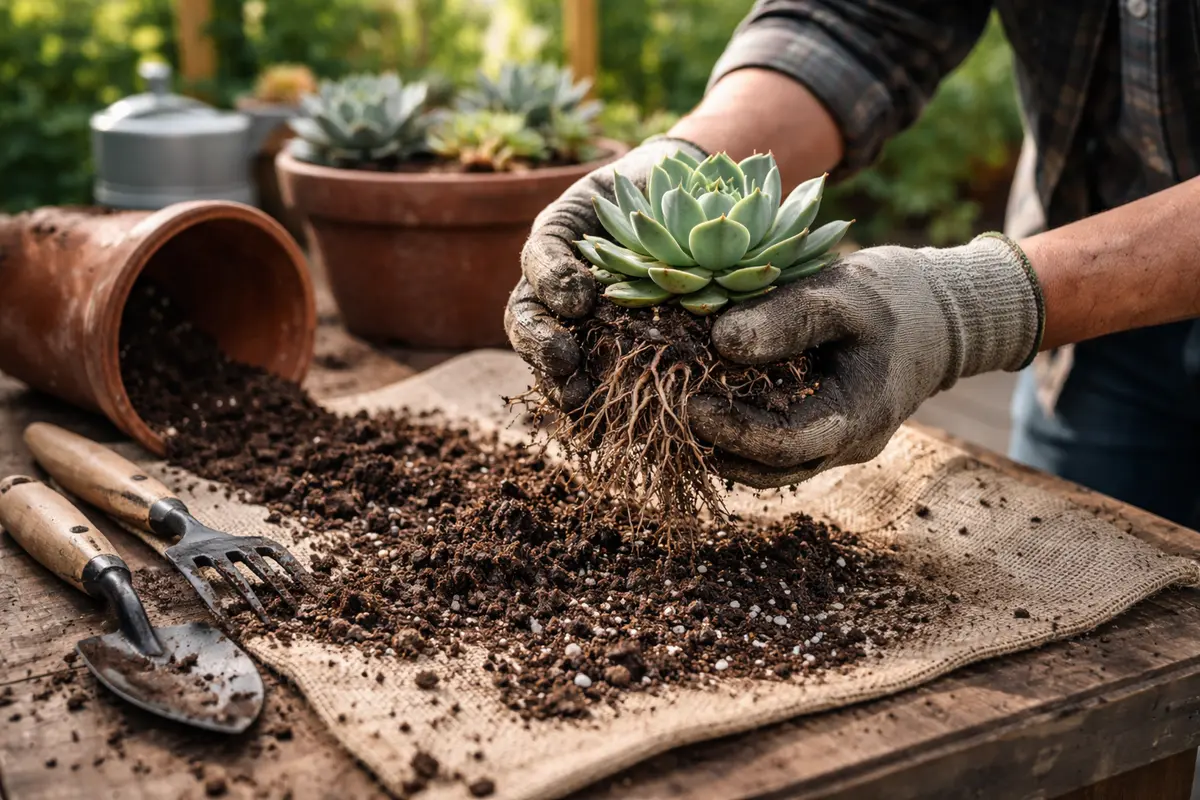
Start by allowing the potted succulent to fully dry out by placing it in a warm, well-ventilated area for a few days. You should see the leaves begin to firm up and regain their shape, indicating that they are no longer waterlogged.
Recovery from overwatering can take anywhere from a few weeks to a couple of months, depending on the severity of the root rot. Look for signs of new growth such as small leaves or offsets emerging from the base, which means the plant is responding well to the adjusted care. Adequate light and warmth will accelerate recovery, while cool, dark environments can delay it even further—if your plant appears wilted and brown, check the roots for rot.
Avoid the mistake of over-watering during recovery, as this can exacerbate existing problems. Instead, maintain a consistent but reduced watering schedule—if you notice stem discoloration, check the soil moisture level before adding more water. By keeping an eye on environmental conditions, you can ensure the plant receives just enough to support its recovery without risking further damage.
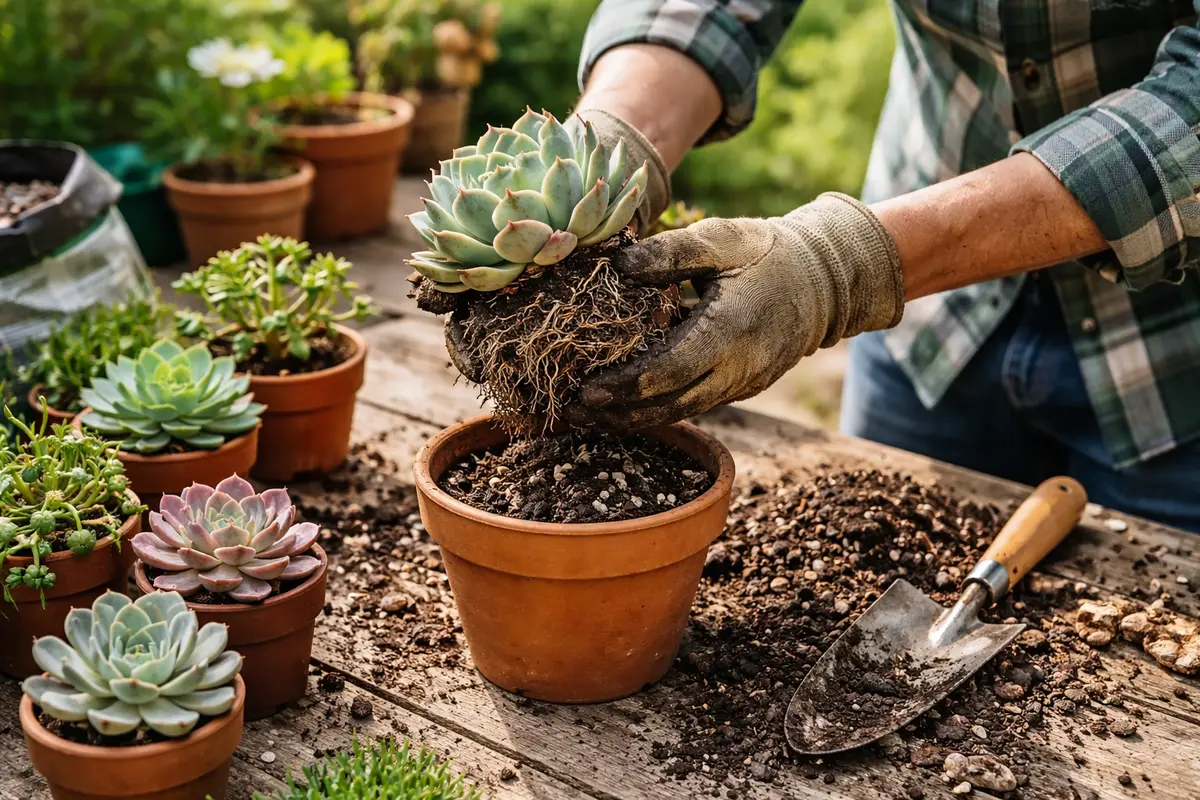
When repotting, it’s essential to use a soil mix that allows for improved drainage—look for cactus soil mixed with perlite or sand. A change in environment can invigorate your succulents, restoring their energy and ability to absorb nutrients effectively. The right mix retains moisture without completely saturating the roots, enabling healthy growth. Ensure that the new pot also has sufficient drainage holes, as this is critical for preventing moisture accumulation.
A common mistake is to overwater immediately after repotting. Wait until the new soil is dry before watering again; typically, it’s best to hold off for at least a week to ensure roots re-establish without the risk of rot. Additionally, be mindful of where your succulents are placed; they need sufficient light to thrive, especially after a stressful period. For best results, monitor their exposure—if they show signs of stress post-repotting, consider adjusting their light access gradually rather than moving them from one extreme to another.
Step 5 – Water Only When Soil Is Completely Dry
Start by ensuring your potted succulents have well-draining soil and pots with drainage holes. This adjustment reduces moisture retention and should visibly prevent standing water around the roots.
Root rot often recurs when environmental conditions like high humidity and poor aeration create the perfect breeding ground for pathogens. By switching to fast-draining soil and pots with drainage, you address these root causes, contrasted with the stagnant conditions found in heavier soils that retain excess moisture.
In periods of heavy rainfall or high humidity, increase the frequency of inspections for moisture levels in the soil. If you notice the soil remains soggy after rain, repot immediately into drier conditions to further shield your succulents from rot.
Flooding creates an environment with excess moisture that leads to root rot, primarily when the soil remains saturated for extended periods. A well-draining potting mix allows water to escape quickly, preventing the conditions that cause rotting roots while promoting quicker drying after watering or heavy rains. If your succulents appear wilting despite a saturated soil test, rapidly transition to a drought-focused watering schedule to avoid excessive moisture retention.
During the rainy season, incorporate a protective layer of gravel or coarse sand atop the soil to enhance evaporation and reduce humidity around the roots. If you notice persistent sogginess even after switching to well-draining soil, check your watering frequency to ensure it aligns with seasonal needs.
Environmental factors such as humidity levels and temperature can affect how quickly soil dries out, so it’s imperative to adjust your watering schedule accordingly. For instance, in hot weather, you may need to assess moisture levels every few days, while cooler temperatures may allow for longer intervals between watering. Overwatering is one of the leading causes of root rot; thus, forming a habit of checking moisture can prevent recurrence. Be cautious in winter months when plants are dormant, as they require even less water during this time.
Seasonal changes can also affect watering needs; in spring and summer, humidity levels and sunlight can cause soil to dry quickly. Monitor the plants more closely in these active growing seasons. Conversely, during the winter, reduce watering frequency significantly as the plants enter dormancy and require less moisture. Establishing a routine that takes these factors into account is critical for successful succulent care. If you find yourself unsure of the correct timing, technique, or frequency, consider using a moisture meter to aid your decision-making process.
Step 6 – Inspect Leaves for Signs of New Growth
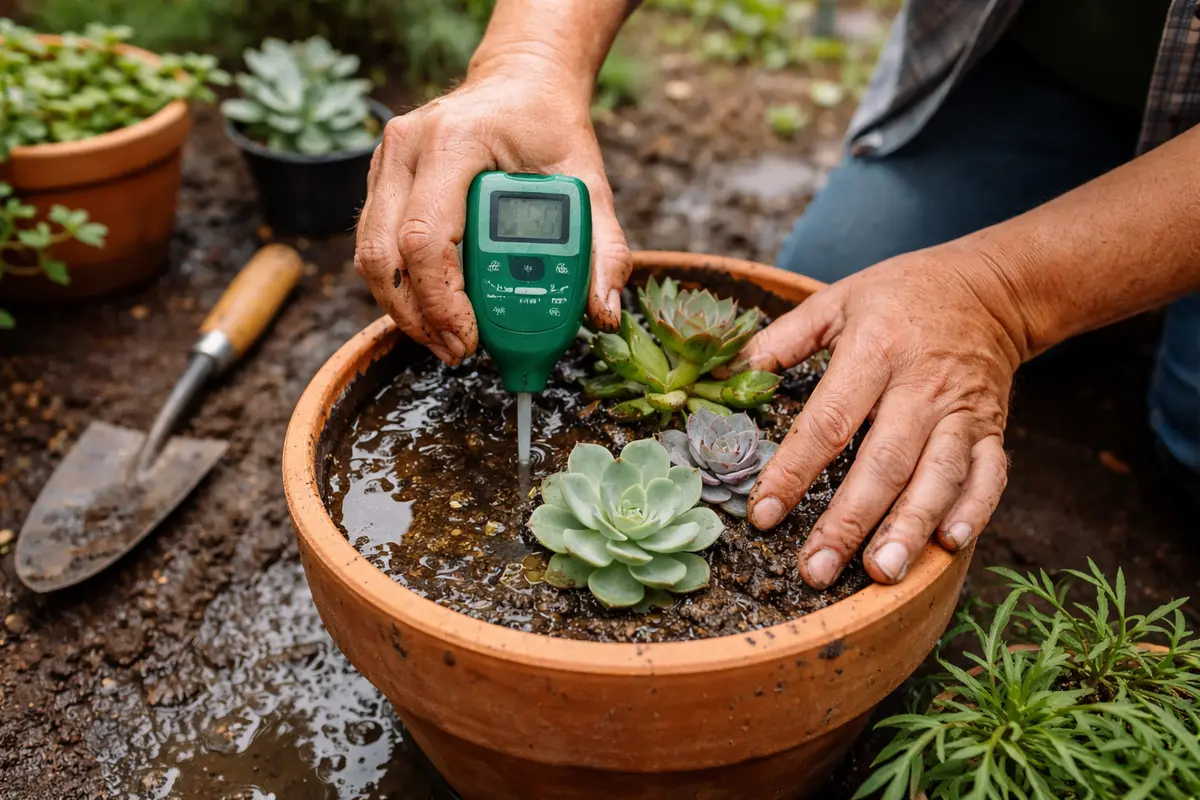
Start by checking the soil moisture levels in your potted succulents daily for the first week after flooding. Use a moisture meter or insert your finger about an inch into the soil; if it feels wet, avoid watering until it dries out. Recheck moisture every couple of days, observing any changes, and ensure the pot has adequate drainage to prevent recurrence.
A fully recovered succulent will display plump, firm leaves and vibrant color, indicating resumption of healthy growth. In contrast, early signs of returning root rot include shriveled or mushy leaves with a dull color, suggesting distress. If you see black spots on the leaves or a foul odor, check the roots for signs of decay; healthy roots should be white and firm, while rotting roots appear brown and slimy.
If root rot symptoms return despite your preventive measures, act quickly by removing the succulent from its pot to inspect the roots. Trim away any mushy, discolored areas and repot in fresh, dry soil. If the problem persists after repotting, it may be necessary to apply a fungicide or consider propagating healthy leaf or stem cuttings to save the plant.
A fully recovered succulent will exhibit firm, plump leaves with no discoloration or mushiness. In contrast, early signs of returning root rot include the leaves becoming soft, discolored, or even translucent, contrasting sharply with their previously robust state. If the plant begins to develop a foul odor or the leaves turn brown at the edges, those are further indicators of distress.
If you notice symptoms returning despite your efforts, immediately reduce watering and ensure the pot has adequate drainage. Consider repotting in fresh, well-draining soil designed for succulents to give the plant a better chance to recover. If the problem persists after these adjustments, consult a gardening expert to explore further treatment options.
A fully recovered succulent will exhibit bright and fleshy leaves instead of wilting or discoloration. New growth typically manifests at the tips of leaves or branches, indicating that the plant is regaining health and responding to care. Pay attention to any signs that indicate stress or previous rot like persistent leaf softness or a lingering sour smell, which would necessitate further interventions. Being proactive is essential; if you notice a relapse, reassess your watering and environmental conditions immediately.
If you notice the plants are still struggling despite following your care routine, consider consulting additional resources or professionals in succulent care. Problems can sometimes persist, indicating an underlying issue that may require specialized treatment or a more detailed assessment of environmental factors. Developing awareness of both positive signs and potential setbacks can support your plants’ long-term health. This is also a good time to familiarize yourself with succulent varieties that are more tolerant of longer dry periods or less stable conditions if you’re frequently facing challenges.
FAQ
How long does it take for succulents to recover from root rot?
Recovery from root rot can take anywhere from a few weeks to several months, depending on the severity of the damage. After repotting and improving conditions, look for signs of new growth within 3 to 4 weeks as an indicator of recovery. Persistent root issues, however, may require more specialized treatment approaches.
Can root rot spread to other plants?
Yes, root rot can spread, especially if soil is shared between plants or if any infected plant tissues come into contact with healthy ones. To mitigate this risk, keep infected plants away from others and consider treating or discarding severely affected specimens. Removing any shared resources like soil or tools can further reduce exposure.
Should I remove infected parts of a succulent?
Yes, it’s generally best to remove any severely infected or mushy parts to prevent the disease from spreading to healthy tissue. Clean the tools used for cutting thoroughly to avoid transferring any pathogens to other plants. If aggressive pruning is necessary, consider applying a fungicide to treated areas to guard against reinfection.