You may notice that some sweet potato plants develop soft spots during growth when they face excessive humidity or inconsistent watering, which is why you need to know what to do if sweet potatoes develop soft spots during growth. This condition occurs as the roots struggle with poor drainage and overwatering, leading to mushy spots that can quickly signal decay. Ignoring these signs can lead to more damage and sets the plant back significantly, but addressing the issue is possible now; simply inspect the soil and adjust your watering routine to improve the situation.
Step 1 – Inspect Sweet Potatoes for Soft Spots

Start by examining your sweet potatoes closely for visible soft spots. You should immediately see areas that feel mushy or appear discolored in the root system. Pay special attention to the areas near the base of the tubers where moisture tends to accumulate. Gently press the sweet potatoes to determine their firmness; any yielding in the flesh usually signifies trouble. Use bright natural light to enhance your visibility during the inspection, ensuring no soft spot goes unnoticed.
Acting fast is crucial because soft spots can indicate rot developing in the tuber. The longer they are left untreated, the more extensive the rot may become, potentially infecting healthy areas. By inspecting right away, you will identify any compromised sweet potatoes, allowing you to salvage the remaining healthy ones more effectively. A soft spot that has begun to ooze may indicate that rot is deeper than the surface; immediate removal of affected tubers can prevent further contamination. Make it a practice to inspect your yield at least twice a week to catch issues early, especially during periods of heavy rainfall.
A common mistake at this stage is to overlook softening spots, thinking they might improve on their own. However, waiting too long can lead to a scenario where healthy parts of the tuber start rotting, and soon the entire crop becomes unusable. Another error is assuming that all soft spots indicate rot; some may result from external damage instead. It’s essential to treat soft spots immediately to prevent further damage and ensure you check each tuber’s condition thoroughly to differentiate between minor surface damage and active bacterial rot. If unsure, a quick cut into the soft area can reveal the inner state of the potato; a healthy tuber typically has a firm, moist interior without darkened areas.
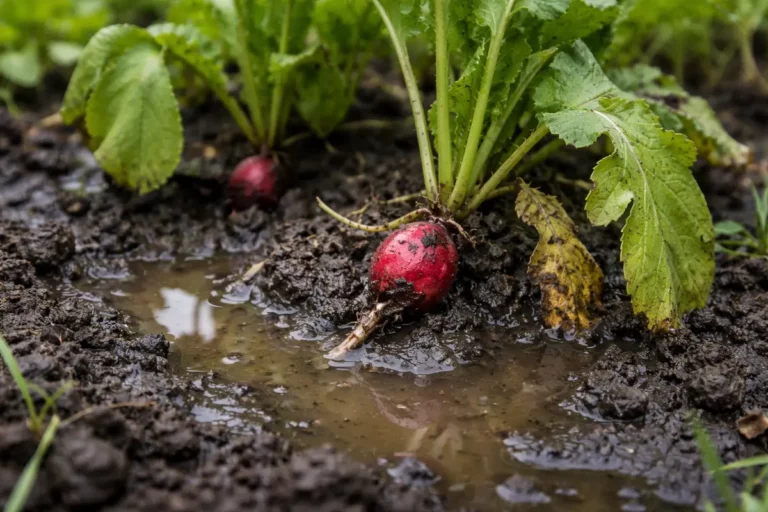
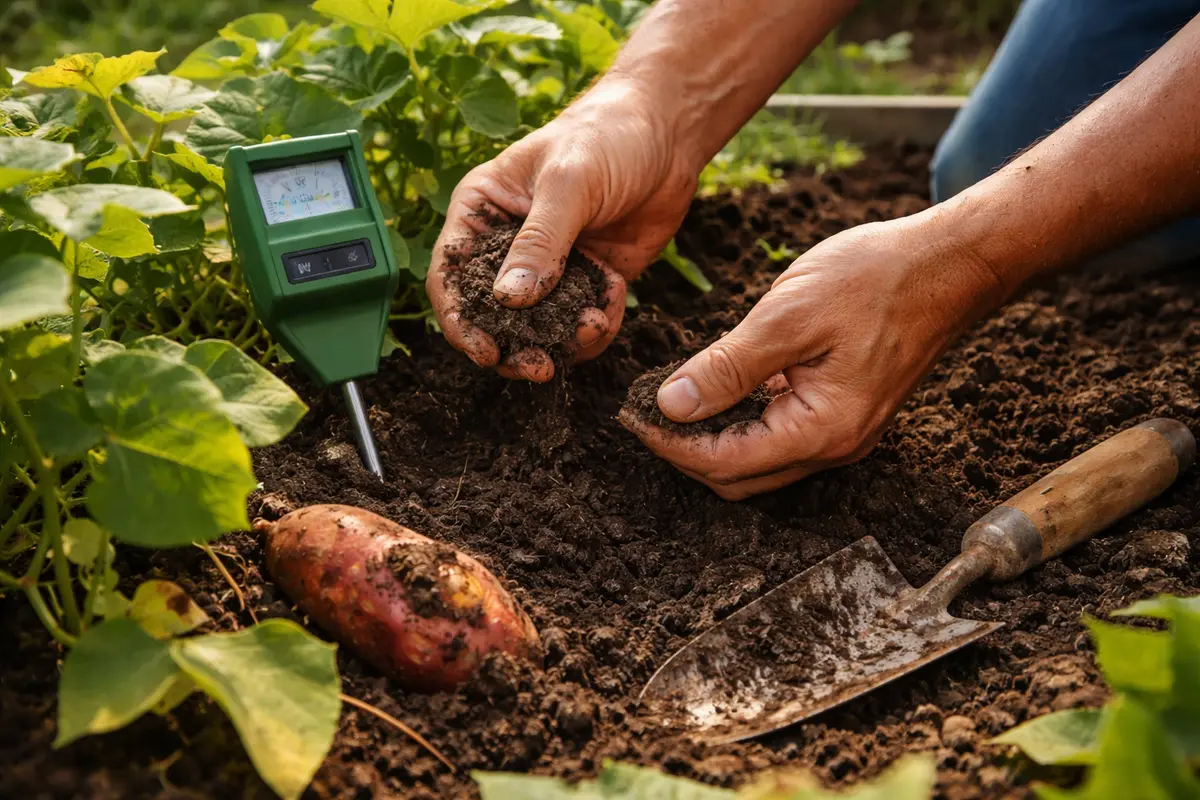
Step 2 – Diagnose Soil Moisture Issues in Growth
Start by inspecting the moisture level of the soil surrounding your sweet potato plants. If the soil feels excessively moist or waterlogged, reduce the frequency of watering and improve drainage to eliminate standing water. Observe that the soft spots may start to diminish within a few days as the roots stabilize in healthier conditions.
The soft spots on sweet potatoes often result from overwatering, which leads to root rot and fungal infections. In this state, roots become compromised, causing the plant tissue to soften and develop lesions. If you notice a mushy texture near the base of the plant, this indicates significant root damage due to soggy soil conditions. If not this, check for any signs of pests or diseases affecting the plant’s growth.
If the soil has an unpleasant, sour smell, this indicates anaerobic conditions potentially caused by compacted soil. In this case, aerate the soil and amend it with organic materials to improve drainage. Alternatively, if you notice yellowing leaves but no signs of rot, nutrient deficiencies may be the issue; in this scenario, consider a balanced fertilizer application to support root health instead.
Root rot often occurs when the soil retains too much moisture, resulting in compromised roots that can’t absorb nutrients effectively. If the soil feels overly saturated, that can trigger a cycle of rot in the tuber as it struggles to maintain health. Conversely, if the soil is dry, it could also lead to stress in the plant, thus being critical to accurately assess moisture levels. Checking moisture at various depths can help ensure you’re getting a complete picture of the soil’s condition, as excess moisture might only be present at the surface while the deeper roots remain dry. A common misconception is that an inch of water a week is sufficient; external conditions, such as temperature and humidity, also affect soil moisture needs.
If you discover that the soil is overly wet and potentially sour, this indicates bad drainage, so you’ll need to consider amending it or changing your watering approach. This includes adding organic matter like compost to improve soil structure and introducing mulch to help maintain moisture levels. Alternatively, if the soil feels dry, consider watering more frequently, particularly in hot conditions, to ensure a stable moisture level. Every scenario requires its own plan to fix the underlying cause, and taking the time to evaluate your soil’s moisture history can prevent further issues. If your sweet potatoes are planted in heavy clay soil, you might need to build raised beds to ensure proper drainage and aeration for the roots.
Step 3 – Fertilize Affected Sweet Potatoes for Recovery
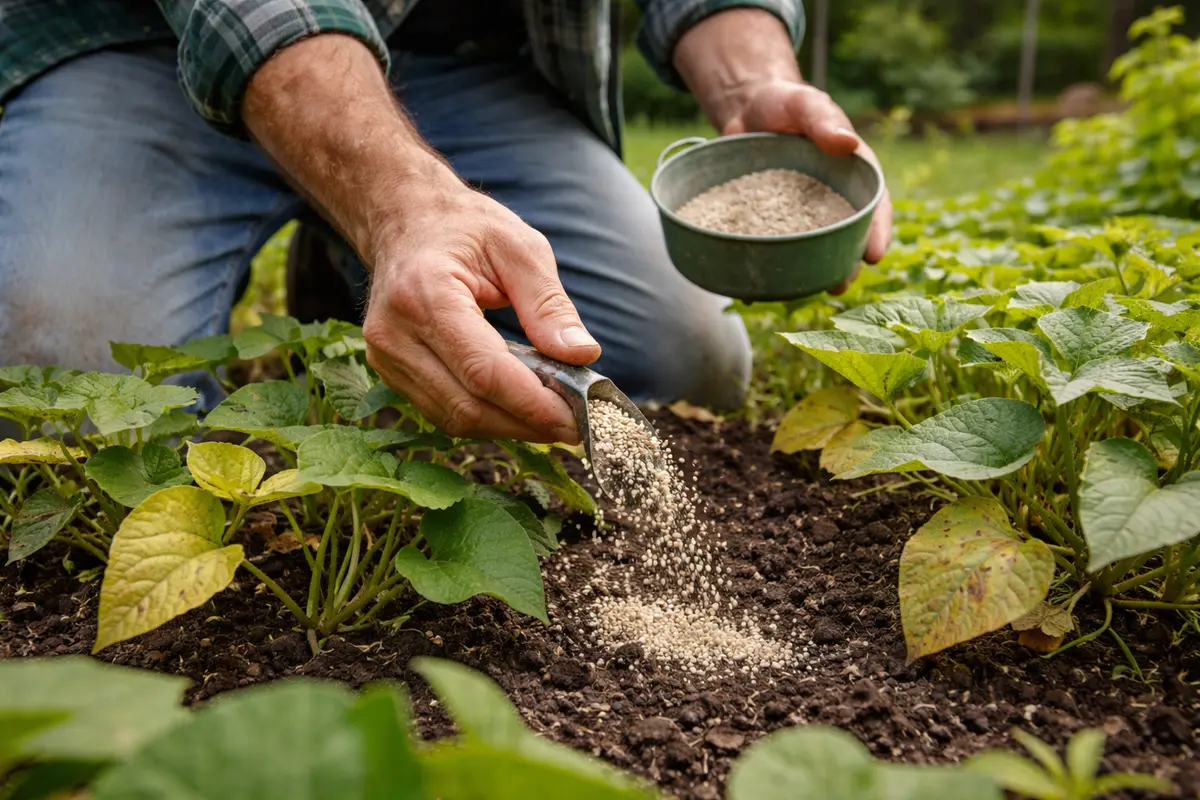
Apply a balanced fertilizer to the affected plants immediately. You should notice within a few days that growth begins to appear more vigorous and green. Use a fertilizer that contains a mix of nitrogen, phosphorus, and potassium, ideally in a slow-release form, to provide continual nourishment for recovery. A liquid fertilizer can also be beneficial for quick absorption by the roots if needed.
Supplementing the soil with fertilizer helps replenish nutrients that the sweet potatoes may have lost due to stress from rot. This action encourages the plant to begin recovering more quickly as it fosters healthy leaf growth, important for photosynthesis. An immediate boost in nutrients can help redirect the plant’s energy towards producing more robust roots, preventing further degradation. However, ensure that you’re applying the fertilizer according to the package instructions since too much can harm rather than help. Observing the general health of your leaves will give you an idea of whether you’re on the right track; yellowing leaves might indicate over-fertilization.
A common mistake during recovery is fertilizing too frequently, which can lead to nutrient burn or imbalance. Monitor the growth carefully; if you see the tops of the plants become yellow or burnt, it’s a sign they are getting more fertilizer than necessary. Pay attention to signs of plant distress, such as leaf curl or wilting; these could indicate over-fertilization. In cases of severe distress, consider applying water to leach out excess nutrients while not disturbing the roots excessively. Adjust the feeding schedule accordingly to give your sweet potatoes enough support and facilitate a healthy recovery by ensuring they have ample water and nutrients without overwhelming them.
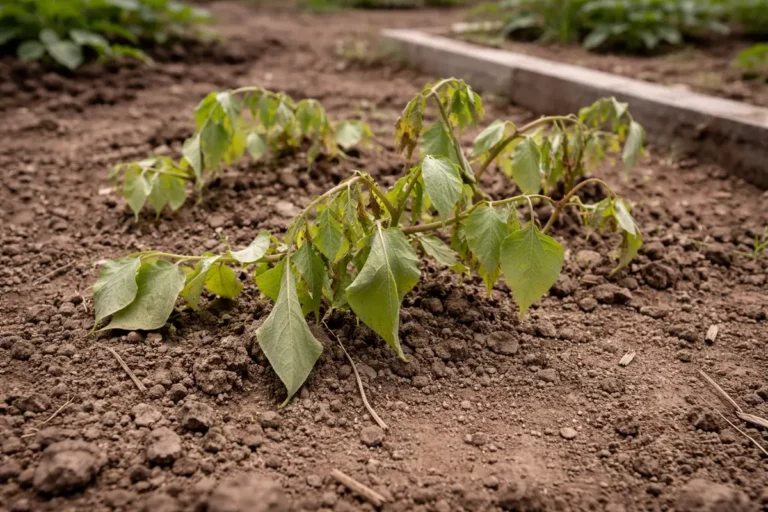
Step 4 – Avoid Overwatering During Growth Stages
Start by ensuring your sweet potatoes are planted in well-draining soil and positioned in a location that receives full sunlight for at least six hours daily. By maintaining these conditions, you will minimize the risk of soft spots developing as the tubers grow, leading to firmer and healthier yields.
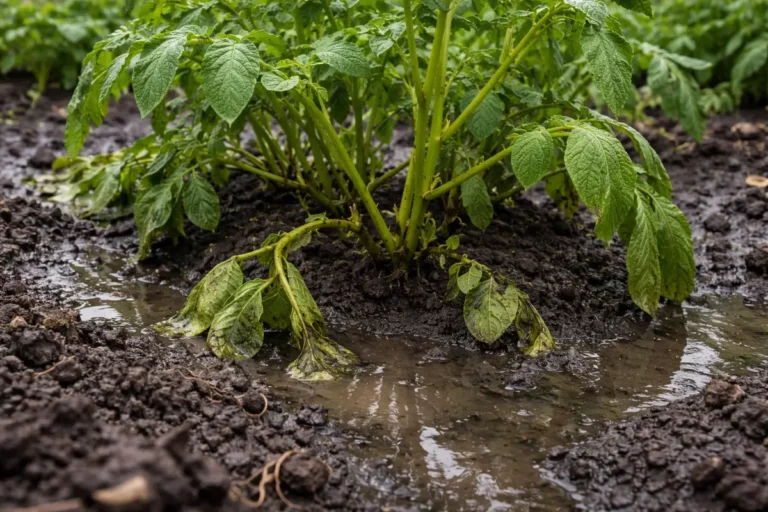
Soft spots often occur when sweet potatoes are exposed to excessive moisture, which can lead to rot and disease. Ensuring proper drainage helps avoid waterlogging and reduces the likelihood of fungal infections that thrive in soggy conditions. If your plants are consistently wilting despite moist soil, check for drainage issues to address root rot effectively.
During the rainy season, implement a mulch layer around your sweet potato plants to retain soil moisture while keeping the roots dry. Additionally, watering should be reduced in wet weather to prevent oversaturation and soft spots from developing. If you notice yellowing vine leaves alongside soft spots, reassess your irrigation schedule to adjust for weather conditions.
Overwatering usually happens when plants are not given proper drainage, causing conditions that can lead to rot. When you establish a consistent watering schedule, you’ll prevent root rot and ensure that your sweet potatoes grow in optimal conditions. Regular monitoring of the moisture content means you can capture the right conditions for healthy growth—this is especially critical in poor-draining soil where the roots may become inundated. Watering methods matter too; opt for slow-release systems like drip irrigation to minimize oversaturation.
Variations in weather can affect how much water needs to be applied. For instance, during hot spells, the plants may require additional water to prevent wilting, while cooler, rainier days may necessitate cutting back. If you notice your sweet potatoes beginning to show signs of yellowing from too much moisture, it is critical to reduce water immediately. Additionally, poorly draining areas may require modification of your planting beds, perhaps by mixing in sand or other amendments that promote drainage. Keep this balance in mind as excess water can exacerbate the problems spotted earlier, complicating your sweet potato development.
Step 5 – Check for New Soft Spots Weekly
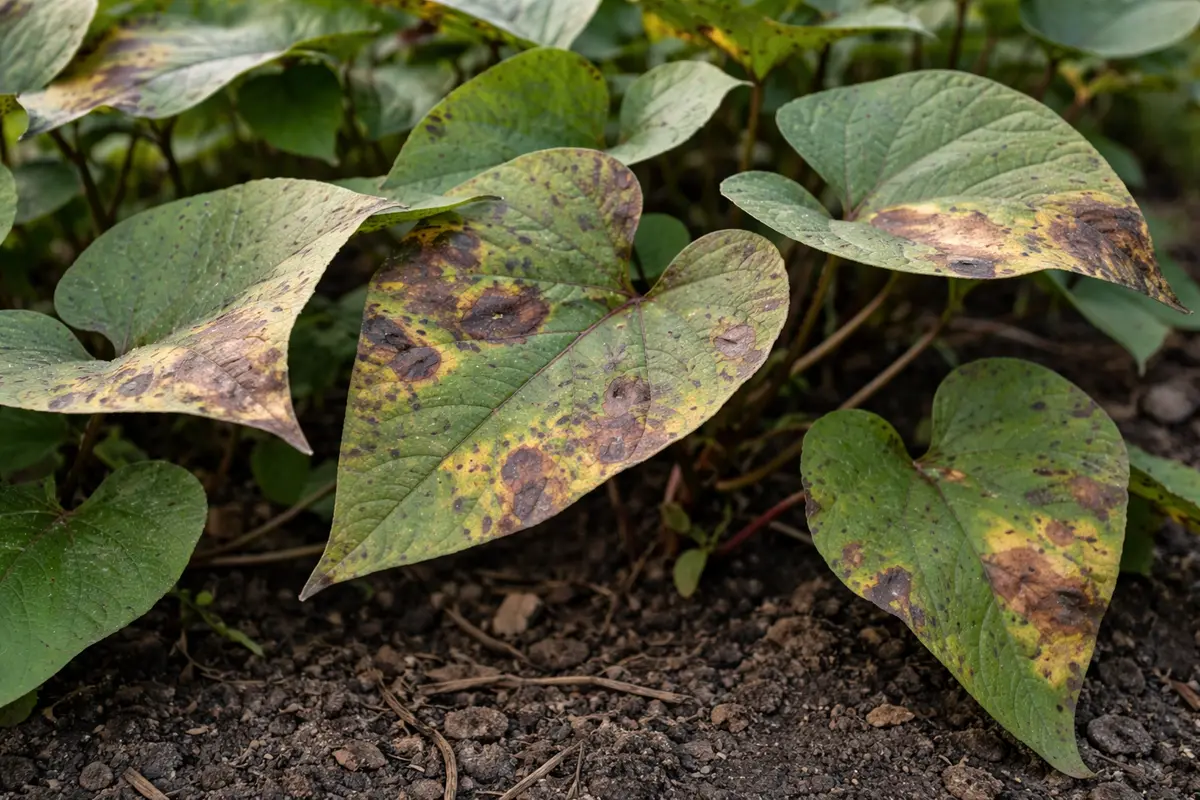
Start by checking your sweet potato plants every few days for any signs of soft spots on the tubers. Look for changes in color or texture, noting if the affected areas become firmer or more prominent. Regularly recheck these observations, ideally on a weekly basis, to track any improvement or worsening of the situation.
A fully recovered sweet potato plant displays firm, smooth tubers that are largely uniform in shape and free from blemishes. In contrast, early signs of the problem returning may include soft or sunken areas developing on the tubers, often accompanied by a slight discoloration. If you notice a sticky or mushy texture at the base of the plant, this is another indicator that issues may be re-emerging.
If soft spots appear again despite following the previous steps, increase your soil drainage by amending it with sand or organic matter to prevent excess moisture. Additionally, isolate any affected plants to stop the potential spread of disease. If the problem persists, consider consulting a local agricultural extension office to identify any pathogens or pests affecting your crop.
By keeping a weekly check, you’ll be able to identify any issues before they escalate again into a larger problem. Record any soft spots noted so you can monitor improvements or deterioration over time. Additionally, consider your growing environment; if the weather has turned more humid, be extra vigilant, as such conditions increase the chances of new soft spots forming. If you find that soft spots do reappear after you’ve taken these corrective measures, it may mean that the rot has spread in the tubers or that the nutrient balance is still off.
In this case, consider consulting with a local agricultural extension office for more tailored assistance or exploring different planting locations. Seeking their advice on soil amendments or crop rotation practices that other growers in your area have found effective can be very beneficial. Ensuring your soil environment improves is key to preventing repeated soft spot appearances in the future, supporting the long-term health of your sweet potato crop. Regularly rotating your crops can disrupt pest cycles that might also contribute to poor plant health.
FAQ
How long does it take for soft spots to disappear with treatment?
It may take around one to two weeks for soft spots to improve with proper treatment, but this varies depending on the severity of the damage and the plant’s overall health. Regular monitoring will help you gauge progress; don’t hesitate to adjust care as necessary based on your observations.
Can soft spots spread to other plants in the garden?
Yes, soft spots can potentially spread through contaminated soil or water. Inspect nearby plants and take preventative measures, such as improving drainage and hygiene in the growing area. A cautious gardener will isolate affected plants from the healthy ones until they’re certain the issue has been resolved.
Should I remove affected sweet potatoes from the garden?
If soft spots are extensive, you should harvest the affected sweet potatoes to prevent any further spread. Removing sick plants can help ensure the health of surrounding crops. Maintain careful records of which plants suffered to help refine your care regimen for the future.