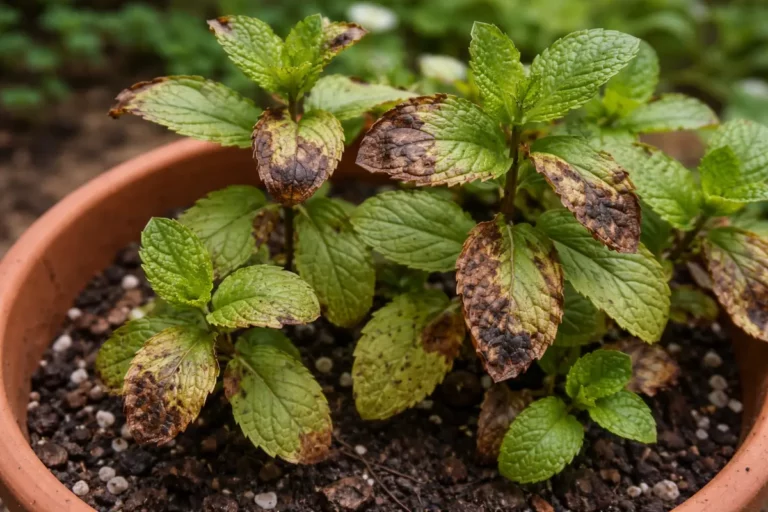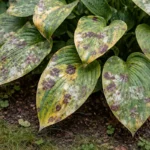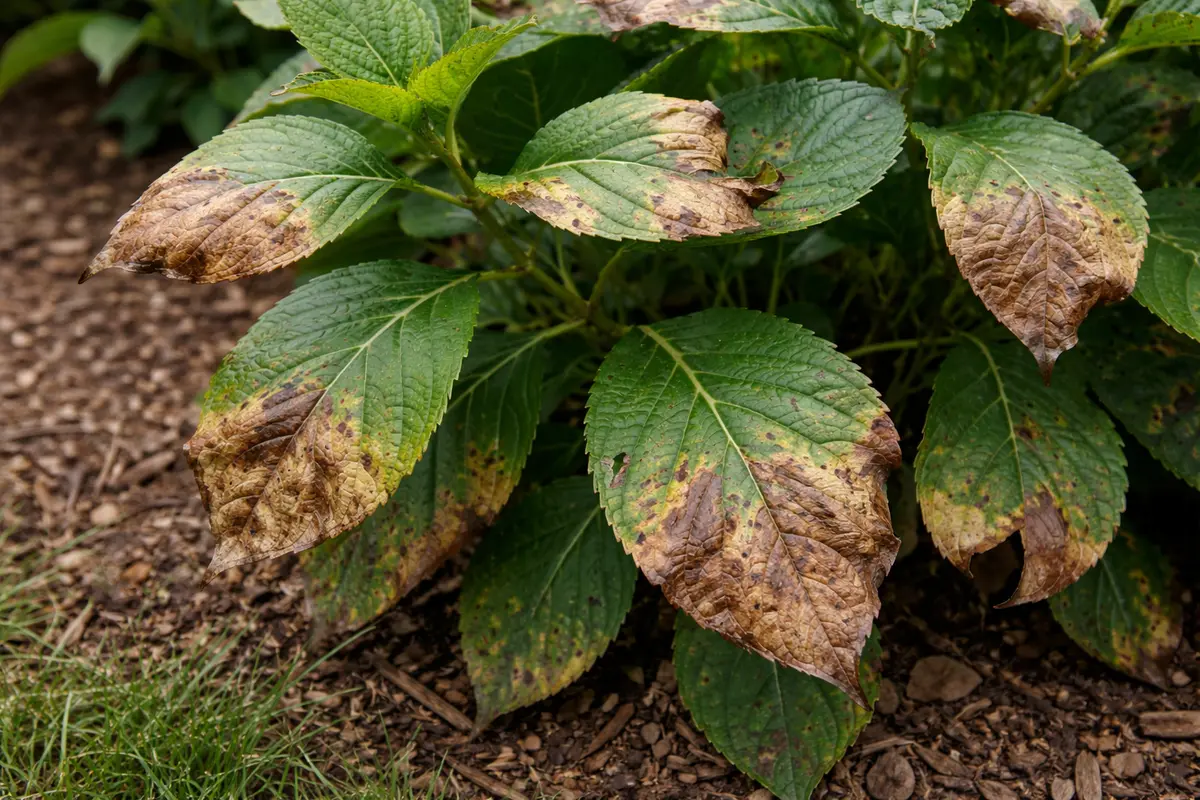
You may notice that during the hot summer months, the leaves of your hydrangeas are turning brown, which is why you need to know what to do when hydrangea leaves turn brown in summer. This browning often occurs due to excessive heat exposure, leading to wilting and damage as the plant struggles to retain moisture. If left unchecked, this stress can worsen, weakening the plant and may ultimately stall growth; however, addressing the issue is possible now—simply check your watering routine and adjust any nearby plantings that may be competing for water.
Step 1 – Trim Brown Hydrangea Leaves Quickly
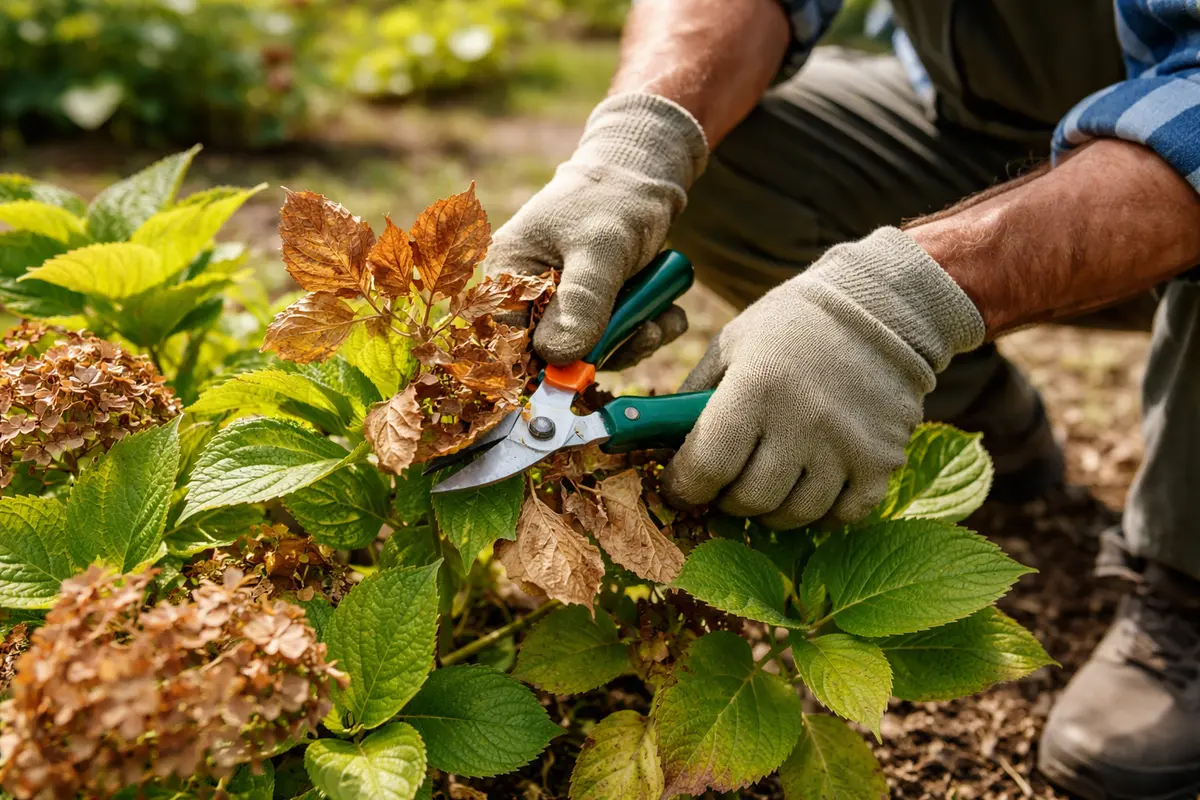
Begin by removing any brown or damaged leaves from your hydrangeas immediately. You will notice the plant looks cleaner and healthier right after this action. Removing these leaves also prevents the plant from wasting energy on foliage that cannot recover and limits stress and potential disease spread. Brown leaves can pull valuable resources away from the healthy areas, hence this trimming is essential for recovery.
Trimming affected leaves helps the hydrangea focus its energy on healthy growth, particularly as it struggles to maintain hydration during hot conditions. By quickly addressing visible damage, you’re allowing the plant to redirect essential resources to its remaining healthy foliage and new growth. Moreover, dead or dying leaves can harbor pests or diseases, which may compromise the entire plant, especially during the summer when hydrangeas are particularly susceptible to various stressors and pathogens. A key indicator to look for is whether the leaf edges are crispy and dry; these are beyond recovery and must be removed. If you spot leaves showing dark spots in conjunction with browning, it signals an additional threat from fungal infections.
A common mistake is to delay trimming brown leaves under the assumption that they’ll recover. This usually leads to extended stress and can result in irreversible damage. For example, if you notice brown leaves during a heatwave and fail to act, each day of inaction compounds the issue, risking healthy leaf loss and hindering recovery. Always prioritize trimming; if the browning is limited to outer leaves, you are likely still able to salvage the plant. If you leave the leaves too long, they may also drop naturally, potentially leading to more significant wounds on the stems. Once removed, check the cut areas for signs of rot, which could indicate deeper issues needing attention.
Step 2 – Diagnose Lack of Hydrangea Watering
Inspect the soil around your hydrangea for moisture levels to confirm any watering needs. If the soil is dry to your first knuckle (about 1 inch deep), hydration is necessary for the plant’s recovery. If properly watered, leaves will likely perk up within a couple of days, showing signs of renewed vitality. Additionally, if the leaves have a dull appearance without a glossy sheen, that might suggest they are indeed thirsty.
Hydrangeas require consistent moisture, particularly in the summer months when heat can quickly dry out the soil. The prevailing dry conditions lead to stress, causing the leaves to turn brown as the plant conserves water. Additionally, if roots become too dry, they may suffer from not being able to absorb essential nutrients, further compounding the issue. Catching this early can make all the difference; a thriving plant has a better chance of respiratory and nutrient absorption functions returning to normal. Watering levels should ideally be monitored every day in hot weather, especially after prolonged dry spells.
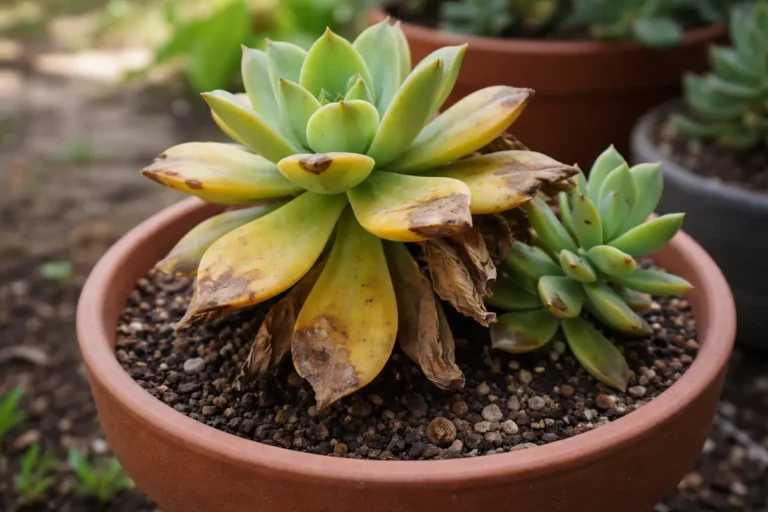
If the soil smells sour, this might indicate root rot due to overwatering, which can also cause browning of the leaves. Therefore, if your hands feel muddy even after a few hours of watering, you need to adjust your gardening practices. On the other hand, if the soil feels compacted and dry, a quick rehabilitation strategy to increase watering frequency should be put in place. Ultimately, it’s essential to balance moisture levels; too much or too little water can both harm the hydrangea significantly, which can be observed by stagnant leaf growth and signs such as yellowing leaves or wilting. If your hydrangeas are planted in pots, ensure they have adequate drainage to avoid waterlogging. If you notice the soil crusting on the surface, this could indicate that water is not penetrating effectively and might require aeration.
Step 3 – Fertilize Hydrangeas for Leaf Recovery
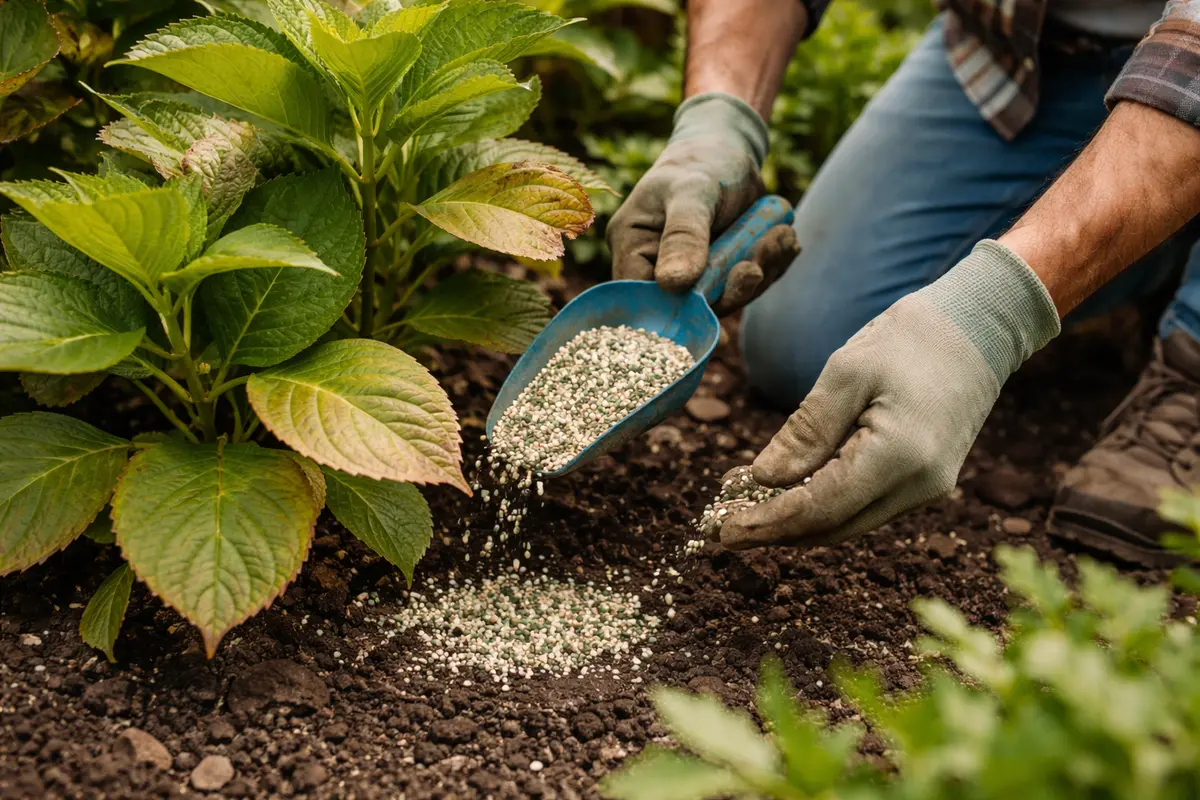
Start by applying a balanced fertilizer designed specifically for hydrangeas to encourage leaf recovery. You should observe new leaf growth within a couple of weeks after fertilizing, signaling that the plant is responding positively to the nutrients and rehabilitative efforts undertaken. When applying, follow the recommended dosage precisely; over-fertilization can lead to further stress rather than improvement.
Fertilizing assists in supplying the necessary nutrients that may have been depleted, particularly after periods of stress where the hydrangea has struggled to maintain its health. Healthy soil and appropriate nutrient levels are crucial for the recovery phase, as plants need key elements like nitrogen and potassium to promote not just growth but a full revival following the stress caused by environmental factors or care mistakes. Pay attention to the brand you choose, as some fertilizers release nutrients too quickly, which may not be beneficial during this delicate recovery stage.
A common error during this phase is over-fertilizing as an immediate fix, thinking more fertilizer will solve the problem faster. Hydrangeas can be sensitive to nutrient overload, which can prompt issues like leaf burn and further stress. If you don’t notice any improvement within a week after your fertilization efforts, it may be time to reassess your soil conditions and current watering practices. Try switching to a slow-release option with lower nitrogen content, which can yield better results and contribute to ongoing plant health. If the browning persists or worsens despite following these steps, consider testing your soil pH and nutrient levels to understand better what your hydrangea may be lacking.
Step 4 – Shield Plants from Summer Sunburn
Water your hydrangeas deeply at least once a week during hot summer months to prevent leaf browning and ensure vibrant foliage. By maintaining consistent moisture in the soil, you will see an improvement in leaf color and overall plant appearance.
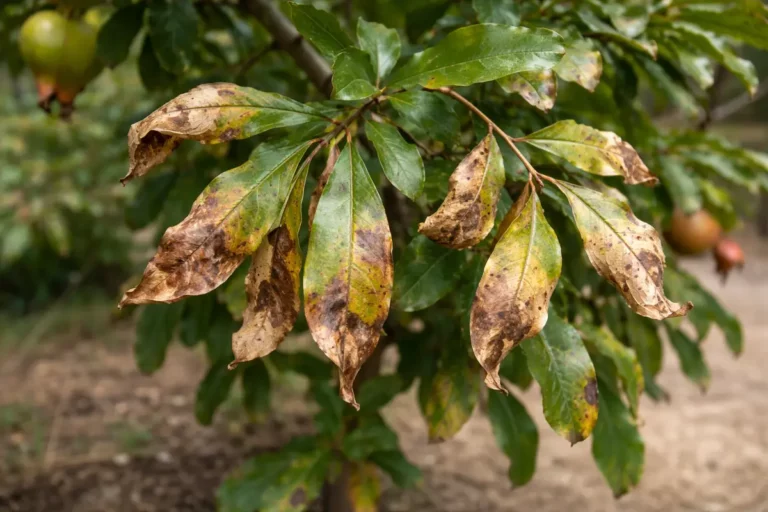
Environmental conditions such as extreme heat and prolonged drought can cause hydrangea leaves to turn brown. Inconsistent watering leads to stress, triggering the plant’s natural response to conserve moisture by browning its leaves. A regular deep watering routine can directly address this moisture deficit, allowing the plants to thrive even in challenging conditions. Notice how the soil crust can form under high temperatures; if you find that the surface soil dries while the lower layers remain moist, it may indicate that the hydrangea is not effectively utilizing available moisture.
During particularly hot spells, increase your watering frequency as needed. If temperatures soar above 90°F, you might also add a layer of mulch to help retain soil moisture, which can further protect against leaf browning during peak heat. Moreover, consider the placement of your hydrangeas: if they are in full sun all day, it may be beneficial to provide temporary shade during extremely high temperatures.
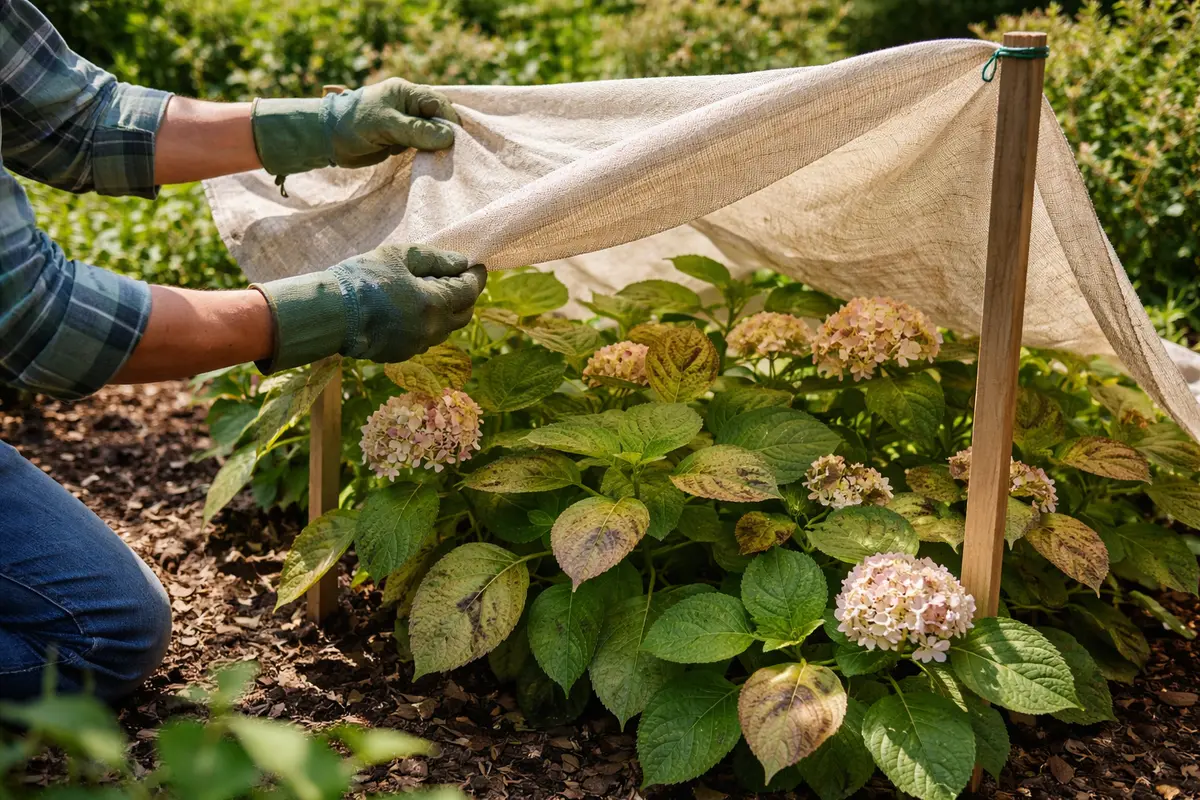
Excessive direct sunlight can lead to leaf scorch, particularly in a hot summer. If you’ve noticed that your hydrangeas are underperforming in shaded areas versus fully exposed spots, this could be an indicator of their preference for partial to full shade. By blocking out some direct sunlight, you not only mitigate leaf stress but also improve moisture retention in the soil. Additionally, if you’re using a temporary cloth for shade, ensure it allows for sufficient airflow; stagnant air can also contribute to heat stress. This manipulation of environment can go a long way in preserving long-term plant health, especially as summer temperatures continue to rise. Monitor your plants after any adjustments, as too much shade could also lead to poor flowering due to insufficient light exposure.
Step 5 – Inspect Hydrangea Foliage for Signs of Stress
Check your hydrangeas every few days for signs of improved leaf health or any returning stress symptoms. Look for fresh green growth, firm stems, and returning color; these indicators will confirm that your labor has yielded positive results. If you notice any recurrence of browning or wilting, act quickly to adjust care or reassess environmental conditions. Keeping a journal of observed changes can assist in tracking healing progress effectively and helps you identify patterns in worsening conditions.
A fully recovered hydrangea will display vibrant, green leaves along with consistent moisture retention levels in the soil. However, if you frequently check and the plant’s leaves begin turning brown again, it indicates a need to reassess your watering routine or the amount of sunlight exposure they are receiving. To put this into perspective: if your hydrangea is getting ample water but the area receives relentless sun, shade needs to be considered again. The earlier you catch these issues, the better chance your hydrangea has of thriving. Also, consider checking for pest activity, which can sometimes accompany water or nutrient stress. If you identify small holes in leaves or webbing on the undersides, these could signal a pest invasion requiring immediate intervention.
If stress symptoms persist after following these steps, it may be necessary to consult a local gardening expert or consider if the hydrangea is positioned in an unsuitable location. For long-term health, ensure that all critical factors such as sunlight exposure, watering frequency, and soil quality are consistently optimized so you do not fall into a pattern of cycling through stress and recovery. Signs of ongoing stress can include not only browning leaves but also a lack of blooming in established plants, which often indicates a more systemic issue. Finally, keep an eye out for any changes in garden microclimates; sudden shade from nearby trees can alter moisture levels and light exposure unexpectedly.
FAQ
How long will it take for hydrangeas to recover from brown leaves?
The recovery timeline for hydrangeas can vary widely, but generally, you may start seeing improvements within 1 to 2 weeks after making appropriate care adjustments. Providing consistent moisture, shading during peak hours, and periodic inspections will facilitate quicker recovery of your hydrangeas. However, if improvement is not observed within this timeframe, further investigation into environmental conditions may be necessary, including checking for any pests or diseases that can impact recovery.
Should I remove the brown leaves or leave them on the plant?
Removing brown leaves is advisable as it prevents potential disease spread within the plant. By pruning off damaged foliage, the hydrangea can focus its energy on healthy growth, enhancing its overall vigor and resilience against summer heat. Moreover, leaving brown leaves on can mislead you into thinking the plant is healthier than it is, potentially leading to neglect in addressing further care needs. Additionally, ensure your pruning tools are sterilized to prevent any transfer of pathogens.
Will my hydrangeas recover after browning in the summer heat?
Yes, with consistent and informed care, hydrangeas can recover from browning leaves. By addressing the causes—such as optimizing watering practices and providing strategic shade exposure—you can foster robust regrowth, paving the way for a vibrant hydrangea display come fall. Remember that consistent monitoring and responsiveness to ongoing conditions are key to success; staying proactive can mitigate future stress during extreme weather conditions.