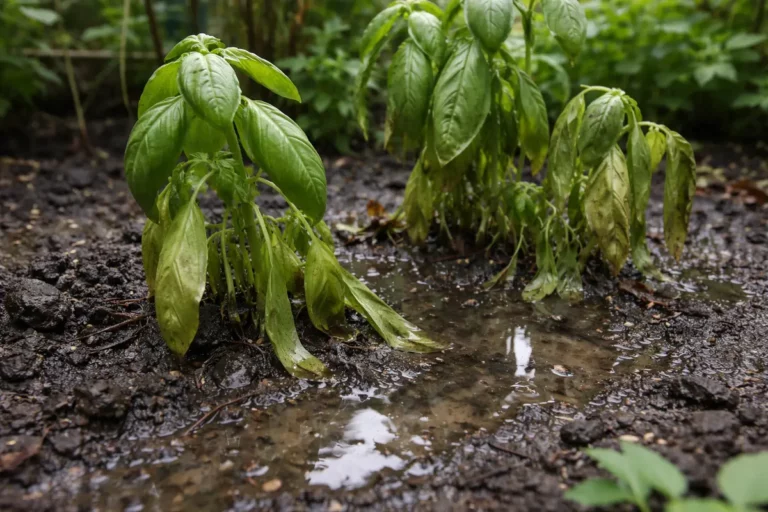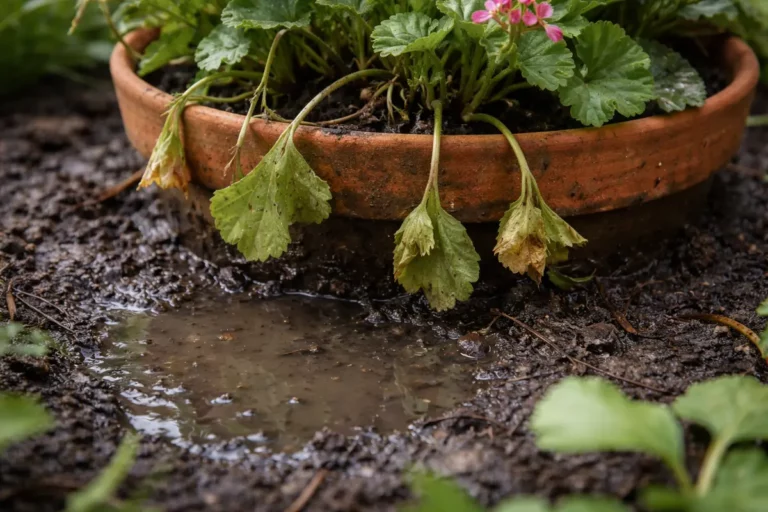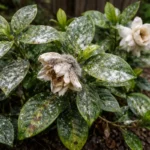
You may notice your geraniums looking less vibrant during the humid summer months, which is why you need to know why are my geraniums suffering from root rot in pots. Their leaves may begin to yellow and droop as a result of the roots rotting due to excess moisture and poor drainage. If left untreated, this issue can spread and weaken the plant, making recovery harder; however, fixing it is possible now if you inspect your potting mix and adjust your watering habits accordingly.
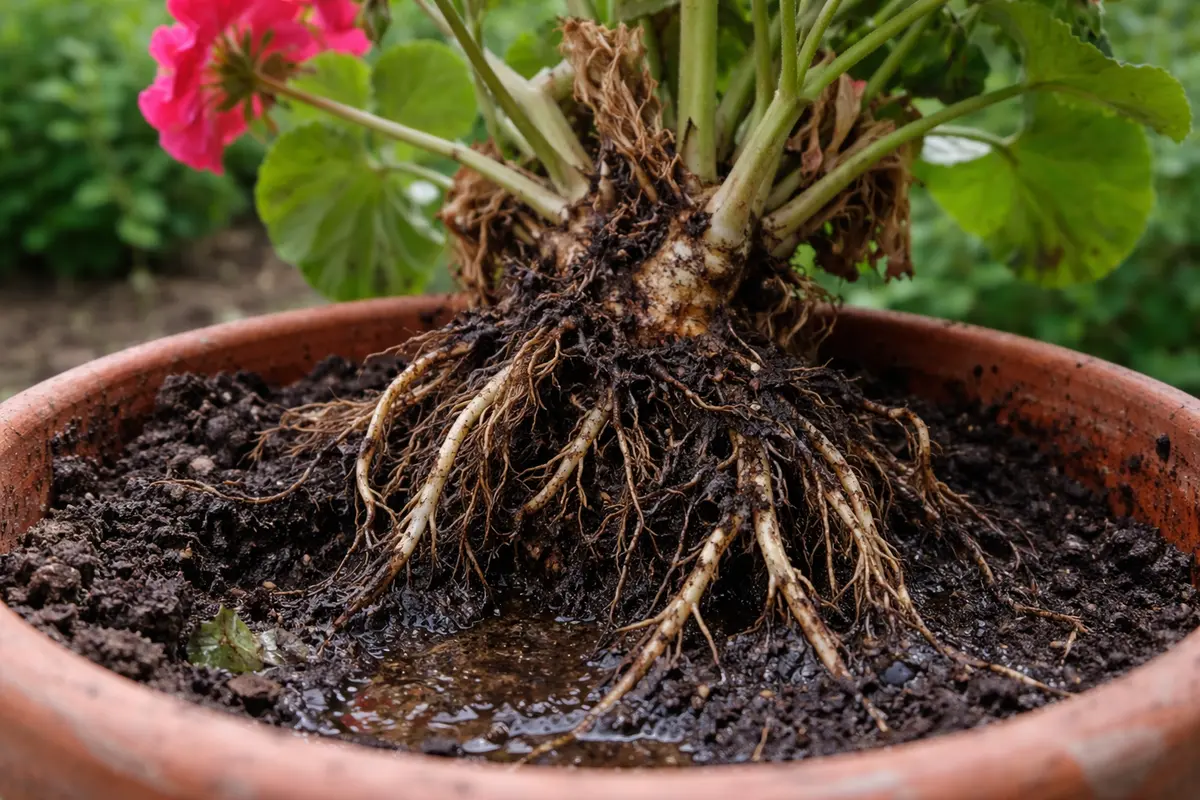
Step 1 – Remove Potted Geraniums from Soil
Begin by gently removing the affected geraniums from their pots to inspect the roots. You will see the soil clinging to the roots, which may even fall apart during this process, revealing if they are healthy or damaged. This initial step is crucial to prevent further rot from harming the plant. If any roots feel slimy or dark, it’s a clear indication that rot has set in, requiring immediate action.
Removing the geranium allows you to assess the extent of the root damage and moisture retention in the soil. If left in moist soil for too long, roots can deteriorate rapidly due to a lack of oxygen, creating a perfect breeding ground for pathogens. One common sign of overwatering is a soil texture that feels like a soggy sponge, indicating it has held too much moisture for too long. Prompt extraction limits the spread of rot and allows you to intervene before the damage worsens. If you encounter a soil mass that is soggier than normal, it indicates overwatering issues that must be corrected.
When handling the geraniums, be careful not to damage the healthy roots you might find. In my experience, timing plays a significant role during this stage. Waiting too long to remove the plant may mean losing healthy roots alongside the damaged ones. A common mistake is trying to dry out the roots without inspecting them; this only delays critical action, allowing fungi to proliferate. Instead, act swiftly and with care — if your geraniums look wilted or are constantly damp, it’s time to take immediate action.
Step 2 – Diagnose Root Rot Causes in Geraniums
Start by removing the affected geraniums from their pots to inspect the roots for signs of dark, mushy decay, which indicates root rot. Prune away any diseased roots with sterilized scissors, and repot the plants in fresh, well-draining soil mixed with a fungicide to help combat potential pathogens. You should notice the remaining healthy roots returning to a firmer state within a few days, and the plants will begin to regain their vigor.
Root rot in geraniums occurs primarily due to fungal pathogens thriving in overly moist conditions, where the roots cannot absorb water effectively. When roots are diseased, you may observe yellowing leaves and stunted growth, contrasting with healthy plants that display vibrant green foliage and robust development. If the soil feels soggy or waterlogged, it is a clear indicator that there is excess moisture leading to these issues.
If the soil smells sour, it is likely a sign of anaerobic bacteria, which can worsen diseases like root rot. In this case, remove the geraniums and replace the soil entirely with fresh, well-aerated mix. Alternatively, if the drain holes in your pot are clogged, ensure they are cleared to allow excess water to escape, as proper drainage is vital to prevent root rot from taking hold.
Root rot occurs when soil remains excessively moist, leading to anaerobic conditions that suffocate the roots. As the roots decay, they cannot absorb water or nutrients effectively, causing symptoms like drooping leaves and stunted growth. In contrast, if your geraniums are only drooping slightly but the soil remains dry, they may simply need more frequent watering instead of immediate soil replacement.
If the soil smells sour, consider replacing it with sterilized soil to eliminate pathogens. Alternatively, check for compacted soil which can also impede drainage and mimic symptoms of root rot; loosening the soil will improve aeration and water movement. Confirming the specific cause will help you implement the right treatment more effectively.
Healthy roots typically display a white or light tan color and a firm texture. In contrast, damaged roots exhibit a slimy texture and darker shades, signaling decay. Understanding the conditions promoting rot highlights the importance of both good drainage and proper watering practices. If your soil smells sour, this odor indicates the presence of harmful bacteria, which thrive in waterlogged conditions and contribute to root rot. Lack of oxygen inhibits healthy root function, affecting the plant’s ability to absorb nutrients efficiently.
If the soil smells sour or appears waterlogged, immediately change the potting medium to avoid recurring issues. Alternatively, if the roots appear intact but the soil stays excessively moist, consider revising your watering technique instead of replacing the soil. Each situation presents unique clues to effectively address the problem at hand. For instance, if your diagnosis reveals moderate damage but some healthy roots are intact, an immediate replanting in dry soil may still save the plant. If rot is confirmed, consider the potting medium as well, particularly if it retains too much moisture, which means it may not be suitable for your geraniums.
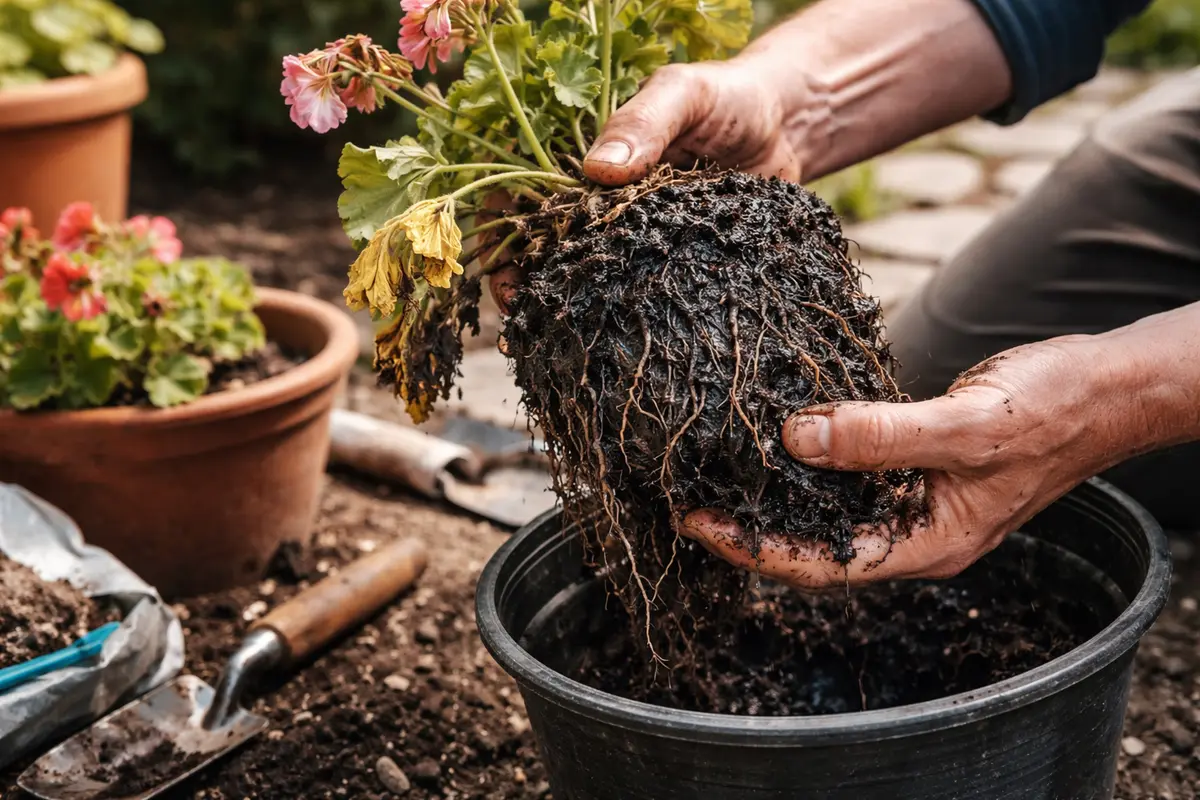
Step 3 – Replant Geraniums in Fresh, Dry Soil
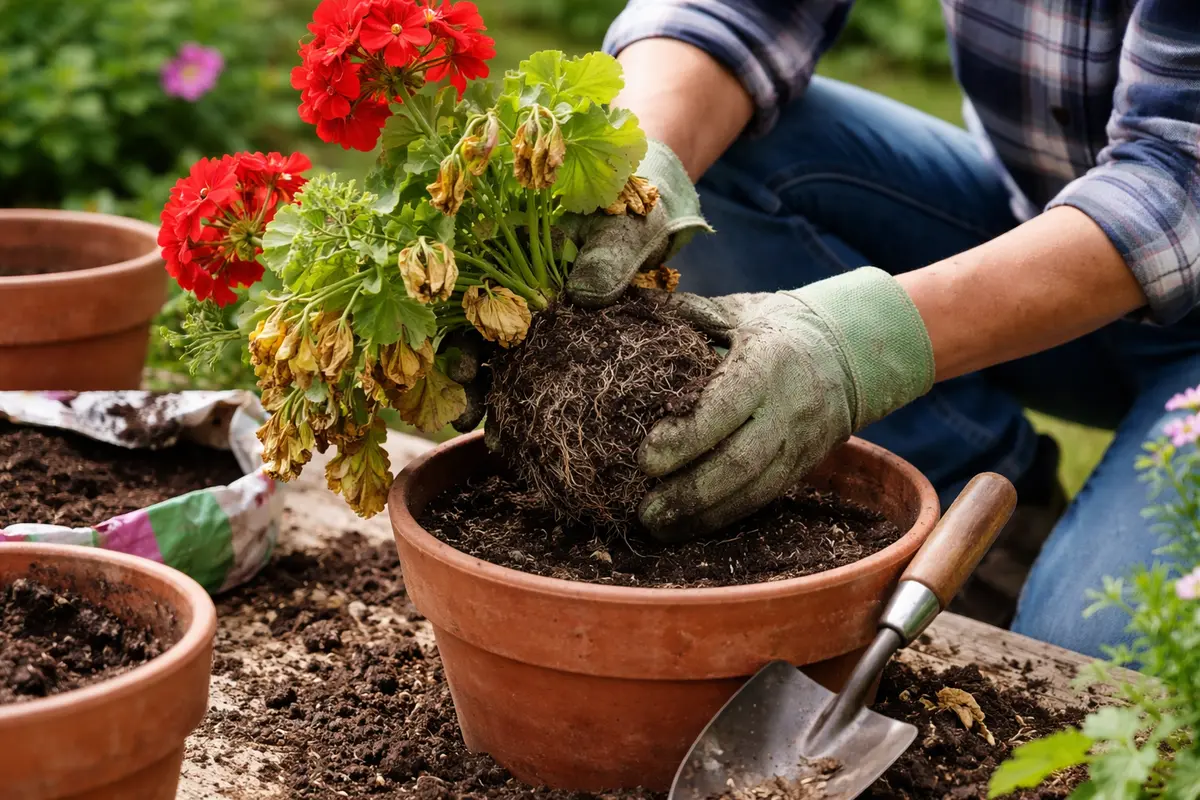
Start by repotting your geraniums in well-draining soil and a pot with drainage holes. Trim away any visibly rotten roots and water the plants lightly after repotting. In the coming days, you should observe new growth and a reduction in yellowing leaves, indicating that they are starting to recover.
Recovery can take several weeks, during which time you should see healthy new leaves sprouting. If regrowth appears slow or stunted, check if the potting mix retains excessive moisture, as wet conditions can significantly delay recovery. In contrast, a thriving geranium will show bright green foliage and can begin producing flowers again within a month.
Avoid overwatering your geraniums during recovery, as adding too much moisture can lead to further root rot. Instead, water only when the top inch of soil feels dry. If you notice leaf drop despite careful watering, check for signs of pests that may be inhibiting recovery.
Using fresh soil revitalizes aeration, restoring vital nutrients and balancing moisture levels. It’s crucial to ensure that the soil you’re using has excellent drainage properties, as dense soils can trap moisture and lead to future root problems. A good potting mixture will often incorporate components like perlite or coarse sand to improve drainage, essential for geraniums’ health. Expect to observe signs of recovery—such as improved leaf color and growth—within the first week of repotting. After a few days in fresh soil, check for new shoots appearing, as this indicates your plant’s revival from root rot.
A common mistake during recovery is overwatering the newly planted geraniums, believing they require a lot of moisture after repotting. However, allowing the plants to acclimate to their new soil without constant excess water helps them recover more effectively. If the top inch of soil feels dry to the touch after a week, it might be time to water again, but be cautious not to saturate the roots. Timing is vital; wait until the soil dries slightly to the touch before watering again, reducing the risk of reintroducing rot. If your environment is more humid, cut back on watering even further to prevent recurrence.
Step 4 – Water Geraniums Sparingly During Rainy Season
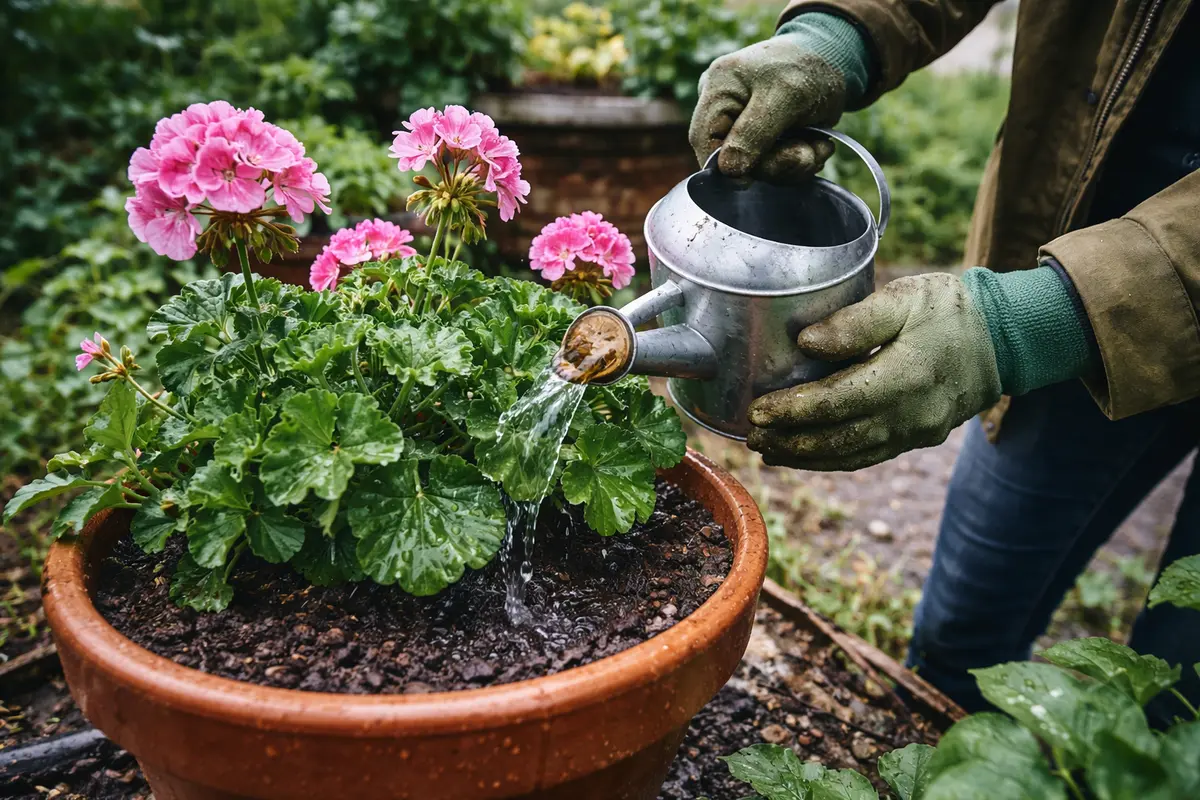
Start by ensuring your pots have drainage holes and use well-draining potting mix to prevent water accumulation. This action leads to healthier roots by allowing excess moisture to escape, reducing the likelihood of root rot.
Root rot occurs in geraniums primarily due to prolonged exposure to soggy soil conditions, which can happen in pots without sufficient drainage or using dense soil mixes. By implementing proper drainage and selecting a lightweight mix, you effectively mitigate these unfavorable conditions and encourage a drier, more aerated root environment. If you ever notice yellowing leaves while the soil remains wet, check your potting mix and drainage setup immediately.
In cooler months, adjust your watering routine by allowing the soil to dry out more between waterings, as lower temperatures slow down the plant’s growth and water uptake. Additionally, consider adding sand or perlite to your potting mix to enhance aeration and drainage during the rainy season, further safeguarding against root rot.
Excess moisture often results in root rot, so reducing the frequency of watering during wet seasons prevents situations where the soil becomes overly saturated. Maintain proper moisture levels by only watering when the top layer of soil feels dry to the touch, typically every 10-14 days during rainy months. If you notice that the top layer of soil remains wet for several days, it may be time to consider changing the pot to one with better drainage to support the growth of your geraniums. If there’s frequent moisture accumulation, drainage holes in your pots should remain unobstructed as this allows excess water to escape.
In areas prone to heavy rainfall, consider using pots elevated on stands or trays to enhance drainage, promoting airflow around the base of the plant. Furthermore, if you live in particularly humid conditions, it could be beneficial to diminish fertilizer application during the spring and summer months, as excess nutrients combined with moisture can exacerbate root rot conditions. Always remain adaptable and observant regarding seasonal weather changes, as this ensures your plants continue thriving through variable conditions. A well-placed fan can also assist in keeping humidity low around your geraniums.
Step 5 – Inspect Geranium Roots for Health After Replanting
Check the roots of your potted geraniums every 2-3 days for signs of new growth and potential distress. You should observe foliage visibly lifting, enhancing color, and firmness in the stems, indicating that recovery is underway. Regular inspection allows for early detection of issues that may arise again, perhaps from lingering moisture or pests that could hinder your plants’ recovery. Early signs of distress might include wilting leaves or soil that feels too wet, which means immediate action is needed to prevent further deterioration.
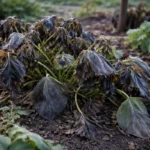
A well-recovered geranium will exhibit green, firm growth with leaves that appear vibrant and healthy. Early warning signs of returning rot may include discolored leaves, browning edges, or a weak stem, signaling compromised root health. Being proactive and attentive at this stage can lead to successful recovery before trouble escalates, emphasizing the importance of consistent monitoring to ensure the plants receive necessary support. If the foliage starts drooping despite proper care, this could indicate persistent rot or environmental stress, calling for immediate re-evaluation of care practices.
If you notice any signs of rot reappearing after following these steps, don’t hesitate to repeat the inspection process. Preliminary issues with excessive moisture can still occur despite diligent care, making it crucial to adjust your watering habits accordingly. For instance, if the soil pH appears imbalanced after a few weeks, it could lead to nutrient absorption issues, complicating recovery. Taking timely measures will prevent your geraniums from suffering irreversible damage or loss, solidifying your proactive approach to plant care. If you find your plants consistently showing signs of distress despite following these guidelines, it may be time to consult a gardening expert for tailored advice.
FAQ
How long does it take for geraniums to recover from root rot?
Recovery from root rot can take anywhere from a few weeks to a couple of months, primarily depending on the severity of the damage. In optimal conditions, you’ll notice initial improvements in as little as one week, with full recovery possibly extending over a month or more. Factors such as light exposure, humidity, and overall plant care practices play crucial roles in this recovery time.
Can root rot in geraniums spread to other plants?
Yes, root rot can spread to other plants if infected soil or contaminated tools are employed. Always sanitize any gardening tools after working with infected plants and discard affected soil promptly to minimize the transfer of harmful pathogens to your healthier plants. This practice is vital to protecting the overall health of your garden, as it can prevent widespread root rot issues that may occur within your growing area.
Should I remove all affected parts of geraniums right away?
Yes, effectively removing all visibly affected roots is crucial for maximizing the chances of saving the plant. Doing so limits the spread of rot; however, thoroughly assessing the entire root system is important to maintain a balanced approach — keep healthy roots intact for the best chance of recovery. If many roots are compromised but some remain healthy, focus on a careful repotting strategy that enables the live roots to thrive while addressing the rot concerns.