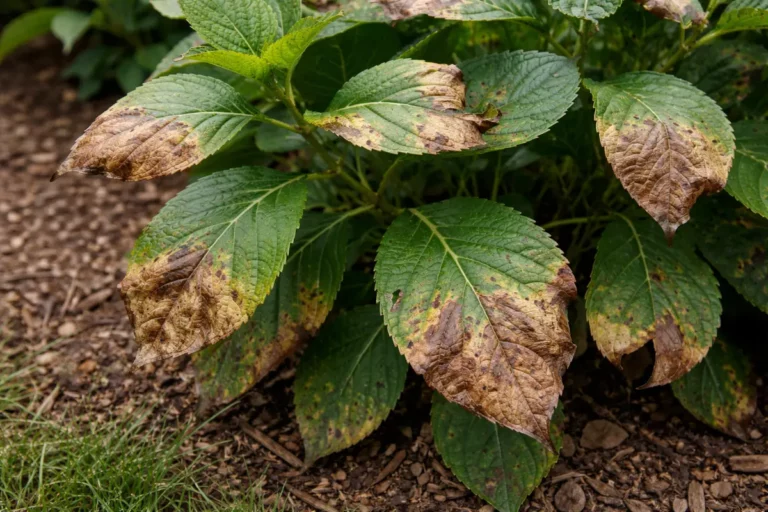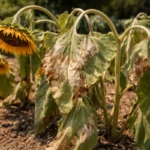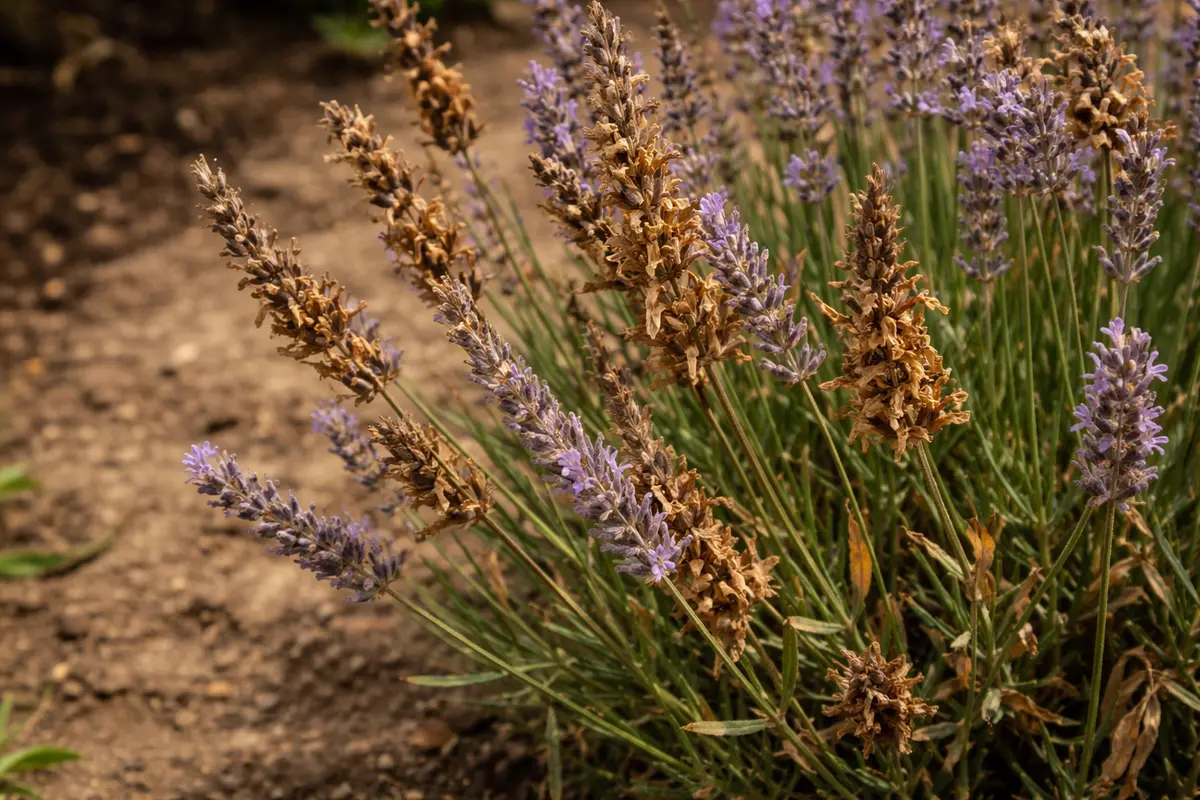
You may notice your once-vibrant lavender turning brown after a heatwave, which is why you need to know why is my lavender turning brown after heat exposure. This browning is often a sign of heat stress, leading to wilting and damage as the plant struggles to cope with excessive temperatures. If left unaddressed, the situation gets worse, weakening the plant and leading to more extensive damage, but you can still fix it by checking the soil moisture and adjusting your care routine.
Step 1 – Trim Brown Lavender Stems Immediately
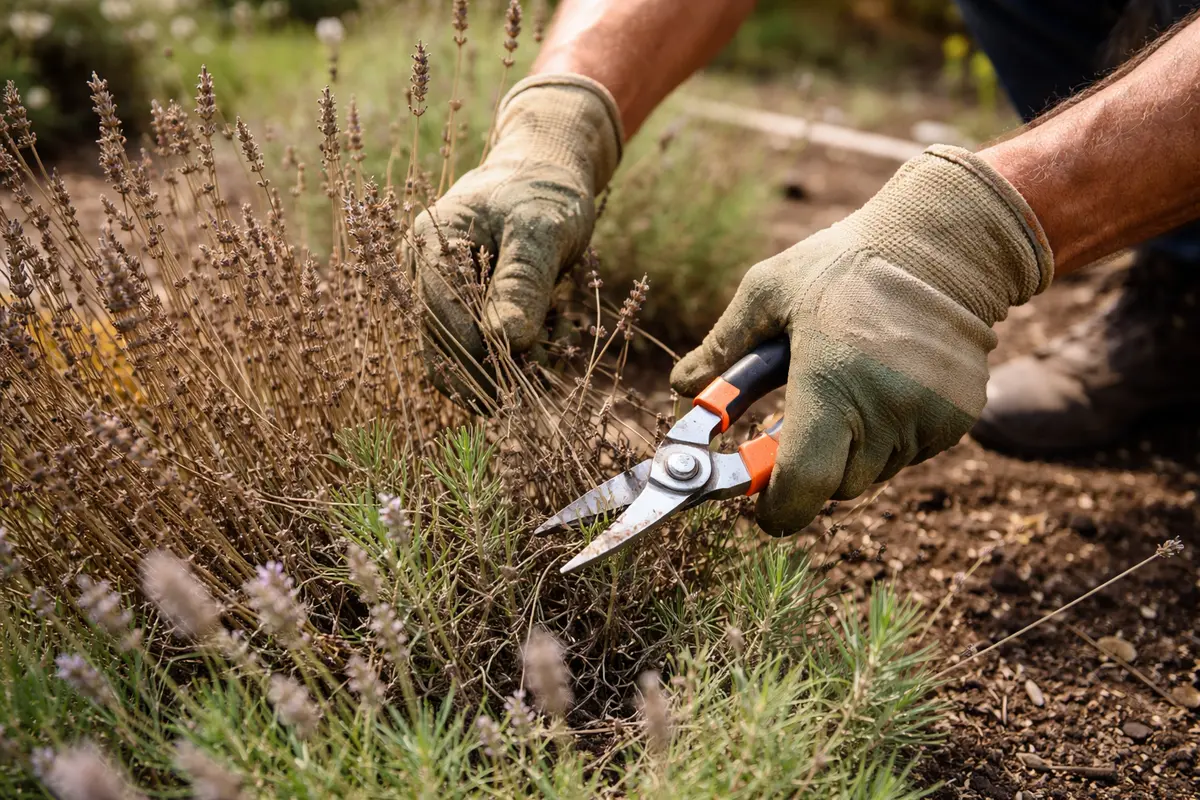
Start by trimming off any brown or dead stems on your lavender. You will see a more defined shape to the plant, with the healthy green foliage becoming more visible. Removing the dead stems encourages better airflow and sunlight penetration, helping the lavender recover more quickly. After trimming, the plant may appear more vibrant as the focus shifts to healthy growth. Take care not to remove too much foliage at once; ideally, remove no more than a third of the plant to prevent additional stress.
Acting fast is critical as dead stems can harbor disease and inhibit healthy growth. Lavender is particularly susceptible to root rot if it remains under stress for too long, which can lead to entire plants declining in health. If you let brown tips linger, they can spread damage to other parts of the plant, making recovery harder. If you notice a significant amount of browning, cut back to healthy green growth to promote recovery. Aim to trim to the nearest joint where you see healthy tissue, as cutting too low can leave the plant vulnerable to pests and disease.
A common mistake many gardeners make at this point is waiting too long before addressing the browning stems, thinking they will correct themselves. If browning is severe, take this opportunity to assess overall plant health, as other issues such as pests or poor soil quality may also be contributing factors. Not trimming promptly can result in a cascade of problems, making recovery much longer and harder. By promptly removing the dead portions, you create space for new green growth and minimize the risk of disease or damage spreading. Regularly inspect for any new browning during growing seasons; if you notice a consistent pattern, it’s an indicator of ongoing stress that requires further investigation.
Step 2 – Evaluate Heat Stress in Lavender
Check the soil moisture around your lavender plant to assess its hydration levels. If the soil feels dry several inches down, this indicates your lavender is experiencing drought stress and needs immediate watering. Conversely, if the soil is still moist, it may suggest heat stress due to high temperatures, rather than a lack of water. Identifying these differences is essential to effective recovery. Use your finger or a soil probe to gauge moisture levels accurately, and if possible, check multiple points around the root zone, as moisture can vary.
Understanding this is crucial, as lavender thrives in well-drained, dry conditions. If the roots are exposed to excessive wetness after a heatwave, they can begin to rot, compounding the browning symptoms you’ve observed. During your inspection, consider using a moisture meter for a more reliable reading, which can help you verify soil conditions without guesswork. This step also helps clarify if you’re dealing with dehydration or oversaturation. If you find the soil moist yet the leaves are wilted and brown, consider the possibility of root rot and adjust your watering strategy accordingly.
If the soil smells sour during your evaluation, it indicates root rot, and you should shift your focus toward reducing watering and ensuring drainage. On the other hand, if your hands come away dry and dusty after checking, it’s a clear sign that watering needs to occur immediately. Simple checks can save your lavender from additional stress and help direct your response effectively. A quick fix could include providing a deep soak to effectively reach the root zone, ensuring that moisture penetrates down to at least six inches as lavender prefers to access water from lower soil moisture levels. Watching for any surface cracking or shifting in the soil can also signal that the plant is under water stress; these are indicators to adjust your watering regimen to prevent further browning.
Step 3 – Use Fertilizer to Revive Brown Lavender
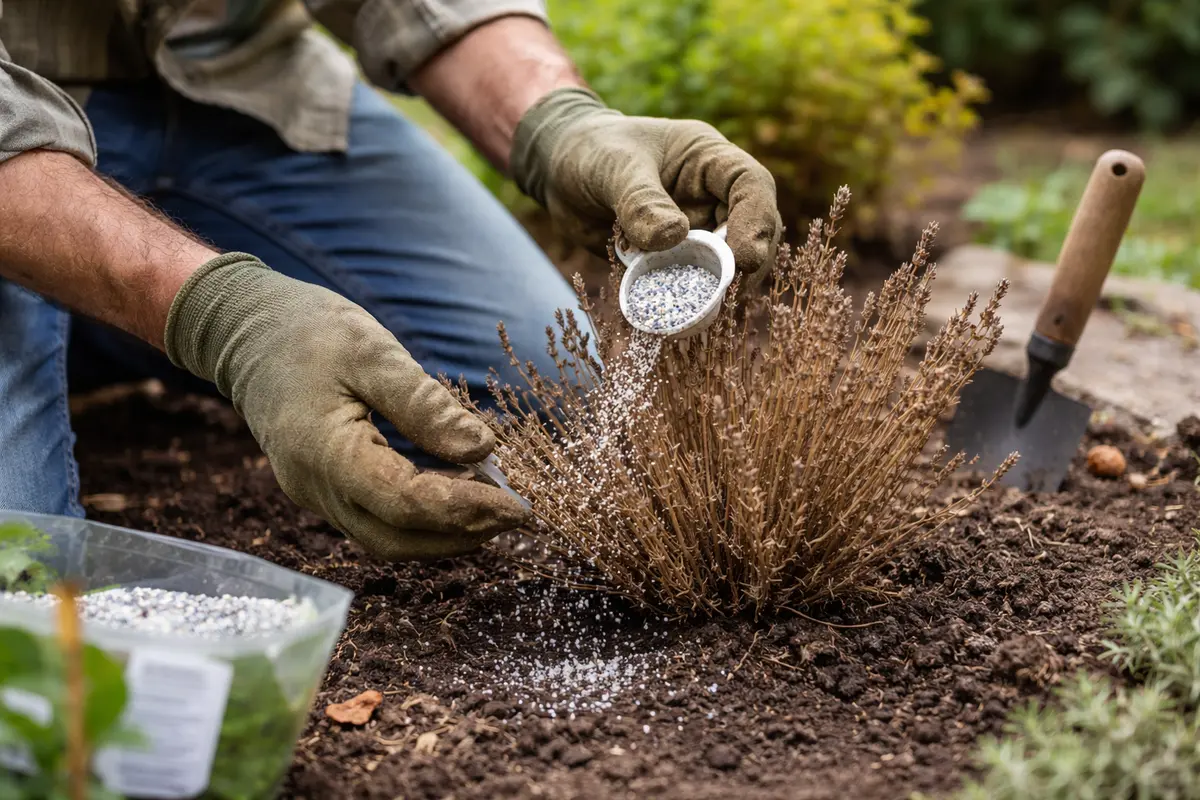
Apply a balanced fertilizer specifically formulated for flowering plants to boost recovery in your lavender. You should start seeing new green shoots within a week, signaling that the plant is responding positively to the nutrients. Fertilizer will help replenish depleted resources and encourage new growth. Opt for a slow-release formula to ensure nutrients are available over time, rather than flooding the roots with high concentrations abruptly. When applying, follow package guidelines carefully to avoid over-fertilizing.
Fertilization during recovery provides essential nutrients like nitrogen, phosphorus, and potassium, which are crucial for re-establishing healthy foliage. Monitor the growth closely; if you observe yellowing instead of dark lush green, it may be a sign of nutrient deficiency or imbalance, which can adjust your fertilization plan. An effective method to aid nutrient uptake is lightly mixing the fertilizer into the top inch of soil; this encourages better integration and availability for the roots. This approach capitalizes on both the current growth phase of the plant and its need to recover from previous stressors. Ideally, this helps the plant increase vigor and further resilience against future heat exposure.
A mistake to avoid at this stage is over-fertilization, as it can lead to nutrient burn, which exacerbates the browning issue. When the plant is recovering, patience is key; fertilizing too soon or in large quantities may result in weak growth, susceptible to future stressors, or even death if root health suffers. Instead of applying a full dose right away, feel free to reduce the recommended application by half initially and increase later if healthy growth does not materialize within the week. If you notice no improvement after a full month, consider switching to a different fertilizer to better suit the current needs of your plant based on the symptoms you’re observing.
Step 4 – Shield Lavender from Extreme Heat Next Season
Start by providing your lavender with consistent moisture during heat waves; water deeply at least twice a week. Implementing this watering schedule will help ensure your plants retain adequate hydration and prevent browning leaves as a result of heat stress.
High temperatures can result in soil moisture depletion and root stress, causing lavender to turn brown. Alongside your new watering routine, check for any signs of soil compaction that might inhibit water absorption; if the soil is hard and dry under the surface, adjust your watering technique to ensure moisture penetrates deeper.
During particularly hot summer months, increase your watering frequency to three times a week. If you notice your lavender still struggling despite this adjustment, re-evaluate your mulch layer to maintain moisture retention; an insufficient mulch layer may lead to quicker evaporation in extreme temperatures.
Excessive heat and insufficient moisture commonly trigger browning in lavender. When plants are subjected to high temperatures without adequate hydration, they can become stressed, leading to leaf scorch. By adopting a regular watering schedule, you restore moisture balance and mitigate stress—observable through vibrant, green leaves instead of browning. If your lavender has discolored despite watering, check for root rot, which indicates overwatering.
When the temperature rises during summer, increase your watering frequency while ensuring the soil drains well to avoid sitting water. Additionally, providing a layer of mulch can conserve moisture and protect the roots from severe heat fluctuations, giving your lavender a better chance during peak summer months.
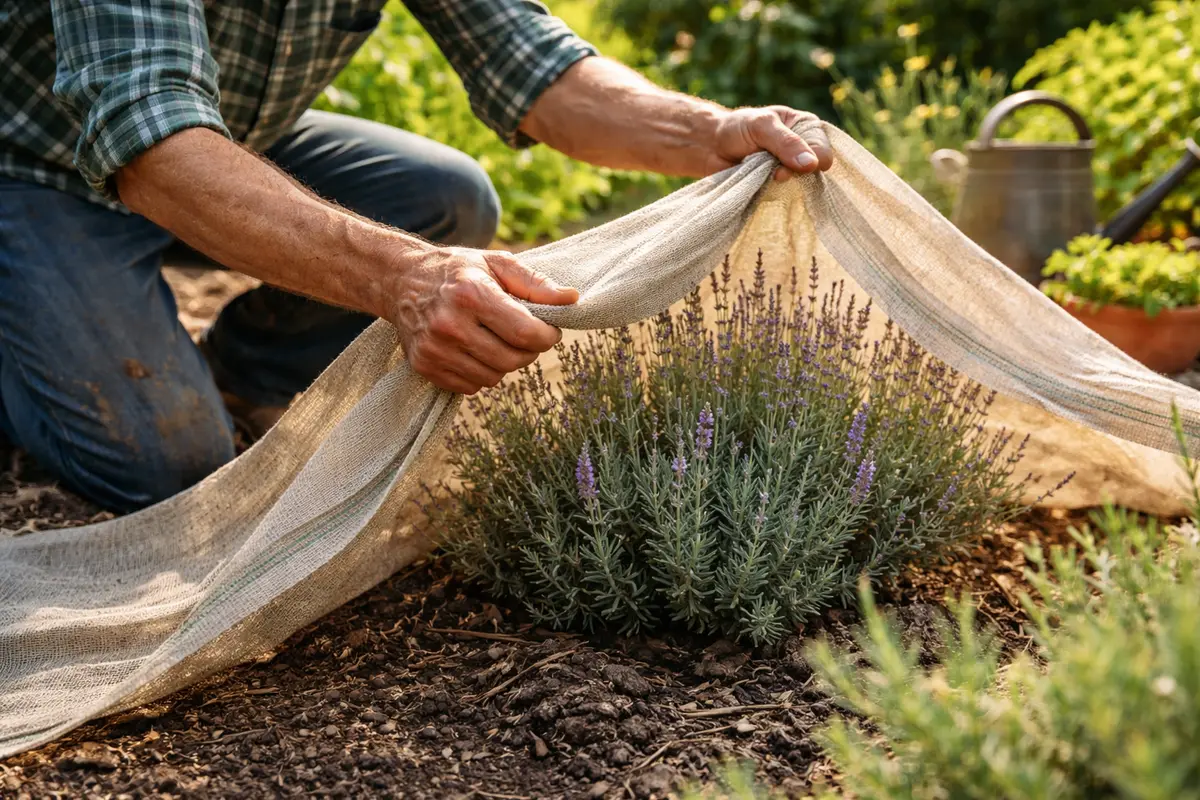
Avoiding prolonged periods of intense heat is essential to prevent recurrence of browning leaves. Lavender plants are adaptable but becomes prone to heat stress if temperatures exceed their optimal growing range significantly, particularly during dry periods. This often happens in containers where heat can build up faster due to lack of thermal insulation from surrounding soil. Therefore, using the right preventive measures can save you time and effort in trying to revive a stressed-out plant later. This includes strategically planting lavender in areas that receive partial shade during the hottest parts of the day or using companion plants that can provide additional shade.
As a seasonal update, check weather forecasts frequently during extreme heat warnings. Consider keeping a close eye on the temperature, and if heat spikes are expected, prepare to move your potted lavender into a more temperate spot or adjust your watering schedule accordingly. These strategies ensure your plants remain hydrated and protected throughout the summer months, reducing long-term damage. Additionally, installing a moisture retention layer of mulch around the base of the plants can help regulate soil temperature and moisture levels, making the plant less prone to stress. If you notice mulch decomposing quickly, replace it to maintain its effectiveness, ideally each season.
Step 5 – Inspect Lavender for Signs of New Growth
Inspect your lavender every couple of days for signs of new growth and overall plant recovery. You should observe fresh green leaves budding within a week after fertilization, indicating that the plant is on the mend. Continuous checks allow you to catch any early signs of returning issues before they exacerbate, such as unchecked browning or drooping. Use a camera or notebook to document your observations; this can help you understand what recovery looks like over time.
Healthy lavender will exhibit firm, vibrant leaves, and the browning should decrease in appearance as new growth emerges. If you’ve made adjustments to care, confirming results can provide feedback about those choices, reinforcing the overall health of the plants. Knowing what successful recovery looks like is important for ongoing plant care, making regular inspections a habit. If you don’t see any signs of improvement after several weeks, reassess all care practices, including light, water, and soil quality, to realign your care routine with the plant’s needs.
If you notice that despite taking these steps, browning returns, assess environmental factors such as watering frequency, light exposure, and soil drainage once more. It may be necessary to further amend care strategies or consider consulting professional advice if environmental conditions don’t align. Also, during your inspections, observe for any signs of pests, as some insects thrive under stress conditions and may require attention as part of the recovery plan. By being vigilant, you can ensure your lavender remains healthy and avoid future trauma. Recording your observations over time can aid in forming a more effective care strategy for subsequent seasons.
FAQ
Can lavender recover from heat exposure?
Yes, lavender can recover from heat exposure with prompt care. Providing adequate water, nutrients, and protective measures can lead to new growth typically within a week. Observational care and regular assessments will provide the best outcome.
How long will it take for lavender to show improvement?
You will see signs of improvement within 7 to 14 days after implementing corrective measures. This includes the emergence of new, green shoots and firm, healthy leaves. However, recovery time can vary based on initial plant health and environmental conditions.
Should I remove all brown stems from my lavender?
It’s best to remove the entirely brown stems, as these are dead and can inhibit new growth. However, leave any green or healthy stems to facilitate recovery processes in the plant. Careful assessment of browning will help guide your decisions on which stems to prune back.