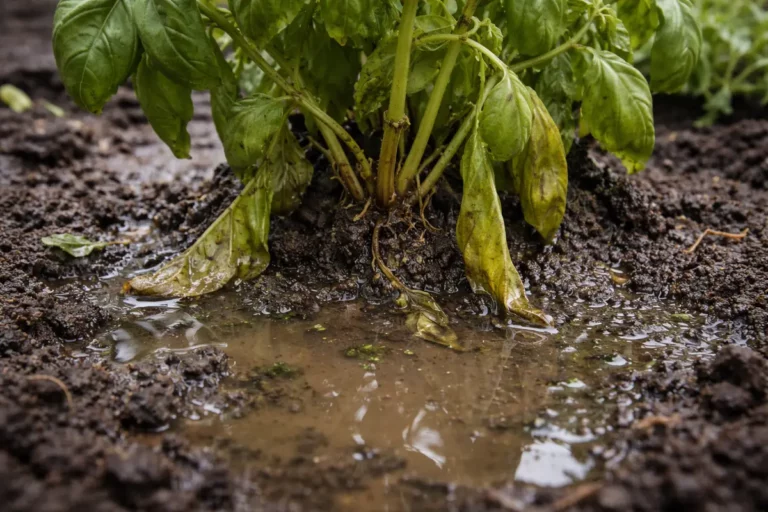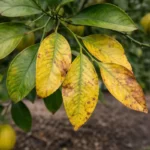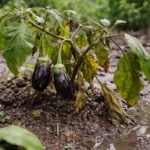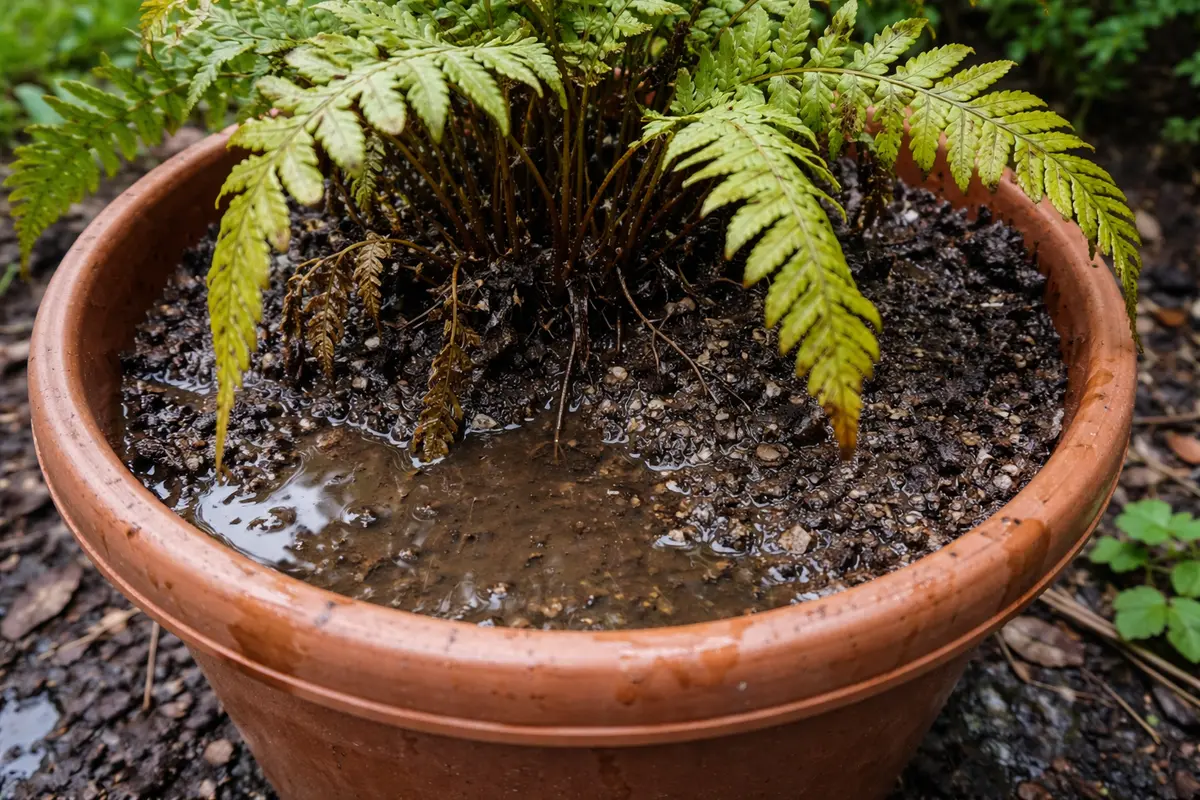
You may notice your potted ferns looking dull and droopy during overwatering, which is why you need to know how to stop root rot in potted ferns during overwatering. The fronds might show signs of yellowing or mushy spots, demonstrating that excess moisture has led to harmful root decay. If ignored, this issue worsens and can spread, ultimately weakening the plant, but you can still fix it by adjusting your watering schedule and inspecting the roots for damage.
Step 1 – Trim Overwatered Fern Leaves Immediately
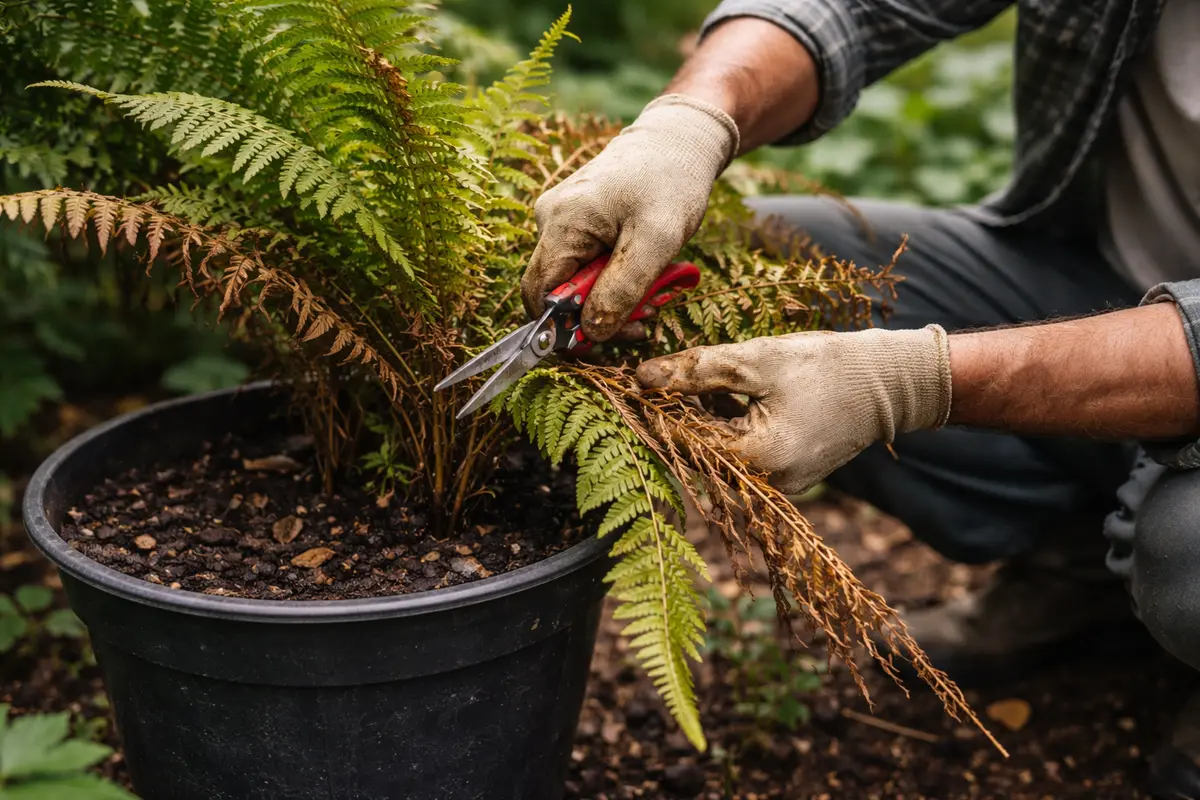
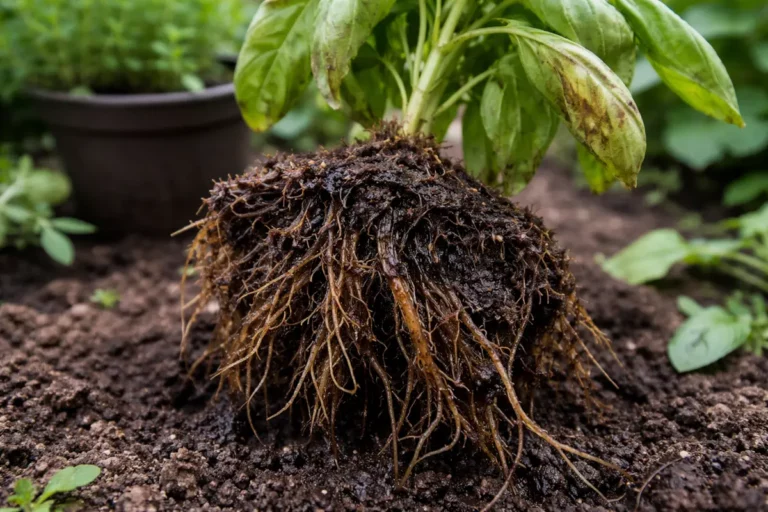
Start by cutting off any yellowing, wilted, or mushy leaves from the fern. This action immediately reduces the stress on the plant, allowing it to redirect energy toward healthier fronds and roots. Next, carefully inspect the root system by gently removing the fern from its pot; check for soft, discolored roots, which indicate rot. Healthy roots should feel firm and white, contrasting sharply with the dark and mushy texture of decaying roots. Pay attention to how many roots are damaged; a few affected roots can be manageable, but a majority indicates severe rot, which demands immediate attention.
If you notice a significant number of affected roots, make sure to trim those away as well, as damaged roots can inhibit proper nutrient absorption. Healthy roots often appear less saturated and crisp upon exposure to air, while rotten roots emit a rancid odor, signaling urgent action is needed. Acting quickly stabilizes the plant and prevents further deterioration, allowing the remaining foliage to recover more effectively. Additionally, if yellowing persists after this step, consider the type of soil; overly compacted soil can exacerbate root issues and may need replacement to restore proper drainage.
In many cases, gardeners notice physical changes, such as fronds perking up within a day or two after removing the damaged leaves and roots. This visible response indicates that the fern is beginning to stabilize. If not, check the remaining roots; they should feel more resilient after the bad parts are removed. A clear sign that there’s still an issue, like mushiness or a lingering bad smell, means additional action is necessary. If fronds do not improve within a few days, it could indicate the need for a more thorough intervention, such as complete repotting.
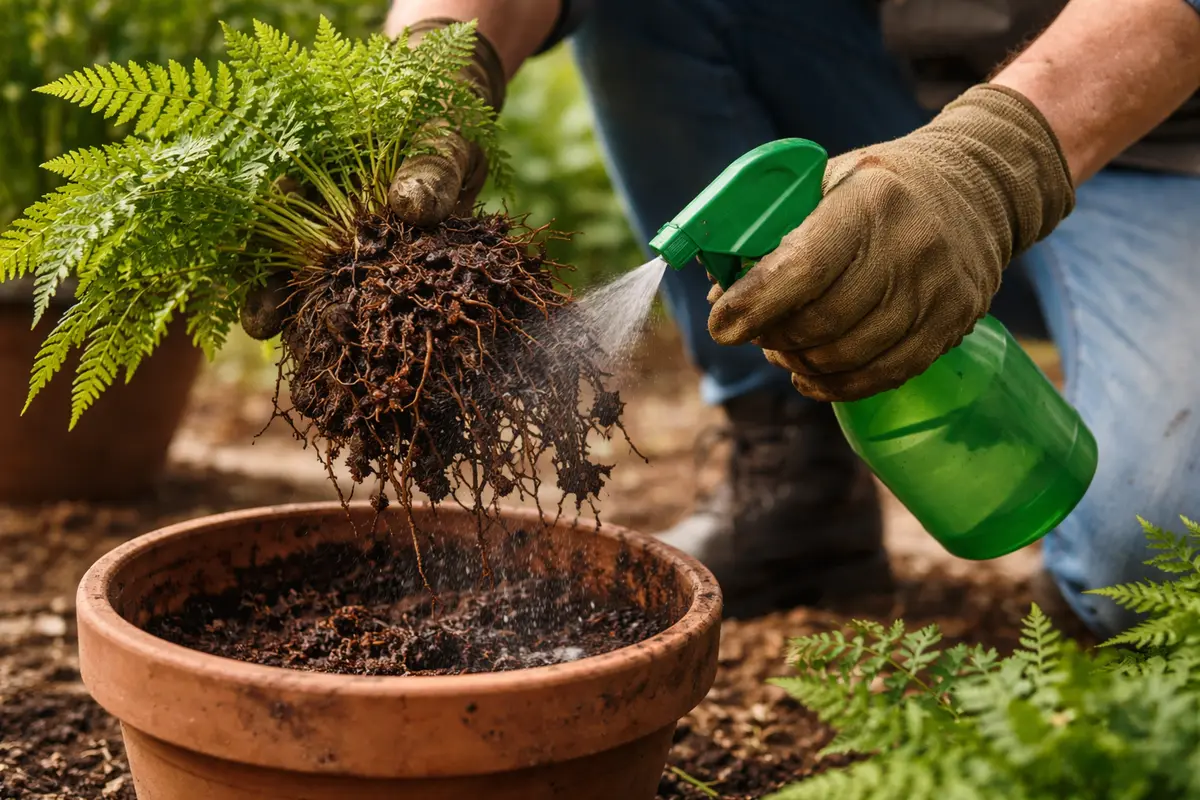
Step 2 – Assess Soil Compaction Around Fern Roots
Begin by inspecting the soil and roots for compaction by gently removing the fern from its pot. You will see whether the roots are tightly bound or if the soil appears dense and waterlogged. When the soil is compacted, it restricts airflow to the roots, leading to poor aeration and decay of the root tissues, which can be identified through a foul smell and visible rot. Healthy roots should feel firm and appear white rather than dark and mushy. If roots feel tightly bound, then immediate action is warranted to prevent further decline.
If you identify symptoms of compaction or deteriorating roots, correct the situation by repotting the fern in fresh, well-draining potting mix specifically formulated for ferns, often containing ingredients like peat moss and perlite. This action greatly enhances drainage and aeration. Ensure the new pot is wide enough to allow roots to spread comfortably; if the root ball is tight, gently loosen it before placing it in the new mix. Observe the potting mix to ensure it isn’t too heavy, as a mix that’s too compact prevents air from reaching the roots, a leading cause of further rot. Monitor the fronds for signs of recovery, such as new growth and improved coloration, over the next few weeks, noting that this can take time depending on initial conditions.
If the soil continues to feel heavy or retains water after replanting, check to ensure that the pot has sufficient drainage holes and that no water is pooling at the bottom. Water pooling indicates that the roots are not absorbing moisture adequately, prompting further degradation. Additionally, if the leaves exhibit yellowing with minimal growth even after correcting the water issues, it could signal that the roots are still bound or damaged, indicating that further examination or repotting may be necessary. Regularly assess the pot as time goes on; the signs of moisture without drainage can be subtle yet detrimental.
Step 3 – Treat Root Rot with Fungicide on Ferns
Apply a fungicide specifically designed for root rot to the affected areas and roots of your ferns. You will likely see improved conditions within a week as the remaining healthy roots start to recover and better absorb nutrients and moisture. Ensure to follow manufacturer instructions on the correct dosage and frequency to avoid overwhelming the plant. Accurate application is vital; too little could fail to combat the problem while too much can stress the plant further. Also, consider the environment: ensure ventilation is good during application.
Using a fungicide serves to eliminate harmful pathogens that thrive in overwatered conditions, which can lead to further root tissue breakdown. During treatment, ensure your ferns receive indirect light and are kept in a stable temperature zone to minimize stress, as fluctuating conditions can complicate recovery. Monitor the treatment area and assess whether any leaves begin yellowing; consider reducing watering to help prevent further substrate saturation. If new root growth emerges after a week post-application, consider this a positive indication that the plant is responding favorably to the fungicide.
A common mistake during this recovery phase is overcompensating with additional water or fertilizer, which can lead to further complications such as nutrient lockout or root burn. It’s essential only to apply the recommended dose and frequency of fungicide, observing leaves closely to ascertain if they’re responding positively. You might notice a return of color or upward growth, which can confirm that the treatment is successful. If no improvement is noticed after the recommended treatment period, consider changing the fungicide or consulting a professional, as persistent issues may signal deeper problems.
Step 4 – Water Ferns Sparingly After Overwatering
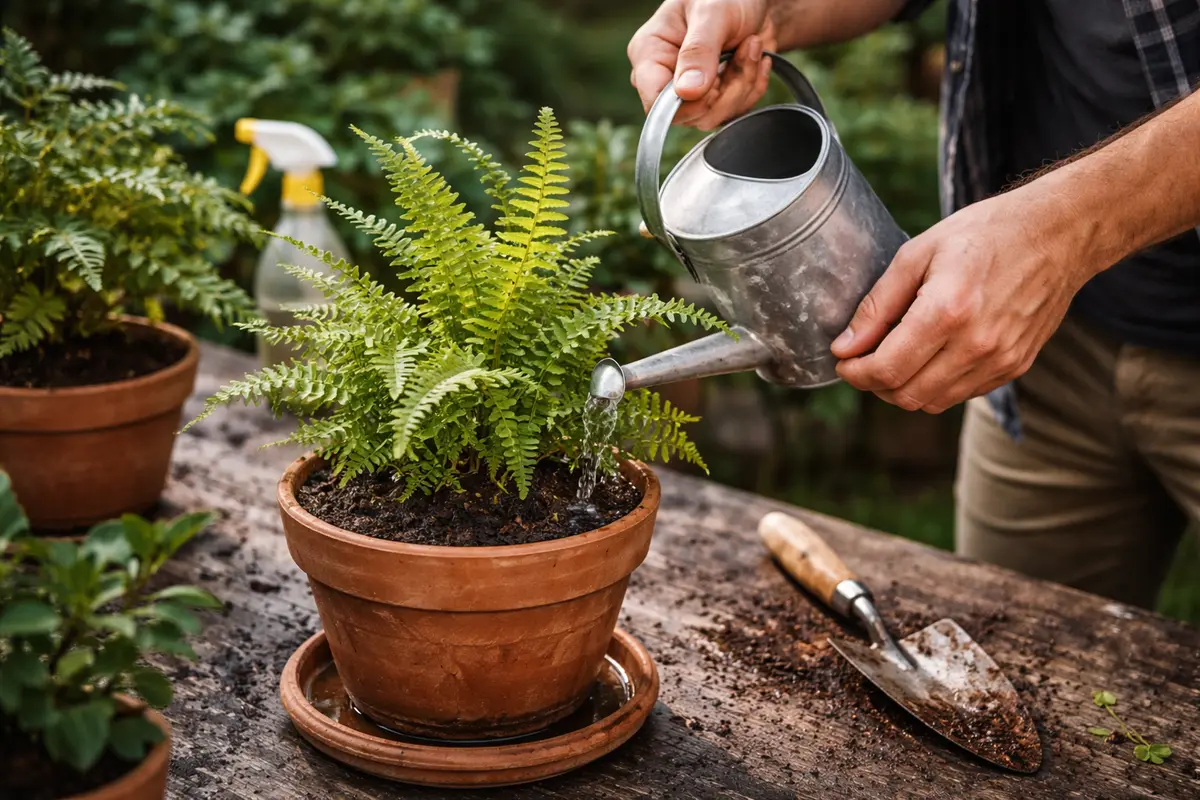
Water your ferns only when the top inch of soil feels dry to the touch to ensure you avoid overwatering in the future. This practice encourages better drainage and reduces the risk of root rot reestablishing. To reinforce this routine, check moisture levels every 3 to 5 days, extending the interval during cooler months when evaporation rates drop significantly. Establish a pattern; for instance, if you find the fern is indoors, consider watering every two weeks in winter and weekly in summer. Visual signs, such as leaves turning yellow or wilting, indicate when to reevaluate your watering frequency.
The pot should also not be left sitting in standing water, as this can lead to rot restarting; if you notice water pooling at the bottom of the pot, immediately drain it out to prevent root suffocation and decay. Make this a routine check; discard any old leaves that signal issues for the plant. Additionally, using a moisture meter can provide an objective reading of the soil moisture and help establish a solid baseline for your ferns if you find manual measurements challenging. Adjust your watering strategies based on these readings for optimal results in preventing overwatering.
Another key practice is to monitor rainfall if the ferns are outdoors; adjust watering accordingly to account for natural precipitation. If the foliage shows continued stress signs after making these adjustments, check for any obstructions in the drainage holes that might be preventing proper water flow. Having a proper moisture monitoring plan reduces the opportunity for further overwatering incidents, creating a healthier growth environment going forward. Consistency is critical in this phase; even small deviations can create major challenges.
Step 5 – Inspect Fern Soil Moisture Weekly for Improvement
Start by checking the soil moisture levels weekly. You should observe any improvements in leaf growth and overall plant condition during this monitoring phase. For the next few weeks, look for firmer foliage and new growth, such as fresh leaves emerging and unfurling, which indicate recovery. Feel the topsoil for moisture; if it feels dry to the touch, here is the right moment for a light watering. During this inspection, assess the leaf texture and color; vibrant hues suggest healthy conditions are returning, while drooping leaves may indicate further attention is needed.
During your inspections, check various depths of the soil, as dryness detected deeper can indicate that roots may still be struggling to receive adequate hydration. For practical checks, you can use a chopstick or stick to poke into the soil a couple of inches. Returning with dampness or a sour odor indicates further issues; if either of these arises, it may signal that your ferns are still at risk of deterioration. Stick to a fixed schedule for moisture checks; changing intervals could mask unseen problems. Over time, replacing a heavy potting media can be a beneficial action as part of this ongoing process.
Recheck the soil moisture after another week. If symptoms return despite consistent care, consider the need to repot the fern again in fresh soil, ensuring that lingering rot or issues are addressed thoroughly. If you continue to see signs of distress, ensure there are no blockages in the drainage holes again, as this is often a hidden culprit for recurring rot. Establishing a consistent monitoring schedule enables you to catch potential problems early, allowing your ferns to thrive without the compounding stress of root rot.
FAQ
How long does it take for ferns to recover from root rot?
Ferns can begin to show signs of recovery within a couple of weeks after addressing root rot if cared for correctly. Maintaining a stable moisture level and providing appropriate light conditions can accelerate this process. However, factors such as temperature and humidity can also influence recovery time; it may take up to several months for full recovery. If symptoms persist beyond a month, consider reevaluating care aspects or seeking further intervention.
Can root rot spread to other plants in the vicinity?
Yes, root rot can spread to other nearby plants if infected soil or water is shared among them. Even small droplets might transport pathogens. To effectively curb the risk, ensure to isolate affected pots and improve their conditions while observing neighboring plants for any signs of distress to address potential issues early. Implementing strict watering practices not only helps your fern but can contribute to healthier conditions for adjacent plants as well.
Should I remove the entire plant if root rot occurs?
In most cases, removing the entire plant is unnecessary unless it is severely compromised. Trimming the affected areas and treating with a fungicide can often save the fern, as long as healthy roots and foliage are remaining. This method ensures a possible pathway for recovery. If a substantial portion of the plant appears affected, repotting might also be necessary to give the plant a fresh start in better soil. Understanding when to intervene and what specific measures to implement can greatly influence the success of the recovery process.