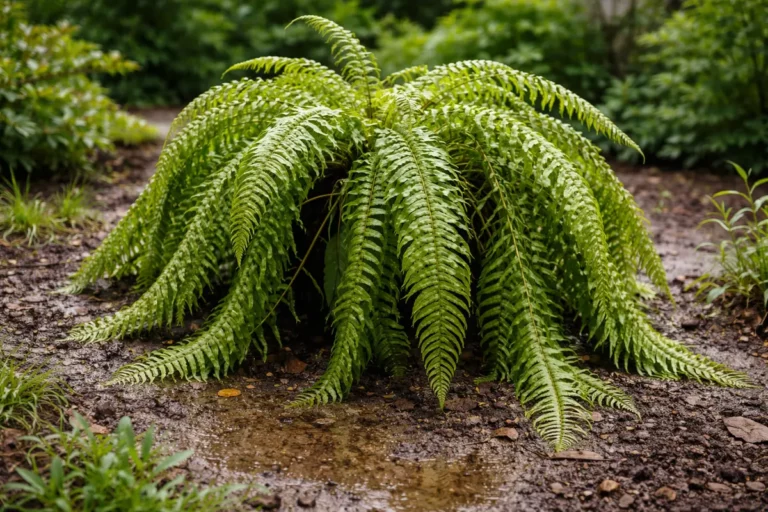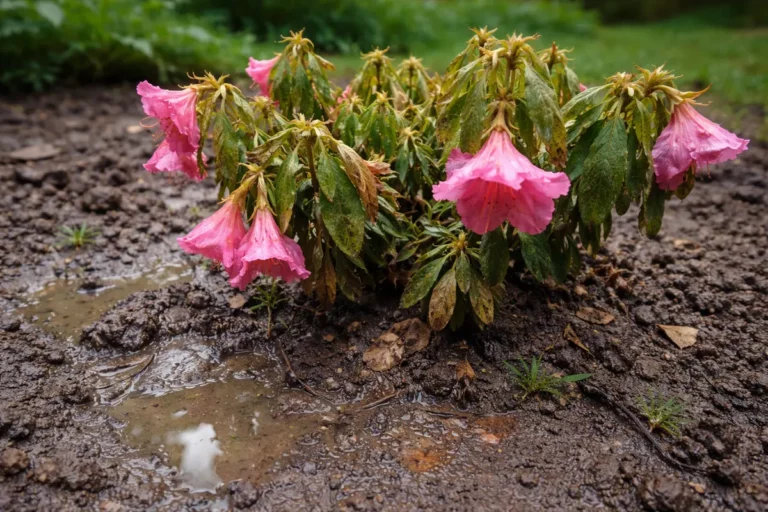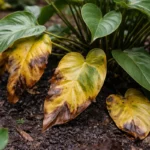
You may notice your geraniums drooping during high humidity, which is why you need to know how to fix drooping geraniums during high humidity. This wilting often occurs due to excess moisture in the air that prevents the plants from properly taking up water, leading to drooping leaves and stem damage. If ignored, this problem only gets worse, stalling growth and weakening the plant, but fixing it is possible now: you can adjust watering schedules or improve air circulation around the plants.
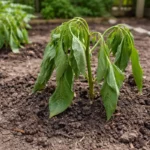
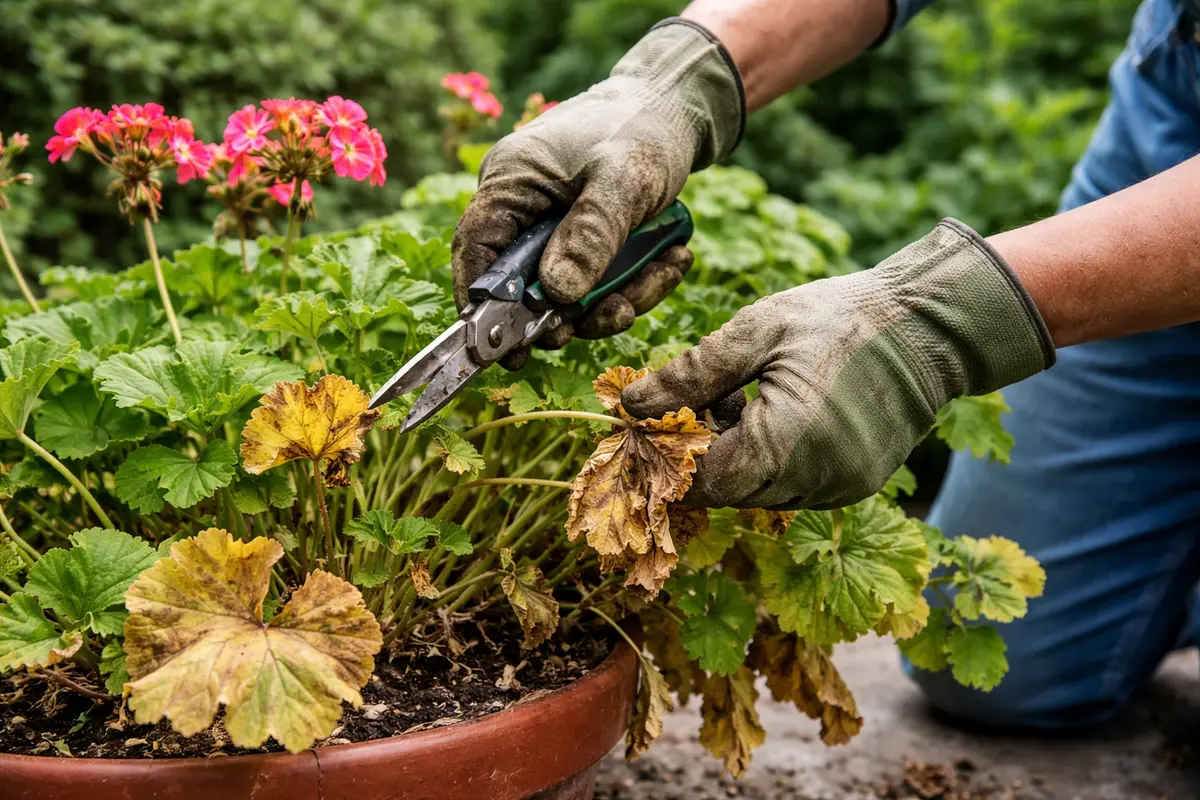
Step 1 – Trim Wilted Geranium Foliage Excessively Affected
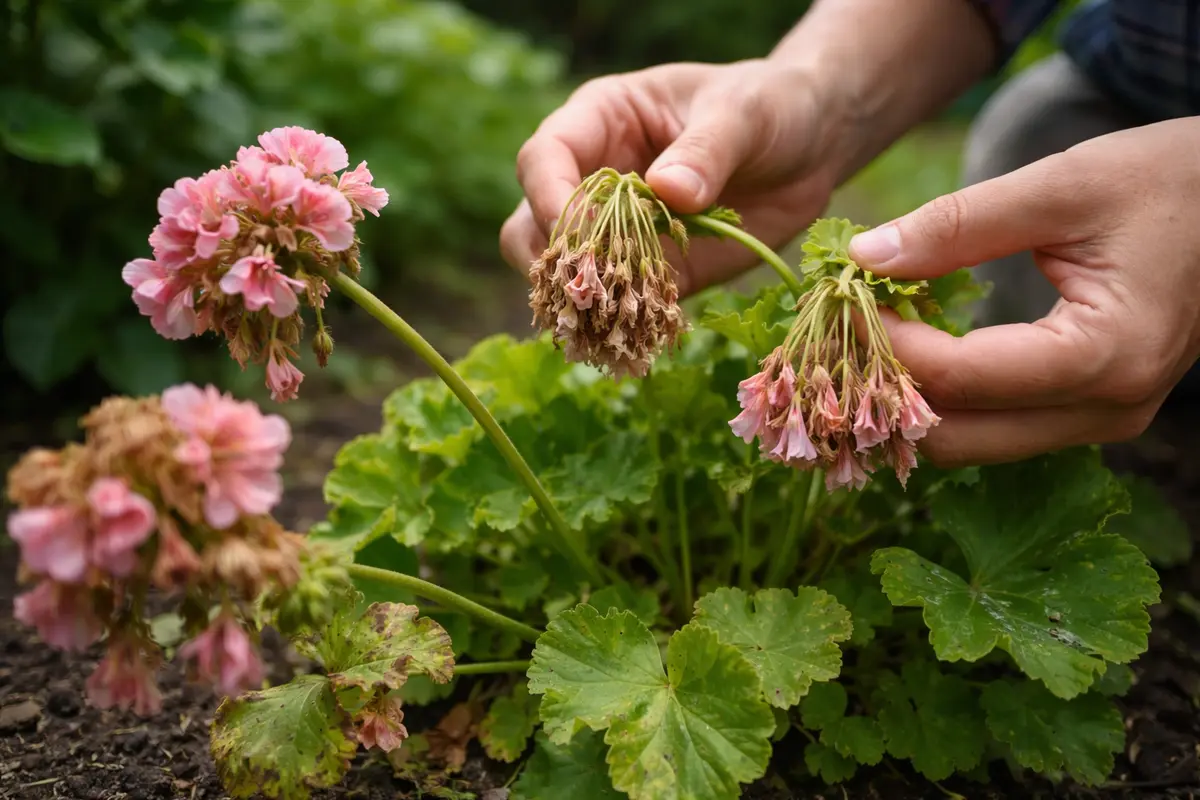
Start by removing any wilted or yellowing leaves from your geraniums to stop the problem from worsening. This action will lead to improved airflow and healthier leaves, which should begin to perk up within a few hours.
Additionally, inspect the soil moisture level—if the soil feels overly saturated, gently aerate it with a garden fork to enhance drainage. Quick action is essential because drooping geraniums can quickly succumb to root rot in high humidity, which prevents them from absorbing nutrients and water effectively. If left unaddressed, you’ll notice a marked contrast between the recovery of trimmed plants and the lingering droopiness of those that continue to deteriorate.
A common pitfall for gardeners is to overlook the initial signs of wilting, assuming the plants will naturally recover. Take a cue from a neighbor who delayed intervention, resulting in severe decline that required total replanting instead of simple leaf removal and soil improvement. If you notice that the drooping worsens rather than improving after your initial actions, recheck the soil moisture; it may require further aeration or a transition to a more breathable potting mix.
Taking decisive steps promptly can help the geranium regain strength before the roots begin to rot from prolonged saturation. If the leaves remain limp and yellow days after your intervention, this could indicate advanced damage, thus compromising the health of the entire plant. Swift action is critical; failure to correct the issue may result in continual decline and eventual loss of the plant.
For instance, a gardener who delayed too long to address drooping leaves found that while some plants responded well to timely intervention, others failed to recover completely due to root disease. When facing drooping leaves with dry soil, don’t dismiss possible pest activities, which could adversely affect your plant’s health.
By trimming the affected parts, you prevent the plant from wasting resources on sections that cannot recuperate. While performing the trim, look closely at the inner foliage—discolored leaves that still cling on often show early signs of distress as they compete for essential nutrients. Removing these can lead to quicker recovery as the plant reallocates its resources. If you observe that your cuts turn brown shortly after, it could indicate that you have over-trimmed; this emphasizes the importance of careful selection when deciding which leaves to remove. If done correctly, you might witness a visible improvement in the remaining leaves within just a few hours as the plant channels its energy into healthier growth.
Remember, timing is crucial during this process; if wilting progresses to stem rot, the plant’s recovery will be significantly hindered. A frequent mistake is trimming too few leaves—aim to remove at least 30% of the distressed foliage to stimulate regeneration effectively. For example, cutting only a few outer leaves while leaving discolored ones in the center may jeopardize overall recovery. After completing your trimming, closely monitor the remaining leaves; they should perk up within hours, signaling a restoration of energy. If persistent limpness occurs even after trimming, consider a second round of cuts to reassess the plant’s health. Watch for the signs that foliage is returning to normal; vibrant green leaves, new healthy growth, and the absence of limpness are all indicators of recovery. Should the plant begin producing colorful new shoots, that is a clear indication of successful recuperation.
Step 2 – Assess Air Circulation Issues Around Geraniums
Check the surrounding air circulation around your geraniums to ensure adequate airflow. You will see noticeably firmer leaves and reduced humidity if proper airflow is established. The cause of drooping can often be traced to insufficient air circulation, which leads to moisture accumulation on the leaves, fostering conditions that may increase fungal growth and wilting.
This happens because blocked air circulation creates a moisture-trapping environment that can suffocate roots and exacerbate drooping. To counter this, you should trim or relocate any nearby plants obstructing airflow or rearrange your garden layout to improve circulation. Ensuring that pots are spaced a few inches apart can also allow moisture to dissipate more effectively. Aim for at least 6-12 inches of space between plants, depending on their size, to foster healthy airflow. If airflow remains limited despite these adjustments, consider using small, battery-operated fans to provide vital ventilation, especially when positioned near the plants.
If your geraniums are too crowded, it is essential to relocate them to ensure they have ample space to breathe. Avoid placing plants in dimly lit corners; instead, expose them to bright light to help dry moist leaves quickly and promote overall health. Interestingly, many gardeners overlook the importance of air circulation when addressing drooping; even slightly moving plants closer to a window can yield visible improvements within a single day. If you continue to see signs of drooping or discolored leaves despite making adjustments, double-check for lingering dampness around the roots, which may indicate a persistent airflow issue requiring further attention. Additionally, monitor the time of day when humidity spikes, as air can stagnate overnight; assessing airflow adjustments at dawn may reveal greater differences.
Step 3 – Implement Hydration Techniques for Drooping Geraniums
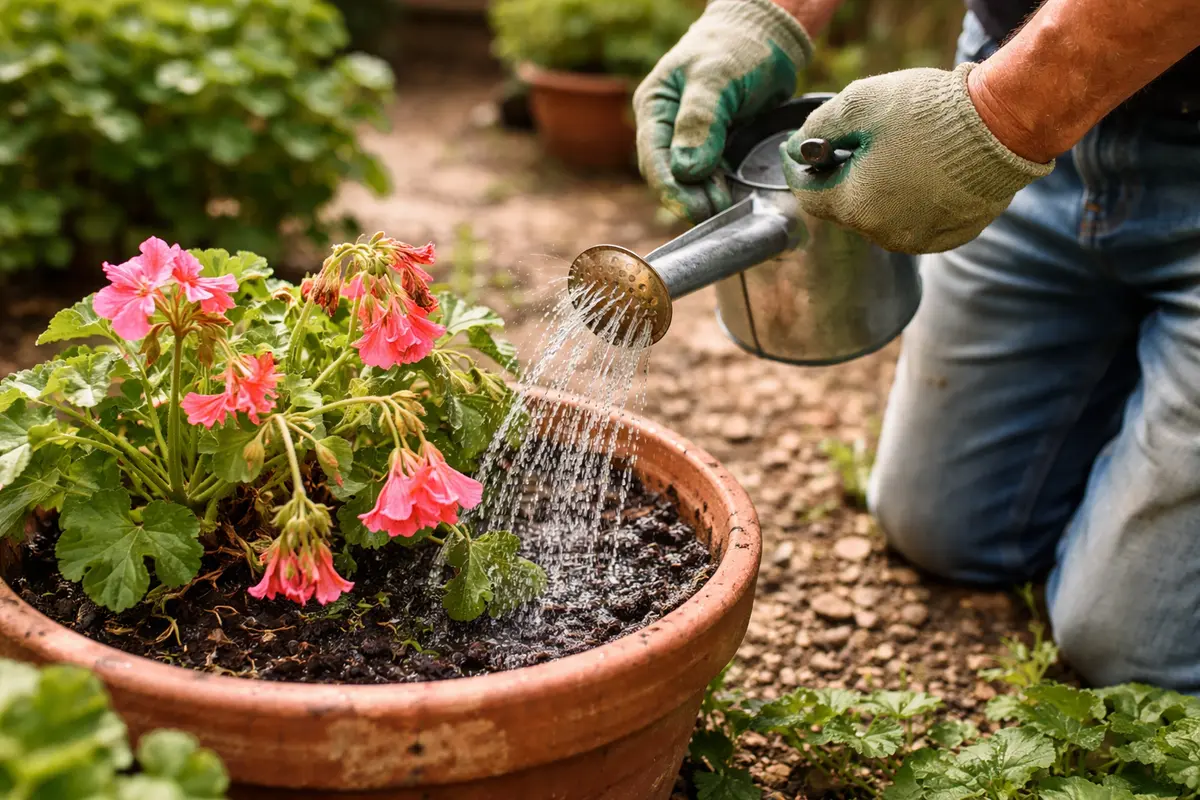
Start by monitoring your geraniums closely and adjusting your watering techniques. You should notice an improvement in leaf firmness and vibrant color as the plants recover. Recovery begins when you only water the geraniums when the top inch of soil feels dry to the touch, allowing the roots to breathe and uptake nutrients more effectively. Avoid overly moist soil, which can hinder root growth and exacerbate drooping.
To prevent future drooping, establish a consistent hydration routine based on your specific environmental conditions. Ideally, check the moisture by feeling the weight of the pot; a lighter pot often indicates it’s time for a soak. Ensure that the soil is allowed to dry adequately between waterings, which fosters better nutrient absorption and prevents the risk of root rot. A helpful timing trigger is to check soil moisture every few days, adjusting your watering frequency based on the conditions instead of adhering to a rigid schedule.
During recovery, be cautious not to overwater too soon, as this can stall improvement and lead to further issues. If your geraniums experience a reoccurrence of drooping after a watering session, insert your finger three inches into the soil; if it feels wet, hold off on additional watering. Remember, older and more established plants may have more extensive root systems that retain moisture differently than younger ones. If hydrating consistently doesn’t yield positive results, check your potting mix; a blend with perlite or sand can enhance drainage, especially for pots prone to retaining excess moisture.
Step 4 – Check Geranium Leaves for Recovery Signs Weekly
Start by monitoring your geraniums closely for signs of recovery. Check the leaves daily, looking for increased turgor and any return to a firm texture, which indicates improved hydration. Recheck every few days to observe whether drooping has subsided; if it persists into the next week, act swiftly.
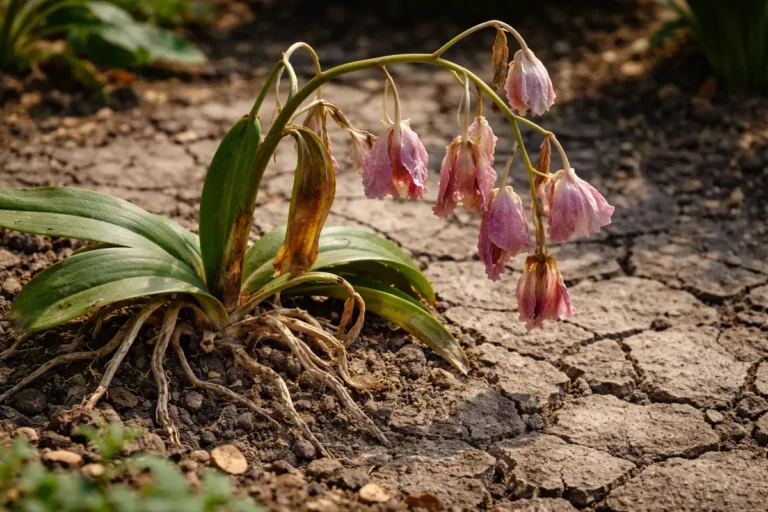
A fully recovered geranium will display upright, vibrant leaves with a waxy sheen, signaling adequate moisture levels. In contrast, if you start noticing a dull appearance or a slight limpness in the stems, this may suggest the problem is returning. If not firm and lush → check the soil moisture levels to ensure it isn’t overly dry.
If drooping resumes despite your care, remove any visibly wilted or affected leaves to prevent further stress on the plant. Additionally, consider relocating your geraniums to a shadier spot for relief from excessive humidity or directly addressing potential root rot by inspecting the roots and repotting if necessary.
A fully recovered geranium displays vibrant, upright leaves with a glossy texture, contrasting sharply with the earlier droopiness and dull, shriveled appearance. As the plant thrives, the flowers will bloom and stand tall instead of drooping under moisture stress, signaling a return to health. If the leaves start to curl again or develop a mushy feel, further adjustments are necessary.
If the drooping returns despite proper care, consider reducing humidity around the plants by increasing airflow or relocating them to a less humid area. If the situation persists, apply a diluted fungicide to prevent rot or consult a local nursery for targeted advice based on your specific climate conditions.
A fully recovered geranium will showcase vibrant, healthy leaves without any signs of wilting or discoloration. If any residual drooping or discoloration is noted, the plant may still be under stress, indicating an urgent need for further care or adjustment. Although complete recovery generally involves a noticeable increase in growth, any returning droop should prompt an immediate re-evaluation of care practices. For instance, if a leaf begins browning or shriveling again, closely re-examine both your watering and airflow strategies, as unexpected spikes in humidity due to seasonal changes or inadvertent indoor conditions could contribute to drooping. Members of your local gardening community can often provide insights based on experiences that may help you avoid common pitfalls.
If the drooping persists despite your efforts and adjustments, consult a local nursery or gardening expert regarding the potential presence of fungal infections or other distress issues that could negatively affect your plants. It’s essential to act promptly; if you suspect root rot, gently inspect the root system for any darkened or mushy areas. Stay vigilant and be prepared to act quickly if symptoms return; increasing circulation or changing your watering schedule may be warranted. Should you determine that recovery has not materialized over several weeks despite dedicated care, an in-depth reevaluation might be necessary to diagnose any underlying problems effectively. For geraniums in particularly humid areas, consider shifting your care techniques based on seasonal variations.
FAQ
How long does it take for geraniums to recover after trimming?
Typically, you can expect improvements to be visible within a few hours after trimming, particularly in leaf firmness; however, more significant recovery signs may take one to two weeks as the plant redirects its energy into healthy growth. If environmental circumstances remain unfavorable or the plant was significantly stressed prior to trimming, recovery timelines could extend further. Therefore, continuously observing your adjustments closely is essential for optimal recovery, as well as maintaining a steady watering regimen without excess moisture.
Can drooping geraniums recover from root rot?
Drooping geraniums can recover from root rot, but it often requires careful removal of the affected roots and repotting the plant in well-draining soil to prevent recurrence. Recovery can take several weeks depending on the severity of the damage; however, early intervention is crucial. If you catch signs early and perform the necessary repotting and adjust conditions promptly, you can mitigate most of the damage caused by excessive moisture, making it crucial to monitor the situation even after recovery begins.
Should I remove all the affected leaves from my geraniums?
Yes, it’s advisable to remove all affected leaves to conserve energy and promote healthy growth. Trimming wilting leaves encourages your geranium to allocate resources toward rejuvenating the healthier sections. This practice not only enhances airflow, thus aiding in preventing moisture-related problems, but also halts any potential disease spread that could stem from decaying leaf material left on the plant. Neglecting to do so can create a breeding ground for pests, signaling a greater risk for widespread damage.