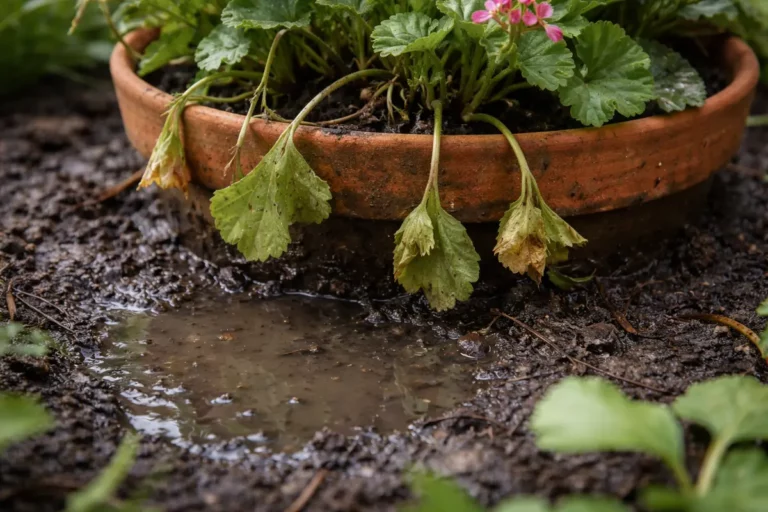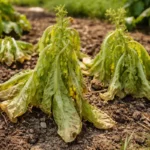
You may notice your radish plants drooping and developing mushy spots on their roots, especially during the recent heavy rainfall, which is why you need to know how to stop root rot in radish after overwatering. This damage occurs when the roots sit in soggy soil, leading to a decline in their health. If left untreated, the problem gets worse and can spread, weakening the plant and ultimately stalling its growth, but fixing it is possible now if you check the soil moisture and reduce watering accordingly.
Step 1 – Prune Damaged Radish Leaves Immediately
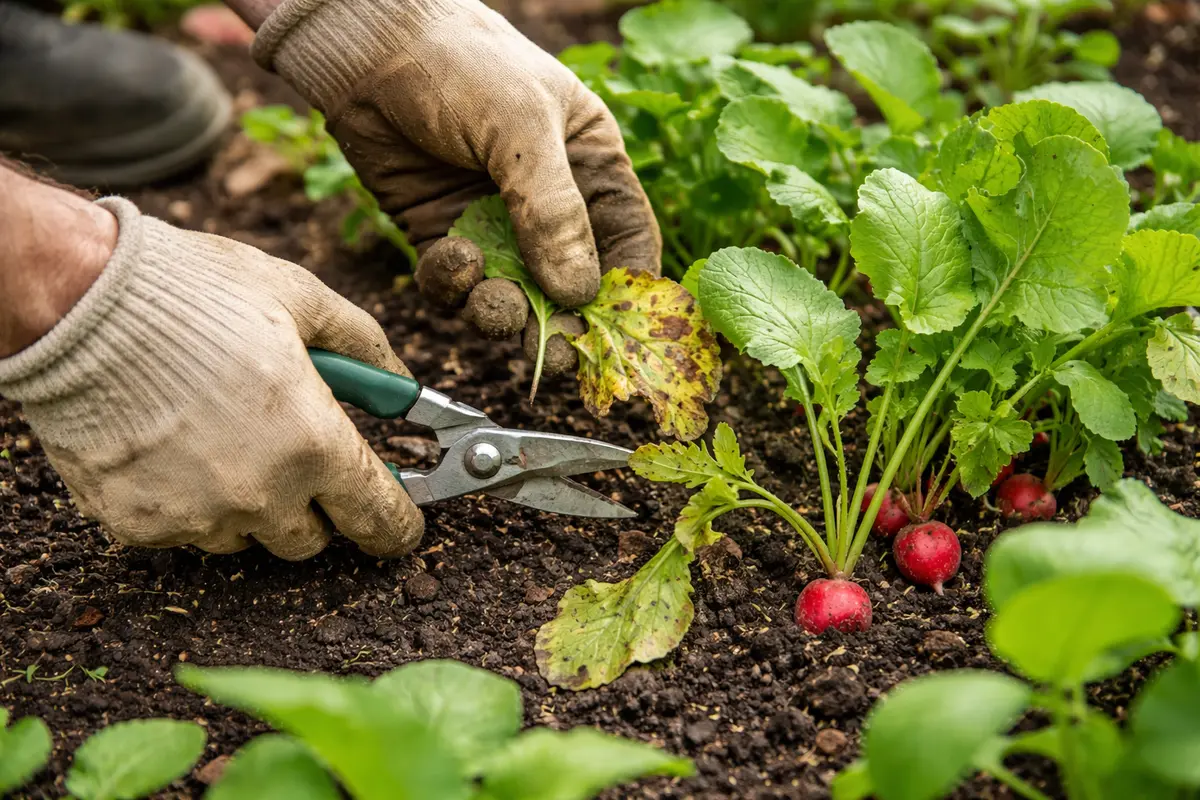
Start by removing any yellowing or wilting leaves on your radish plants. You should notice the overall appearance of your plant improving immediately, as this prevents further energy loss and reduces stress on the remaining healthy leaves. It’s essential to conduct this pruning as soon as symptoms appear to minimize the adverse effects on the plant. Timing is critical; pruning should be done within 24 hours of noticing the first signs of yellowing. Aim to remove at least a third of the affected foliage to compensate for the loss of energy from decaying leaves while preserving enough green tissue for recovery.
Pruning the affected leaves allows the plant to redirect its energy to healthier parts, fostering faster recovery. Over time, unpruned unhealthy leaves continue to drain both water and nutrients from the plant, making it more susceptible to further rot and disease. If you delay this action, yellowing leaves may further weaken the plant, leading to decreased growth and overall health. You should see healthier leaves emerging within a week; if after 7 days there’s no improvement, further intervention may be necessary, as this can indicate deeper issues like severe root damage.
A common mistake during this stage is delaying pruning or simply ignoring yellowing leaves, thinking they will recover on their own. Each hour that rotting tissue remains can lead to increased stress in the roots and worsen overall health. For future reference, immediately address any signs of discoloration or drooping, as quick intervention is crucial to stopping further damage. Monitor leaves daily; if conditions worsen again, additional pruning may become necessary to avert further spread of rot. This approach also creates an opportunity to inspect for pests that might contribute to leaf damage, ensuring that any underlying issues are addressed as part of your overall care routine.
Step 2 – Diagnose Overwatering in Radish Roots
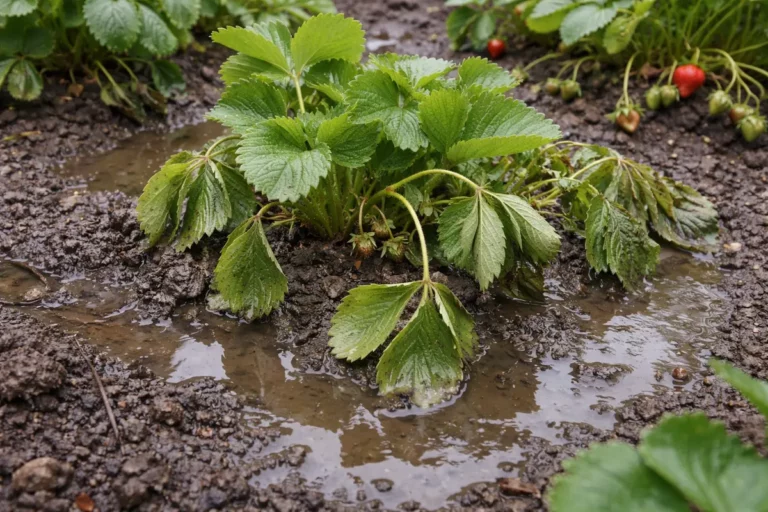
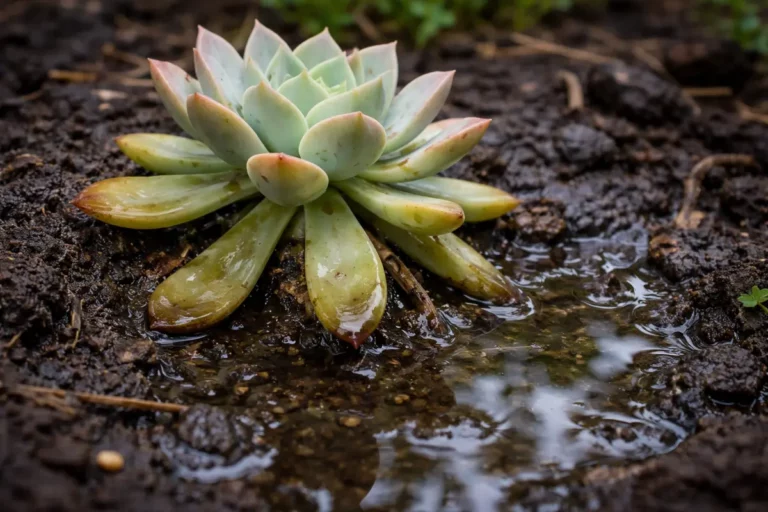
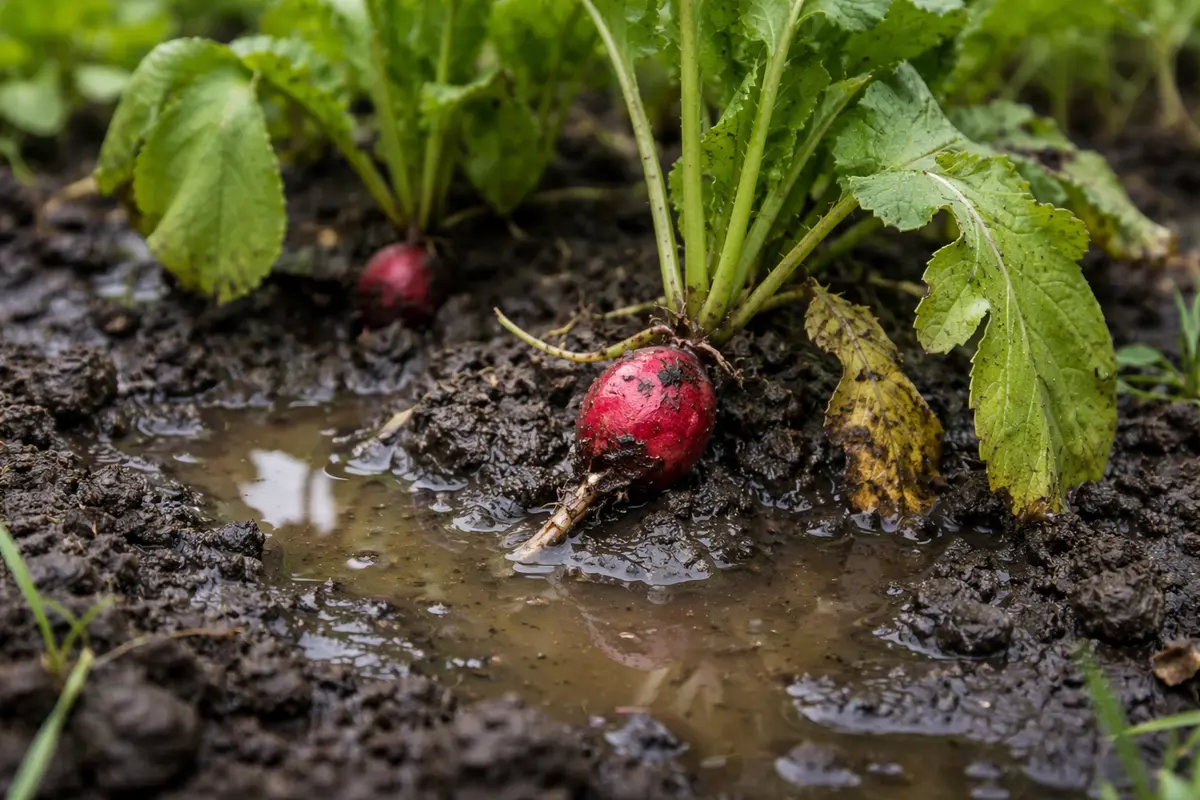
Dig into the soil around the base of your radish plants to check for excess moisture. You will feel the soil’s texture and smell; if the soil is consistently soggy or emits a sour odor, it is critical to address this quickly. Inspecting the root area allows you to confirm whether plants are suffering from root rot or other issues, such as nutrient deficiencies caused by poor drainage. If you see a pasty soil layer clinging to your hands during this inspection, it confirms that excessive moisture is likely present. In more severe cases, you may observe blackened or decaying roots when gently teasing apart the soil.
Overwatering leads to waterlogged soil, which deprives the roots of oxygen and encourages root rot. If the roots are unable to take in air and nutrients due to saturation, the plant displays symptoms like wilting, yellowing leaves, and decreased growth. Understanding this connection is vital for diagnosing the root cause effectively. Healthy roots will have a crisp appearance, while rotting roots may appear dark, mushy, and may often emit a foul odor. This stark contrast signifies that immediate action is required.
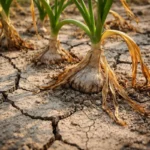
If the soil smells sour and feels dark and moist, replace it with dryer, fresh soil to improve root conditions. Make sure to gently separate the healthy roots from any remaining rotting material during this replacement to prevent cross-contamination. Should the soil appear dry yet roots look unhealthy, your issue may stem from underwatering instead, requiring a different treatment approach. For example, if you find the roots to be brittle but the soil dry, you should adjust your watering schedule accordingly. Always assess the condition of the roots in relation to soil moisture to guide your next steps and help avoid misdiagnosing the problem. Use your fingers to feel the soil about an inch deep; if it feels dry at this level, consider watering lightly but only after confirming that no overwatering occurs.
Step 3 – Waterless Recovery for Affected Radishes
Stop watering the radishes entirely for the next few days to let the soil dry out thoroughly. Within 48 hours, you should start to see signs of your radishes stabilizing with the remaining leaves firming up, rather than wilting further. During this period, monitor the surface moisture closely; if it feels damp, continue withholding water until the soil reaches a dry state. The moment you detect dry, crumbly soil at the top, you can consider this phase successful. If you note persistent moisture underneath, further adjustments to your watering routine may be essential later.
Allowing the soil to dry gives the radish roots a chance to recover from root rot and regain their ability to absorb moisture efficiently. This drying out phase is critical; even minor moisture levels can cause further damage if allowed to persist. Persistent dampness not only perpetuates root rot but can also introduce disease pathogens into the soil, complicating recovery efforts. Aim to achieve soil moisture levels that feel similar to a wrung-out sponge — moist but not dripping — before resuming any watering.
However, many gardeners mistakenly assume their radishes need constant moisture to recover, leading them to continue watering despite signs of rot. This often makes things worse, as excess water can quickly undermine efforts to halt the rot. Resist the temptation to resume regular watering until the situation stabilizes; like fire, you must eliminate all remnants of moisture to successfully stop the damage from progressing. Only when the leaves are perking up and the soil feels appropriately dry should you consider gradually reintegrating water into your care routine. If, after a week, you still observe signs of rot or wilting, consider applying a fungicide to address any lingering pathogens in the soil.
Step 4 – Avoid Overwatering to Prevent Root Rot
Start by ensuring that your radishes are planted in well-draining soil; add organic matter like compost to enhance drainage and promote aeration. Doing this should visibly reduce the risk of root rot, allowing your radishes to thrive without the symptoms of overwatering affecting their growth. A good ratio is about one part compost to two parts soil to encourage healthy structure and nutrient availability.
Frequent overwatering typically leads to saturated soil, which creates the perfect environment for pathogens like Pythium and Phytophthora to thrive. By reinforcing drainage through soil amendments, the moisture level becomes more balanced, discouraging these root rot diseases. If your radishes are suffering from root rot, check the soil moisture and ensure it’s well-drained, as moisture buildup can spell trouble. Understanding specific factors such as seasonal rainfall patterns also empowers better preventive care.
In the wetter months or during periods of heavy rain, consider installing raised beds or using containers with adequate drainage holes to prevent water accumulation. During dry periods, monitor your irrigation closely to avoid both underwatering and overwatering, which can place stress on your radishes and trigger rot and other issues. Utilize a moisture meter for precise monitoring; they can guide you accurately based on the plant’s needs, promoting optimal growth practices.
This preventative measure allows you to regulate water intake effectively, which is vital in avoiding the conditions that led to root rot in the first place. Know the signs of different moisture levels: soil that feels crumbly and dry indicates watering is warranted, while soil that appears heavy and compact signals too much water. Proper aeration of the soil, ideally using loose, well-draining mixtures such as a blend of garden soil and sand, and understanding the plant’s moisture needs are crucial for maintaining healthy radishes. As an added measure, consider covering the soil with a thin layer of mulch during dry spells to limit evaporation while still allowing airflow to the roots.
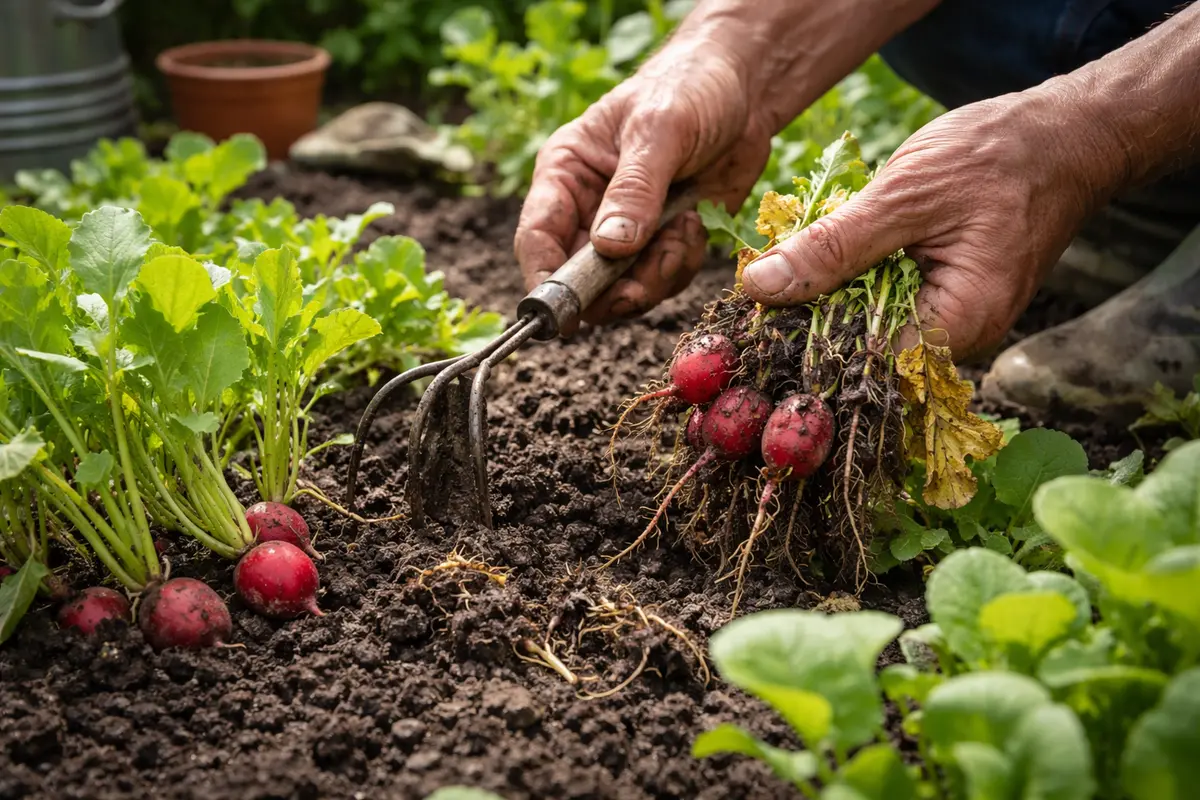
Step 5 – Check Radish Roots for New Growth Weekly
Inspect your radish plants every week for new growth signs. Look for firm stems and vibrant green leaves, which indicate that your plants are recovering from root rot. Observing these signs will not only bolster your confidence as a caregiver but will also inform you when to resume a regular watering schedule. If firm new leaves developing at the tips start to appear, this signifies that the plant is stabilizing and returning to health. Track your radishes’ growth over a few growing cycles to establish a baseline for their normal growth patterns.
A fully recovered radish won’t just regain its lush green appearance; it will also have strong, healthy root systems that can support vigorous growth. It’s crucial to check regularly for early signs of yellowing leaves or wilting; these can indicate recurring moisture issues. Look closely at the soil as well; if it becomes overly saturated again, this could signal that adjustments need to be made to your watering habits. Consider keeping a journal of your watering patterns and plant responses, as this can help identify if a particular routine may need adjustment.
If signs of the problem return, it’s time to re-evaluate your watering regimen and root conditions. You may need to adjust the frequency of watering further based on changing weather patterns or soil moisture retention rates. For example, if the plant was thriving but suddenly shows signs of distress after rain, inadequate drainage might be an issue, necessitating soil amendments. If recovery does not appear after two weeks, consider re-inspecting roots for further decay or check for any environmental conditions that may still be causing issues, ensuring that you are proactive rather than reactive in addressing potential problems moving forward. Stay aware of seasonal changes; during cooler weather, moisture retention dynamics shift, requiring additional vigilance.
FAQ
How long does it take for a radish to recover from root rot?
Recovery from root rot may take anywhere from a few days to a couple of weeks, depending on the severity of the rot and the actions taken. With proper care—like trimming damaged leaves and adjusting watering practices—you can expect to see signs of improvement within a week. However, if conditions do not improve, it may signal a more severe root issue requiring harsher measures, such as replacing soil blend or applying fungicides.
Can root rot spread to other radish plants?
Yes, root rot can spread to neighboring plants, especially if they share the same soil moisture conditions or are planted close together in the garden bed. Keeping a close eye on all plants and maintaining proper watering practices will help prevent widespread issues. If one plant shows signs of rot, consider isolating it temporarily until you can confirm the health of neighboring plants, which minimizes potential losses and fosters targeted treatment.
What should I do if the rot returns after I thought it was fixed?
If rot symptoms return, first check soil conditions to ensure it isn’t overly saturated again. Inspect the roots for decay or mushiness and discard any severely affected plants. You may consider re-evaluating your watering schedule and possibly treating the affected plants with a specific fungicide if the problem persists. Remain vigilant about moisture levels, as conditions can shift back quickly if preventive care is not taken consistently.