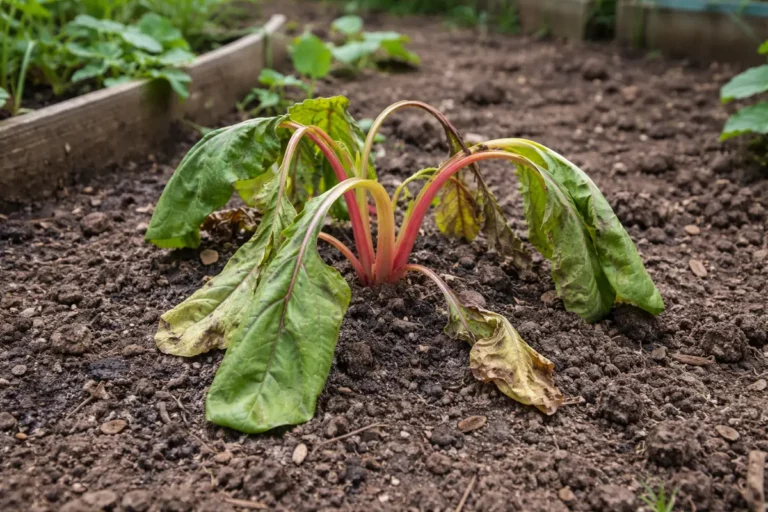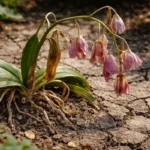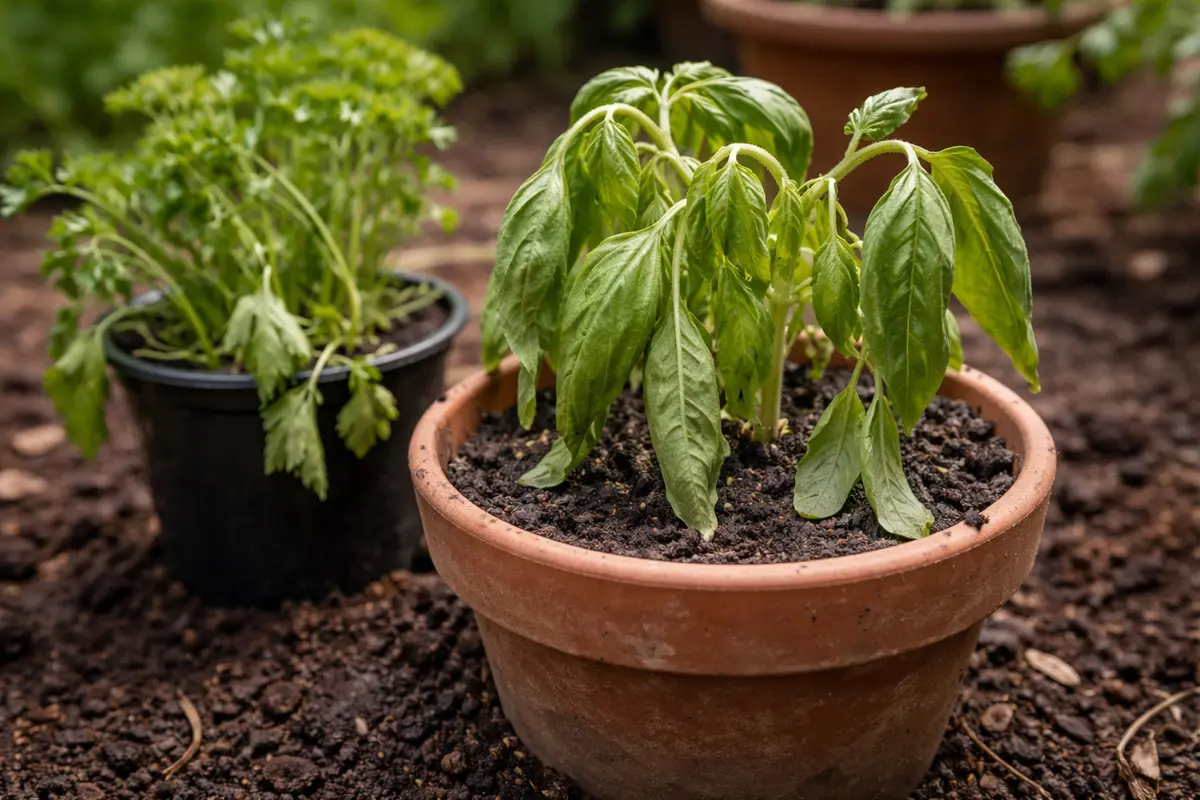
You may notice your herbs drooping and losing their vibrant color after repotting, which is why you need to know why are my herbs wilting after repotting. This wilting often occurs due to transplant shock, which leaves your plants stressed and unable to take up water properly, leading to drooping leaves. If ignored, this condition can spread and weaken the plant, making eventual recovery harder to achieve, but fixing it is possible now—just adjust your watering routine and monitor the environment closely.
Step 1 – Inspect for Root Rot in Herbs
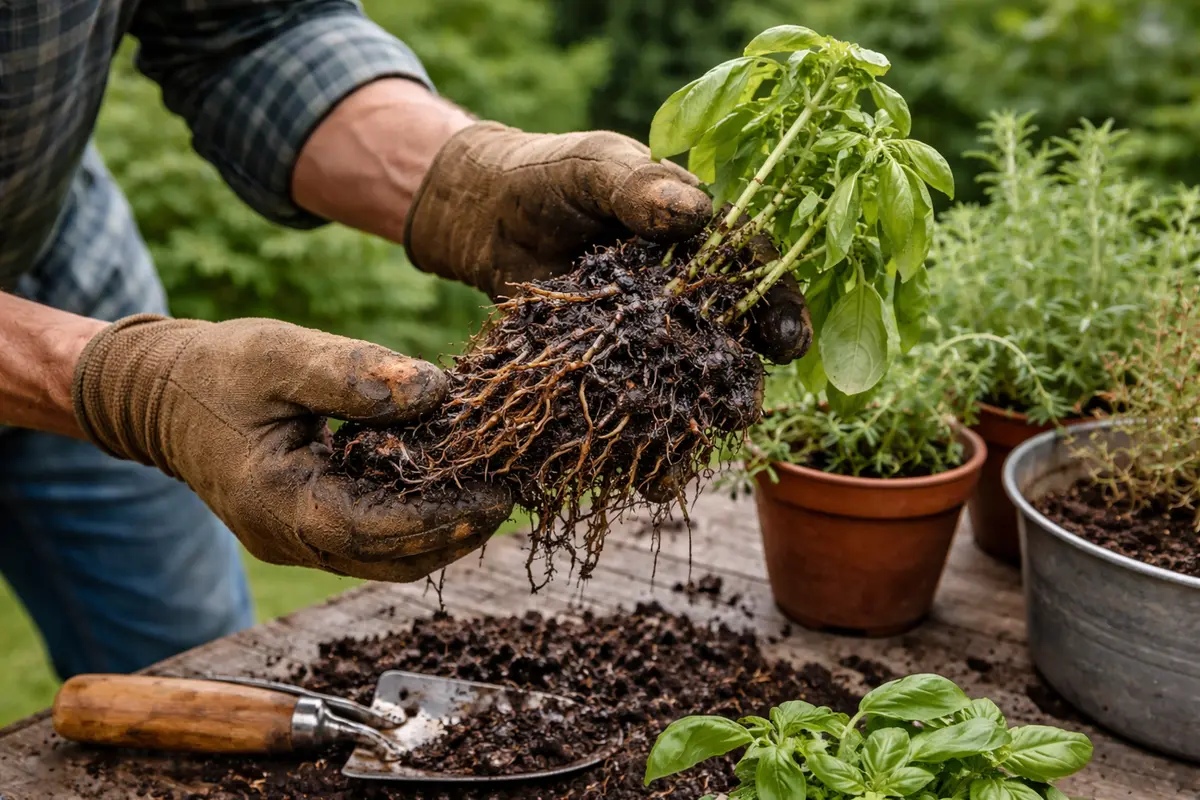
Begin by checking the roots of your herbs for signs of rot. You should see a complete or partial root system that feels firm and smells fresh if the roots are healthy. If the roots appear dark brown or black and are mushy to the touch, root rot may be present, and action is necessary. Carefully remove the plant from its pot to inspect the root system without causing further damage. Take caution during this step; any rough handling may exacerbate the existing problems. If the soil feels overly moist or compacted, it may also indicate drainage issues, which can lead to root health deterioration.
Identifying root rot early is crucial because the longer rot persists, the more tissue dies, significantly impeding the plant’s ability to absorb water and nutrients. Wilting often occurs when roots are compromised, preventing the plant from stabilizing itself in the new potting environment. Take note of how the roots react to light pressure; healthy roots will remain resilient, while unhealthy roots will collapse under slight force. When checking, it’s important to observe any distinct odor, as a rotten smell can often accompany decayed roots. If you notice a foul smell, you are likely dealing with severe damage that requires immediate attention.
A common mistake is overlooking the roots and only focusing on leaf symptoms. If neglected, you might witness continued wilting and even blackened, mushy roots, a state that requires immediate intervention. This often happens when growers assume that watering is necessary without checking the moisture level of the soil first. If you find that roots are rotting, consider removing the affected portions and repotting your herb into a dry, clean pot with fresh soil to mitigate further decay. When repotting, confirm that the new soil has good drainage properties, as this can prevent future occurrences of root rot. If you are using a heavy or dense soil mix, especially those high in organic matter, switching to a lightweight, well-draining blend can make a significant difference to root health.
Step 2 – Diagnose Overwatering Effects on Herbs
Check the soil moisture levels to assess potential overwatering. Stick your finger about an inch into the soil; if it feels damp, refrain from watering until it dries out significantly. Additionally, observe any changes to the soil’s surface: if it looks waterlogged or retains a shiny appearance due to excess moisture, this is a strong indicator of overwatering. Keep in mind that soil moisture can vary with temperature and humidity; thus, in hotter weather, you may need to check moisture levels more frequently. To gauge how often you should be watering, remember that most herbs prefer the top inch of the soil to dry out between watering sessions.
Overwatering is among the leading causes of wilting after repotting. Excess moisture blocks air from reaching the roots, causing them to suffocate and leading to root rot. The roots unable to take up essential nutrients significantly contribute to the wilting symptoms observed in your herbs. If wilting persists yet the soil is dry a couple of inches below the surface, underwatering is likely. This can be surprising since drooping is a symptom of both over and underwatering, underlining the importance of checking moisture levels directly. If the upper soil layers dry out quickly, it indicates a potential issue of either lack of water absorption or efficient drainage.
If you notice that the soil has a sour smell, it’s a clear indication of anaerobic conditions that have started to form due to excessive moisture. In such cases, removing the plant from the pot to check for root health is critical. If your herbs experience signs of decline while in waterlogged conditions, switch to a well-draining soil mix instead of the one currently used. Incorporating perlite or sand can enhance drainage and aeration, helping maintain optimal moisture levels without risking over-saturation. If the soil remains consistently moist even after adjusting watering habits, it may signal that the pot itself needs to be changed to ensure proper airflow. Keep an eye on the pot size; using a pot that is too large can hold too much moisture, worsening the situation. If the pot size seems appropriate yet issues persist, ensure that the drainage holes are not blocked and consider raising the pot slightly to encourage airflow.
Step 3 – Revive Wilting Herbs with Balanced Fertilizer

Apply a balanced fertilizer to the soil after confirming root health. You should notice improved vigor in your herbs as new growth emerges within a week. Testing with a diluted solution is recommended to avoid shocking the plant, particularly if it has recently suffered from root issues. Monitor the plants for signs of distress post-application; if they exhibit further wilting, it might indicate low tolerance to fertilization and that you should dilute even further or pause altogether. This gradual introduction is especially vital for sensitive herbs, which can be more prone to nutrient burn.
A balanced fertilizer replenishes nutrients, which is vital for recovering herbs that have lost their color and vitality. The nutrients the plants require for recovery include nitrogen, phosphorus, and potassium. This step helps restore their strength while also supporting new root developments. The infusion of essential nutrients accelerates recovery as plants utilize them to repair themselves and strengthen growth processes. Regular applications every four to six weeks are generally beneficial, but you must adjust them based on the specific needs of the herbs you are growing. For instance, nitrogen-heavy fertilizers benefit leafy varieties like basil, while herbs like rosemary may prefer formulas higher in potassium. Testing soil and moisture conditions regularly will help in tailoring fertilizer applications effectively to ensure optimal growth.
A common mistake gardeners make during this recovery phase is over-fertilizing, which can burn sensitive roots. It’s essential to follow the recommended dosage on the fertilizer package, applying it every four to six weeks during the growing season. If conditions remain too dry, consider providing supplemental moisture before fertilizing to prevent shock. Recognizing the response of your plants after fertilization—such as new leaf growth and vibrant coloration—will help to guide your future feeding schedules. If you notice a build-up of salts on the soil surface, it may indicate that less frequent fertilization is needed to prevent root burn. Salts can accumulate particularly in mineral-based fertilizers; you should regularly check for crusty, white deposits as a signal to reduce feeding. When in doubt, less is more when it comes to fertilizing stressed plants.
Step 4 – Check Leaf Color for Recovery Signs
Monitor your herbs’ leaves every 2-3 days to see if they start to regain their vibrant color. Expect to see signs of improvement, such as brighter green foliage and increased leaf rigidity, indicating recovery. Observing the overall plant posture is also key; plants that begin to lift and stand upright are on the mend. The presence of fresh growth buds also signals recovery is underway. However, if the leaves remain droopy or continue to yellow, additional adjustments may still be necessary. Marking changes in leaf color and moisture levels on a calendar can help you stay consistent with observation.
A fully recovered plant will display lush, firm leaves that stand upright, in contrast to drooping or discolored patches indicative of continued stress. Keep an eye on older leaves; if they do not match the new growth’s vitality, it could suggest that your plant is reallocating energy to healthier areas rather than fully recovering. A visual contrast with vibrant, dark green leaves alongside faded or yellowing ones can indicate reasonable recovery but highlights the need for continued care. If the leaves develop spots or a crispy texture, it might suggest excess fertilizer or insufficient moisture. Also, remember that partial recovery can take time, especially after severe stress.
If you find that after a week there is little to no change in leaf color, inspect soil moisture levels again to ensure you aren’t reverting to overwatering or experiencing further rot. In more advanced cases, consider repotting your herbs with fresh soil to promote a stronger recovery environment. An effective repotting strategy could involve mixing in moisture-retentive but well-draining components to encourage better overall root health. If the majority of leaves look poor but some newer ones appear healthy, it’s a good sign of recovery despite the overall appearance; adjusting care to favor hydration and nutrition will yield better outcomes. Always remember that sometimes it takes more than one round of recovery strategies to fully restore plant health, so patience is essential. Keeping a close eye on both new and existing growth will provide valuable insights into progress.
FAQ
How long will it take for my herbs to recover after repotting?
Recovery time largely depends on the herb type, but you can generally expect to see improvement within 7-14 days after taking corrective measures. Conditions such as consistent watering and proper light will enhance the chances of a quick recovery. Herbs like basil may recover more swiftly compared to slower growers like rosemary; however, all varieties need time to establish themselves in their new environment. If environmental stresses persist (like inconsistent watering or light), recovery could take longer. Additionally, changes in temperature can also influence how quickly the plants bounce back.
Can root rot spread to other plants in my garden?
Yes, root rot can spread, especially if contaminated soil or water is shared. Regularly inspect the health of nearby plants and avoid overwatering to minimize risk. To further prevent the spread, it’s advisable to sterilize tools and pots before using them on any other plants that may show signs of distress. A good practice is to quarantine affected plants and monitor them closely for any signs of stress. If root rot is confirmed on one plant, check neighboring ones for similar symptoms immediately, as it can assist in isolating the issue early. Prompt action can save not only the affected plant but also others that may be at risk.
Should I remove the wilting leaves from my herbs?
Yes, remove any severely wilted or dead leaves to encourage healthy growth and prevent potential infestations. It’s best to make these cuts above a healthy node to encourage new growth while ensuring your plant conserves energy. Additionally, this practice can help deter pests that are attracted to unhealthy foliage. Regularly checking for leaf damage during recovery allows you to catch issues early before they cause significant setbacks to your plants. If you notice any areas of concern, record them for future reference, as consistency with care can lead to improved results.