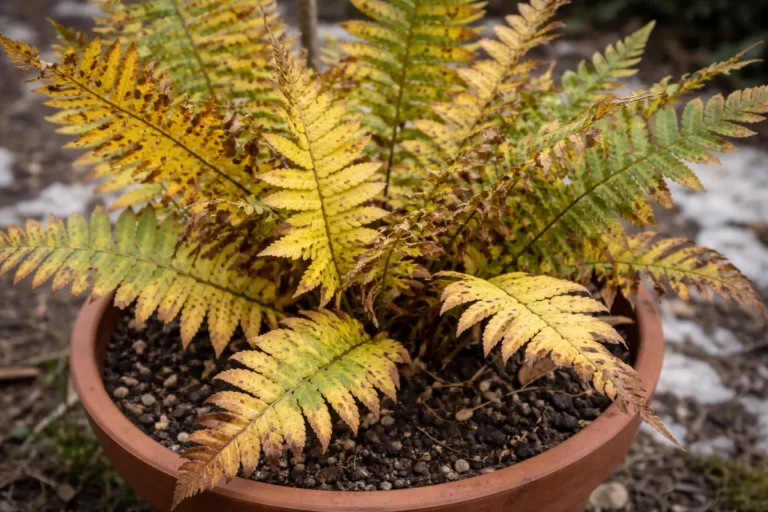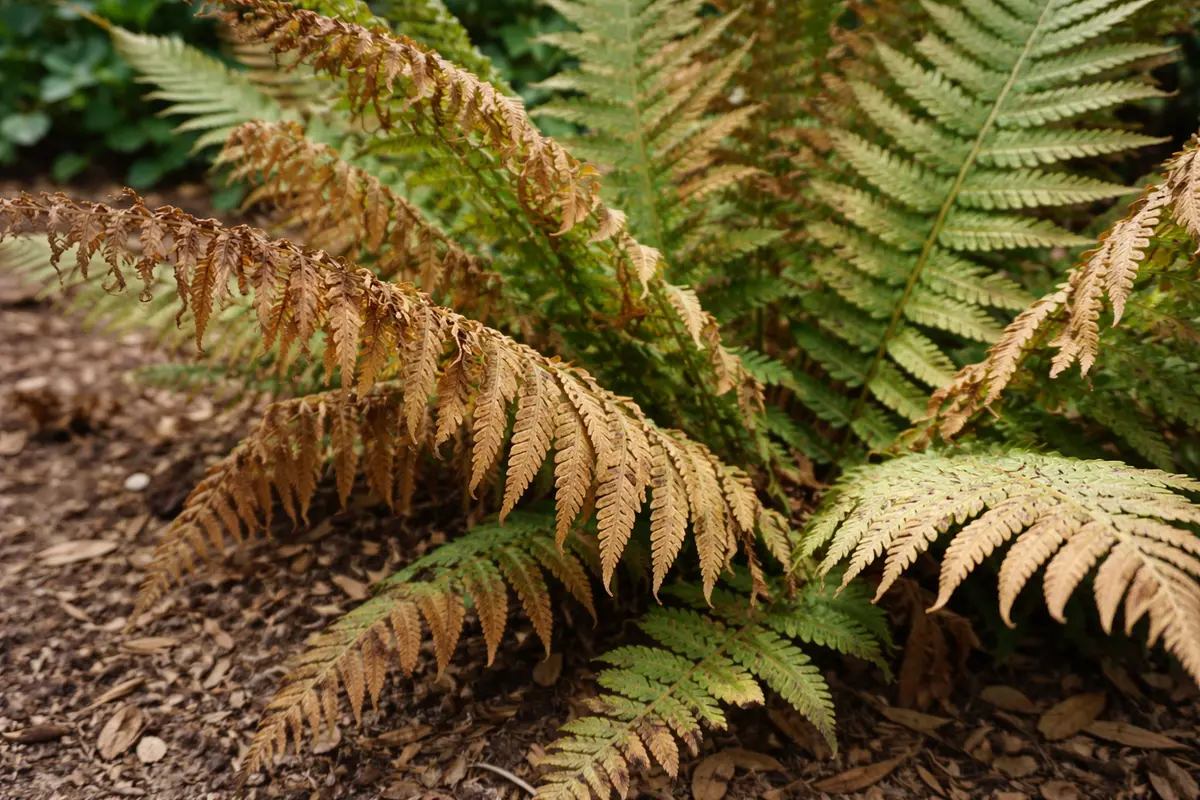
You may notice that your ferns’ leaves start to turn brown during periods of dry air, which is why you need to know what to do when fern leaves turn brown in dry air. This browning occurs due to insufficient humidity, leading to wilting and damage to the delicate fronds. If left unaddressed, this issue can spread, weakening the plant and stalling its growth, but fixing it is possible now—just check the humidity levels and adjust your watering routine accordingly.
Step 1 – Mist Brown Fern Leaves Immediately
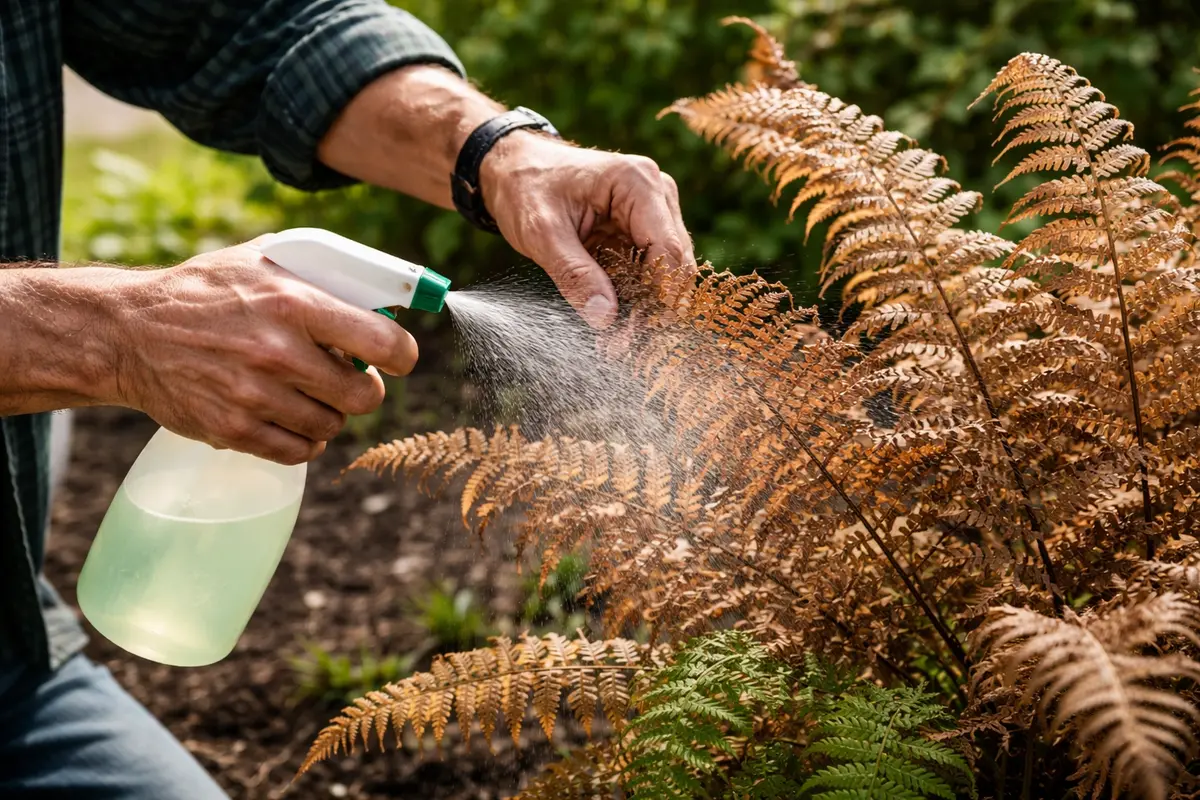
Start by misting the brown fern leaves with water using a spray bottle. You will notice leaves appearing more vibrant, and the browning may begin to halt after the first application. Regular misting should occur at least twice a day, especially during peak heat, to maintain humidity levels around the plant. The goal is to ensure that moisture forms on the leaf surfaces, which can be an immediate remedy for wilting leaves.
Misting the leaves helps to increase humidity around the plant, which is critical for ferns that thrive in moist environments. When humidity levels drop below what the fern requires, the leaves can quickly lose turgor pressure, leading to crispy edges and brown tips. Addressing this issue immediately with hydration can prevent further leaf damage. If misting is only done once, do not expect significant improvements; therefore, frequent misting throughout the day helps retain moisture. Observe the leaves—it may take a few hours post-misting for a noticeable boost in hydration to appear. If browning is severe, the fronds may show no signs of perkiness right away, indicating that additional measures will be required.
A common mistake is assuming that misting once will suffice. Maintaining a consistent misting routine, especially during hot days, can significantly improve the look of the plant within a few days. Conversely, excessive misting can trap moisture on leaves, promoting mold growth. If you notice a cloudy layer forming on the leaf surface or a lingering musty odor, reduce misting frequency to allow for drying. Implementing a balance is crucial: if dehydration has gone on for too long, you may need to adjust your approach and consider other humidity-boosting techniques, such as placing a shallow tray of water with pebbles underneath the plant. This allows water to evaporate slowly around it, providing a gentler, extended hydration effect.
Step 2 – Diagnose Dry Air as Root Issue
Test the air moisture by placing a small hygrometer near the fern. If humidity levels read below 50%, you have identified dry air as the primary concern affecting your fern. Make it a point to measure humidity in different areas where ferns are located, as it can vary significantly in your home. A small increase in humidity can make a noticeable difference; ensure you document readings to monitor fluctuations over time.
Low humidity directly impacts the health of your fern, as these plants are sensitive to moisture levels in their environment. When humidity is low, moisture within the leaf tissues evaporates faster than the plant can replenish it, leading to browning. Detecting this issue early facilitates a targeted response that can reverse the damage. If humidity remains below 30%, you might see extensive browning and wilting within a matter of days. An ideal range for most ferns is typically between 50% and 70%. This creates the necessary environment for optimal growth. If higher humidity levels aren’t restoratively possible, shifting the plant’s location or grouping it with other humidity-loving plants can increase local moisture levels.
If humidity levels are adequate but browning persists, check for other issues like root rot or improper lighting instead. Conditions such as excessive sunlight exposure can lead to brown tips of leaves, and this root-cause analysis is essential for proper treatment. For instance, if the leaves appear faded and brown while lacking overall crispness, this is indicative of light stress, not just dryness. Conversely, if the soil feels soggy or lacks proper drainage and the humidity is fine, you may need to focus on watering practices and enhance your watering routine rather than solely relying on humidity adjustments.
Step 3 – Give Fern Extra Humidity to Recover
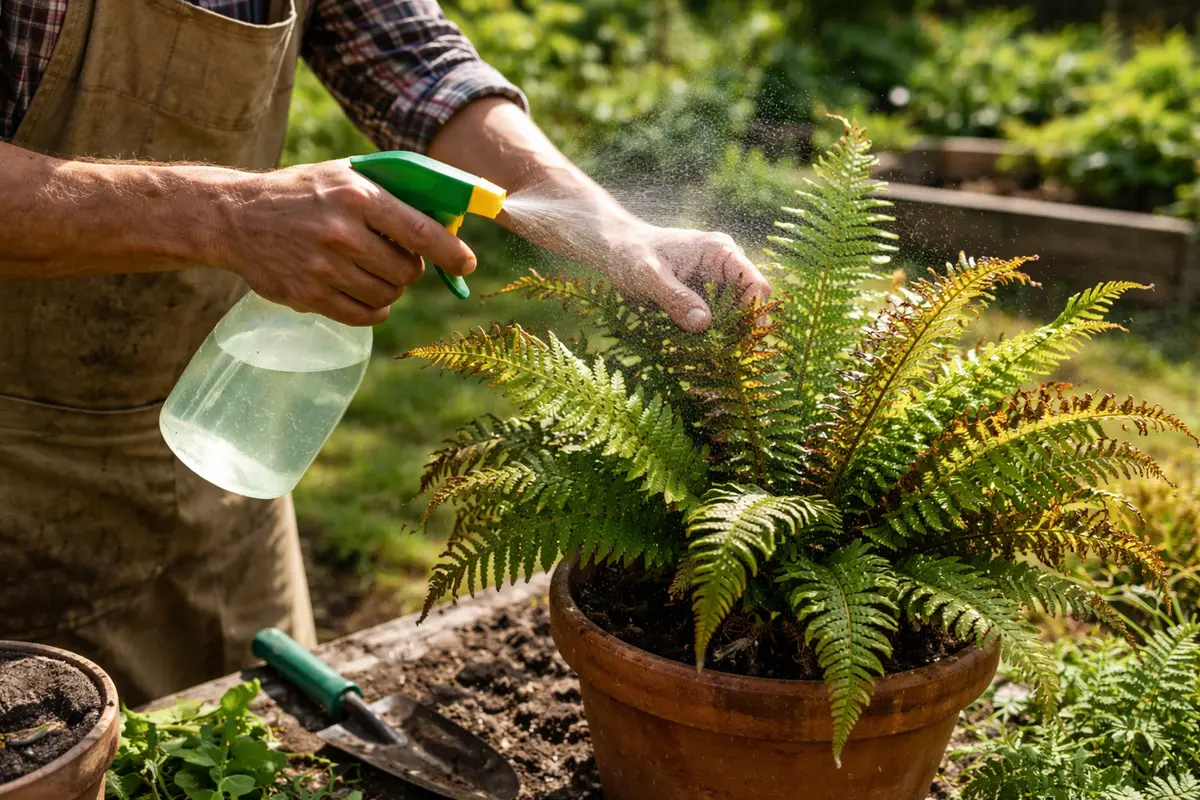
Start by increasing the humidity around your fern by misting its leaves daily and placing a tray of water with pebbles beneath the pot. In the following week, watch for the brown tips to begin to turn green again, indicating the start of recovery. It’s vital to keep an eye out for new growth; this is a positive sign that the plant is adapting and responding better to its environment.
Realistic recovery can take anywhere from a few weeks to a couple of months, depending on the fern’s species and environmental conditions. Healthy regrowth will be noticeable when new fronds emerge that are vibrant and lush, contrasting with the previous brown foliage. If the air remains dry, brown tips may persist, but if humidity levels rise, expect to see fresh growth within two weeks. Recovery can also be facilitated by adjusting room heating levels; dry, heated air from vents and radiators can rapidly deplete humidity and should be monitored closely for long-term fern health.
Avoid overwatering, as it can lead to root rot, which exacerbates browning. Instead, check the soil moisture; if it feels dry 1-2 inches deep, it’s time to water. If not, adjust your watering schedule to prevent additional stress on the fern while fostering optimal recovery conditions. This is where diligence pays off—if you begin to see a film of algae or a foul water odor, this may indicate that the roots are not absorbing moisture properly. Providing adequate humidity while managing soil moisture perfectly balances the plant’s needs.
Providing additional humidity will assist in the recovery of a stressed fern. As humidity rises, the leaf cells can absorb the moisture they need to function properly, restoring the plant’s overall health. This adjustment leads to the regeneration of affected leaves, contributing to a lush green appearance. If you notice that growth is still stunted or if new leaves are developing softly, you might need to reposition the humidifier to enhance moisture distribution. Place it at a height that allows steam or vapor to settle evenly around the plant without causing drastic temperature changes.
However, be cautious not to make abrupt changes. If temperatures drop too low while using a humidifier, excessive moisture may lead to mold growth on the soil surface. Gradually adapt the humidity levels based on the plant’s immediate responses and continuously monitor its condition. If you find mold in the soil or on leaves, you can increase air circulation by placing a small fan nearby or adjusting the fern’s placement orientation to enhance airflow around the plant. Consider using a gel humidity indicator to provide an ongoing visual reminder of environmental moisture levels.
Step 4 – Water Your Fern Regularly During Drought
Water your fern deeply every week, ensuring that the soil remains consistently moist. You will find that moist soil significantly improves leaf vitality, helping maintain hydration levels effectively. This means physically checking the moisture level by inserting your finger into the soil up to the first knuckle; if it feels dry, it’s time to water. Instantly providing hydration can dramatically change the look of the plant, making it more robust and greener.
Consistent and appropriate watering during dry conditions is vital in preventing the recurrence of brown leaves in ferns. Ferns rely on their root systems being hydrated to sustain leaf health, and adequate hydration prevents low humidity from causing additional stress. If your fern’s roots are allowed to dry out entirely, it can cause irreversible damage, such as crispy leaf edges turning into splintering fronds. As a guideline, if the top inch of the soil feels dry, it’s time to water. It’s worth noting that temperature fluctuations in your home can result in different watering needs based on the season; raise your watering frequency during warm seasons, while reducing slightly as temperatures cool.
As the seasons change, keep an eye on your watering routine. In winter months, plants may require less frequent watering due to lower evaporation rates, but they still need sufficient moisture in the soil. Another trick is to add a layer of mulch or decorative stones on top of the soil to help retain moisture levels and regulate the soil’s temperature to avoid rapid evaporative loss. This will not only maintain moisture levels but also regulate the soil temperature. If you notice soil pulling away from the edges of the pot, it’s a clear sign to check your watering frequency. Conversely, if water ponds on the soil surface, reduce how often you water, as this could indicate overwatering conditions leading to root rot. Always assess the overall moisture level habitually rather than relying solely on a visual inspection, as signs can often be misleading.
Incorporating an irrigation system like a self-watering pot can help regulate soil moisture levels automatically, making care easier and consistent, especially during vacations or periods when you can’t be available. Remember to adjust those systems based on the current season’s humidity and temperature. Effective management of your fern’s watering needs directly translates into healthier growth and decreased browning.
Step 5 – Check Fern Fronds for New Browning Weekly
Inspect your fern’s fronds at least once a week for any signs of new browning. You should see fresh green growth and healthy-looking leaves, which demonstrate successful recovery. Keep a close watch on lower fronds, as that’s where initial signs of distress may appear first, indicating a dip in health. This close monitoring will also allow you to note any period of revival for subsequent active growth.
A fully recovered fern will boast firm fronds with a deep green coloration, and any new leaf growth should replace the previously damaged foliage. Regular checks can help you pinpoint any early signs of distress before they become severe, allowing for quicker interventions. Look closely at the undersides of the fronds; these areas can be the first to show symptoms of inadequate moisture due to the condensation effects occurring during humidification. If browning persists, it may be necessary to reassess not only humidity but also airflow and temperature in the environment.
If you notice continued browning despite implementing the earlier steps, further inspect any issues by reviewing the watering routine and humidity levels more thoroughly. In some cases, also consider repotting the fern into fresh soil to ensure it has adequate nutrients and improve drainage if the existing mix has become compacted. Always choose a soil mix that promotes moisture retention while allowing for adequate air circulation. If root rot is suspected, inspect the roots closely; visual signs of decay include browning or mushy textures. If roots are compromised, it may be necessary to trim away damaged roots and repot into dry soil. This keeps long-term health balanced and prevents root diseases from taking hold. A thorough assessment can help in adopting better practices for the ferns’ mycelial connectivity and nutrient absorption.
FAQ
How long does it take for fern leaves to recover from browning?
Recovery can take anywhere from a few days to a couple of weeks, depending on the severity of the damage and the care provided. New growth will indicate that the plant is on a recovery path; however, total recovery may take several cycles of growth. Keep an eye on both damaged and new fronds during this time, and adjust care as necessary. Regular observations allow for timely adjustments in moisture levels and exposure.
Can dry air spread browning to other plants?
Dry air can affect neighboring plants if they share the same environment. If one plant shows significant stress due to humidity, the others may also be at risk, particularly if they require similar moisture levels and conditions. It’s a good practice to check all plants in the vicinity for signs of humidity stress to ensure a uniform approach to care across your indoor garden. Additionally, grouping plants that thrive in similar humid environments can create a microclimate.
Should I remove the brown fronds from my fern?
Yes, you can carefully prune off the most severely damaged fronds to help redirect the plant’s energy into new growth. This should only be done once the plant has started recovering, as removing too many fronds during a stressed period can hinder recovery. Pruning encourages the emergence of new growth from the healthy parts of the plant, making it a beneficial part of the recovery process. Always use sterile pruning scissors to prevent potential infections. Moreover, ensure you maintain the resilience of healthy fronds to support overall growth and vigour.