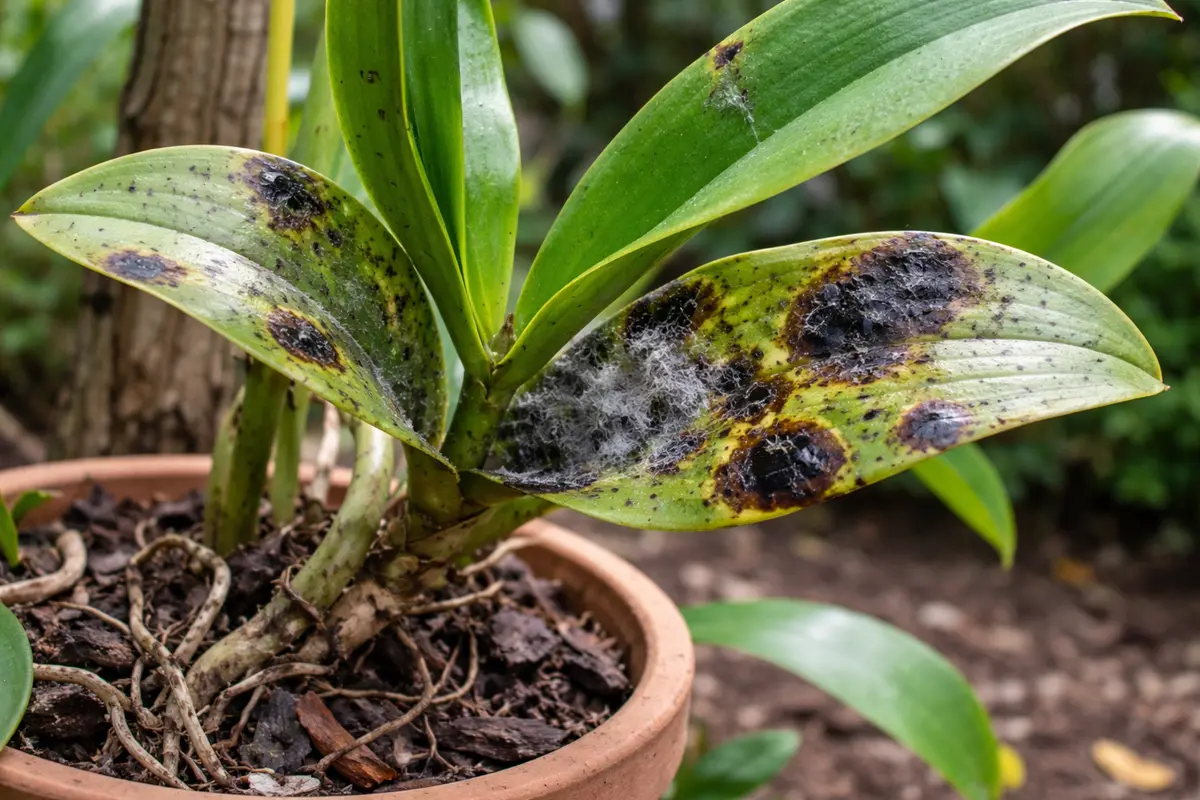
You may notice your beautiful orchids developing troubling black spots on their leaves after a heavy watering, which is why you need to know why do my orchids develop black spots after overwatering. This issue arises when excess moisture creates an environment conducive to fungal infections, leading to unsightly spots and potential damage. If left unaddressed, the fungal issues can spread further, weakening the plant and stalling growth, but fixing it is possible now—just inspect the roots, reduce watering, and improve airflow.
Step 1 – Trim Affected Orchid Leaves Promptly
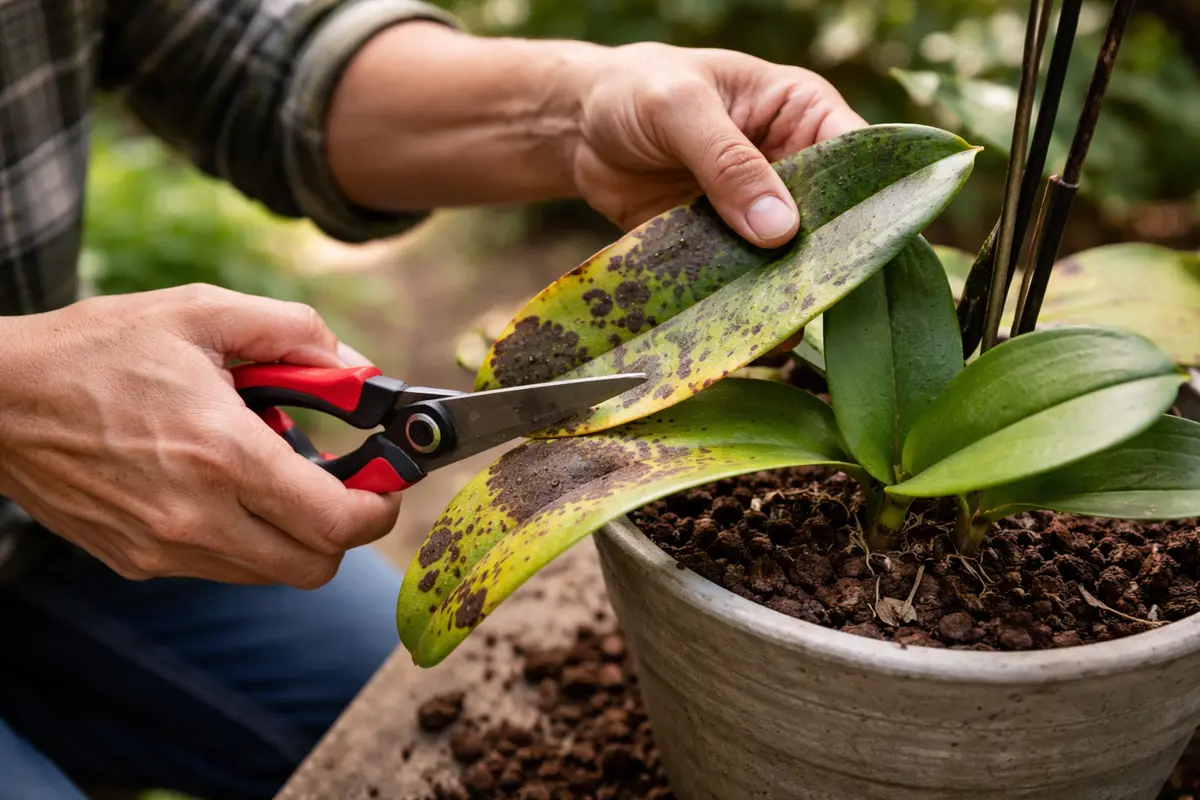
Start by removing your orchid from its pot and gently shaking off excess water from the roots. With the potting medium not soggy, let the roots dry out for a few hours in a cool, shaded area. You should notice the surface of the medium drying out more quickly, which will help limit the moisture that causes black spots.
Taking swift action is critical because overwatering can lead to root rot, which often goes unnoticed until severe damage occurs. If you delay addressing the issue, the orchid’s roots may start to decompose, releasing toxins into the plant’s system that exacerbate black spot development. For example, orchids kept in well-draining pots display vibrant green roots, indicating proper moisture management, while over-soaked roots turn mushy and dark, signaling distress.
Consider a scenario where one gardener delayed taking action and lost a prized orchid due to root rot, after observing black spots. In contrast, another gardener promptly adjusted their watering practices and repotted their orchid, leading to a quick recovery without further signs of stress. If you see yellowing leaves alongside black spots, it’s essential to check for poor drainage or a compacted potting mix that could be compromising health.
Acting quickly is vital because leaving black spots untreated increases the risk of fungal spores proliferating. After trimming, inspect the remaining leaves for additional symptoms of infection; any new spots should also be removed. Moisture retention in damaged leaves weakens their structure, causing rot and additional problems like root decline. Prompt intervention is crucial—if left unaddressed, these conditions can severely compromise the entire plant’s health, leading to leaf drop or even death.
A common mistake at this stage is only trimming the most visibly affected areas while neglecting to address underlying issues such as root health or soil moisture. Many beginners tend to cut only the leaves they can see without considering the conditions that led to the initial infection. Instead of superficial trimming, gauge the overall condition of the orchid and its environment, ensuring a more effective recovery strategy.
Step 2 – Investigate Overwatering Effects on Orchids
Check the soil moisture levels and drainage conditions as the next step. You need to determine if the potting mix retains excessive moisture, which is a critical factor in identifying the root cause of the black spots. Push your finger into the potting mix about an inch down; if it feels wet, that’s a strong indication of overwatering.
If the soil feels overly wet or emits a sour smell, this points to poor drainage and overwatering, creating an inviting environment for fungal infections. Assess the pot too; if water gathers at the bottom, it’s clear that your potting medium isn’t draining properly. Orchids need a well-draining, airy potting mix to prevent water from stagnating around their roots. When roots sit in waterlogged conditions, they can’t access the oxygen they need, raising the risk of root rot and fungal growth that leads to leaf discoloration.
If the potting mix proves to be overly moist, consider repotting your orchid in a fresh, well-draining mix designed specifically for orchids, often containing components like bark and perlite. Conversely, if the roots look healthy but the soil still feels wet, external humidity may be contributing to the problem. Recognizing how soil type interacts with your watering frequency will greatly influence how well your orchid copes under varying conditions. For instance, in regions with high humidity, you may need to adjust your watering routine further to avoid excess moisture buildup.
Step 3 – Revitalize Orchids with Nutrient-Rich Fertilizer
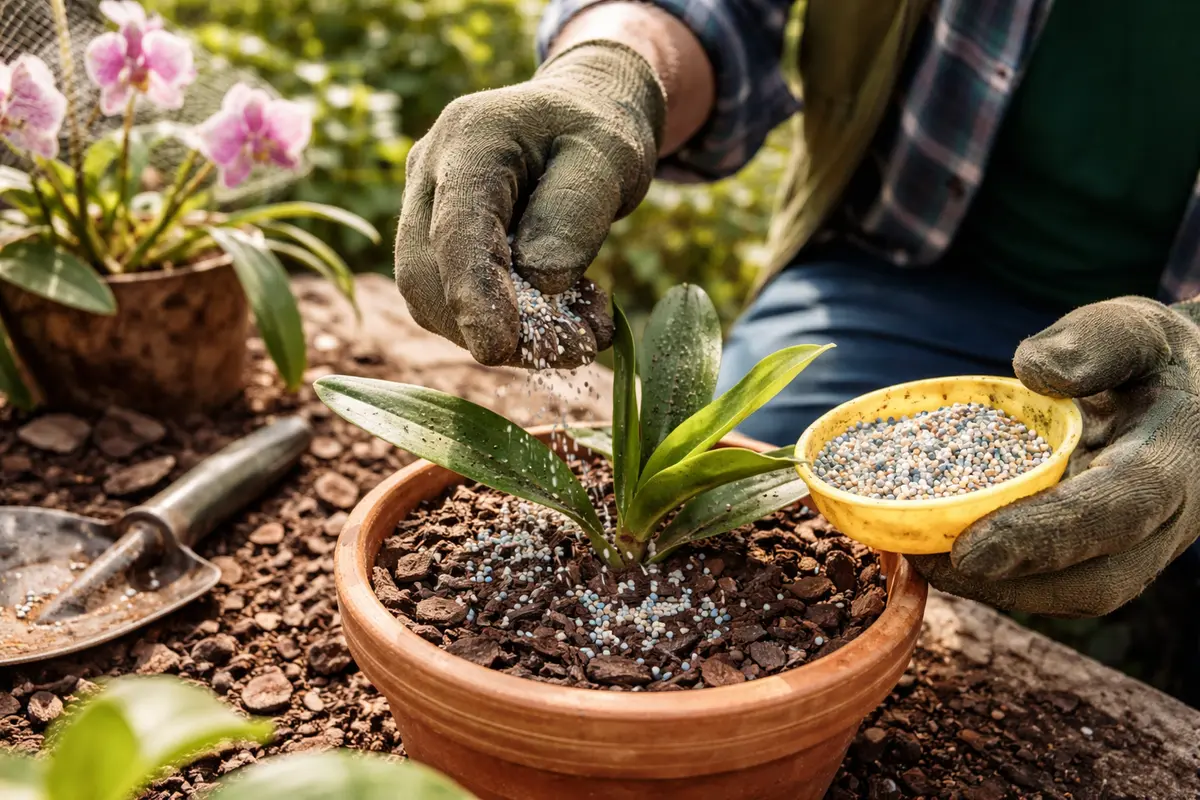
Start by reducing your watering frequency and allowing the potting medium to dry out completely before the next watering. You should begin to notice a decrease in black spots on the leaves, indicating better control over excess moisture and a strengthening orchid.
Recovery from overwatering generally ranges from a few weeks to several months, depending on the severity of the damage. Signs of recovery include new root growth, while leaves that become firmer—rather than mushy—indicate progress. If yellowing leaves persist despite reduced watering, check the roots for signs of rot and trim any affected areas to facilitate healthier regrowth.
Avoid the mistake of overcompensating with additional fertilizer, thinking it will speed up recovery; this can lead to further stress and root damage. Often, orchids recovering from overwatering benefit from a light application of balanced fertilizer once new growth appears. Should your orchid show no signs of progress after a month, re-evaluate the drainage conditions to make sure they’re conducive to root regeneration.
Providing nutrients in moderation can help restore your orchid’s health after stressful events like overwatering and infection. Gradually reintroducing nutrients can work wonders, acting almost like a rejuvenation elixir for your plant. With proper access to essential nutrients, the recovery of leaf growth and overall vitality becomes significantly more pronounced. However, over-fertilization can easily stress orchids, showing symptoms like burnt leaf tips or further black spotting.
Moreover, pay close attention to your watering schedule while fertilizing; excessive fertilizer can damage roots and lead to additional complications. It’s a common misconception that over-fertilizing will expedite recovery; however, this can instead lead to a nutrient overload. Ideally, a routine of fertilizing every two weeks at half the recommended strength will provide your recovering orchids a safer environment. If you observe signs of over-fertilization, flush the potting media with water to eliminate excess nutrients and help the plant stabilize.
Step 4 – Adjust Watering Habits to Prevent Black Spots
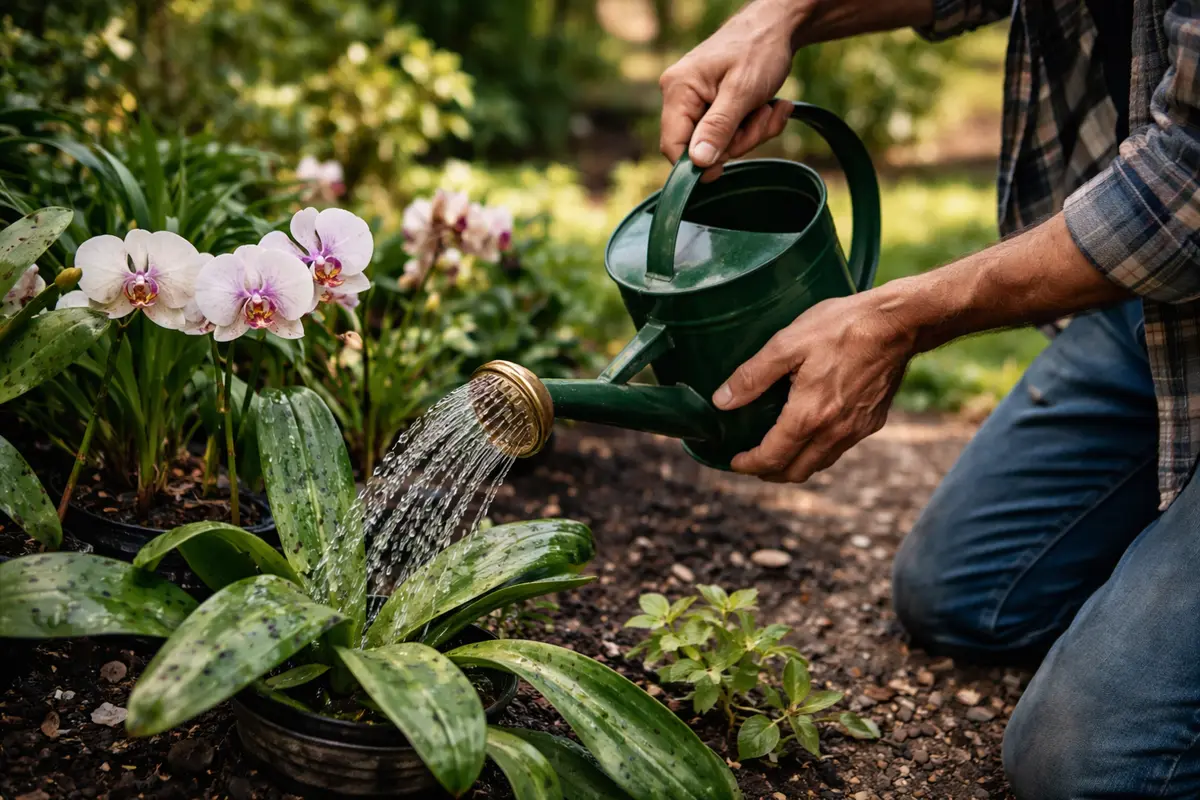
Start by adjusting your watering routine to ensure your orchids only receive water when the top inch of the growing medium feels dry. Doing this will help you avoid overwatering, and you will eventually notice a reduction in black spots on your orchids.
Overwatering often creates conditions ripe for bacterial growth, thus leading to black spots on orchid leaves. If you consistently water too frequently, the roots may not have adequate oxygen, weakening the entire plant and making it more liable to diseases. In contrast, allowing your orchid’s medium to dry slightly between waterings encourages healthier root systems and mitigates the risk of black spot formation.
During warmer months, enhancing air circulation around your orchids can help the medium dry more quickly, further preventing excessive moisture. On the other hand, in colder months, reduce fertilization to prevent salt buildup that can also cause leaf spots. If your orchids continue to develop spots despite these adjustments, monitor the humidity levels to ensure they remain within a healthy range.
It’s crucial to allow the orchid to dry out supportively between watering sessions; orchids thrive in a moist yet well-ventilated environment, which slight drying can support. Be mindful that smaller pots can dry out faster than larger ones, requiring you to adjust your watering frequency based on the size of the container. Over time, roots in drier climates may adapt, preventing conditions that encourage fungal growth. Maintaining a consistent, spaced watering schedule is essential, as the frequency your orchids need water will likely decrease during winter months when growth slows. If you notice your plant’s leaves drooping while remaining firm, it’s usually an indicator that it’s not in immediate distress.
A frequent pitfall is adhering to a fixed watering schedule regardless of environmental changes. Instead, evaluate the plant’s immediate surroundings to measure moisture needs based on temperature and humidity. For instance, orchids will generally require more frequent watering during peak summer heat compared to cooler seasons. Additionally, using distilled water mitigates chlorine and other chemicals that could introduce stress, thereby promoting better overall health in your orchids. Always take into account factors such as pot size, plant size, and room temperature, as they all play integral roles in determining the most suitable watering frequency.
Step 5 – Inspect Orchid Foliage for Recurring Black Spots
Start by checking the moisture levels of your orchid’s potting medium using your finger or a moisture meter. Look for signs of excessive wetness like a muddy texture or an unpleasant sour smell. Recheck this every few days to evaluate whether the medium is drying adequately, aiming to balance moisture retention with proper drainage.
A fully recovered orchid should present bright green leaves that are firm and plump, lacking any signs of drooping or wilting. Conversely, if black spots reappear on the leaves, they may feel soft and exhibit browning edges. Observe the roots; if they appear gray and shriveled instead of a healthy white, this signifies a potential return of overwatering issues.
If black spots return after implementing changes to your watering practices, contemplate repotting the orchid in fresh, well-draining potting media to prevent water retention. Closely monitor humidity levels that could aggravate the problem; if humidity remains elevated, consider reducing misting or relocating the plant to a less humid area.
A fully recovered orchid will exhibit firm leaves, free of new spots returning. Watch for early signs of recurrence, such as new dark patches on fresh leaves, which should prompt an immediate inspection of the moisture conditions. Such symptoms may indicate persistent issues with watering or environmental stressors. In contrast, a healthy plant will show vibrant foliage and steadily increase new growth over time. Utilize this phase to assess the efficacy of your environmental adjustments; if improvements arise, it indicates that your interventions are taking effect.
If you notice new black spots returning despite all efforts, you must reassess both your watering habits and potting conditions. There’s a chance pests or environmental challenges may emerge, necessitating a strategy shift. Watch for pest indicators like mealybugs or aphids, which can also add stress to your orchids. Furthermore, should concerns persist despite all efforts, it would be wise to consult a professional for advanced care options tailored to your plant’s unique conditions. A specialist can provide tailored insights, conduct disease testing if needed, and create a comprehensive long-term care plan for your orchids.
FAQ
Can black spots on orchid leaves spread to other plants?
Yes, if left untreated, fungal infections can spread to nearby plants. It’s vital to isolate affected orchids and take immediate action to prevent spreading. Quarantining plants helps not only your infected orchid but also protects others in your collection.
How long does it take for an orchid to recover from overwatering?
Recovery can typically take several weeks, depending on the severity of the overwatering. However, after implementing corrective actions, signs of recovery, like new leaf growth or healthier foliage, can often be observed within a week or two. Consistent monitoring of moisture levels and proper care is crucial during this recovery period.
Should I remove all affected parts of the orchid immediately?
It’s advisable to remove heavily damaged leaves but not strip the plant entirely. Removing all leaves at once can induce stress; concentrate on minimizing further spread before extensive pruning. Focus on trimming only the most severely affected leaves initially, allowing the plant time to stabilize before tackling any additional areas.