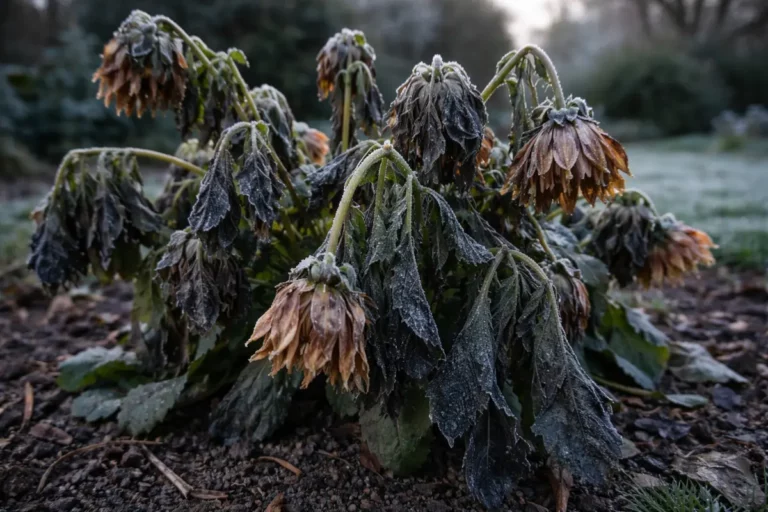
You may notice your ferns appear droopy and lifeless after an unexpected frost, which is why you need to know how to recover drooping ferns after frost damage. This damage often manifests as wilting and yellowing fronds, signaling that the plants are struggling to cope with the temperature shock. If ignored, the condition of your ferns gets worse, leading to more damage and ultimately stalling growth. The ability to revive them is certainly within reach by trimming back the affected areas and adjusting their care routine appropriately.
Step 1 – Trim Frostbitten Fern Leaves Promptly

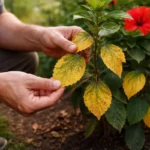
Start by removing any visibly damaged fronds from the drooping ferns. Cutting back the blackened and mushy parts can limit further decay and promote fresh growth. You should notice that the plant looks cleaner, creating space for healthier fronds to emerge as they recover from frost damage.
Acting quickly is crucial, as ferns are particularly sensitive to prolonged moisture in damaged tissues, which can lead to root rot. If you delay, frost-damaged areas are more likely to become infested with pests, exacerbating the recovery process. If your ferns are drooping and soft, this is a sign to check for mushy roots; if not that, inspect for pests or fungal growth.
A gardener who promptly prunes their ferns after frost damage may observe new growth within weeks, while another who waits can find their plant increasingly weakened by decay. Rushing to remove dead fronds simplifies recovery but overlook the roots, and you risk losing the entire plant if rot sets in. Timing can truly make the difference between rejuvenation and loss.
This immediate action limits damage by removing affected areas that sap energy from the plant. By cutting away these damaged fronds, you help redirect resources to healthier growth, allowing the plant to focus on recovery and promoting new leaf development in the coming weeks. Observably, healthy fronds will regain their firmness and vibrancy, indicating a positive response to the trimming. Expect to see signs of revitalization quickly, such as more upright fronds and clearer color without browning. If you’re patient, the newly exposed stems should produce more robust growth as the existing foliage remains free of rot. Make sure to monitor any adjacent fronds for potential damage as ice can affect more than just the most visible areas.
A common mistake is to delay this trimming, allowing more damaged leaves to remain and impede the plant’s revitalization efforts. Many gardeners hesitate, thinking the plant might still recover if left alone, but this often leads to impaired airflow around the fronds and increases the risk of fungal infection or rot. If you notice soft, mushy fronds rather than crisp, pliable ones, it’s imperative to trim them back immediately. The sooner this is done, the quicker healthy fronds can reestablish themselves. If only small sections of fronds are affected, those can often be trimmed back cleanly without sacrificing the entire frond’s structure, ensuring that the fern retains its overall form while thriving. Additionally, it’s wise to regularly assess surrounding plants for signs of stress, as nearby flora can influence performance through shared environmental conditions.
Step 2 – Assess Frost Exposure Impact on Ferns
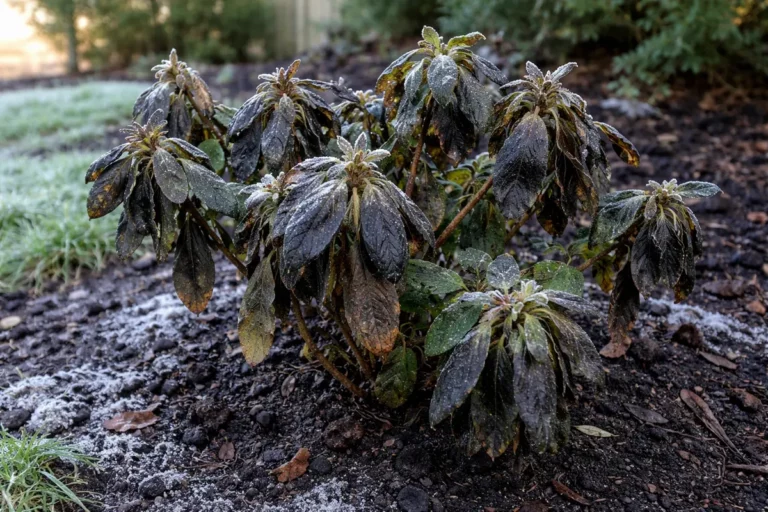
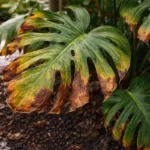
Inspect your ferns for signs of frost exposure and assess their condition. You will clearly identify which sections are severely affected, allowing you to determine the extent of the damage more accurately. Look for characteristics such as darkened tips, excessive limpness, and any visible drooping of fronds. Gently bending the fronds can also help you gauge their flexibility, which deteriorates significantly in frost-damaged plants. During this check, consider how long the frost exposure lasted; prolonged exposure can cause more severe damage. Timing matters; for example, a brief overnight frost typically results in less damage than extended sub-zero temperatures over several hours.
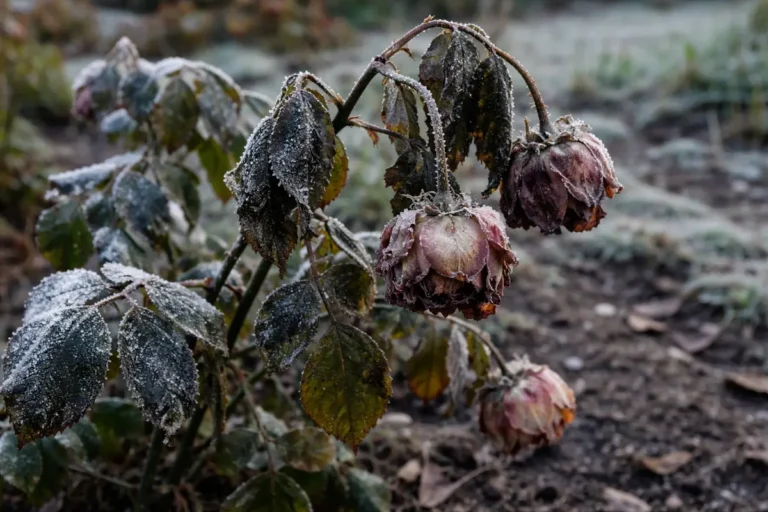
Frost exposure causes damage to the plant cells, leading to water loss and cellular collapse. The fronds exhibit wilting and browning due to the frost’s effect on their cellular structure, as the ice crystals can puncture cell walls, disrupting nutrient flow and hydration within the plant. A clear indicator of serious damage is when parts of the fern have turned a dark brown or black, signaling irreversible damage where the tissue has died. Observing this requires careful inspection; touching these areas might reveal a crisp and brittle texture. In severe cases, fronds will often be limp and lifeless rather than upright and green. If you notice that entire sections of the plant are still drooping regardless of trimming, this could signal deeper issues such as root damage caused by prolonged frost exposure.
If you find that only the tips of fronds are damaged, you may choose to prune these instead of cutting back entire fronds to mitigate loss. Transitioning toward more severe cases, if you notice entire fronds turning brown and mushy, those must be removed to facilitate recovery. If the soil moisture seems excessive or sour, it may signal rot not caused by frost but requires addressing through improved drainage or reduced watering. This scenario probably occurs when poorly drained soil retains too much moisture, further complicating recovery efforts and should be corrected immediately. Should you detect foul odors coming from the soil, it frequently indicates root rot, necessitating further examination or possible repotting to address drainage. If you’ve recently fertilized, be mindful that over-applying nitrogen can exacerbate root problems by promoting soft, vulnerable growth.
Step 3 – Revitalize Ferns with Appropriate Fertilizer
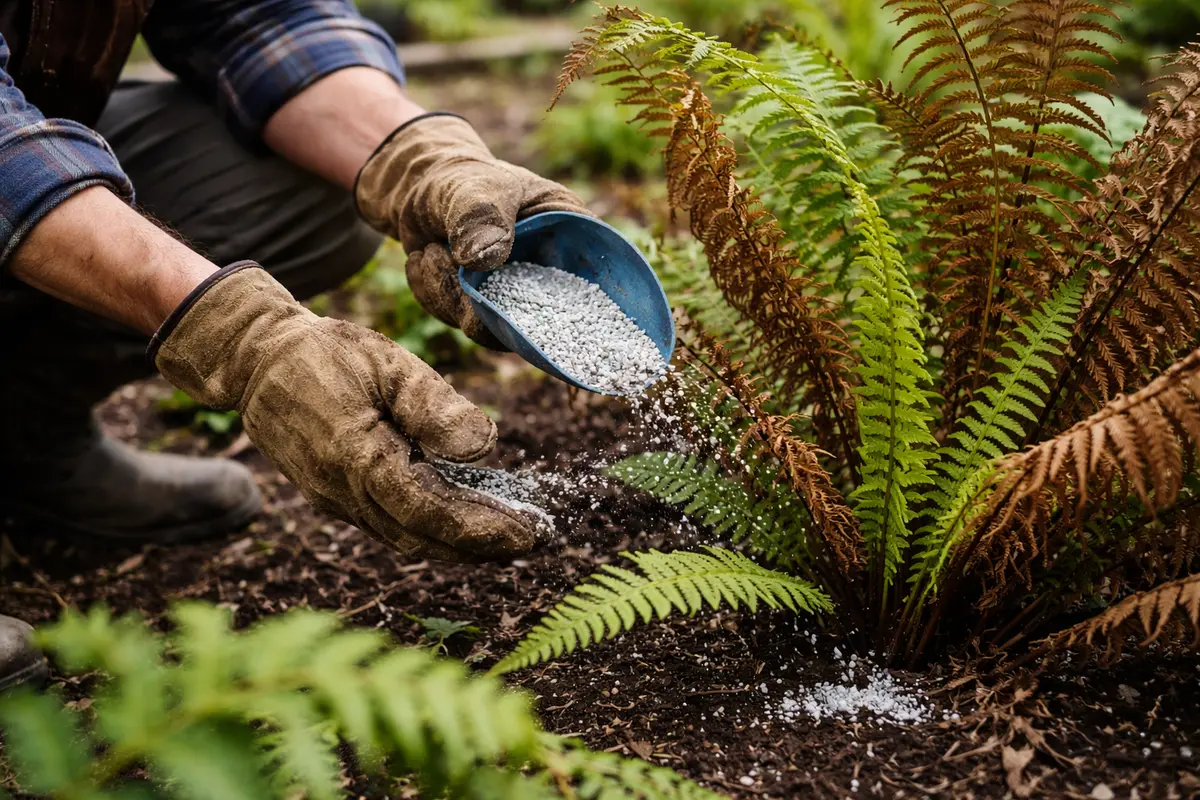
Apply a diluted liquid fertilizer specifically formulated for ferns. You will notice improved color and vibrancy in the healthy fronds within a week or two, showing that the plant is responding positively to the additional nutrients. Use a mix of balanced fertilizer at 1/4 strength to avoid overwhelming the recovering plant. Remember, fertilizing during the early morning or late afternoon minimizes risks of burning the tender leaves while optimizing nutrient absorption. If you’re uncertain, applying fertilizer diluted with an even greater margin could prevent nutrient shock. In cases where oversaturation seems a risk, consider utilizing a foliar feed to deliver nutrients directly to the leaf surfaces.
Using the right fertilizer helps replenish vital nutrients that might have been lost during the frost-induced stress, supporting recovery and growth as the fern regains its strength. Observing a green resurgence indicates your plant is responding well, and nutrient uptake is normalizing. A successful fertilizer application should lead to new growth within four weeks, which is an excellent sign of recovery. If growth fails to appear within this timeframe, re-evaluate the fertilization regimen, ensuring that the concentration remains appropriate and that no other environmental stressors could be hindering progress. If the fronds appear pale despite fertilization, it might indicate an iron or magnesium deficiency often caused by pH imbalances in the soil.
To prevent recurrent frost damage effects, consider fertilizing again in early spring and late summer when the plants typically enter growth spurts. A common mistake is to under-fertilize during the growing season, leading to weak growth and increased sensitivity to environmental stress. Additionally, the timing of fertilizer application is critical; applying it when the soil is dry can lead to root burn. If you still observe droopiness after fertilizing, ensure their environment is adequately humid and that they are receiving appropriate indirect sunlight to avoid further stress. Signs of inadequate light may include elongating fronds reaching toward the light source, indicating they are not robustly developing. If your indoor environment is too dry or fluctuates in temperature, use a humidity dome or a humidifier to support a more stable moisture level, as sudden changes can shock plants further and exacerbate existing damage.
Step 4 – Inspect Ferns for New Growth After Recovery
Start by checking your ferns every few days for signs of recovery from frost damage. Observe the leaves for new growth and monitor the firmness of the fronds; they should begin to stand upright as they regain strength. Recheck the soil moisture regularly to ensure it’s not overly saturated, which could hinder recovery.
A fully recovered fern will display vibrant, green fronds that stand tall and firm, with no signs of wilting or discoloration. In contrast, an early sign of the problem returning includes fronds that droop again or develop a yellowish tint, indicating stress or potential overwatering. If the leaves feel mushy instead of firm, that’s another red flag pointing to renewed issues.
If you notice the drooping returning despite following recovery steps, reinforce your monitoring habits and adjust watering practices to ensure proper drainage. If symptoms persist after a week, consider relocating the fern to a less exposed area or giving it a boost with a balanced fertilizer to help it thrive in its recovery process.
A fully recovered fern displays lush, bright green fronds with a firm texture, indicating robust health, while early signs of the problem returning are wilting or browning fronds that feel soft and limp. If fronds begin to curl at the edges or lose their color, this contrasts sharply with the confidence of fresh, vibrant growth seen in a recovered plant. If not vibrant green → check for adequate moisture and sunlight exposure.
If your ferns do not improve despite following these steps, consider reducing water to prevent root rot or apply a diluted liquid fertilizer to boost nutrients. If the situation does not improve, escalate by consulting with a local garden center for additional advice suited to your specific environmental conditions.
Monitoring the ferns closely will help you assess their recovery process. Healthy ferns typically showcase bright green, upright fronds as new growth emerges, while signs of drooping or browning imply that damage may still be affecting them more deeply. Regular checks allow you to make timely adjustments to care practices, ensuring your ferns thrive. You should attentively observe changes in leaf texture; recovery is often evident through hardening leaves returning to their usual plushness. A good rule of thumb is to monitor soil moisture; if the topmost layer of soil appears dry while the bottom is saturated, adjusting your watering schedule may be necessary.
If you discover that the fronds are not reviving as expected, reassess the watering schedule. Ferns prefer consistently moist but not soggy soil; for example, if the top 1-2 inches of soil feel dry, it’s time to water. A soggy, poorly draining medium may lead to root rot, especially since over-saturation can quickly turn formerly strong roots into mush. As a fallback approach, consider introducing a gentle, humidity-boosting environment to help the ferns flourish without additional stressors. Mist the fronds regularly or utilize a pebble tray to maintain humidity around the plants, preventing further frost damage while promoting optimal growth conditions. When the environment remains favorable, like maintaining relative humidity levels at around 50-70%, you can avoid experiencing repeated frost damage issues in the future. Observing moisture levels with gauge tools can help strike the right balance without oversaturation, aiding recovery efforts, and overall health.
FAQ
How long does it take for ferns to recover from frost damage?
Recovery can take several weeks, typically between 2 to 4 weeks, depending on the severity of the frost damage and environmental conditions. During this time, monitor their growth closely for signs of new fronds developing. If there are no signs of recovery after this period, it may indicate a need for adjusted care or ultimately seeking professional advice, especially if the fronds continue to droop in appearance. Engaging with local gardening experts can provide tailored strategies based on your specific fern variety and local climate.
Can frost damage spread to other plants?
Frost damage itself does not spread, but the weakened condition of affected ferns can render them susceptible to pests and diseases. Regular monitoring and proper care can prevent these secondary issues from arising. If you notice pests on frost-damaged ferns, such as aphids or spider mites, applying insecticidal soap promptly can mitigate broader infestations. Be vigilant, as monitoring neighboring plants is essential, especially if conditions remain stagnant, thereby preventing an unexpected outbreak.
Should I remove all frozen leaves from my ferns?
Only remove leaves that are significantly damaged or completely dead. Leaving some healthy foliage intact can expedite the fern’s recovery. Always prioritize trimming what is necessary without removing viable fronds, as these will contribute to rejuvenation. If in doubt, gently tug on a frond; if it comes away easily, it is likely dead; if you feel resistance, leave it on. It may also be prudent to clean your tools between cuts to avoid spreading potential pathogens while trimming, ensuring your ferns have the best chance to recover quickly. This diligence helps foster a healthy recovery environment by minimizing exposure to disease.