You may notice your zinnias looking less vibrant as summer drags on, with unwelcome signs like brown spots appearing on their leaves, which is why you need to know why do my zinnias have brown spots during late summer. This discoloration is often caused by fungal diseases or environmental stress that manifests as unsightly spots, potentially leading to further decline in your plants. If left unaddressed, this issue can spread and weaken the plant, making it harder to restore its health, but you can fix it now by inspecting for disease, removing infected leaves, and adjusting your watering practices.
Step 1 – Trim Zinnias with Brown Spots Quickly
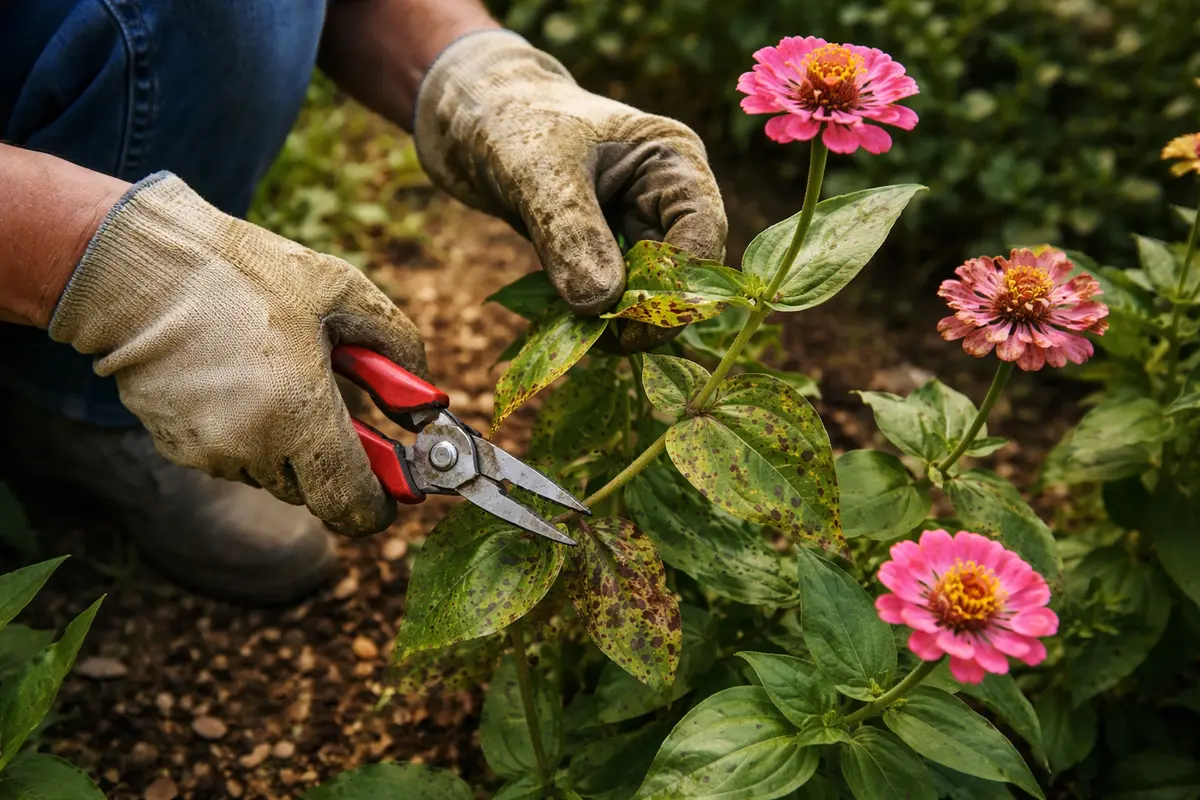
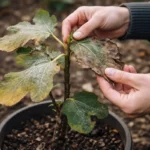
Start by removing any leaves with visible brown spots immediately. You will notice a decrease in the spread of discoloration within just a few days, allowing the healthy parts of the plant to flourish. The urgency of this action cannot be overstated—delays may lead to further infection throughout the plant.
Quickly cutting away affected leaves stops the spread of any potential fungal infection and improves air circulation around the remaining healthy foliage. Zinnias that show these brown spots are often under stress from excess moisture or low airflow, which can lead to fungal growth. By trimming away the infected parts, you provide the plant a better chance to heal and thrive, allowing for new growth to emerge more robustly. Aim to cut back to the leaf node, which increases the potential for fresh growth to sprout from the base. If the cuts are clean and made at an angle, it helps reduce the chance of disease introduction through the wound.
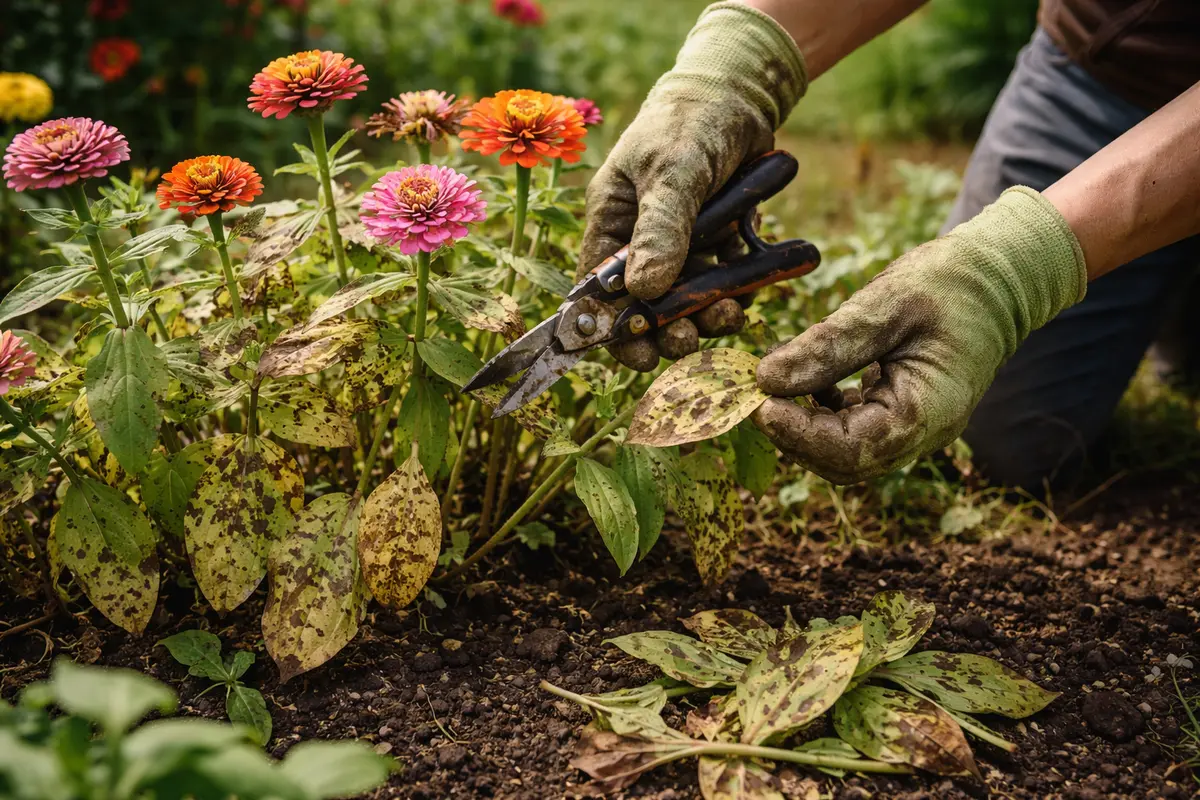
Gardeners commonly hesitate to remove damaged leaves, thinking it may harm the plant further. However, not acting swiftly can lead to greater infection and require more intensive care later. If multiple leaves are involved, inspect to ensure that you trim back to healthy tissue to promote recovery. Furthermore, it can be wise to sanitize your pruning shears before and after each cut, reducing the risk of transferring diseases from one plant part to another. Check nearby plants or broader patches to see if they also exhibit symptoms, as this can give a clearer picture of how widespread the problem may be. If brown spots appear on neighboring plants, apply the same immediate trimming strategy to prevent cross-contamination.
Step 2 – Assess Fungal Infection on Zinnia Leaves
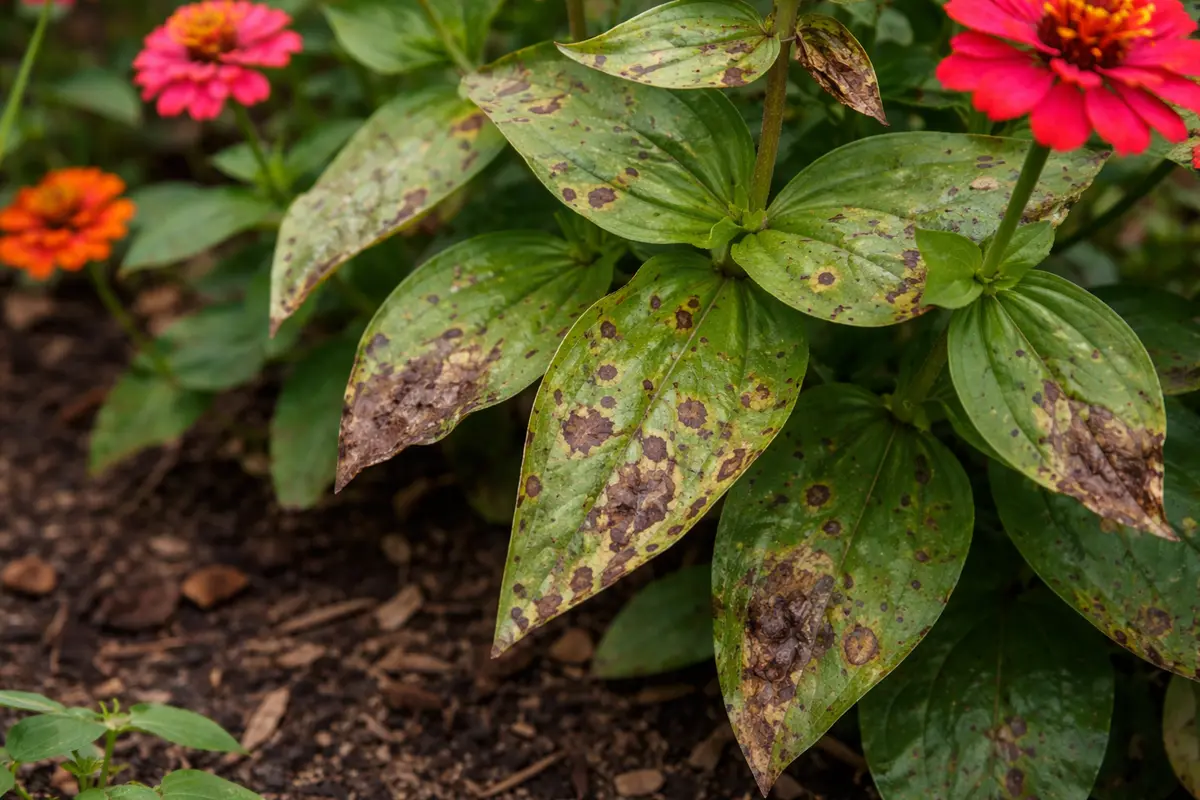
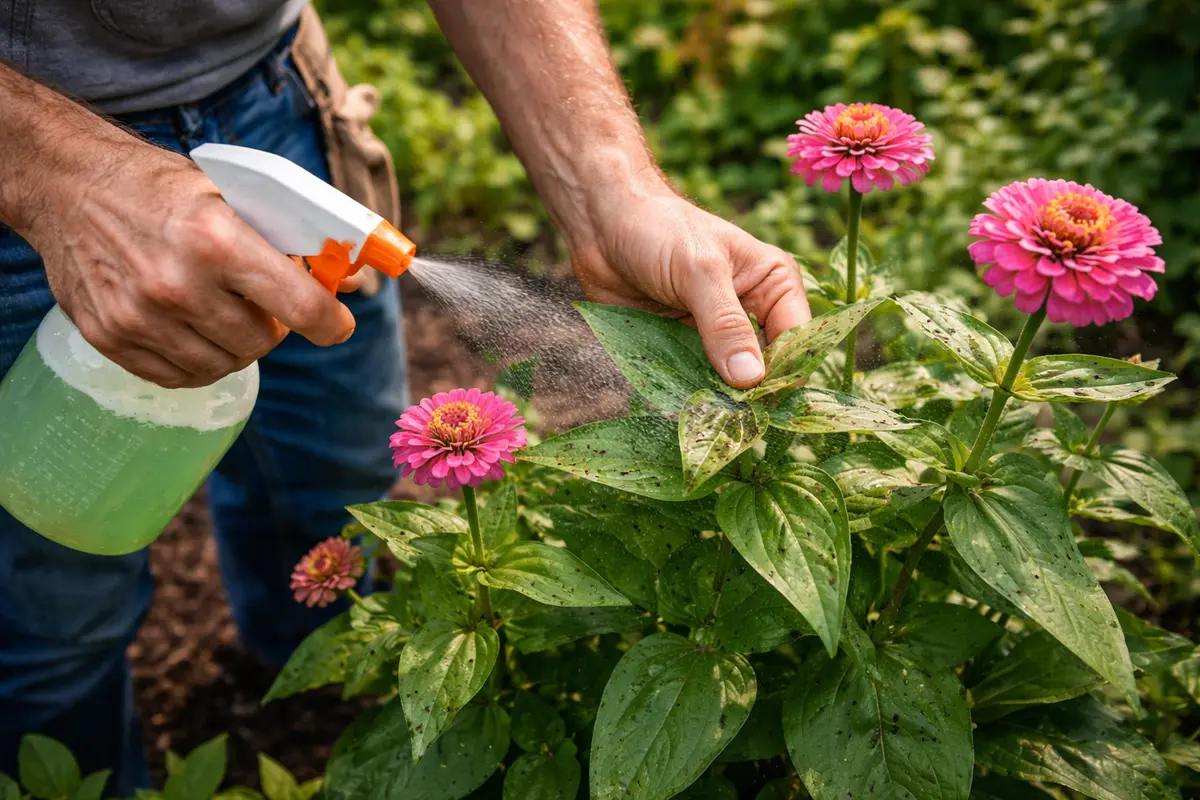
Start by examining the zinnias for signs of fungal infection by checking the undersides of leaves for fuzzy growth. If you detect brown spots with a yellow halo around them, remove the affected leaves immediately and apply a fungicide. You should see healthier foliage within a week as new growth emerges, free of such blemishes.
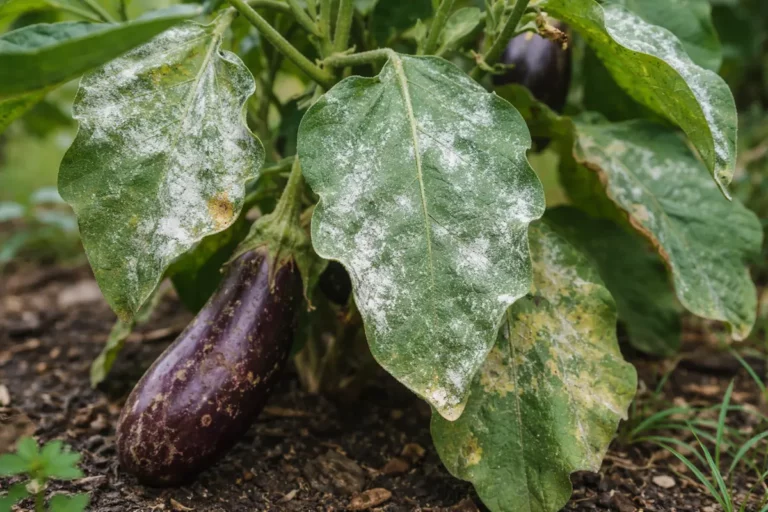
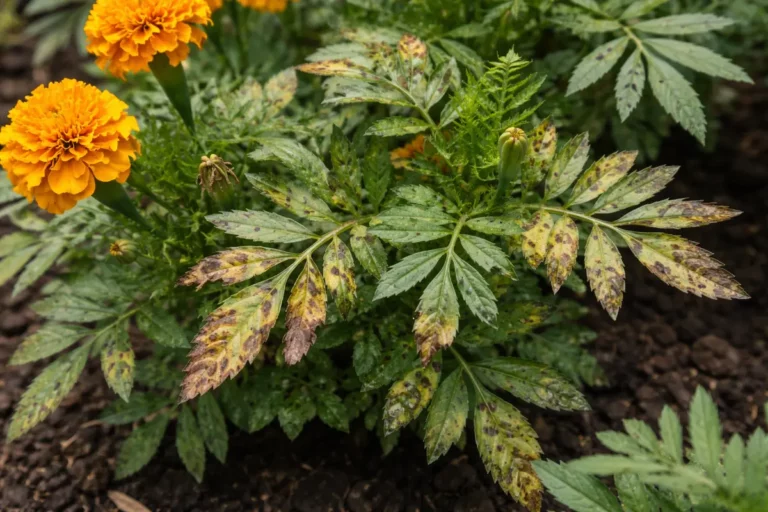
The brown spots on your zinnias are often a symptom of a fungal disease such as Alternaria or Cercospora leaf spot, which thrives in warm, humid conditions typical of late summer. As the fungus proliferates, it disrupts the plant’s ability to photosynthesize effectively, leading to visible leaf damage and affecting the overall vitality of the plant. If your zinnias are only showing minor yellowing at the edges, instead check for aphids or other pests that might be causing stress.
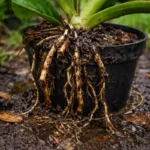
If you discover the soil feels excessively damp and emits a sour odor, it indicates overwatering issues that promote root rot, a separate but related problem. In this case, reduce watering and improve soil drainage to help restore root health. Otherwise, if the soil appears too dry, consider a thorough soak to rehydrate the roots without over-saturating them.
Spider mites thrive in hot, dry conditions, sucking the sap from leaves and leading to brown spots and stippling on the foliage. As their populations increase, the leaves may yellow and drop prematurely, while untreated plants could develop even further damage. If you observe brown spots but no visible pests, check for a fungal infection, which would require a different treatment approach.
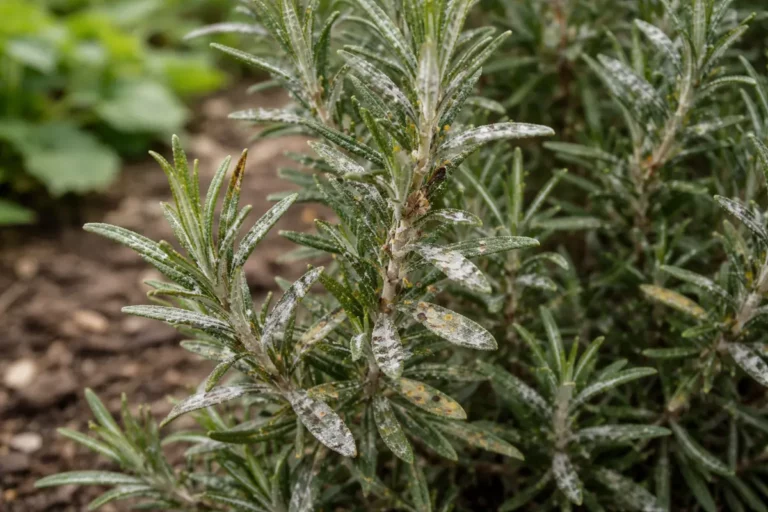
If the leaves emit a musty odor or show signs of fungal growth, switch to a fungicide specifically designed for zinnia diseases, such as powdery mildew. Alternatively, if the spots appear more as water-soaked lesions, assess the watering practices to avoid over-saturation, which can lead to root rot. Adjust to a consistent but moderate watering schedule to prevent further issues.
Fungal infections thrive in warm, damp conditions typical of late summer, especially if zinnias are watered incorrectly or crowded in beds. Signs of fungus include yellowing leaves with brown spots, or black spots that may have a halo effect. Identifying the problem early allows you to address it before it escalates to systemic failure of the plant. If left unchecked, such fungal infections can cause complete defoliation; this means serious long-term consequences for the plant’s growth potential and flowering ability. If you notice that the lower leaves are the most affected while the tops appear healthy, this indicates poor air circulation and requires immediate remedial action.
If your zinnias are in heavy, clay-rich soil, the risk of standing water increases, necessitating proper drainage checks. Dig down about six inches near the base—if the soil remains consistently wet at that depth, you may need to amend it with organic matter to improve drainage. Alternatively, if the leaves appear mostly healthy but brown spots seem to be new, this might indicate overwatering rather than a fungal issue, thereby requiring different corrective measures. Adjust your watering regimen by assessing soil moisture; if it feels soggy, cut back and allow the soil to dry out before the next watering. Over time, zinnias prefer soil that is slightly dry; consistency in soil moisture helps them build a robust root system.
Step 3 – Revitalize Zinnias After Fungal Attack
Apply a systemic fungicide to the soil around your zinnias immediately after trimming any affected leaves. In about a week, you should start to see the remaining healthy leaves perk up and show signs of new growth. Always follow the manufacturer’s instructions carefully, as applying too little might not address the problem, while over-applying can harm the plant. A typical dosage includes about a fluid ounce per gallon of water, but factors such as soil condition can affect application needs.
The fungicide targets specific pathogens infecting your zinnias while supporting root health by delivering nutrients necessary for recovery. A well-fed plant will develop more robust leaves and stems, improving its overall resilience. Healthy zinnias are better equipped to fend off future infections, so this treatment not only addresses the current issue but helps enhance the plant’s growth for the rest of the season. It’s also wise to check for any excess moisture around the roots, as over-saturation can contribute to nutrient lockout, reducing the fungicide’s effectiveness. A simple rule of thumb is to ensure the soil feels dry an inch below the surface before applying any additional water.
Common mistakes include applying excessive fertilizer at this juncture, which can stress the plant further as it tries to recover. If the soil has too many nutrients, zinnias may redirect energy from fighting the infection to growth, leaving them vulnerable. Keeping a close eye on moisture levels is crucial during this phase—if rainfall unexpectedly increases, adjust your water practices accordingly. Avoid watering overhead if possible, as this can further favor fungal growth. Do not let water accumulate around the base, as this can lead to root rot and weaken the plant over time. If you notice that the leaves stay yellow despite treatment, you might consider a soil test to understand nutrient deficiencies better or adjusting your fertilization strategy to account for specific needs based on what the test reveals.
Step 4 – Protect Zinnias from Future Brown Spots
Start by implementing a regular watering schedule that ensures your zinnias receive deep, consistent moisture. This practice will reduce the likelihood of stress during hot late summer days, ultimately preventing the brown spots caused by leaf spot diseases.
Brown spots often occur when zinnias are subjected to inconsistent watering, especially during dry spells. When plants are over- or under-watered, they become more susceptible to diseases like Alternaria or Septoria leaf spot. By establishing a thorough watering routine, you address the root cause by maintaining even soil moisture that promotes resilience against such fungal infections.
In addition to regular watering, apply a layer of mulch around your zinnias to conserve soil moisture and regulate temperature. If you notice brown spots during a particularly hot week, ensure that the mulch is at least 2-3 inches thick; if not this, then check for pests that could also contribute to stress.
Inconsistent watering practices often lead to brown spots as zinnias either dry out or sit in overly damp conditions. By ensuring a routine with intervals that account for weather changes, you ultimately enhance resilience to pathogens. Implementing mulch at the base of your plants can also regulate moisture levels and keep roots cool, assisting in preventing similar issues during fluctuating summer conditions. It’s beneficial to use organic mulches, as they will break down and improve soil structure over time. Aim for a mulch thickness of at least 2-3 inches, keeping it away from the stems to avoid decay.
As the heat intensifies, consider adjusting your watering frequency every week, especially when leaving for holidays or periods of little rain. Many gardeners overlook this, thinking summer weather will maintain their plants, which can lead to trouble, especially in southern climates where temperatures consistently soar. Note when temperatures regularly exceed 85°F, and adjust accordingly by increasing watering frequency. Additionally, it’s helpful to monitor closely for nursery-induced soil issues—this could necessitate a more aggressive preventative approach. If the issue persists, consider rotating your planting locations next season as zinnias can become more prone to diseases in certain areas over time.
Step 5 – Inspect Zinnias for Signs of Disease Weekly
Start by examining your zinnias closely for signs of brown spots. Check the undersides of leaves, stems, and soil conditions at the base of the plants for disease or pests. Look for changes in appearance over the next few days, aiming for signs of rejuvenation like healthier foliage or reduced discoloration.
A fully recovered plant displays vibrant green leaves with a smooth texture, showcasing full blooms that are bright and colorful. In contrast, if problems return, you’ll notice brown spots reappearing, typically showing a dry, crispy texture on leaves. If you see yellowing near the base, check your watering schedule, as inconsistent moisture can lead to stress.
If the brown spots persist despite good care, try applying an organic fungicide to combat fungal infections. Review watering practices to avoid oversaturation, which can worsen issues if drainage is poor. If symptoms do not improve, escalate by consulting a local extension service for targeted advice.
During each inspection, the plants should appear vibrant and have new growth, which suggests recovery is on track. A gradual return of the vibrant color in healthy leaves and their ability to stand upright is a good indicator of overall health returning. Conversely, any new discolorations or wilting suggest that conditions have not stabilized and further action is required immediately. If recovery does not result in strong new growth within two weeks, it may be necessary to reassess nutrient levels and soil composition. Pay particular attention to areas with high humidity or recent rain, as these conditions can exacerbate any latent fungal infections.
If you notice the return of brown spots, consider revisiting your watering practices or examining surrounding plants for pests that could be causing stress. A reapplication of fungicide might be prudent if the visible symptoms persist despite other changes. This proactive monitoring will prevent a full-blown outbreak, allowing for necessary action before becoming unmanageable. Additionally, note any changes in weather conditions that may contribute to plant stress and require adjustments in your care regimen. A sudden shift in conditions, like unexpected heavy rainfall or prolonged heatwaves, can create an environment ripe for fungal growth, requiring adjustments to watering frequency and pest control measures.
FAQ
How long does it take for zinnias to recover from brown spots?
Recovery can typically occur within 1-2 weeks after initial treatment if the environmental conditions are favorable. Regular monitoring and care will promote the healing process, but some cases may take longer, especially if there’s extensive damage or persistent moisture issues. A consistent watering schedule and observation for new symptoms can aid recovery.
Can brown spots on zinnias spread to other plants?
Yes, if the brown spots are caused by a fungal infection, they can potentially spread to nearby plants through airborne spores or physical contact. It’s advisable to isolate infected plants and maintain proper care to reduce the risk of transmission. You may consider disposing of any plant material that has shown signs of severe infection to prevent possible spore dispersal into the garden, and keep a distance from healthy plants during this process.
Should I remove all affected parts of the zinnia?
While it’s crucial to remove damaged leaves, focus on cutting only those that exhibit symptoms. Trimming excessively can stress the plant, so aim to only eliminate the visibly infected areas to encourage healthy growth. If unsure, only remove what seems clearly damaged to minimize stress to the plant while still addressing the issue. Regularly reassessing the situation every week will help maintain a healthy balance between managing symptoms and allowing the plant to thrive.