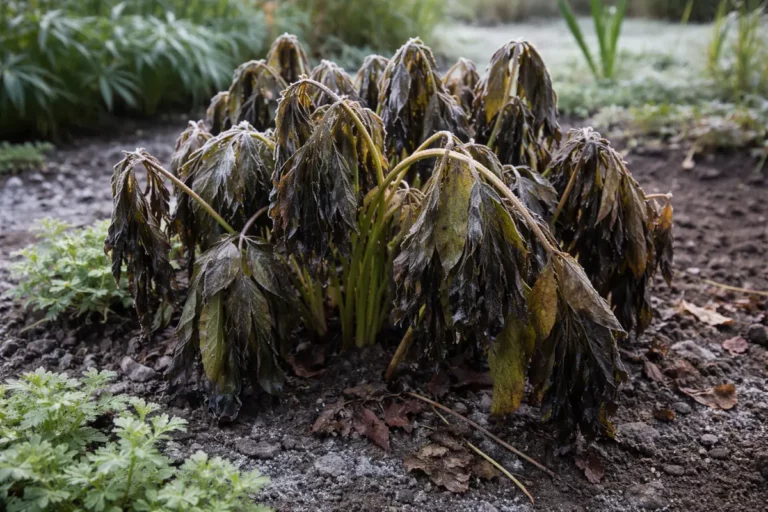
You may notice your orchids looking healthy yet failing to produce blooms, which is why you need to know why are my orchids not flowering after repotting. This often stems from stress caused by root disturbance, leading to drooping leaves and an inability to flower. If left unaddressed, this stall in growth can worsen, making recovery harder; however, you can improve the situation by checking the moisture levels and adjusting the light conditions to encourage flowering.
Step 1 – Inspect Orchid Roots for Signs of Distress
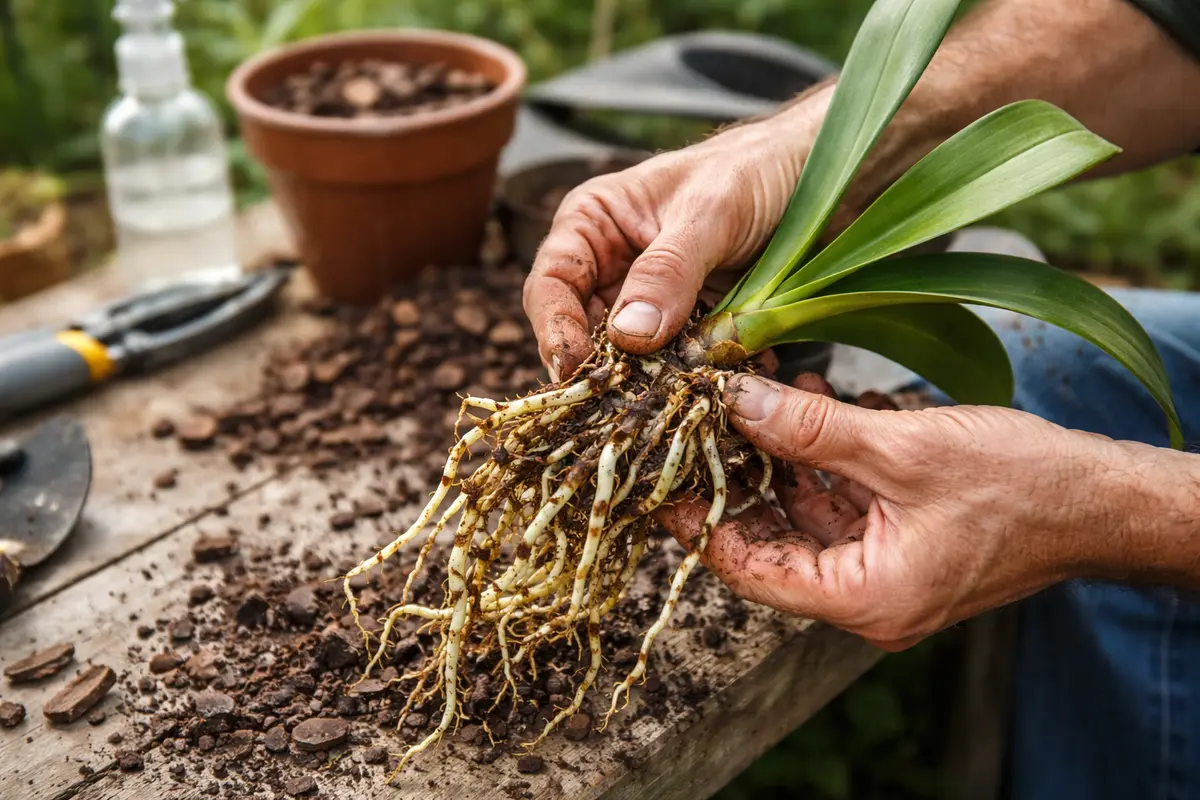
Examine the roots of your orchids to check for any signs of distress. You should observe whether the roots are firm or mushy and if they show any discoloration as you inspect them closely. Look for any off-putting smells that may indicate decay. Clear green, plump roots are signs of a healthy plant; conversely, roots that feel soft and mushy are alarming indicators that something may be wrong.
Healthy root systems are essential for orchids, as they facilitate water and nutrient uptake. Roots that are mushy and dark typically indicate rot, which usually results from excess moisture retention post-repotting. When examining the roots, if you find that they are slimy or brown, this indicates a critical issue that requires immediate attention. The sooner you can recognize these conditions, the better your chances are of saving the orchid. Pay attention to the root color; bright green or white roots indicate health, while black or brown roots signal rot. When growth outpaces available nutrients, watch for drooping wisteria after transplant shock near.
Many gardeners neglect the root inspection, mistakenly believing that a top-down view is sufficient for assessing plant health. This oversight can lead them to overlook crucial signs of distress that occur below the soil surface. If the roots are severely damaged, consider repotting with a substrate that improves drainage to prevent rot in the future. Additionally, always use sterile tools when touching the roots to avoid introducing pathogens, which can worsen the damage already done. For instance, if you find any dead or decaying roots, remove them immediately to prevent further decay from spreading. If you’re uncertain about the root health, take note of the potting medium; a healthy mix will have good aeration and be coarse enough to allow drainage.
Step 2 – Diagnose Possible Watering Issues After Repotting
Assess the moisture level of the potting mix to determine if overwatering has occurred. You should notice whether the soil feels overly wet or retains water when you test it with your fingers. If the texture is soggy or the soil clumps together with moisture, this often indicates poor drainage. Allow your fingers to dig slightly into the substrate — if they come out caked in wet soil, overwatering is likely.
Orchids thrive on a precise watering schedule tailored to their species, and their environment post-repotting can shift significantly. Newly potted orchids might undergo shock, resulting in changed water requirements; if the potting mix is heavy or compacted, it may retain too much moisture. If you observe a sour smell emanating from the soil, this is a clear indication of root rot. Allowing the substrate to dry out entirely before watering again is essential. Failing to adjust your watering schedule following repotting can lead to critical failures in the plant’s recovery, leading to non-flowering conditions. If the top inch of soil feels dry while the deeper layers feel moist, consider allowing the surface layers to dry out completely.
Common mistakes include forgetting to probe the potting medium’s moisture levels. Many gardeners continue their previous watering schedules without considering the new potting mix, risking further complications. If you notice the orchid’s leaves are drooping or shriveling alongside wet soil, this signals trouble — potentially an imbalance that is affecting nutrient absorption. Implementing a check for moisture daily can help find the sweet spot needed for recovery. Furthermore, consider environmental factors such as room temperature and humidity levels having a direct impact on how quickly the potting medium dries out. Adjust your watering frequency accordingly in response to these factors to avoid contributing to the original problem.
Step 3 – Provide Balanced Nutrients to Revive Orchid Growth
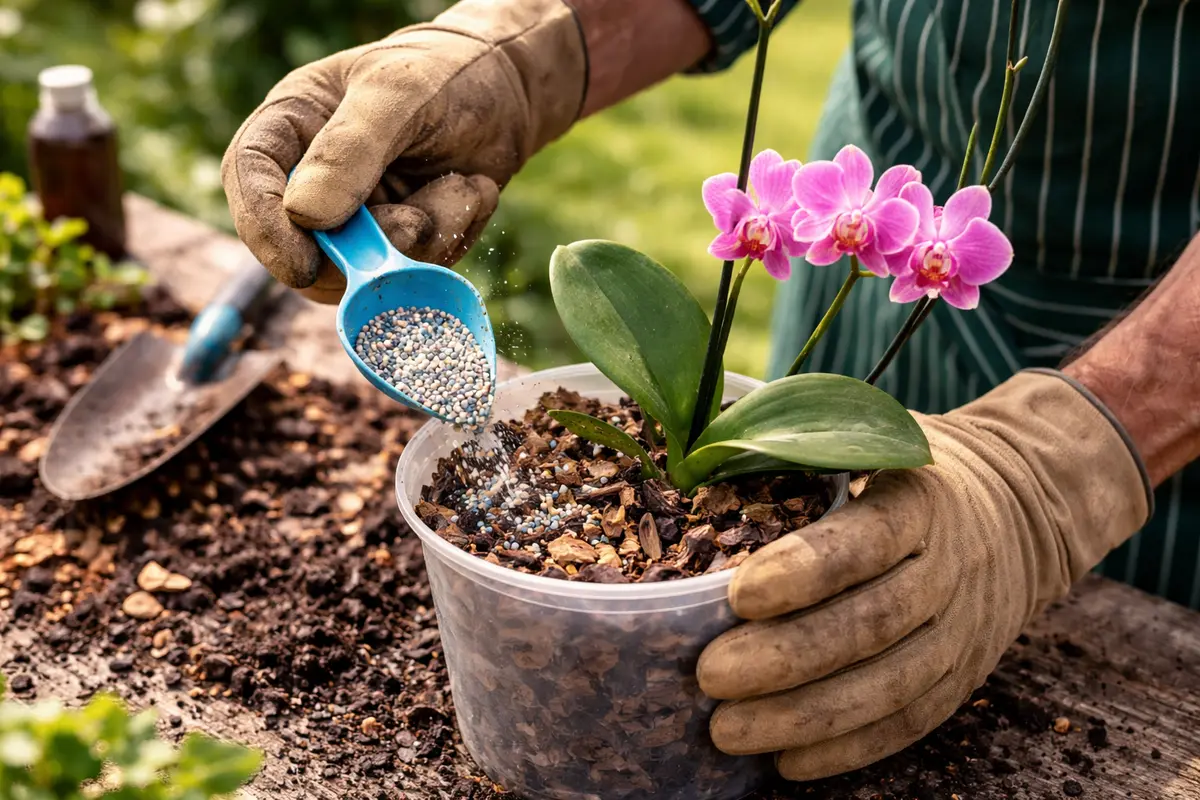
Start applying a balanced orchid-specific fertilizer to promote recovery and encourage new growth. You will see improved vigor and greener growth on the leaves usually within a couple of weeks of proper fertilization. This approach supports overall plant health and ensures that all parts function efficiently as they recover. It’s crucial to select a fertilizer that has a balanced N-P-K ratio, such as 30-10-10, particularly during the growing season.
Essential nutrients play a crucial role, especially after the stress associated with repotting. Careful selection of a fertilizer rich in macronutrients such as nitrogen, phosphorus, and potassium can successfully facilitate recovery and stimulate blooming later on. Always read the fertilizer instructions carefully — a common mistake is over-fertilizing in haste, as excessive nutrients can lead to salt build-up, which can damage the roots further. Pay attention to your orchid’s growth; if you observe robust green growth, it is a good sign that your fertilizer plan is working. Ensure that you use the recommended dilution rates; typically, half or a quarter strength at first is sufficient.
However, if the new growth begins to appear weak or pale after fertilization, it may indicate the soil is not retaining nutrients effectively, urging the need for a soil change or further nutrient adjustments. Frequent inspections in the weeks following feeding will help you maintain awareness of any changes in growth patterns. If blooming could be delayed, try reducing feed amounts or increasing dilution, particularly if you sense the plant is struggling with the nutrient load. It’s also wise to flush the potting media with water every month to wash away excess salts that can accumulate from the fertilizer. Ensuring a balanced nutrient intake is vital in promoting healthy and sustainable growth.
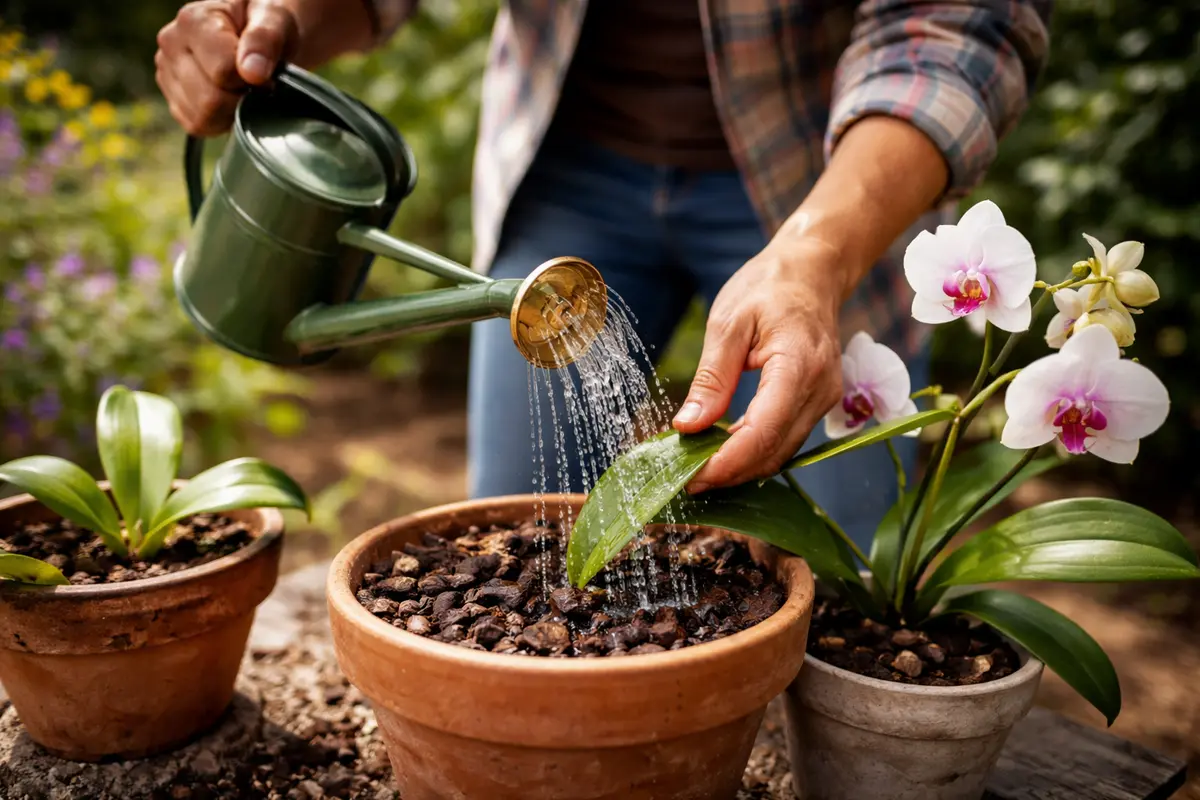
Step 4 – Water Orchids Correctly to Avoid Flowering Issues
Start by ensuring your orchids receive the correct light exposure by placing them in a location that gets bright, indirect sunlight. Over time, this consistent light source will encourage budding and flowering, helping your orchids to thrive and blossom beautifully.
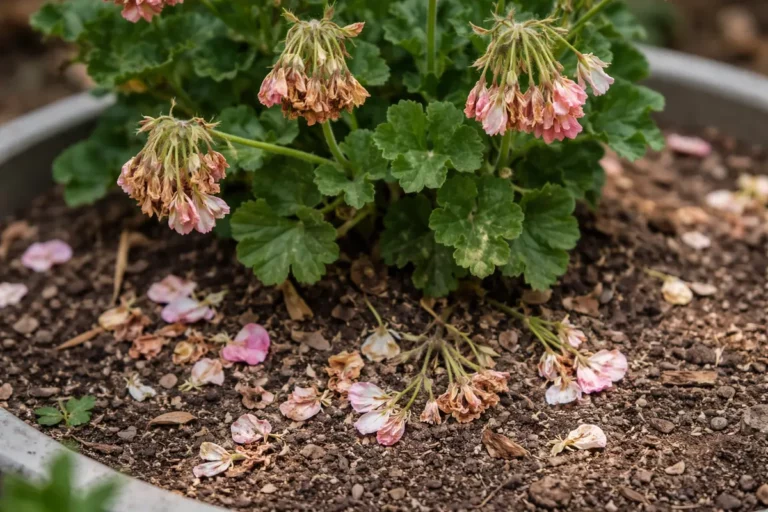
Orchids thrive best in environments that mimic their natural habitats, typically with filtered light and humidity levels between 40-60%. When repotted, some orchids may initially struggle if moved to a darker spot or overly dry area, leading to a lack of flowering. If you notice leaves turning yellow and falling off, check that your lighting is adequate, and adjust the position of your orchid accordingly.
During the winter months, you may need to adjust the light exposure further, as natural sunlight diminishes. Consider using a grow light if your orchids are not getting enough light during this season, since inadequate light can halt the flowering process. If your orchids show new leaf growth but still no flowers, check that the light and humidity are appropriate for your specific orchid variety.
A regulated watering routine is a cornerstone of orchid care that prevents common flowering-related problems. Overwatering leads to root drown, while underwatering contributes to dehydration signs, stunting blooming potential. Adaptations might be necessary depending on the climate; for instance, during hotter months, higher humidity may require more frequent watering, while winter months may lessen the need. Regularly checking the potting medium’s moisture level is critical. The pots should have drainage holes; if they have none, consider transplanting your orchid to aid proper water flow.
Gardeners often struggle to maintain an efficient watering schedule due to the fluctuating environmental conditions; a decent rule of thumb is to check the pot every few days initially after repotting, and adjust your routine based on the moisture you observe at that point. Consider using a moisture meter for precision, or visually ensure the pot drains well and does not sit in water. Not making these adjustments can lead to poor root health and, consequently, failed flowering cycles. Watch out for signs like yellowing leaves or shriveling that can indicate a problem, prompting you to change your watering strategy immediately.
Step 5 – Check for New Growth on Orchids Weekly
Start by monitoring your orchid closely for signs of distress after repotting. Check the roots for healthy growth, ensuring they are firm and white or green, without any mushy tips. Observe the leaves for discoloration or wilting, which typically indicates stress, and recheck every week for any changes in vigor or blooming activity.
A fully recovered orchid will display vibrant green leaves that are firm to the touch and exhibit strong root activity, with roots expanding into the new potting medium. In contrast, early signs of the problem returning include yellowing leaves that may feel soft or limp, and roots turning brown, which indicates potential rot. If the leaves remain lifeless and roots are dry and shriveled, then check your watering frequency to ensure proper hydration.
If flower production does not resume despite proper monitoring and care, consider adjusting the light exposure or nutrient levels. You may need to provide a balanced orchid fertilizer, ensuring it has the right N-P-K ratio suitable for bloom support. If the situation persists after making these adjustments, escalate the issue by consulting a local orchid society or expert for tailored advice.
Regular monitoring helps you catch any resurgence of issues early, ensuring your orchids remain on a path to recovery. Successful recovery is characterized by the presence of new leaf growth and vigorous roots, all free from signs of rot or distress. Noting any progress provides reassurance that your splits are returning to blooming stage. If this growth is absent after a couple of weeks, reassessing your care strategies is essential. Do keep an eye on the thickness and color of the roots, too — they should not only be extending but appear vibrant and healthy.
If the orchid remains stagnant, it could signify resource and nutrient deficiencies or improper irrigation practices. Neglecting these signs can delay flowering and compromise overall plant health. Documenting growth patterns weekly can enhance your knowledge about the timing and signs of blooming. Invest time in understanding how your particular orchid species behaves during recovery; knowing what normal growth looks like can help you catch problems sooner. If issues persist, consider seeking advice from an orchid expert or utilizing resources for advanced growing techniques as necessary, as the nuances in care can differ significantly between species.
FAQ
How long does it take for orchids to bloom again after repotting?
It typically takes around a few weeks to a couple of months for orchids to readjust and bloom after repotting, depending on the health of the plant and environmental conditions. Providing adequate care during this period increases the chances of timely flowering, as proper light, humidity, and nutrients play significant roles. Keep in mind that some orchids may not bloom for several months, especially if repotted during their dormant phase.
Can overwatering affect my orchid’s ability to flower?
Yes, overwatering can lead to root rot, which severely affects your orchid’s health and can prevent it from flowering. Keeping to an appropriate watering schedule is essential, and allowing the plant to dry out between waterings is crucial for preventing this issue. If left unchecked, extended periods of wetness can lead to a cycle of declining health and eventual failure to bloom.
Should I remove any damaged roots to promote new growth?
Yes, removing any visibly damaged or rotten roots can facilitate healthier growth and aid in the recovery process. Pruning helps redirect the plant’s energy toward maintaining healthy tissues, improving overall health and encouraging blooming in the long term. It’s vital to use sterilized tools for this task to avoid introducing additional pathogens, which could further impair growth.