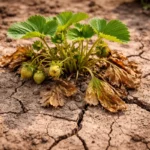
You may notice that your gardenias are developing discolored spots after humid nights, which is why you need to know how to treat pest issues on gardenias after humid nights. This damage often occurs due to pests like aphids or spider mites, leading to yellowing leaves and leaf drop that can shock the plant. If left untreated, the infestation can spread and weaken the plant, making recovery harder to fix. Fortunately, you can address this issue now by monitoring for pests, adjusting care routines, and applying appropriate treatments.
Step 1 – Inspect Gardenias for Pest Infestations
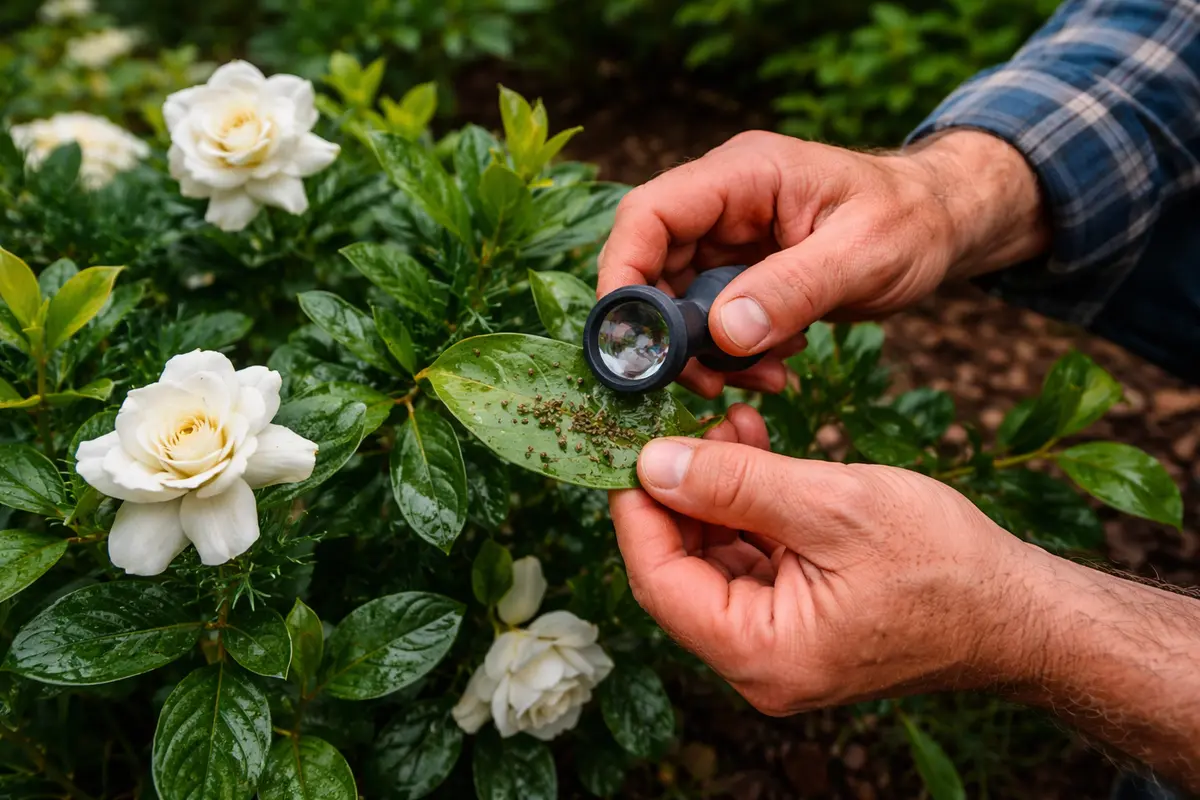
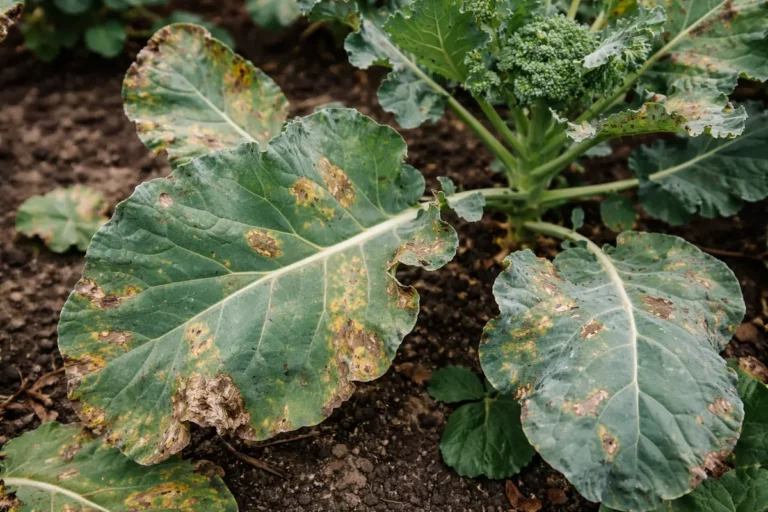
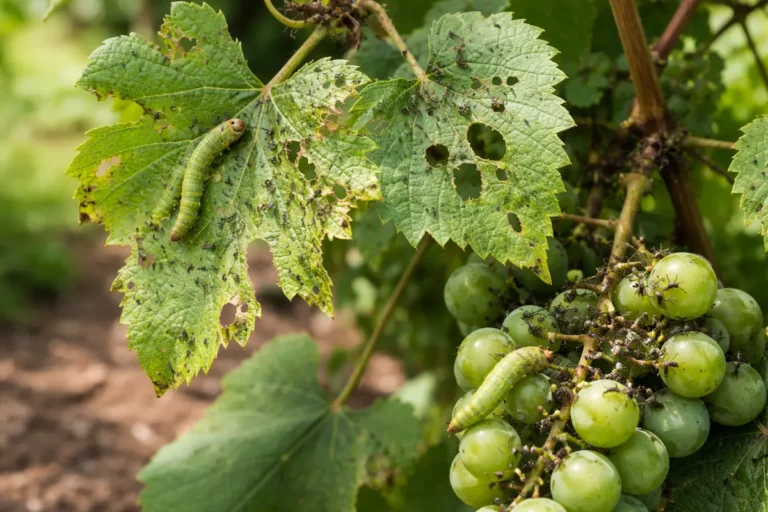
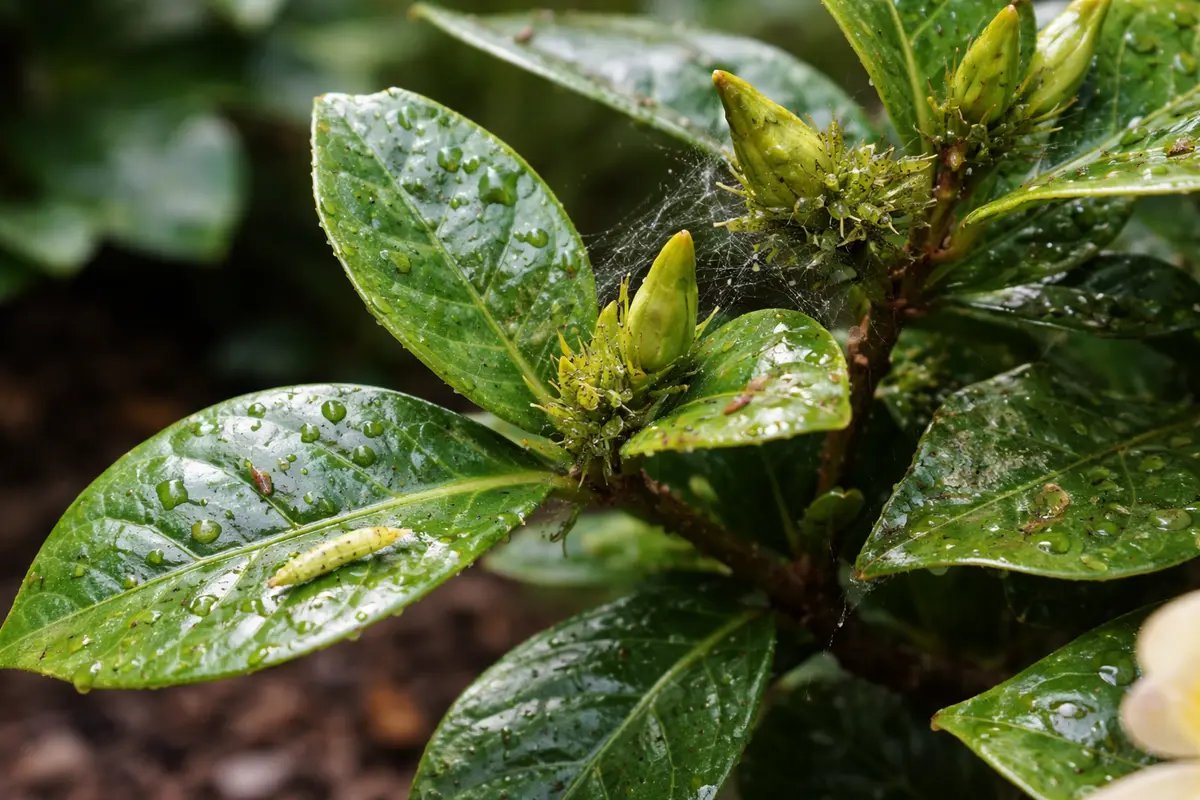
Begin by closely inspecting the leaves and stems of your gardenias for small insects and sticky residues, as well as checking for signs of wilting. You will notice if pests like aphids, spider mites, or mealybugs are present, as they often leave black sooty mold or honeydew on the leaves, which can also attract other insects. Pay particular attention to leaf undersides, where these pests often congregate, as this is where they are likely to reproduce.
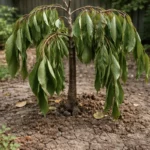
Early intervention is crucial because pest infestations can quickly escalate, overwhelming the plant’s defenses. The soft-bodied insects such as aphids sap vital nutrients from your gardenias, compromising their health and vigor. If you notice distorted leaf growth or stunted plants, it indicates that the pests are actively undermining the plant’s structures. In some cases, severely infested plants may show signs of severe wilting, indicating that the pests have affected their ability to transport water, ultimately jeopardizing your gardenia’s overall health.
A common mistake gardeners make at this stage is assuming they can wait to see if the problem resolves itself. However, by the time visible damage appears, the pests may have multiplied significantly. For instance, if you don’t act quickly, the pest population can explode overnight, especially in the high humidity that promotes breeding. Pay particular attention to hidden areas like the leaf axils; if you see webbing or discoloration, that indicates ongoing pest activity and calls for immediate action.
Step 2 – Diagnose Fungal Problems on Gardenia Leaves
Start by examining the leaves and stems of your gardenias for signs of pests such as aphids, spider mites, or whiteflies. Remove any visible pests by wiping the foliage with a damp cloth or spraying them with a strong jet of water. After this action, you should observe a decrease in pest activity and improved leaf appearance within a few days.
Gardenias often attract pests when humidity is high, as conditions favor their reproduction and feeding. Aphids and spider mites thrive in moist environments; they can weaken the plant by sucking the sap and cause yellowing leaves or wilting if left untreated. If you notice a sticky residue or webbing on the leaves, it’s a clear sign of pest infestation needing immediate attention.
If your gardenias show wilting but the leaves appear free of pests, check the soil moisture level. Overly saturated soil can lead to root rot, which mimics pest damage by affecting nutrient uptake. If the soil smells sour, improve drainage or consider repotting to fresh soil, as this will prevent further issues.
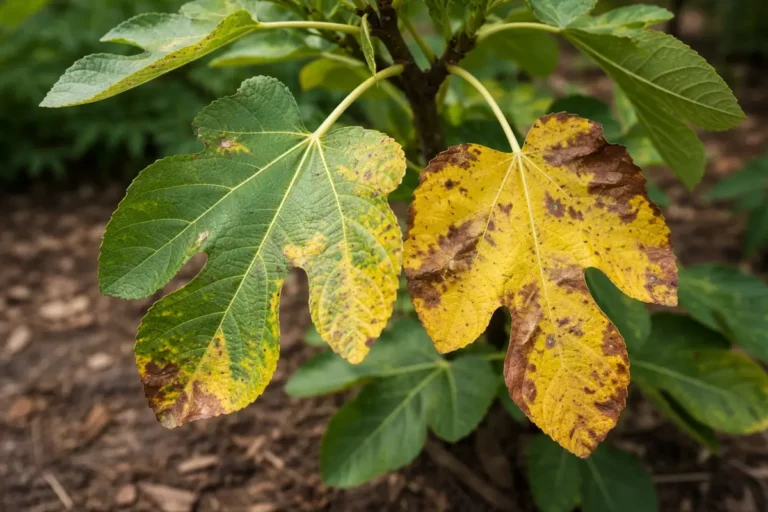
Fungal issues often arise after heavy, humid conditions that trap moisture in leaf crevices, leading to diseases like powdery mildew or leaf spot. For example, if the gardenias are placed in overly shaded and humid environments, they are more susceptible to fungal outbreaks. Reducing moisture promptly by increasing air circulation and utilizing fungicides can effectively prevent further spread and damage to the plants. Without proper air circulation, the trapped moisture can create a perfect breeding ground for pathogens.
If you notice brown spots on the leaves followed by an oily residue, it indicates rising humidity levels, a common culprit in fungal infections. Shifting gardenias to a well-ventilated location can significantly enhance their recovery by allowing moisture to evaporate more quickly. Additionally, if they are consistently in a damp area, consider moving them to a sunnier location that still provides some protection from direct afternoon sun. Ultimately, if the issue persists after treatment or begins to affect multiple leaves, it may require a stronger fungicide, or consultation with a professional gardener may be warranted to determine further courses of action for a more sustainable solution.
Step 3 – Treat Affected Gardenias with Essential Oils
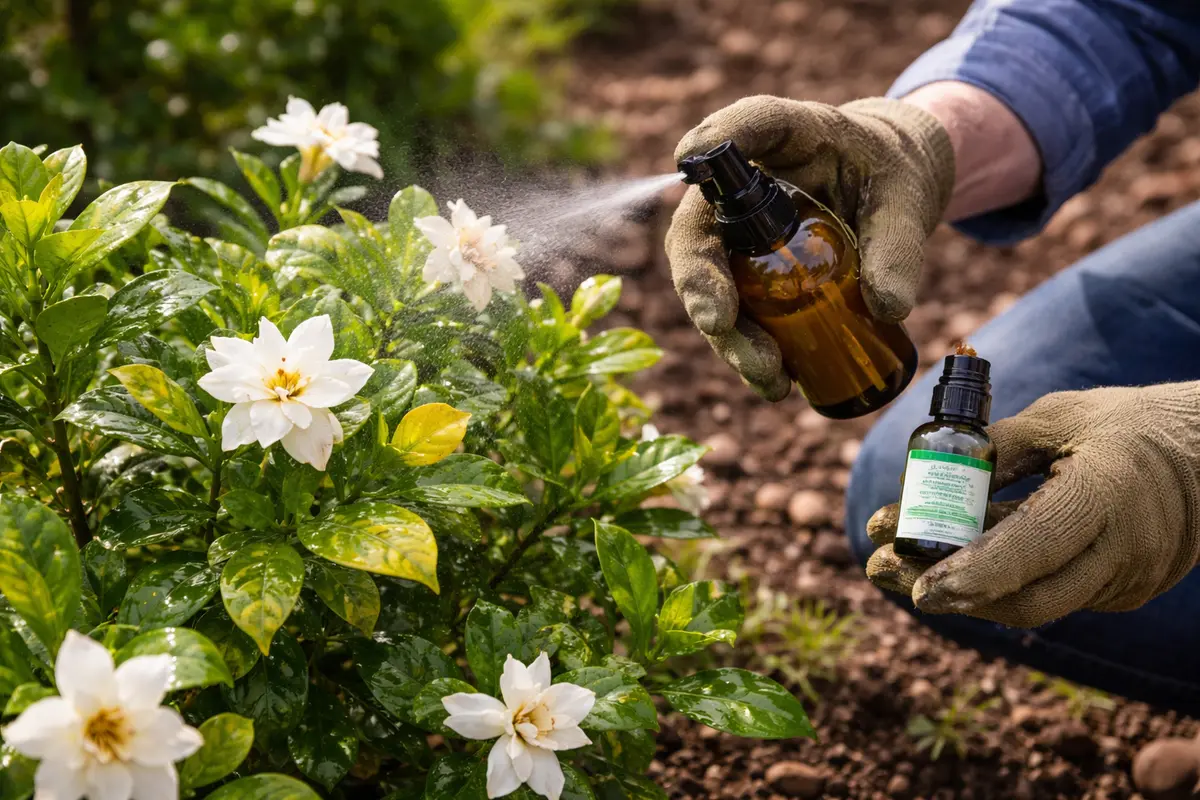
Apply a mixture of essential oils, such as neem or tea tree oil, directly to the affected areas of the gardenia. You will often notice a reduction in pest activity within a few days, as these oils disrupt the life cycle of the insects, acting as a natural deterrent while promoting healing in the affected tissues. Ensure to reapply every few days for maximum efficacy, especially after rain, as the moisture may wash away the oils from the leaves.
Essential oils are effective because they repel insects while providing natural antifungal properties, benefiting plants affected by both pests and pathogens. Once applied, the oils coat the infested parts, suffocating pests and preventing fungal spores from attaching to the foliage. You should start to see a decrease in sticky residues on leaves and an improvement in leaf color as the plant begins to recover. Additionally, these oils can help restore the overall vibrancy of the gardenia leaves, signaling a positive turnaround.
A mistake to avoid during the recovery process is overapplying the oil, which could suffocate the plant. When using essential oils, it’s critical to follow recommended dilution ratios to prevent burning the foliage; usually, a ratio of 1 tablespoon of essential oil to 1 quart of water works effectively. If you don’t see a decrease in pest activity within a week, or if you observe wilting or discoloration from oil burn, consider switching to a systemic insecticide as a more aggressive option. Prioritize removing any damaged foliage while transitioning to ensure the plant can focus its energy on recovery.
Step 4 – Water Gardenias Wisely After Humid Weather
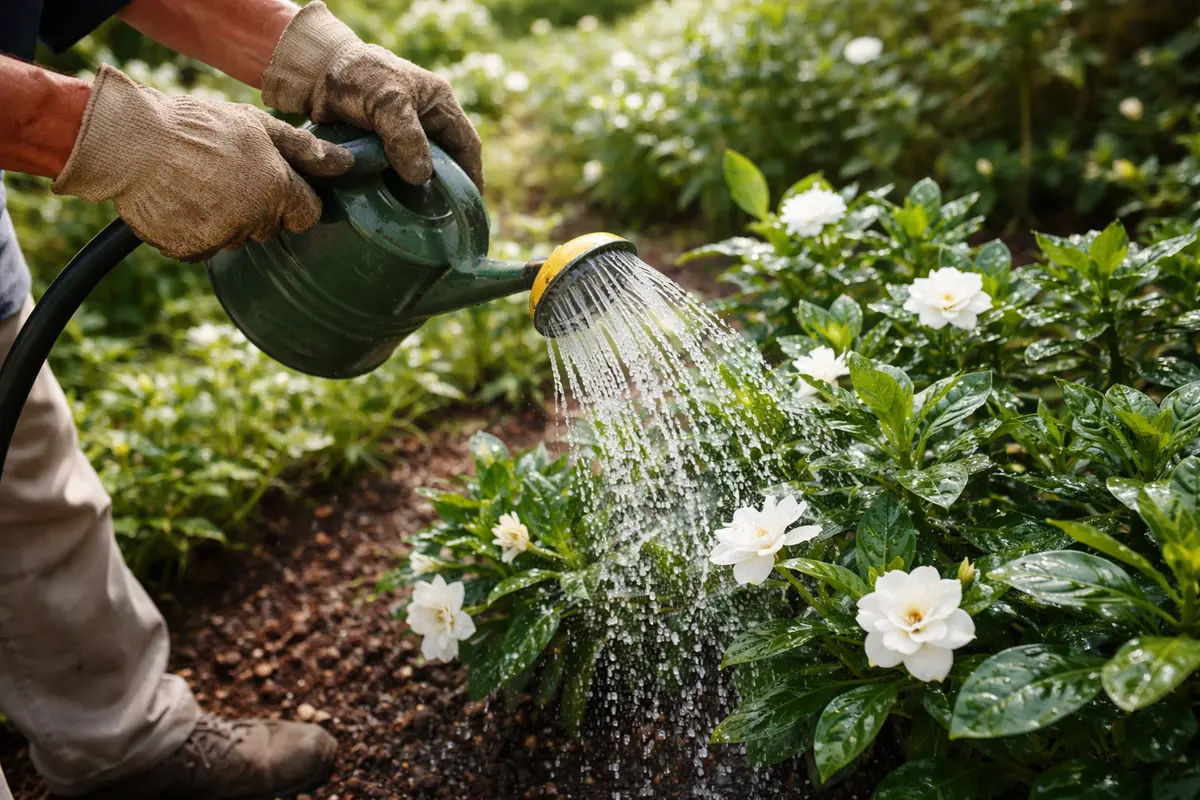
Start by applying a protective layer of neem oil to your gardenias early in the morning after humid nights. This will create a barrier against pests like aphids and spider mites, reducing their numbers significantly and allowing for healthier blooms.
The humidity from nighttime moisture often leads to pest outbreaks, as conditions become ideal for infestations. By regularly applying neem oil, you disrupt the lifecycle of these pests and lower the chances of re-infestation, promoting a healthier environment for your gardenias. If you notice a cluster of white spots, indicating mealybugs, it’s a sign to increase your neem oil applications.
As the seasons change, particularly during early spring, enhance your routine by introducing insecticidal soap during peak pest activity. This additional layer will help target lingering pests that may become resilient to neem oil, ensuring your gardenias remain protected throughout the growing season.
Pests thrive in overly moist conditions, which weakens plants and leads to various diseases. For example, gardenias may struggle with root rot if left in soaking wet soil or if watered too frequently during and after humidity spikes. Implementing a controlled watering schedule allows excess moisture to dissipate, thereby reducing favorable conditions for pests and fungi. Additionally, it’s beneficial to ensure that your gardenias are placed in slightly acidic soil; consider incorporating amendments like pine bark or compost to improve both soil structure and drainage.
During the summer months, always be particularly vigilant about adjusting your watering schedule, as this is when pest problems are most likely to arise. Avoid watering in the late evening, as it can leave the soil damp overnight; instead, aim for early morning or late afternoon when evaporation rates are lower. If your gardenias show signs of wilting despite consistent watering and proper drainage, you may need to reassess the drainage system or consider root health, which may require repotting into a more suitable mix. Remember, too much moisture at the roots not only encourages pests but invites issues like mildew and fungal infections.
Step 5 – Check Leaves for Pest Activity Weekly
Start by checking your gardenias daily for insect activity, particularly after humid nights when pests thrive. Observe the leaves for sticky residue, webbing, or discolored patches, as these are signs of aphids or spider mites. Recheck every few days, especially following periods of high humidity, to monitor any changes or new infestations.
A fully recovered gardenia displays vibrant green leaves that are free of spots and pests, while early signs of a problem returning might include yellowing leaves or tiny webbing appearing between leaf veins. If the lower leaves begin to curl or show signs of wilting, it suggests pest pressure is increasing again. If not green and lush → check for pests hiding on the undersides of leaves.
If pest problems persist despite your efforts, consider introducing beneficial insects such as ladybugs to control aphid populations. Additionally, if the initial treatments are ineffective, escalate by applying an insecticidal soap or neem oil specifically formulated for gardenias. Persistent pests indicate a need for a more aggressive intervention for maintenance.
A fully recovered gardenia will exhibit bright green leaves that are free from discoloration or pests, indicating a successful recovery process. Look out for specific signs of a returning pest population such as yellowing leaves, reduced flower production, or sticky residues; these symptoms may signal that the infestation has resurfaced. Additionally, remain vigilant for small insect activity around the edges or tips of newly developing leaves. If you notice several leaves wilting or yellowing during your monitoring, it may indicate that the infestation is reestablishing itself in more vulnerable spots.
If the pest issue reemerges despite following all the necessary steps, it is time to escalate your approach. Consider introducing beneficial insects, like ladybugs, which prey on aphids, or reapply a stronger insecticidal treatment to regain control, ensuring it’s safe for the gardenia. Persistent issues may also warrant consulting a local extension service for tailored recommendations, especially if pests like root aphids or scale insects are suspected. Both of these types of infestations can be particularly stubborn and often require professional identification and tailored treatment plans for effective management.
FAQ
How long does it take for gardenias to recover from pest issues?
Gardenias can show signs of recovery within a week after treatment if the pest issue is effectively addressed. However, full recovery may take several weeks or longer, especially if the infestation was severe. Regular monitoring and ongoing care are crucial during this time to ensure no new issues develop and to support the plant’s healing process.
Can pest issues on gardenias spread to other plants?
Yes, if left unchecked, pest infestations can certainly spread to nearby plants, particularly those that are healthy and vulnerable. Regular monitoring and prompt intervention go a long way in preventing cross-contamination, especially during peak pest seasons when humidity levels rise. Early signs in neighboring plants should prompt immediate action to avoid a widespread outbreak.
Should I remove heavily infested parts of the gardenia?
Absolutely, removing heavily infested leaves or stems is advisable to prevent further spread of pests. This helps to conserve the energy of the plant and directs its resources toward recovering healthy foliage. Ensure you dispose of the removed parts away from other plants to minimize the risk of reinfestation. Additionally, cleaning tools after cutting can also help prevent spreading any potential diseases or pests to other foliage. Always disinfect your pruning shears before, during, and after removal to mitigate any contamination risks.