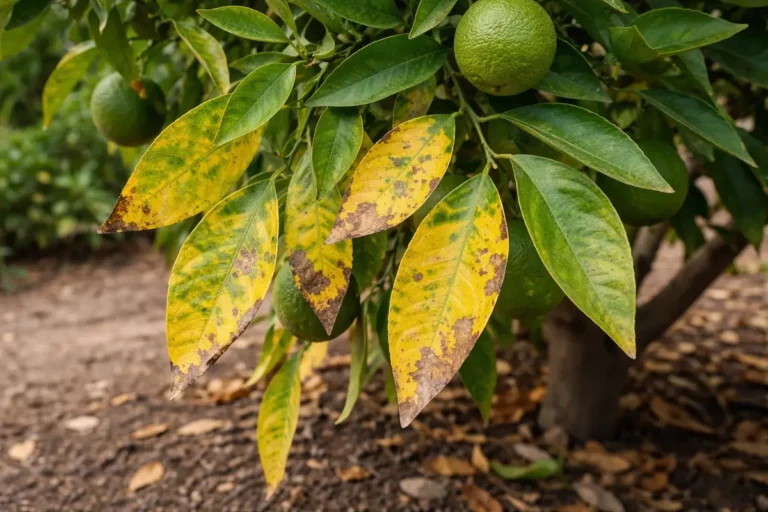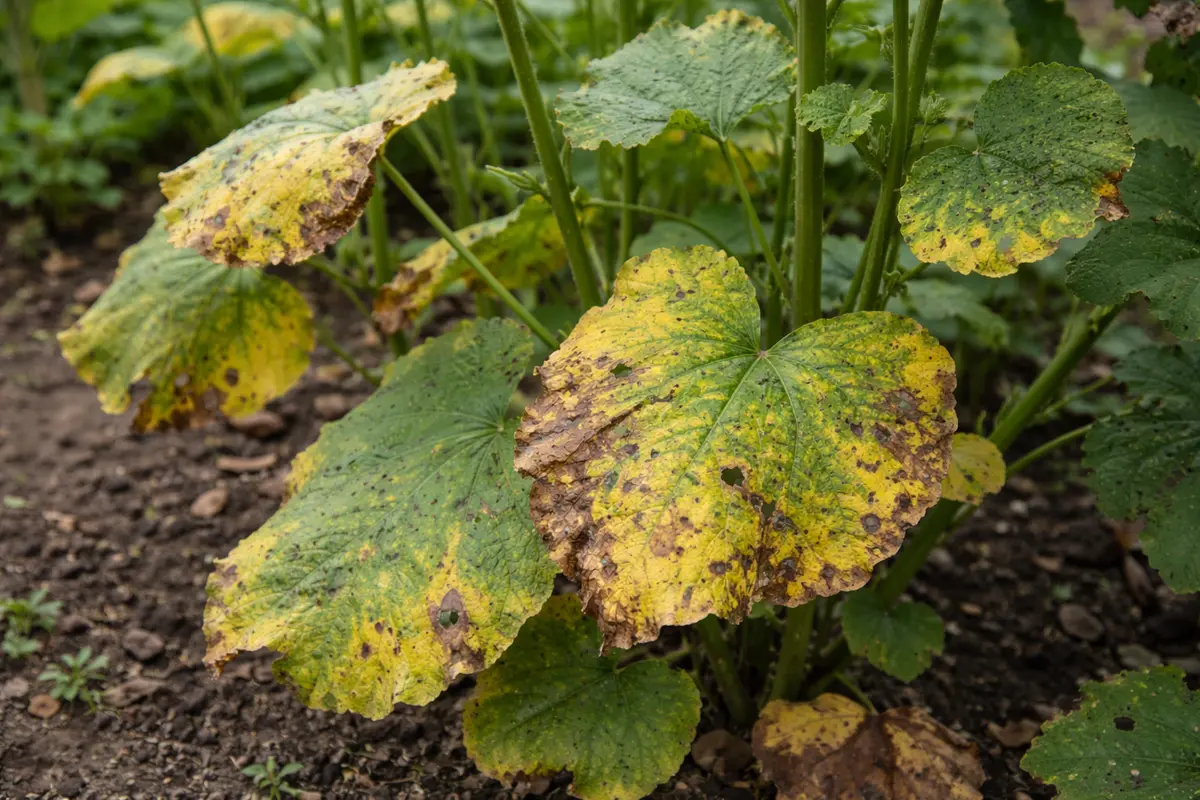
You may notice that your hollyhock leaves are developing a troubling yellow hue during the summer heat, which is why you need to know why are my hollyhock leaves turning yellow in summer. This yellowing can be a sign of nutrient deficiencies, pests, or disease, leading to leaf drop and overall damage to the plant. Ignoring this issue can spread the problem to other parts of the plant and weaken it, but fixing it is possible now if you inspect and adjust your care routine to meet the needs of your hollyhocks.
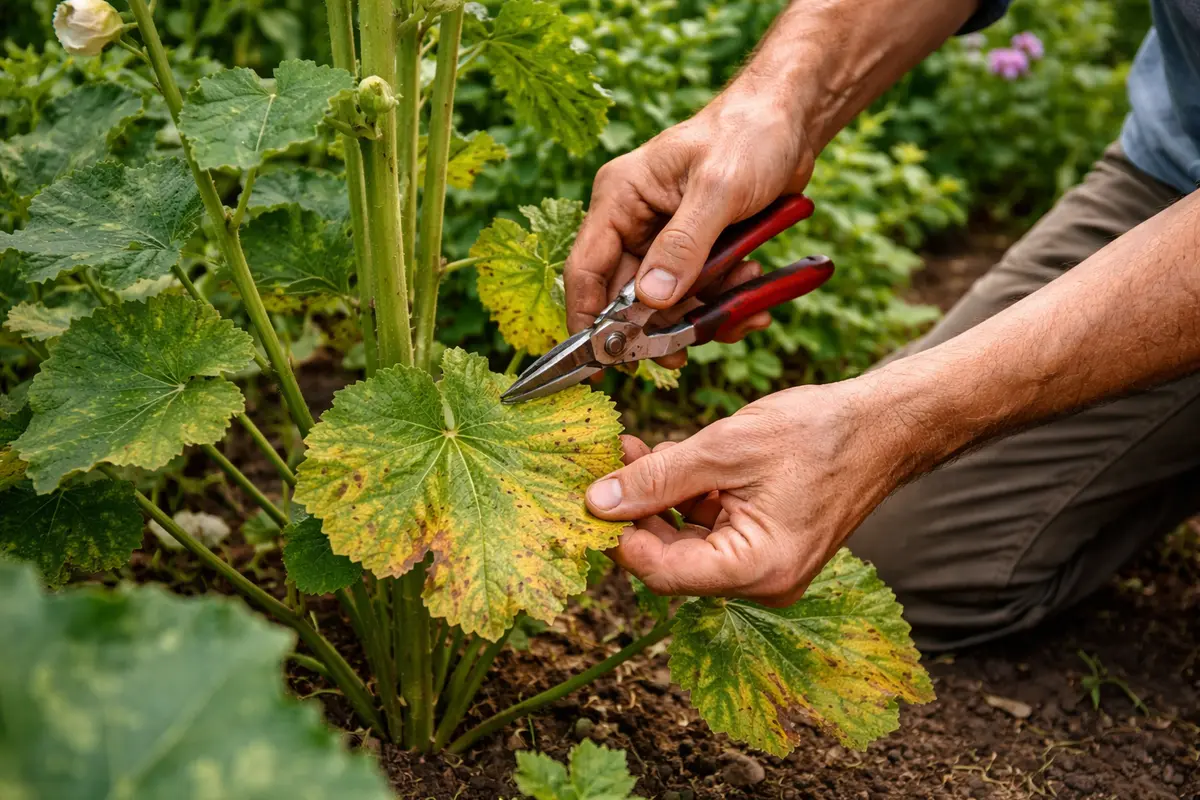
Step 1 – Prune Yellowing Hollyhock Leaves Immediately
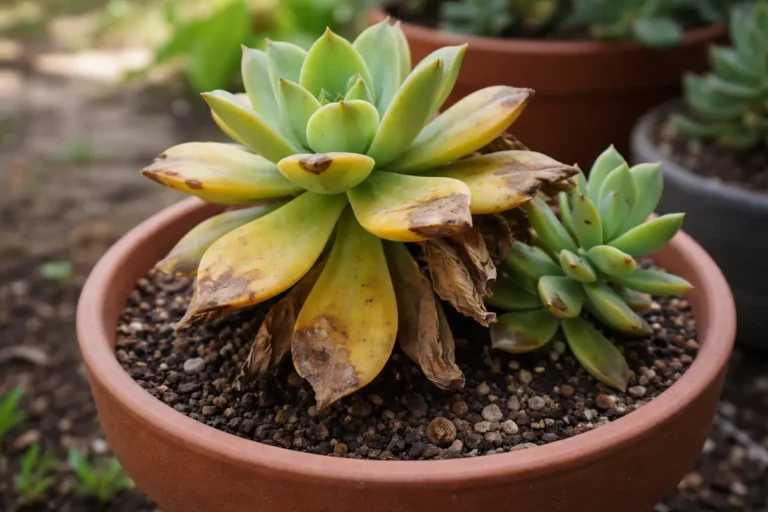
First, examine the undersides of your hollyhock leaves for signs of pests such as aphids or spider mites. If you spot any, immediately treat the plant with insecticidal soap or neem oil to limit damage. After treatment, the leaves should no longer blush yellow under pest infestation and should start to regain their green color within a week.
Acting fast is vital because hollyhocks are particularly susceptible to stress from pests, leading to nutrient deficiency and further yellowing. If you delay treatment, the affected leaves may curl and fall off, leaving the plant vulnerable to diseases such as leaf spot. If you don’t notice pests, check soil moisture; a lack of water can also cause yellowing leaves.
A gardener once waited too long to address an aphid infestation on their hollyhocks, resulting in most of the leaves dropping and a severely weakened plant. This delay not only stunted growth but also made the plants more susceptible to fungal infections. Overlooking pest checks at this stage often leads to irreversible damage, where prevention is far more effective than recovery.
Pruning the affected leaves helps hollyhocks recover by allowing better air circulation and sunlight penetration to the remaining healthy leaves. If left unpruned for too long, the yellowing leaves could attract pests or harbor diseases, potentially leading to even greater problems, such as the spread of powdery mildew or aphid infestations. Each leaf removed opens up space for fresh leaves, which will improve the plant’s overall health and vigor, contributing to a more robust asparagus foliage in subsequent growth cycles. Pay attention to the cut; ensure you are using sharp, clean tools to minimize injury to the plant, which may otherwise lead to additional stress, particularly in cases where the plant is already weak due to environmental factors.
Many gardeners make the mistake of waiting too long to prune. If you delay, the yellowing can spread to adjacent healthy leaves, further compounding the issue. This is particularly crucial in high-stress conditions during the summer months when environmental factors add to the plant’s risk. For instance, if you notice slight yellowing on the bottom leaves and do nothing, it can escalate quickly, causing the entire plant to weaken. An immediate cut can significantly improve the plant’s chance for a full recovery in stressful summer conditions. Be vigilant—even signs of slight yellowing should trigger action before the entire leaf turns, as this can be indicative of systemic issues with root health or nutrient uptake. With even slight discoloration, acting quickly to prune will ensure the health of your hollyhocks is preserved and can enhance new growth potential.
Step 2 – Diagnose Yellowing Causes for Hollyhocks
Inspect the soil moisture around your hollyhocks to diagnose the cause of yellowing. If the soil is too dry or overly wet, immediate changes can be made to improve conditions. Once you’ve identified the problem, you should see the plant responding positively within a few days, potentially exhibiting a color shift back to green or increased leaf turgor as hydration improves. Checking the soil moisture is an immediate step, particularly after periods of intense heat, where water loss can considerably impact the plant.
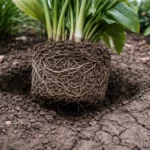
Yellowing in hollyhocks usually indicates an imbalance in water levels. If the soil is overly saturated, roots can suffocate and start decaying; if the soil is too dry, the plant can’t absorb necessary nutrients, leading to stress visible as yellow leaves. Each of these scenarios directly impacts the plant’s ability to photosynthesize and maintain vibrant green foliage, leading to noticeable distress. For moisture checks, dig down with your finger about two inches; if it’s dry consistently at this depth, your hollyhocks likely need more water urgently. Conversely, if it’s overly soggy, the soil will feel muddy and may appear dark, indicating that the drainage needs immediate improvement.
If you notice that the soil feels dry and crumbly, ensure you’re watering more regularly, slowly soaking the roots until moisture reaches at least six inches deep. Alternatively, if your soil is muddy, smells sour, or the visual indicators show algae or mold, you may need to improve drainage or even repot the plant in drier soil to avoid root rot, which can be devastating and hard to recover from. For example, a gardener failing to recognize consistent sogginess may later find that their hollyhocks begin to wilt, requiring more drastic intervention than simply adjusting watering habits. Staying vigilant for signs of distress, such as wilting or stunted growth, will help you preemptively intercept issues that could impact overall health in the double whammy of hot weather and moisture extremes.
Step 3 – Water Thoroughly to Aid Hollyhock Recovery
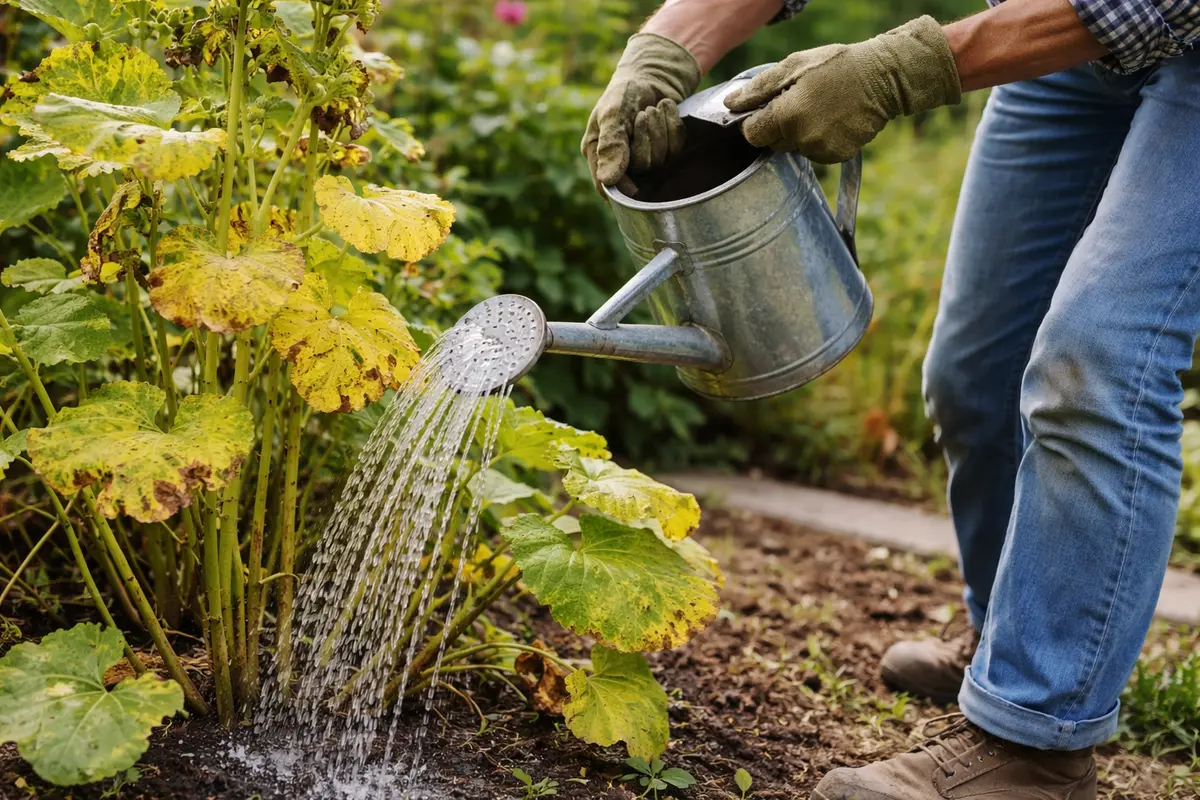
Water your hollyhocks deeply, ensuring the soil gets wet to a depth of at least six inches. This method is crucial; you should observe an increased perkiness in the remaining leaves over the next few days as they begin to regain color and vigor. Proper hydration is essential for quick recovery during the summer heat, and you can measure this by sticking a finger into the soil; if moisture is noticeably absent, it’s time for a thorough watering. Aim for about one inch of water per week, factoring in rain, to maintain optimal hydration levels.
A well-watered hollyhock can bounce back from heat stress quickly, as sufficient moisture allows the roots to absorb nutrients more effectively. Additionally, well-hydrated plants are better equipped to tolerate environmental heat stress, which tends to escalate during peak summer months. When recovery begins, new growth should appear at the leaf tips and stems, manifesting as bright, vibrant green sprouts that signal the plant is stabilizing and regaining its strength. Sometimes, after a good deep watering, you may also see roots emerging closer to the surface as they search for moisture.
Be cautious about overwatering at this stage. Excessive moisture can quickly lead to root rot, reversing any improvement you have achieved. Watch closely for signs of recovery, such as fresh green leaves emerging and a vigorous appearance; however, be careful not to drown the plants in your eagerness to revive them. If leaves start to droop or new yellowing appears after deep watering, you should reevaluate your watering frequency and soil drainage immediately—this can often signal that waterlogged conditions are still affecting root health or preventing necessary nutrient uptake. Being attuned to these subtle shifts can significantly enhance your plant care and ensure long-term survival through hot summers.
Step 4 – Ensure Proper Sunlight Exposure for Hollyhocks
Check the sunlight exposure of your hollyhocks and adjust their location if needed. Ensure they receive at least 6-8 hours of sunlight per day for optimal growth and recovery. When appropriately positioned in a suitable light environment, you should notice the plants displaying healthier green foliage and an abundance of blooming flowers later in the season. The amount of sunlight exposure can markedly alter a plant’s ability to photosynthesize, which is crucial for healthy growth. Furthermore, keep an eye on the leaf movement; if leaves droop during the daytime, they may be begging for more light, indicating a potential mismatch in their positioning.
Hollyhocks thrive in full sun, but excessive heat without adequate hydration can cause leaf stress and yellowing. The right amount of direct sunlight helps the plants photosynthesize effectively, enhancing nutrient absorption and making them far more resilient against challenges like drought and heat waves. Without adequate sunlight, the hollyhocks cannot develop a strong structure and lush blooms; for instance, inadequate light exposure can lead to leggy growth and poor flowering outcomes. A common mistake is to misjudge light availability, placing them in partial shade or overly sheltered spots, which can promote fungal diseases and negatively impact flowering performance.
If you’re in a particularly hot climate, consider using temporary shade cloth during the hottest part of the day to mitigate excess heat stress while maintaining necessary light levels. Observing how your plants respond to varying light levels can provide insights; if they begin to droop or yellow again, a relocation may be necessary to keep them thriving and growth robust. It’s also essential to perform regular checks; if leaf edges begin to turn brown, that’s a concern indicating overheating or stress due to insufficient light or hydration, signaling the need for immediate action. Adjustments based on consistent observation can mean the difference between a flourishing and a faltering hollyhock garden.
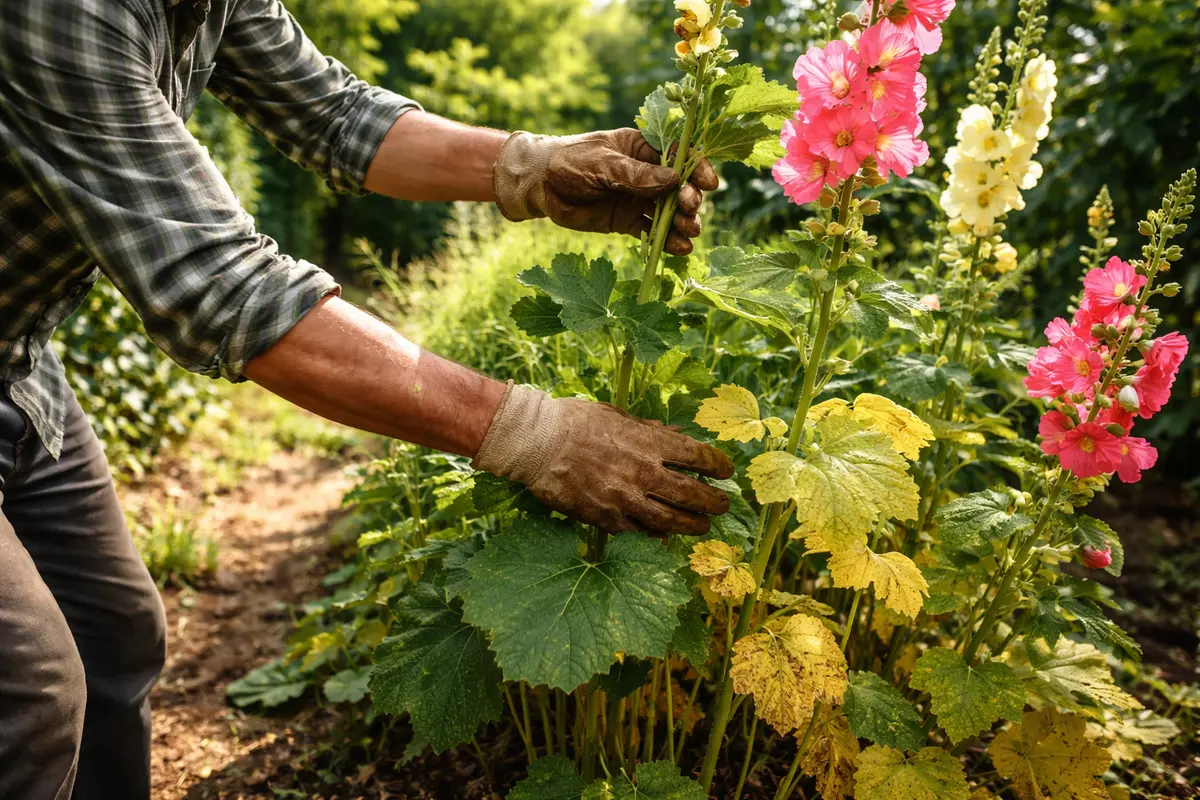
Step 5 – Inspect Hollyhock Leaves for Yellowing Trends
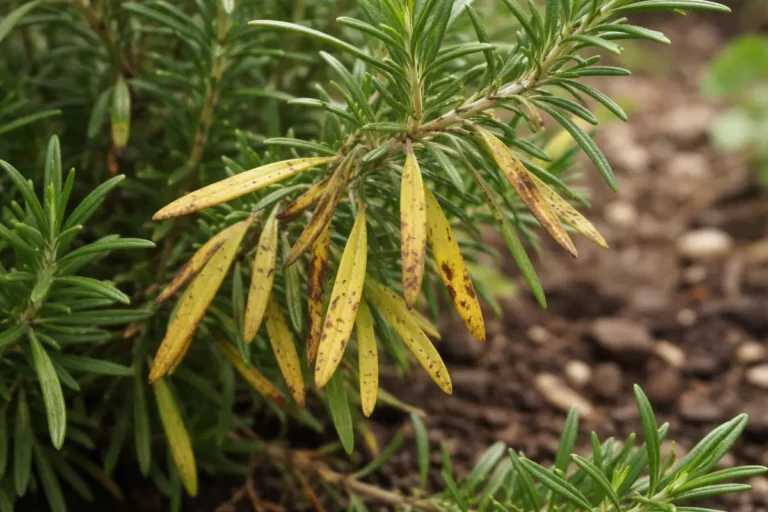
Start by monitoring your hollyhocks every few days for signs of recovery. Look for changes in leaf color; healthy leaves will shift from yellowing to a rich green, indicating improvement. Also, observe the soil moisture and ensure it’s not overly wet or dry, as proper watering is vital to their health.
A fully recovered hollyhock will display vibrant green leaves with no signs of yellowing, and the leaf texture will feel firm and smooth. In contrast, early signs of the issue returning include the reappearance of yellowing patches or wilting leaves that feel soft and limp. If the leaves regain a crisp texture but then start to droop, check for root rot or inadequate watering.
If yellowing persists despite following your care routine, consider applying a balanced fertilizer to provide essential nutrients. Additionally, if new yellow patches appear shortly after recovery, evaluate your watering schedule, as overwatering can lead to root issues. If problems continue, consult a local extension service for tailored advice.
A healthy plant’s leaves should maintain a rich green color with no signs of yellowing. If recovery seems to stall, it could point to underlying issues such as soil compaction or improper watering habits that continue to present problems. Look for signs like new yellow spots or wilting; these indicators often suggest that the plant might still be under stress or facing nutrient deficiencies. The timing of these observations matters greatly; early to mid-morning checks often reveal any overnight changes introduced by night-time conditions such as cooler temperatures or dew. This timing ensures you’re catching issues before they escalate.
If you notice yellowing returning after your initial care steps, reevaluate your watering frequencies and soil drainage. It’s also crucial to check for nutrient levels in the soil; returning yellow leaves might necessitate a soil amendment or nutrient boost through organic fertilizers to support vigorous growth. Detecting the urgency of necessary adjustments is key; if yellowing progresses despite your careful attention, it may indicate deeper issues requiring the re-examination of your overall care strategy, including potential pH adjustments or a complete soil overhaul. This prompt corrective action can prevent more severe complications, ultimately safeguarding the beauty and health of your hollyhocks.
FAQ
How long will it take for my hollyhocks to recover from yellowing?
Recovery for hollyhocks generally occurs within a week if the yellowing is linked to improper watering or nutrient deficiencies. After adjusting soil conditions and ensuring proper hydration, you should start seeing improvements within a few days, such as less drooping and returning color. However, persistent issues such as root damage due to root rot may extend this timeline as the plant will need to allocate energy to repairing root systems before visible recovery manifests above ground.
Could yellowing leaves spread to other plants in my garden?
Yes, if the yellowing is caused by an underlying disease or pest infestation, it can easily spread to nearby plants. Maintaining good garden hygiene, such as removing affected leaves and ensuring proper spacing between plantings, can help limit the spread, especially during peak humidity months. Actively monitor for shared symptoms in neighboring flora to preemptively combat any potential outbreaks, particularly during wet summer weather that often leads to rapid disease progression.
Should I remove all yellow leaves from my hollyhocks?
It’s best to remove all visibly affected yellow leaves to promote airflow and prevent disease. However, stop short of pruning too many leaves at once, as a drastic cut can stress the plant further and stunt its recovery efforts. Focus on only removing leaves that are significantly compromised, ensuring that the plant retains enough healthy foliage to sustain itself through recovery. In cases of extensive yellowing, a careful reassessment of care strategies may also be necessary.