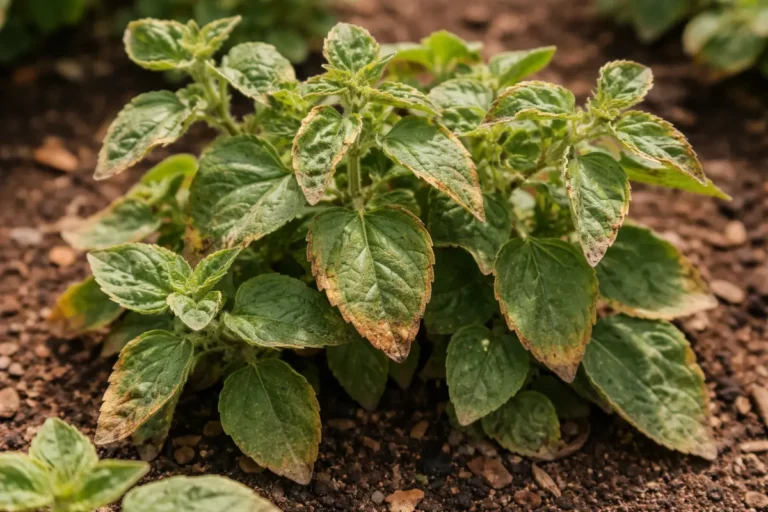
You may notice your watermelon plants developing curling leaves during dry weather, which is why you need to know how to fix curling leaves on watermelon in dry weather. This curling is often caused by insufficient moisture, leading to wilting and stress in the leaves. If left unaddressed, the problem gets worse and can weaken the plant, making it more susceptible to other issues. Fortunately, fixing it is possible now if you adjust your watering practices and monitor the soil moisture levels closely.
Step 1 – Water Watermelon Plants Deeply Immediately
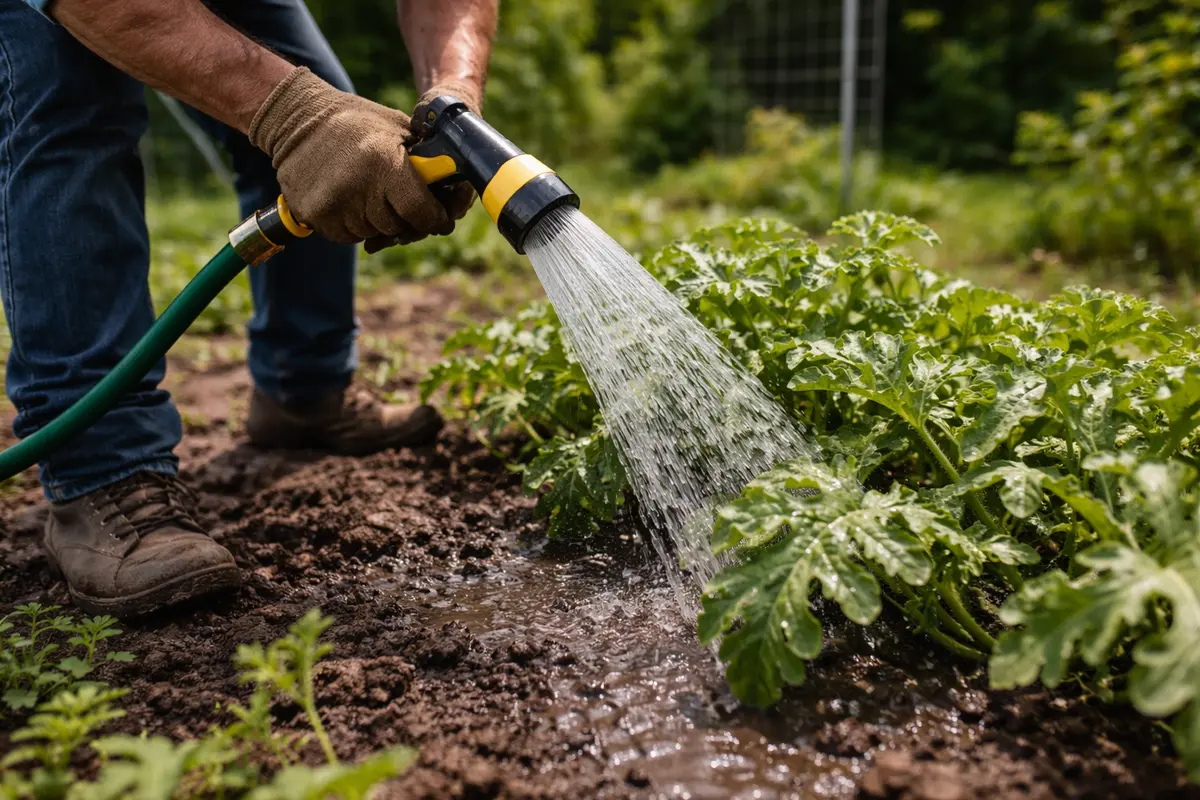
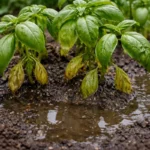
Start by watering the watermelon plants deeply, ensuring water penetrates at least six inches into the soil. You will see the soil darken quickly as it absorbs this moisture, indicating effective saturation. This immediate action helps restore hydration in the plant’s root zone, significantly relieving stress and allowing the leaves to perk up within just a few hours. If you notice the leaves taking longer to respond, check if the soil feels dry deeper down—this could indicate that the roots are struggling due to damage or disease, requiring further investigation or more thorough watering.
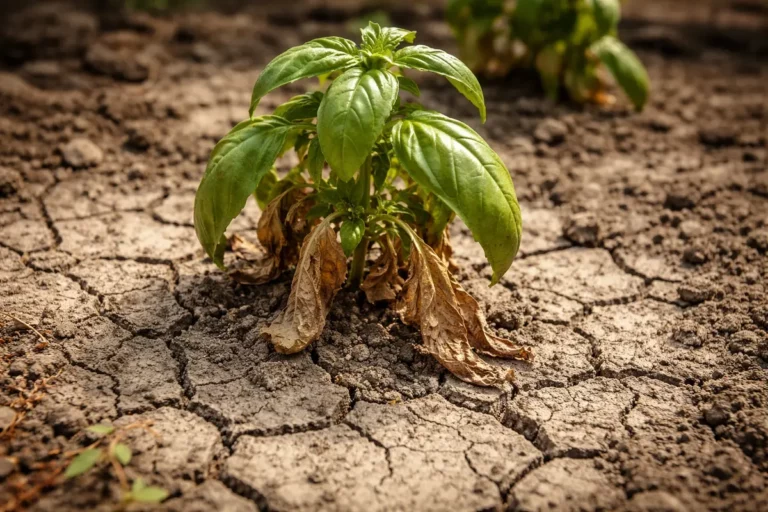
Water retention is vital for watermelon plants, especially when curling leaves exhibit drought stress symptoms. When soil moisture levels are inadequate, the plant begins to pull water from its leaves, resulting in the characteristic curling. The stress becomes evident as the leaves may feel brittle and dry to the touch, with curling progressing from the tips and edges inward. By delaying watering, the roots become compromised, leading to weakened cellular structures and even necrosis, which causes permanent damage if dehydration continues long-term. It is essential to maintain vigilance during high heat and dry spells, as water needs can double, particularly if the foliage cover is thick. On scorching days, checking soil moisture daily can prevent damaging dehydration. Watering in the early morning can also help, as it allows plants to absorb moisture before the heat of the day increases evaporation.
Many gardeners mistakenly believe that applying a light shower of water is sufficient, but watermelon plants require deep watering, particularly in dry weather. For best results, saturate the soil until it feels moist but not excessively waterlogged; the goal is to reach down deep into the root zone. If you’re working with sandy or porous soil, water may drain too quickly, suggesting that a single session may not be enough. In these cases, check moisture levels more frequently, ideally every few days during pivotal growth stages in hot weather, and be prepared to adjust the watering frequency accordingly. Consider implementing a technique such as drip irrigation, which allows you to apply consistent moisture directly at the root level, minimizing evaporation and root stress. This method can help ensure that even during periods of extreme dryness, your watermelon plants maintain robust and healthy foliage.
Step 2 – Check for Soil Compaction Issues
Check the soil around your watermelon roots for compaction issues. If you notice a hard surface and it resists penetration, this indicates possible compaction that restricts root growth, impacting moisture absorption. Compact soil can prevent rain or irrigation from reaching the roots, aggravating drought conditions and worsening leaf curling.
Properly aerate the soil by using a garden fork to carefully loosen compacted areas. Aim for a depth of at least 12 inches to improve root access to oxygen and water. If you encounter extremely dense sections, consider adding organic amendments like compost or well-rotted manure to further enhance soil structure and fertility without disturbing roots excessively. Visual signs of improvement include better water absorption and reduced surface runoff during watering, indicating that soil penetration is improving.
If compacted soil persists even after these actions, you may want to evaluate new planting locations that offer better drainage. Poor drainage can hinder root establishment and health, leading to chronic issues. To check moisture levels after rain, observe whether the topsoil becomes soggy or remains dry; this will confirm whether the drainage issue is resolved or if compaction still affects your plants.
Step 3 – Apply Balanced Fertilizer to Revive Leaves
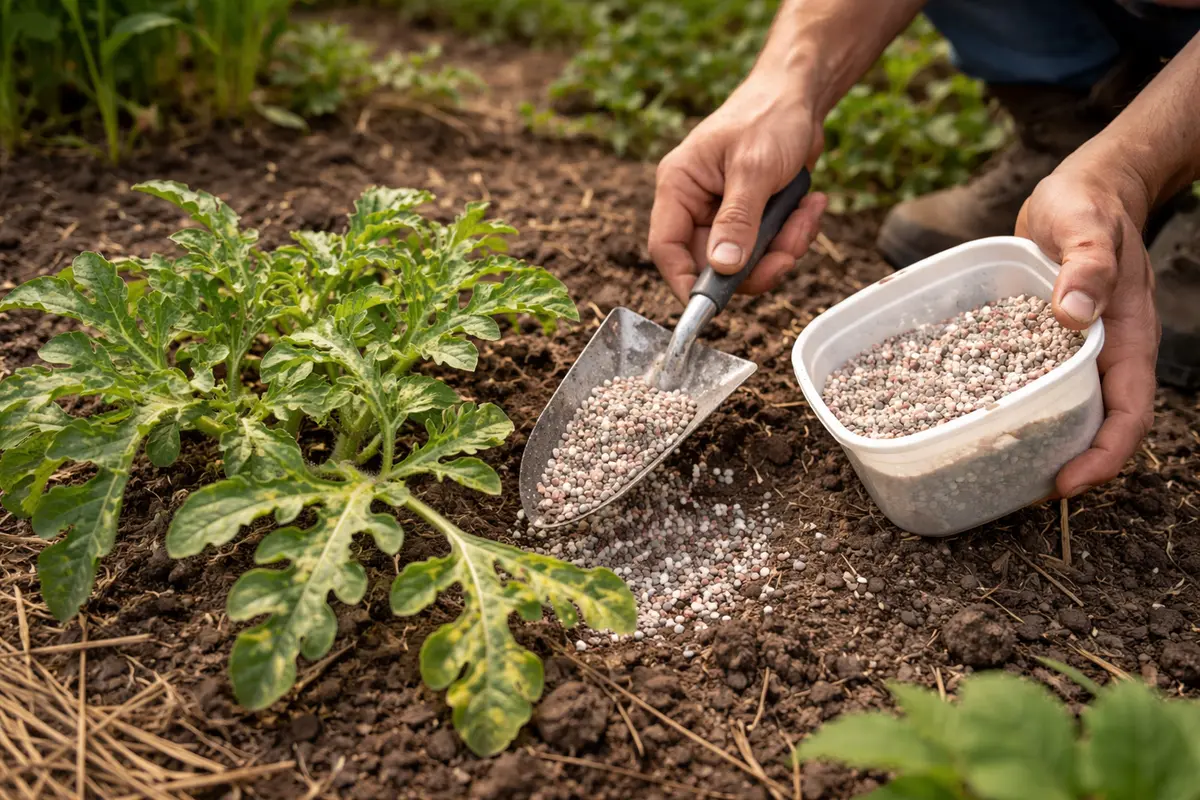
Begin by applying a balanced fertilizer to your watermelon plants, ensuring even coverage around the root zone. Within a few days, you should observe signs of recovery, such as leaves slowly unfurling and adopting a vibrant green color.
Watch for further improvements over the next two to three weeks, with budding leaves and an overall lush appearance indicating revitalization. Ideal conditions such as moderate humidity and pleasant temperatures can enhance recovery, whereas extreme heat may impede progress. If after a week you notice no change and the leaves remain curled, check for possible root damage, which could warrant further intervention.
During this recovery phase, avoid the common mistake of overfertilizing, as it can disturb the soil’s balance and lead to root rot. Focus on maintaining consistent moisture levels; overwatering can exacerbate existing issues. If you notice the leaves still curling, inspect the soil drainage to confirm it isn’t overly compacted.
Monitor the progress of your plants over the one to two-week recovery timeline, and observe for new leaves appearing and improvements in leaf texture. Rising temperatures and increased humidity will likely speed up recovery, while ongoing dry conditions may hinder it. If wilting occurs despite adequate watering, examine the soil for drainage complications.
Be vigilant against overwatering, as excess moisture can lead to further root problems. While it might be tempting to use more fertilizer in response to stress, doing so could disrupt nutrient balance. If you notice leaf yellowing rather than greening, consider adjusting your fertilization frequency or testing the soil pH.
As your watermelon plants face drought stress, they may exhibit signs of nutrient deficiency due to root systems struggling to absorb nutrients effectively. Enhancing the soil with nutrients can promote better hydration and micronutrient absorption, fostering improved leaf health. Regular observations are key — healthy, well-fertilized plants typically present with vibrant green foliage. However, be cautious, as overfertilization can lead to nutrient burn, with browning leaf tips signaling distress. Keep a close watch for early signs of nutrient overload; even slight excesses can lead to unfavorable changes.
To avoid over-fertilization, follow the recommended amounts on the fertilizer label and closely monitor your plants for early stress indicators. Should you notice browning leaf tips or a return of the curling despite application, consider reducing fertilizer use and potentially switching to a water-soluble option for quicker nutrient uptake. Applying fertilizer just before deep watering can aid in dissolving nutrients effectively, ensuring they reach the roots efficiently. A frequent error is fertilizing without sufficient moisture during dry spells, leading to nutrient lockout. If the situation fails to improve after a week, consult a gardening professional to evaluate the conditions or conduct a soil nutrient test.
Step 4 – Mulch Around Watermelon Roots During Dry Spells
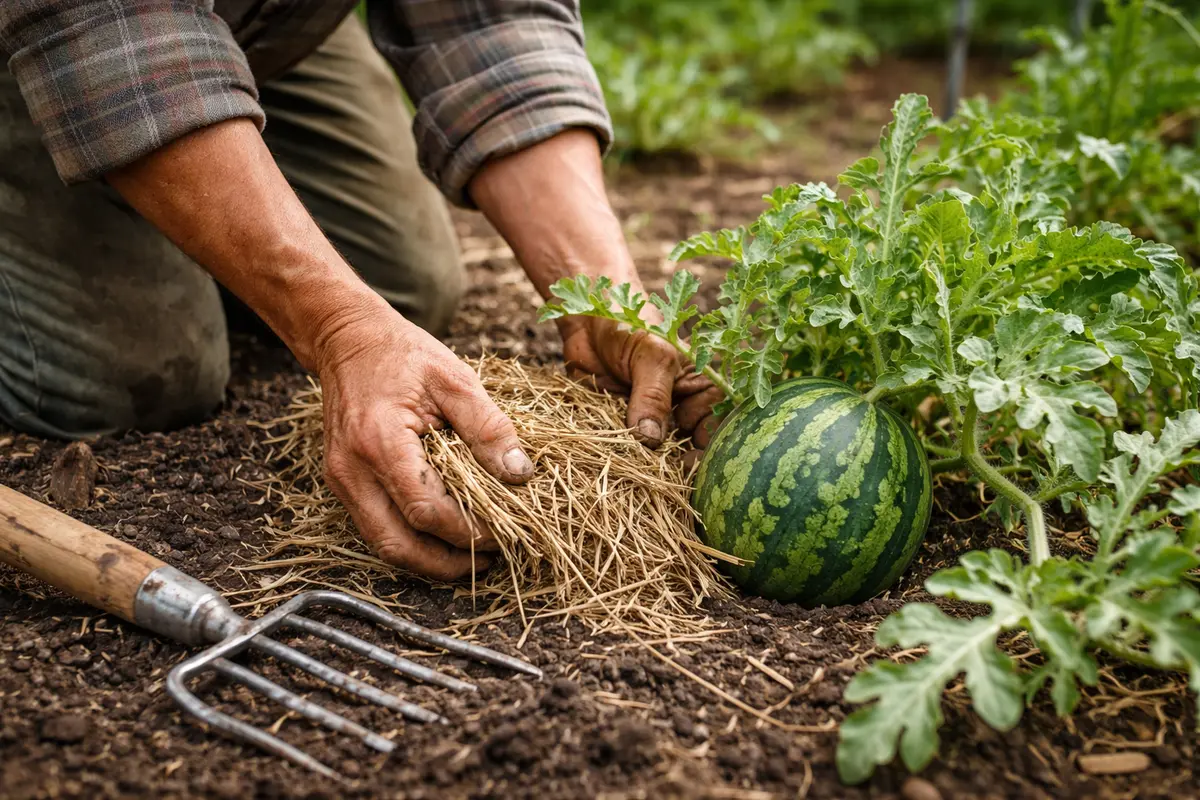
Start by applying a three to four-inch layer of organic mulch around your watermelon plants using materials like straw, grass clippings, or shredded leaves. This action minimizes soil evaporation, helping to maintain adequate moisture levels and improve leaf integrity. Ensure you leave a few inches of space around the stem to prevent rot and allow for proper airflow.
From here on, establish a routine of regularly checking your mulch, especially after storms or heavy winds, as displaced mulch can expose roots to drying conditions. Replenish the mulch layer immediately if you notice any loss to maintain moisture retention. In hot and dry weather, consider increasing the mulch depth to about four inches to further insulate against moisture loss; this adjustment can significantly impact your plants’ hydration status.
During the peak summer heat, set a schedule to inspect the moisture levels beneath the mulch weekly. The appearance of overly dry soil could indicate that deeper watering sessions are needed. If you find that leaf curl persists even with adequate mulch, ensure that the mulch does not become compacted, as this can hinder air and moisture infiltration. If it does, refresh the mulch to keep it loose and effective at conserving moisture.
If the mulch appears too thick and the environment becomes overly humid, conduct regular inspections to avert fungal growth. The ideal mulching thickness balances moisture retention and air circulation; a nod to observing your plants’ condition will indicate when adjustments are necessary for optimal health. Maintain this awareness as an integral part of your mulch management routine, as effective care can determine your watermelon plants’ ongoing performance and vitality.
Step 5 – Inspect Leaves for Curling Signs Weekly
Inspect your watermelon leaves every week for any signs of curling or distress. Look for firmness in the leaves, ensuring that the curling signs are diminishing as your interventions take effect. Regular inspection allows for immediate responses to any resurgence of stress, which is critical for maintaining plant health. Catching new symptoms early on can notably influence recovery; therefore, monitoring growth habits and additional leaf production are essential for a successful outcome.
A well-recovered plant will display newly green and thriving leaves, showing positive growth compared to previously curled and drooping foliage. If you see new growth emerging, it signifies that your plants are effectively bouncing back, which is a favorable indicator of recovery. However, remain cautious: if curling symptoms return, closely compare these signs against previous observations to assess the effectiveness of your treatments. The presence of new curling may require adjustments to your fertilization, watering routine, or further pest inspection. Regular observation should also extend to areas that are less visible; hidden pests can wreak havoc before you even notice.
If curling resumes despite adherence to all recommendations, it may warrant a closer assessment of your plant’s environmental factors. Look for signs of insect activity, such as aphids, whiteflies, or spider mites that can create undue stress on the plant, as this stress complicates recovery. A common mistake is failing to recognize the cumulative impact of drought, which can be particularly damaging for newly developing plants that are still establishing their roots; they are especially vulnerable without a reliable water supply. Monitoring your application of water carefully is also crucial; overwatering can lead to root rot, worsening curling conditions and potentially leading to irreversible damage. Documenting your observations can also provide insights into patterns that help you refine your care approach over time.
FAQ
How long does it take for curling leaves to recover after watering?
After watering deeply, you should start noticing signs of recovery within 24 to 48 hours. The leaves will gradually perk up, returning to a more vibrant and upright position as the plant rehydrates and revitalizes its physiological functions. Keep an eye on the soil moisture after watering to determine whether additional irrigation is necessary; if soil feels dry again within a day or two, consider adjusting your watering schedule.
Can curling leaves spread to other plants nearby?
Curling leaves are typically a result of environmental stress rather than a contagious disease; however, if the condition is related to pests or pathogens, there is a risk of spreading. Always check nearby plants for similar symptoms to catch any potential issues early and take necessary action to mitigate spread. The presence of similar symptoms across several plants could indicate a systemic issue, warranting more careful investigation.
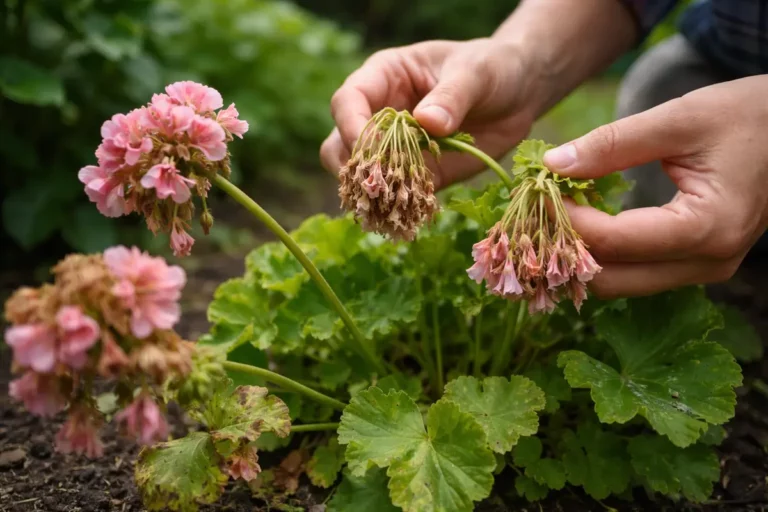
Should I remove damaged leaves immediately?
Removing damaged leaves can improve air circulation around the plant, but only do this if the leaves are severely curled or dead. It is advisable to allow the plant to recover fully before removing any foliage needed for photosynthesis, as even stressed leaves can still contribute to the plant’s overall health. Prioritize the removal of visibly detrimental foliage to facilitate recovery without adding further stress.