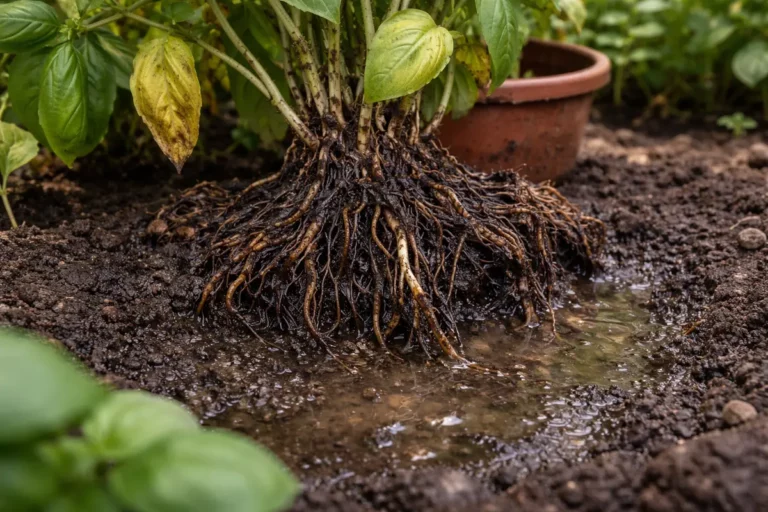
You may notice your potted lilies looking droopy and discolored after a heavy downpour, which is why you need to know how to prevent root rot in potted lilies after rain. This condition often occurs when excess moisture leads to mushy roots, causing yellowing leaves and overall plant decline. If left untreated, the problem worsens and can spread, ultimately weakening the plant; however, you can improve their health now by checking the root conditions and adjusting your watering habits.
Step 1 – Clear Excess Water from Potted Lilies
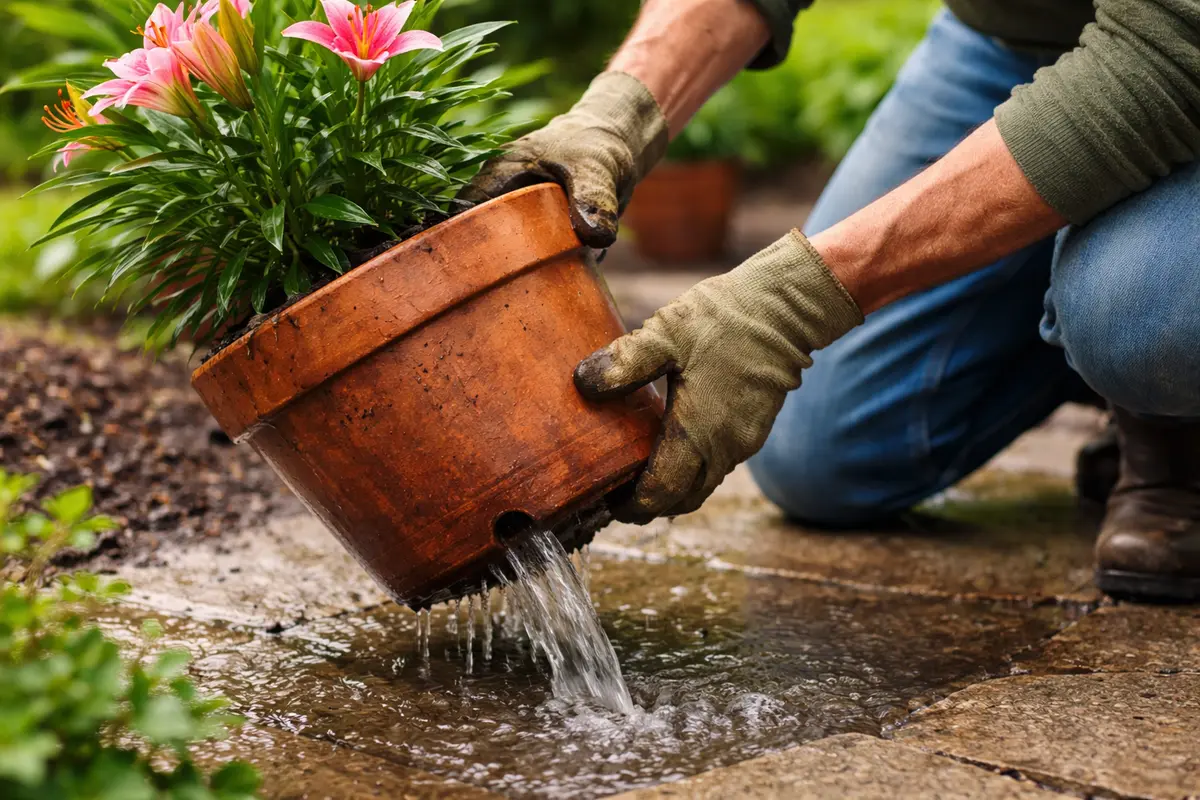
Start by carefully tilting the pot to pour out any standing water. Observe the excess water drain; this action significantly reduces the risk of root suffocation caused by saturated soil. Removing extra moisture immediately creates a healthier environment for your plant and is the first step in managing the aftermath of heavy rainfall. If the water is still pooling at the bottom of the pot, it may indicate insufficient drainage holes, which require urgent attention.
This swift action is vital because root rot sets in rapidly when roots are submerged in waterlogged soil. In potted lilies, which prefer well-drained conditions, prolonged wetness prevents roots from absorbing oxygen, leading to bacterial rot and fungal infections. Within just a couple of days of being waterlogged, you may notice a foul, sour odor emanating from the soil, indicating that rot is quickly taking hold. Acting quickly helps mitigate the immediate threat to your plant’s health. If the leaves appear blackened or mushy, these are clear signs that the roots may already be affected.
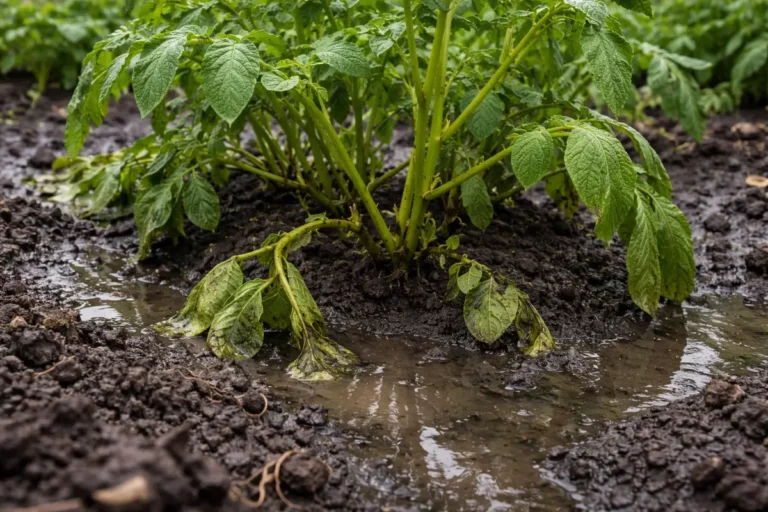
A common mistake gardeners make is assuming that extra water from rain will quickly evaporate. If conditions are still damp and cool, moisture can linger for many days, especially in pots that have dense soil and limited drainage. For instance, if temperatures are low and humidity remains high, it can prolong the wet conditions even further, creating an ideal environment for pathogens. If you notice your lilies struggling immediately after rain, prioritize draining before doing any other maintenance. Otherwise, the plant could enter a state of accelerated decline, making recovery efforts much more arduous. If water retention persists over multiple days, consider elevating the pot or adjusting its position to increase airflow around the base.
Step 2 – Diagnose Soil Drainage Issues for Lilies
Check the soil drainage by inserting a finger about two inches deep into the potting mix. You should feel either a moist yet breathable consistency or an overly wet, soggy texture that indicates poor drainage. Identifying a drainage issue is crucial to resolving the underlying cause of root problems. If you notice a visible crust forming on the surface of the soil, it may signal compaction and poor air circulation, which further restricts drainage and nutrient flow.
Potted lilies require soil that drains well to thrive. Waterlogged soil can be a result of using a very dense potting mix that does not allow water to flow through or using pots without drainage holes. Poor drainage leads to stagnant water at the roots, causing not just oxygen depletion, but also creating a breeding ground for diseases. If you notice a pressing need to water despite moisture satisfaction at the surface, this indicates that the root zone is becoming increasingly compromised. Additionally, if you notice roots pushing through the drainage hole, it might signal that they are searching for oxygen and are already in distress.
If the soil appears compacted or smells sour, it may need to be replaced with fresh, aerated potting mix. A good rule of thumb is to mix in perlite or coarse sand at a ratio of about 1:4 to improve drainage effectively. If you chose a smaller pot which restricts the root space, consider repotting to a larger container that allows for healthy root expansion and mitigates water accumulation in the base. In practice, this means moving to a pot that’s at least two inches wider in diameter. This proactive diagnosis helps in preventing long-term damage and sustain root health.
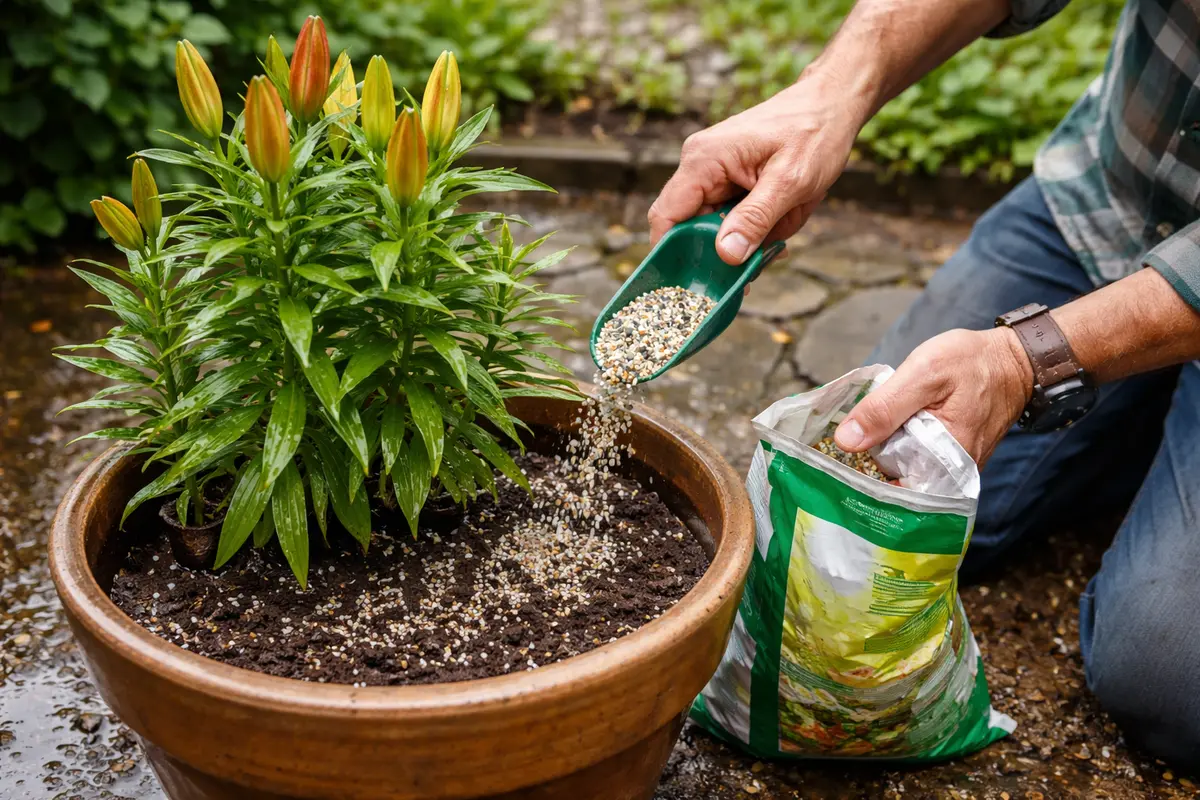
Step 3 – Revive Potted Lilies with Balanced Fertilizer
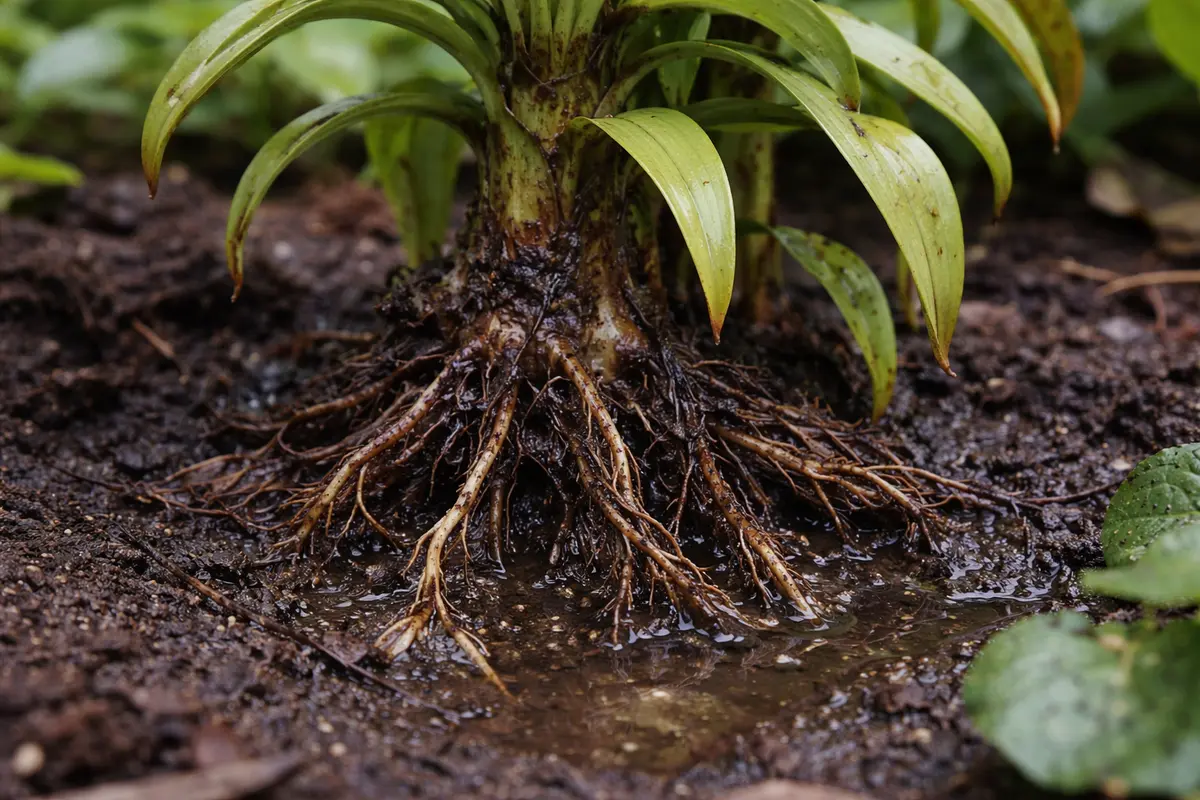
Start by gently lifting the potted lilies and inspecting the roots for any dark, mushy areas. Remove any affected roots with clean scissors and repot the plant in fresh, well-draining soil immediately. You should see some improvement within a week, as new, healthy roots may begin to sprout, indicating the plant is bouncing back.
Recovery can take anywhere from a few weeks to a couple of months, depending on the extent of root rot. Healthy regrowth is characterized by firm, white roots and new leaf growth, while stunted or wilting leaves can indicate continued issues. Warmer temperatures and adequate sunlight typically promote faster recovery, whereas overly humid conditions can slow the process significantly. If the plant remains wilted after a week, check the soil moisture levels and adjust watering accordingly.
Avoid overwatering during recovery, as providing too much moisture can lead to further root rot. It’s better to allow the soil to dry out slightly between waterings; if not this, check for drainage issues that may be preventing excess water from escaping. Additionally, refrain from adding fertilizer until you see signs of new growth, as this may stress the recovering roots.
Realistically, full recovery may take 2 to 4 weeks depending on the severity of the disease and the conditions in which the lilies are kept. Healthy regrowth appears as plump, white roots and new leaf shoots emerging from the base of the plant—these are the signs that indicate the plant is stabilizing. Factors such as consistent watering practices and well-draining soil can speed recovery, while excessive humidity and poor air circulation can hinder it. If you notice lingering wilting, it’s crucial to check for continued signs of rot in the roots; if the issue persists, it might warrant considering total repotting to ensure effective recovery.
Avoid overwatering during the recovery phase, as this can exacerbate root rot and introduce further disease. Instead, wait until the top inch of soil feels dry—about every five to seven days—before applying water. If lilies fail to show signs of regrowth within three weeks, check for other issues like pest infestations or root-bound conditions, which may also disrupt recovery. Applying too much fertilizer prematurely can lead to nutrient burn, especially if the roots are just starting to heal. A practical approach is to wait two to three weeks after applying fertilizer to evaluate if further fertilization is necessary.
This recovery step is essential because fertilizer provides the necessary nutrients that may have been washed away by the rainfall. When roots suffer from root rot, they struggle to absorb nutrients while also managing metabolic processes effectively, which can significantly stunt growth. Using a balanced fertilizer, such as a 10-10-10 mixture, not only restores vital elements but also encourages microbial activity in the soil, which helps break down harmful bacteria and fungi. Nonetheless, be mindful not to over-fertilize as this can lead to nutrient burn, especially if the roots are still under strain. Wait until you see robust, healthy leaves before assessing the need for another application to avoid overwhelming the recovering plant.
Step 4 – Water Potted Lilies Sparingly to Prevent Root Rot
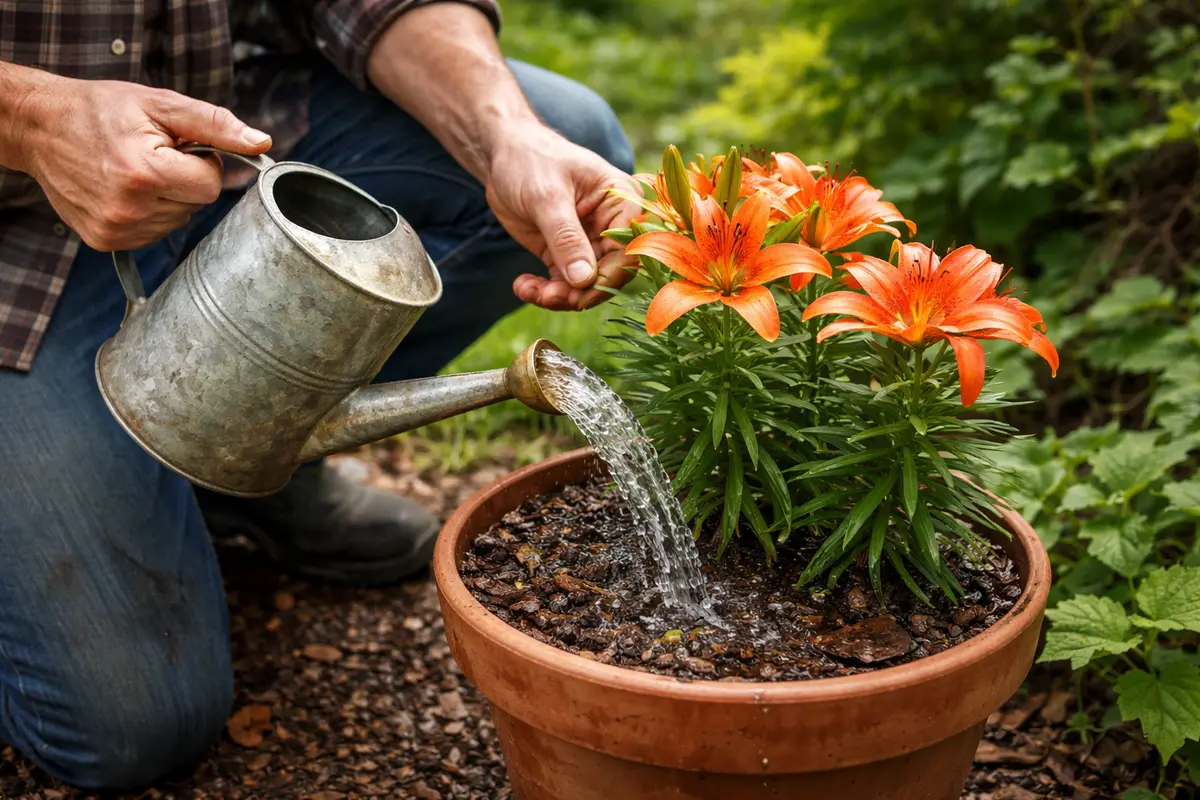
Water potted lilies sparingly, allowing the top inch of soil to dry out between waterings. This routine will ensure that the plant receives moisture without being overly saturated, forming a solid base for recovery. Establishing this good habit prevents conditions that lead to root rot and creates a consistent rhythm for plant hydration. As an initial guideline, try to limit watering to once every week during cooler months and adjust frequency as temperatures rise.
Consistent yet controlled watering is critical in maintaining an ideal moisture balance for your lilies. Overwatering is a prevalent issue that can exacerbate problems, especially after heavy rain events. It’s vital to dig your finger into the soil after rainfall, waiting 24 hours, to assess genuine moisture levels; pots can retain water long after the surface appears dry. This tactile method allows you to accurately gauge when to water, preventing the saturation that can lead to rot, keeping your lilies healthy without jeopardizing their root systems.
In hotter months, you might need to water more frequently—practically, this could mean every five days. However, always check the soil first; if rain has occurred recently, hold off watering until you ascertain that the moisture levels are indeed low. Implementing these checks every couple of days can be the difference between thriving plants and recurring issues with root rot. Consistently adapting your watering habits ensures that the next rain event doesn’t lead to the same problems, safeguarding your lilies in the long term.
Step 5 – Inspect Soil Consistency Weekly for Potted Lilies
Start by checking your potted lilies every few days after rain for excess moisture in the soil. Observe the surface of the soil for any signs of sogginess or pooling water, which indicates moisture retention that can lead to root rot. Recheck the conditions and moisture levels weekly to adapt your watering schedule and ensure the roots remain healthy.
A fully recovered potted lily will display vibrant green foliage and firm, upright stems, showing no signs of wilting or yellowing leaves. In contrast, early signs of root rot returning include a slight limpness in the foliage and any browning around the leaf edges, indicating stress. If your plants are soft and mushy at the base of the stems, this suggests a problem with the root system.
If you detect the problem returning despite your efforts, take immediate action by reducing watering frequency and ensuring proper drainage. Consider relocating the pot to a slightly sunnier spot to encourage quicker drying of the soil. If conditions do not improve, inspect the roots for decay and consider repotting into fresh, well-draining soil to save the plant.
An optimal growth environment is characterized by firm soil that drains well while not retaining excessive moisture. Healthy soil should feel crumbly and allow for air penetration. If moisture lingers, it’s essential to act; watch for healthy leaf color as a sign of recovery. Conversely, if leaves begin to yellow again or feel soft, that might indicate the return of root rot conditions, requiring immediate intervention. A soil sample might even require inspection; if it feels dense or clumpy, repotting may be necessary. Aim to see a contrast between top layers and deeper soil, allowing for effective drainage.
If you see signs of distress after you’ve made changes, it may be time to reassess drainage or repot into fresh soil. Ensure that any container you choose allows for proper drainage and provides enough room for your plants to breathe. Testing the moisture levels promptly after a heavy rain will help you capture early signs of trouble before they escalate into full-blown issues requiring extensive remedies. Frequent checks can help ensure that your efforts have been effective while keeping a vigilant eye on the plant’s recovery.
FAQ
How long will it take for my lilies to recover from root rot?
Recovery can take anywhere from a few weeks to a couple of months, depending on the extent of the damage. With proper care — including adequate drainage and controlled watering — you should begin to see signs of recovery within a few weeks, such as new growth and improved leaf color. Just remember that in cases of severe rot, some roots may need time to regenerate, which can lengthen the recovery period.
Can root rot spread to nearby plants?
Yes, root rot pathogens can spread through water and soil. If you have multiple potted plants close together, be cautious not to transfer water from one pot to another during watering. Ensuring that contaminated soil does not transfer to healthy plants is essential, as rapid root disease can impact all potted plants in proximity—especially when watering practices are similar.
Should I remove infected roots from my potted lilies?
Yes, if you notice any mushy or discolored roots during inspection, trim them off with sterilized shears. Removing these damaged roots is a crucial step in supporting the health of the remaining roots. It prevents further disease spread and allows the plant to focus its energy on nurturing healthy growth, ultimately transforming your lilies into a robust fixture in your garden.