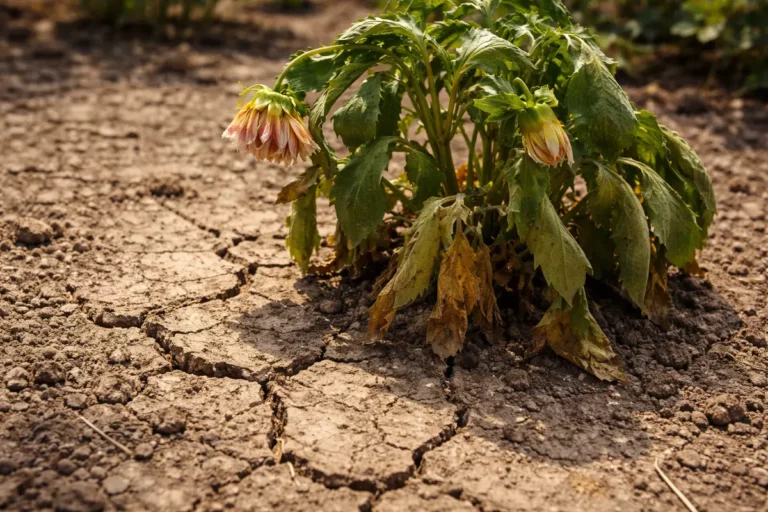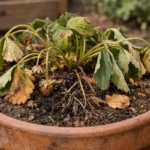
You may notice your ferns drooping and losing their vibrant green color after a particularly heavy rain, which is why you need to know how to fix wilting ferns after overwatering. This wilting often occurs due to excess moisture suffocating the roots, leading to yellowing and mushy leaves. If left unaddressed, the situation gets worse and can spread throughout the plant, making recovery harder to achieve, but fixing it is possible now—simply check the soil moisture, remove any affected fronds, and adjust your watering schedule.
Step 1 – Trim Overwatered Fern Leaves Now
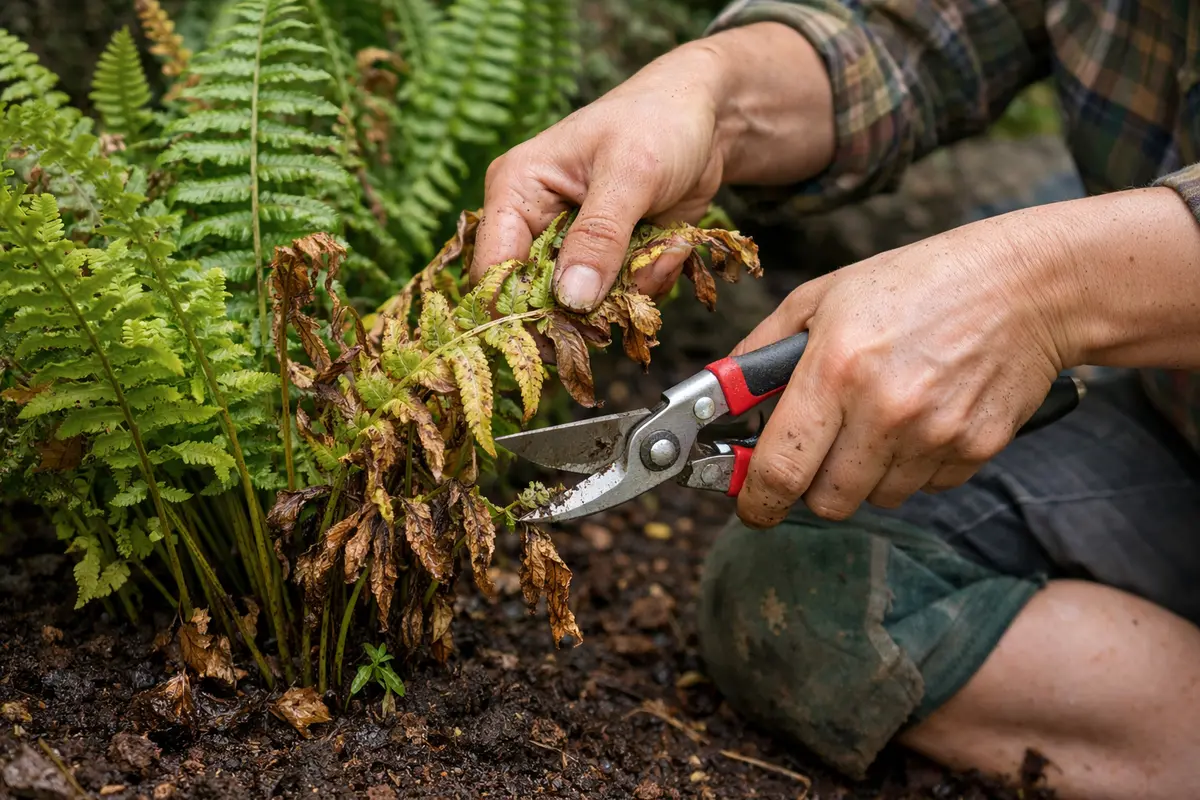
Start by trimming any yellow or brown leaves from your ferns immediately. You should see less wilting within a few hours as the plant redirects its energy to healthier leaves. To do this, use sharp, clean scissors, and cut each leaf at its base to avoid causing additional stress to the plant. Ideally, you should trim back around 20-30% of the foliage to reduce the burden on roots struggling with excess water.
Trimming off damaged foliage reduces the plant’s energy expenditure, allowing it to focus on surviving the stress caused by overwatering. Healthy foliage is crucial for photosynthesis, and by removing the dead parts, you help restore vigor. Ferns particularly struggle with prolonged soggy conditions, and removing damaged foliage prevents further energy loss. After making the cuts, observe for any signs of mold or rot around the cut sites; such indicators may mean more extensive care is needed. If mold is noticed, a gentle spray with a diluted fungicide (mix one part fungicide with four parts water) may help prevent further spread, applied preferably in the early morning or late evening to avoid leaf burn.
A common mistake is to delay trimming while waiting for the plant to revive on its own. If you wait too long, the stress can exacerbate the damage, leading to complications like root rot that could ultimately affect younger, healthy leaves. If stem rot sets in because of prolonged overwatering, essential nutrients won’t reach any leaves, and they may turn brown even if not directly affected. Early intervention is crucial in minimizing further harm; therefore, do not hesitate to prune whenever necessary. If the fern is severely wilted, conducting a thorough assessment post-trimming is important—check for any lingering moisture in the soil, prioritize drainage improvements for future health, and consider setting the plant in a cooler, brighter location to aid recovery.
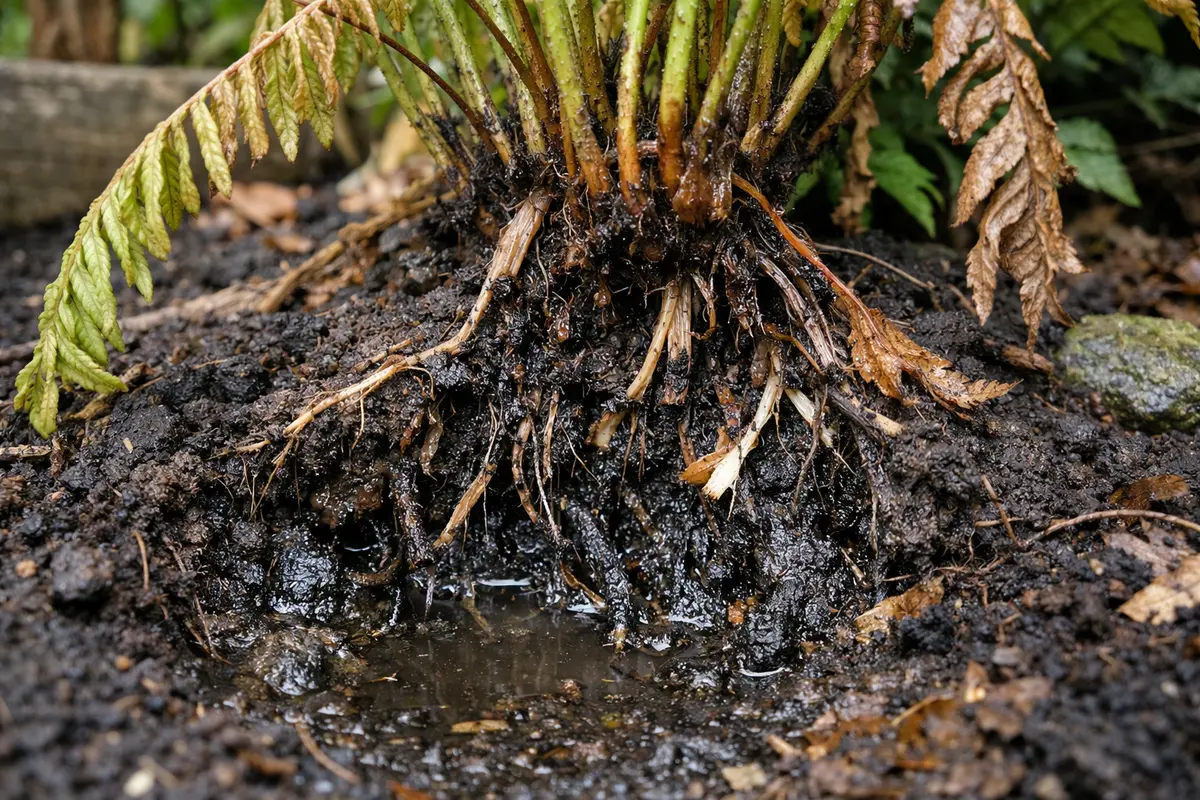
Step 2 – Diagnose Soil Saturation Around Ferns
Check the soil moisture level thoroughly around your ferns. You will notice that the top inch of soil feels overly wet or muddy, indicating excessive moisture retention. Poke your finger into the soil up to the first knuckle; if it feels soggy even at that depth, it’s clear that your ferns are suffering. Additionally, using a moisture meter can provide a more precise reading—if the meter reads higher than a moist condition (around 4-5 on a scale of 10), the soil is overly saturated.
Understanding soil saturation is essential because waterlogged soil prevents roots from absorbing oxygen, leading to damage. Fern roots are particularly sensitive and start to decay within 24-48 hours under saturated conditions, causing the plant to exhibit wilting and yellowing leaves. If the problem of overwatering persists, the roots can die off completely, making recovery impossible. If roots are still alive, they will generally look white and firm, distinguishing them from the brown or mushy roots indicative of rot. To improve your diagnosis, inspect for any smell; a sour scent often indicates anaerobic conditions. If rot is confirmed, it may require more than just a layer change and necessitates root pruning and treatment.
If the soil smells sour or possesses an unusual odor, this may be blended with signs of mold or fungal development surrounding the base of the fern. In such cases, consider repotting the fern in fresh, well-draining soil to help it recover better. Heavy clay soils exacerbate moisture retention compared to sandy soils, so knowing your soil type is beneficial. A solution is to incorporate organic matter like compost during repotting, which increases aeration and drainage while maintaining some moisture balance. Additionally, if saturation problems arise frequently, consider amending the soil with a larger portion of perlite or sand to enhance long-term drainage. When replacing soil, aim for at least a 50% replacement to drastically enhance root aeration and health.
Step 3 – Replace Soil to Aid Fern Rehabilitation
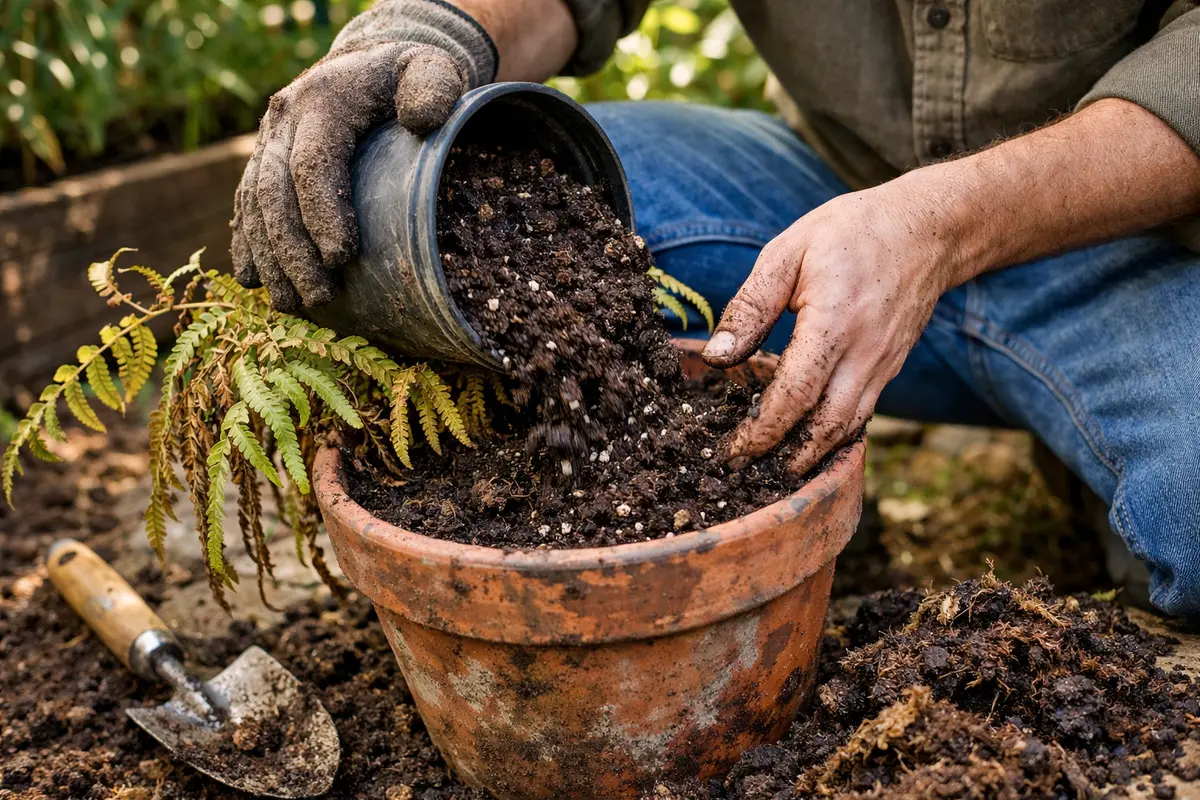
Remove the affected ferns from their pots and replace the soil with fresh, well-draining mix. You will see an immediate improvement in moisture levels as the new soil allows for better drainage. For this step, choose a potting mix specifically formulated for ferns or create your blend using equal parts peat moss, perlite, and bark mulch. Aim for about two-thirds of the pot to be new soil to allow roots ample room for expansion, ensuring the remaining soil is amended to prevent moisture retention.
Replacing the soil is crucial because it revitalizes the oxygen supply to the roots, which is critical for recovery. Healthy soil should have a balanced texture that promotes drainage while retaining adequate moisture to keep your ferns hydrated. The advantage of using a mixture that includes perlite or coarse sand is that it significantly enhances drainage capabilities, which is vital for fern health, particularly after overwatering. It’s also essential to ensure the pot has adequate drainage holes. Without these, more issues are likely to arise, possibly leading to a cycle of deterioration akin to what caused the initial overwatering.
A common error during this process is to not disturb the root ball, which could still have decaying roots. If you notice black, mushy areas within the root structure, prune these areas to promote regeneration. To successfully prune roots, utilize sterilized scissors and aim to remove the damaged sections without affecting the healthy parts. In cases where the roots are entangled or densely packed, it is essential to gently separate them or trim them to allow better distribution in their new soil and reduce the risk of future overwatering. Additionally, avoid using regular potting soil, which often retains too much moisture for ferns. If you find that your fern pot has no drainage holes, consider transferring the fern to a different pot or drilling holes carefully to prevent water retention issues. If this is not possible, elevate the pot slightly using small rocks to facilitate water drainage away from the roots.
Step 4 – Check Ferns for New Growth Weekly
Start by checking the moisture level of the soil with your fingers; if it feels soggy or overly damp, stop any additional watering immediately. Observe the foliage for signs of improvement, such as perkier fronds and vibrant green color, and recheck the soil moisture every couple of days. Allow the top inch of soil to dry out between checks to prevent further overwatering.
A fully recovered fern will exhibit bright green fronds that hold their shape upright, while early signs of the overwatering problem returning include a limp texture and browning tips. Healthy fronds feel firm, whereas those beginning to wilt again may appear soft or droopy — a noticeable contrast that indicates trouble. If the fronds lose their vibrant color and develop a mushy texture, check for root rot by inspecting the roots.
If wilting resumes even after adhering to these steps, reduce any remaining watering further and consider repotting the fern into fresh, well-draining soil to encourage new root growth. If the situation doesn’t improve, escalate by consulting a local gardening expert to explore deeper issues like fungal infections or pests affecting your plant.
New growth is a clear sign that your ferns are regaining health and that your corrective actions are working. Overwatering typically leads to wilting, and with diligent care, you can expect to see the plant bounce back within 3-4 weeks, depending on its environmental conditions. Factors such as humidity and light can influence recovery speed, so keeping the plant in favorable conditions is essential. If your fern is indoors, consider rotating it weekly to avoid uneven light distribution. Additionally, if the humidity is low, contemplate increasing it by misting the fern weekly or placing it near a humidifier. An increase in surrounding humidity, ideally between 50-70%, promotes optimal growth.
If you begin to notice returning wilting or discoloration, immediately reassess your watering habits. Check the drainage and consider reducing the frequency of watering to once every 10-14 days, or when the top 1-2 inches of soil are dry to the touch. Consider implementing a moisture-retaining mulch layer, such as sphagnum moss, which can help regulate moisture, preventing rapid drying that leads to stress. Remember, ferns thrive in slightly moist conditions but require the soil to dry out between watering sessions to avoid stress. If your ferns continue to show distress, it might signal a need for professional assessment to determine whether additional care, like fungicides or soil treatments, is necessary. It’s crucial to also evaluate environmental factors, such as light exposure, which may need adjustment based on seasonal changes.
FAQ
How long does it take for wilting ferns to recover after overwatering?
The recovery time for wilting ferns after overwatering typically ranges from 2 to 4 weeks, depending on the damage. Newly emerging leaves will be the first sign of recovery; healthy, robust leaves indicate that the plant is bouncing back. Regular monitoring can help ensure prompt action if issues reappear. If the fern exhibits consistent growth after this period, it suggests successful recovery; however, additional signs of wilting may mean deeper root issues require attention.
Can overwatering spread to other ferns in the same pot?
Yes, overwatering can lead to root rot, which can spread to other ferns in the same pot if not addressed properly. It’s vital to monitor all plants and ensure adequate drainage to prevent the issue from worsening. Consider separating affected ferns and treating them individually to isolate potential spread. If a fern exhibits visible signs of rot, removing it from the pot and inspecting the neighboring plants could prevent financial and time losses in rehabilitating the remaining foliage. If neighboring plants also start to deteriorate, it may necessitate a complete soil replacement for the entire pot.
Should I remove all affected leaves from the fern?
Only remove leaves that are completely yellow or brown and severely wilted. Healthy leaves should be left intact as they contribute to the plant’s recovery process through photosynthesis. Only removing severely damaged foliage allows the fern to redirect its energy to new growth. Be cautious not to remove leaves that may seem slightly damaged but are still contributing positively to the plant’s recovery. If the fern appears to have multiple damaged leaves but also some healthy shoots, it’s best to leave those healthy ones until they can safely be cut back without jeopardizing the plant’s ongoing recovery efforts.