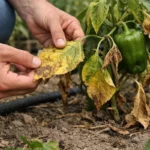
You may notice your bougainvillea showing signs of distress after heavy rains, which is why you need to know How to treat root rot in bougainvillea after flooding. The roots may start to exhibit yellowing and mushiness due to over-saturation, leading to significant rotting and decline. If left untreated, this problem gets worse and can spread to the rest of the plant, making it harder to fix, but taking action now to check and remove affected roots could save your vibrant blooms.
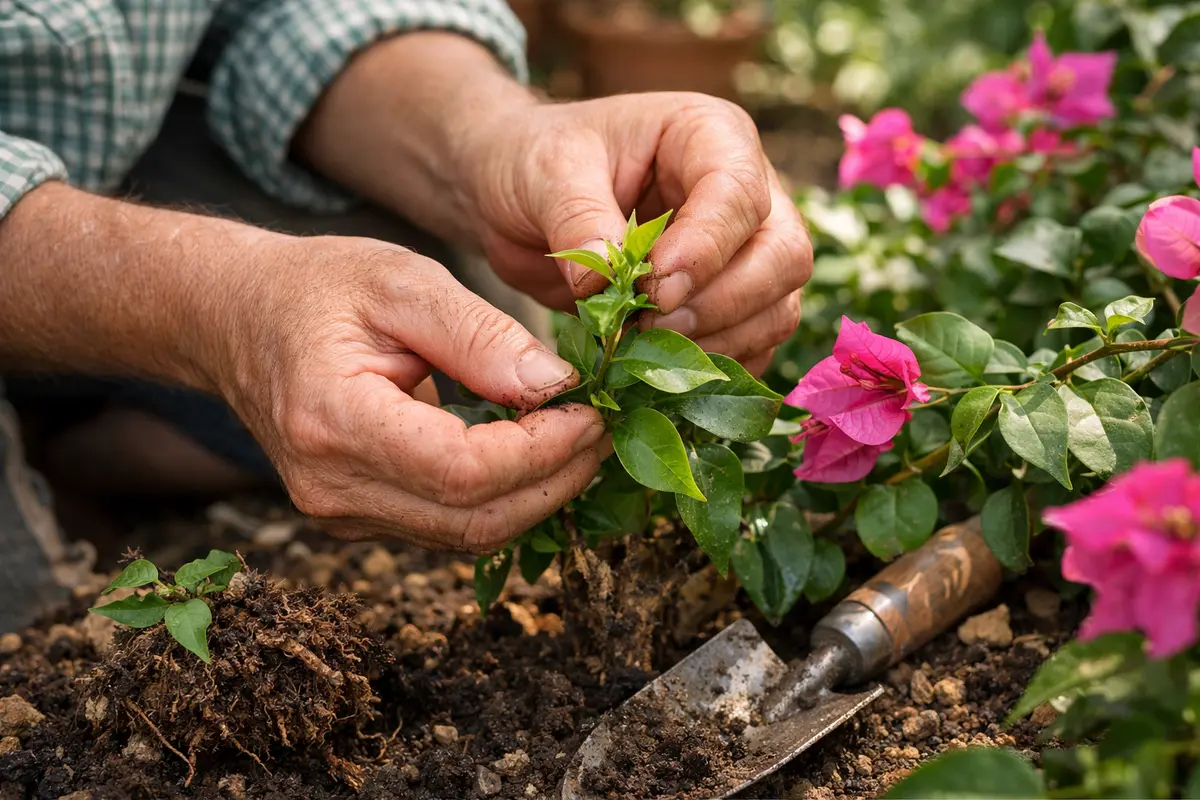
Step 1 – Trim Bougainvillea Roots Affected by Rot
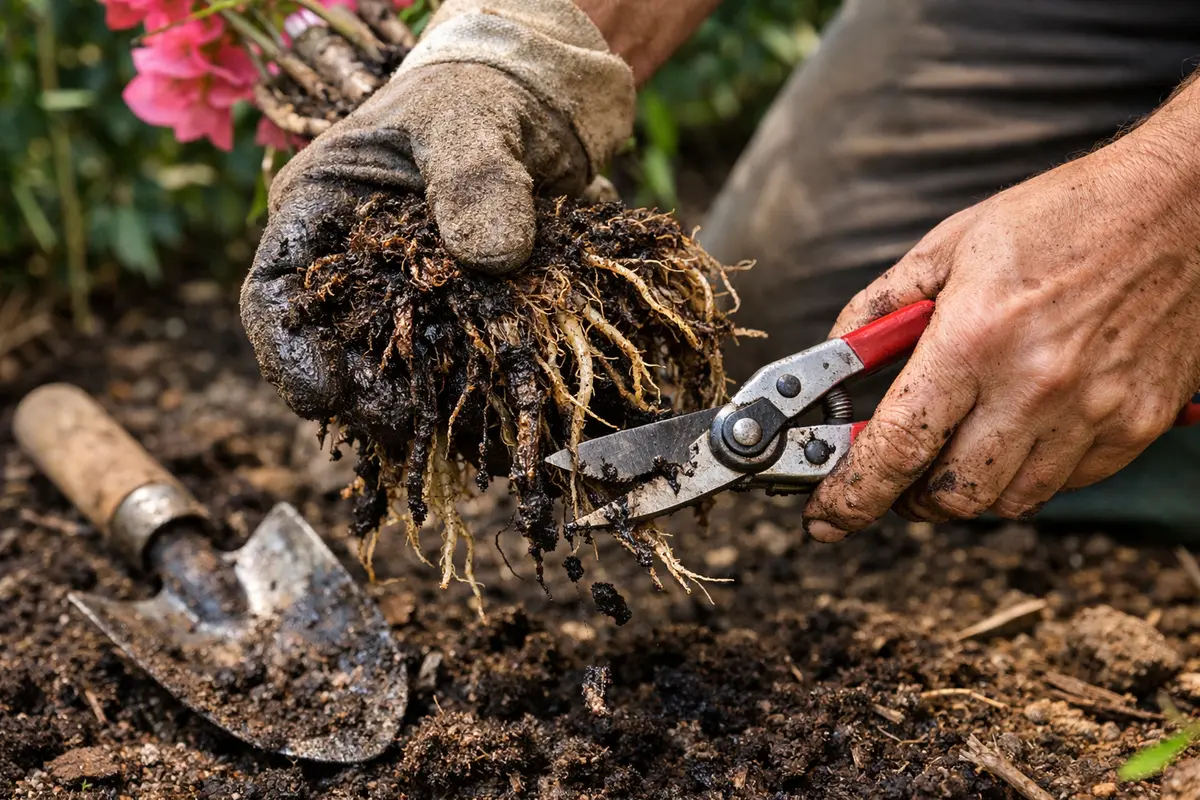
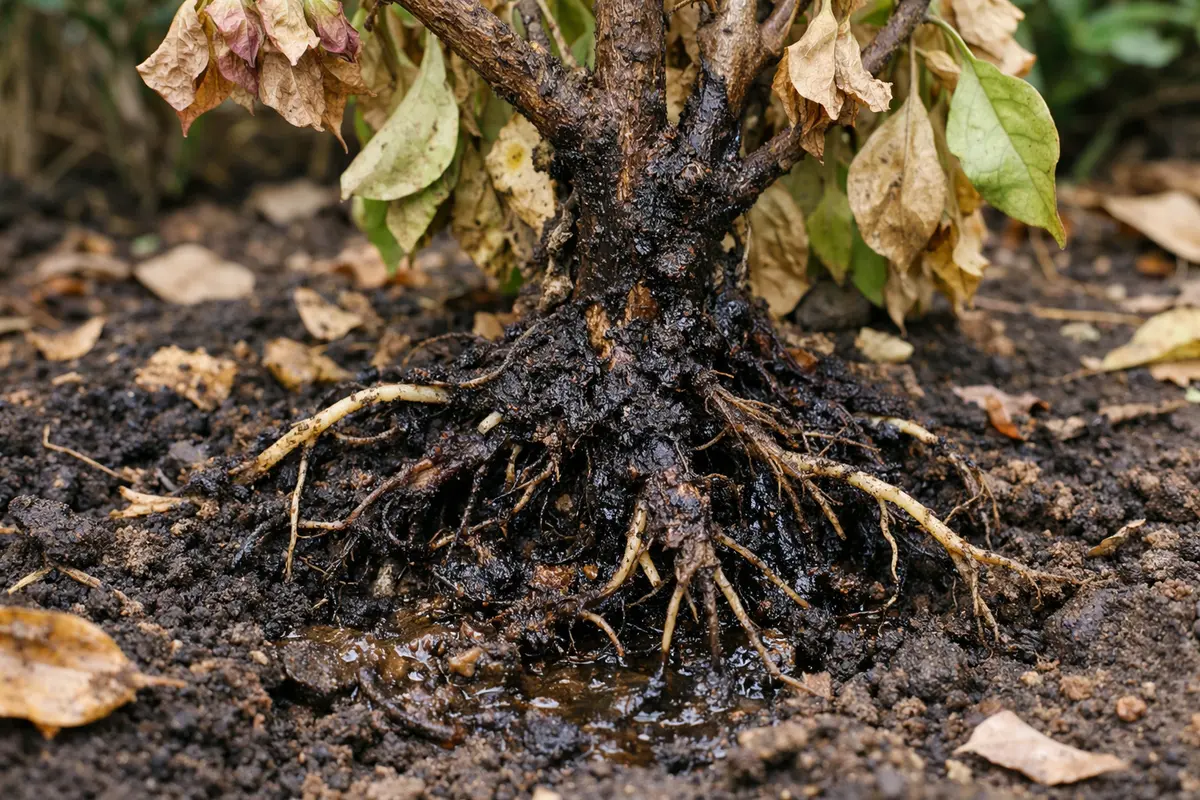
Remove any visibly rotten roots from the bougainvillea immediately. You will see healthier-looking roots exposed, reducing the risk of disease spreading to other parts of the plant. Trimming affected roots stops further damage and allows the plant to focus its energy on recovery. After trimming, the plant can allocate more resources and energy towards healing and new growth.
Taking quick action is crucial because rot spreads quickly in damp conditions. Bougainvillea roots left in a waterlogged state can decay, leading to nutrient loss and the inability of the plant to absorb water effectively. If you wait more than a couple of days, the damage will worsen, often leading to rapid dieback in your bougainvillea. When dealing with root rot, timely intervention is often the key to saving the plant.
A common mistake is not removing enough of the affected roots or hesitating to act. In my experience, waiting too long can lead to substantial loss that takes longer to recover from. Ensure that you cut back until you reach firm, healthy tissue to give your plant the best chance of regrowth. If you notice a persistent foul odor during this process, the rot has likely advanced deeper into the root system, requiring a more aggressive trimming approach.
Step 2 – Evaluate Soil Saturation for Bougainvillea
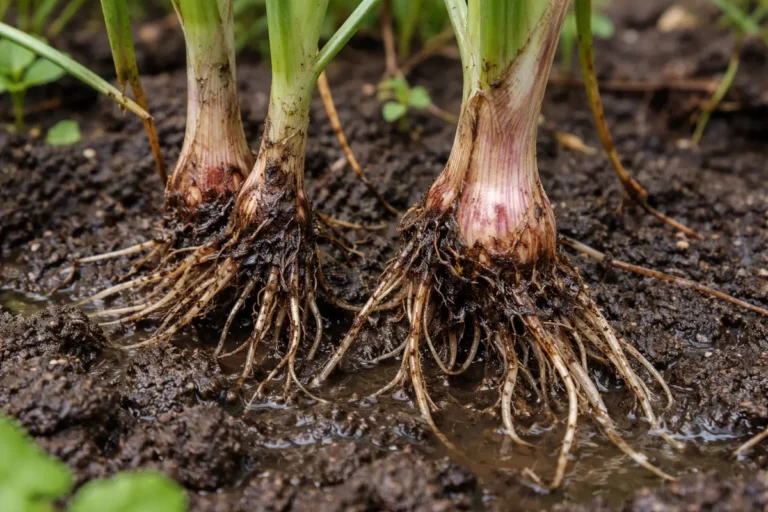
Check the soil around your bougainvillea for saturation levels. You will notice if the soil is overly wet, or if water drains poorly, which indicates ongoing issues with root health. Proper evaluation allows you to determine whether additional measures are needed to improve drainage or alter the watering routine. A simple test is to insert your finger into the soil to the first knuckle; if it feels very moist or saturated, it’s time to act.
The root rot in bougainvillea often stems from prolonged exposure to saturated soil, especially if it occurs in clay-heavy soils that retain moisture. This condition prevents oxygen from reaching the roots, which is vital for their health and function. If you find that the soil remains overly moisture-retentive even days after a rain event, this indicates that drainage improvement is necessary to prevent further rot. Over time, roots can suffocate and die, exacerbating the existing problem if changes are not made.
If the soil retains water for extended periods and has a sour smell, consider replacing it with a more suitable mix that enhances drainage. Additionally, if the plant sits in a low area that collects water, repositioning it to a drier location can be beneficial. Use a mix that includes perlite or sand to improve aeration and reduce soil compaction. Keeping this in mind ensures that your bougainvillea recovers and thrives — avoiding stagnant, oversaturated conditions will allow for healthier root growth.
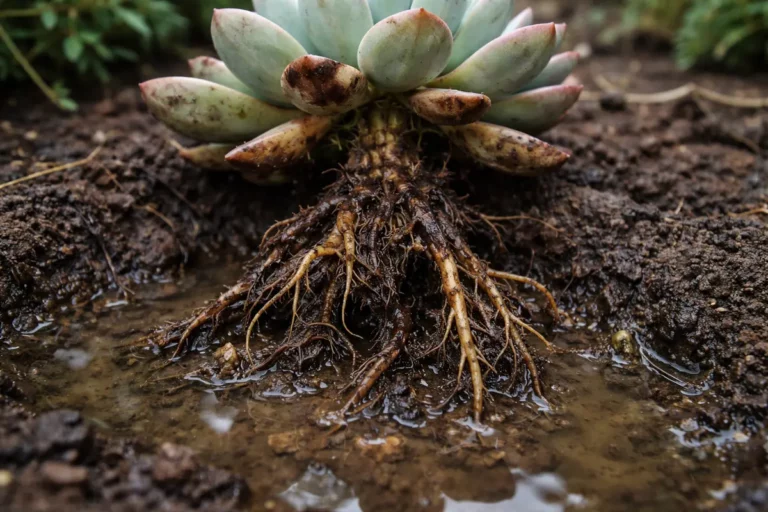
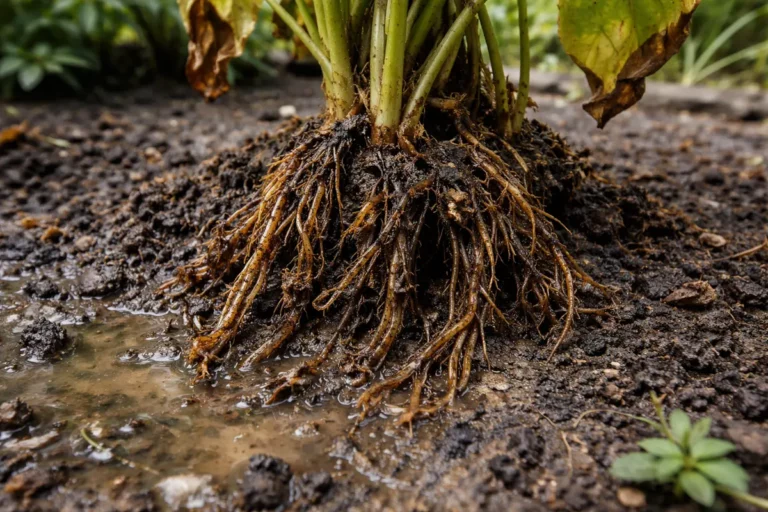
Step 3 – Test Roots for Signs of Root Rot
Start by inspecting the roots and soil of your bougainvillea to confirm root rot due to flooding. Look for dark, mushy roots that have a foul odor; they may also appear slimy or discolored. This indication shows that the roots are not receiving adequate oxygen and are beginning to decay.
Sometimes, bougainvillea roots may turn brown or develop spots due to other issues like fungal infections or nutrient deficiencies. However, with root rot from flooding, the roots will feel soft and waterlogged, while healthy roots maintain a firm, white appearance. If the roots appear swollen and mushy but don’t emit an unpleasant smell, check for excessive soil moisture or a lack of drainage to distinguish between these issues.
If you are uncertain about your diagnosis, wait for a few days to see if symptoms change. Monitor any further discoloration or odor, as a worsening condition can provide more definitive evidence of root rot. Alternatively, gently removing a root and examining its texture can reveal its health status before you decide on recovery actions.
Root rot can often be confused with other problems such as overwatering or nutritional deficiencies. Overwatered plants may exhibit yellowing leaves and wilting, but their roots may still retain some firmness, whereas root rot leads to complete collapse and mushiness. If you notice brown spots on the leaves or blackened stems, those are signs of fungal infections, which differ from the distinctly soft and blackened roots associated with root rot.
If you are uncertain about your diagnosis, allow the plant to rest for a week while monitoring its response. If the symptoms worsen with additional yellowing leaves, it’s likely root rot. Conversely, if there is slight improvement and a consistent healthy color starts to return in the leaves, investigate for signs of overwatering or pests instead.
Healthy roots should feel firm and white, while rotten roots collapse easily under gentle pressure. Another way to confirm root rot includes observing the texture and smell; decaying roots often have a foul odor, indicating bacterial activity contrary to healthy roots’ fresh scent. Knowledge of these distinctions enhances your ability to react appropriately to any potential issues. If you notice a color change or odor, that is often a key indicator that those roots must be dealt with sooner rather than later.
In cases where symptoms aren’t entirely clear—like a few limp leaves but otherwise healthy-looking roots—allowing a short observation period before proceeding can help clarify the diagnosis. If the leaves continue to droop within a couple of days, reevaluate the roots again for more clear-cut signs of decay. This testing process minimizes unnecessary treatments. However, if you find that multiple leaves are wilting despite visible healthy roots, further investigative steps, such as soil tests or drainage assessments, should be taken.
Step 4 – Revive Bougainvillea with Proper Nutrition
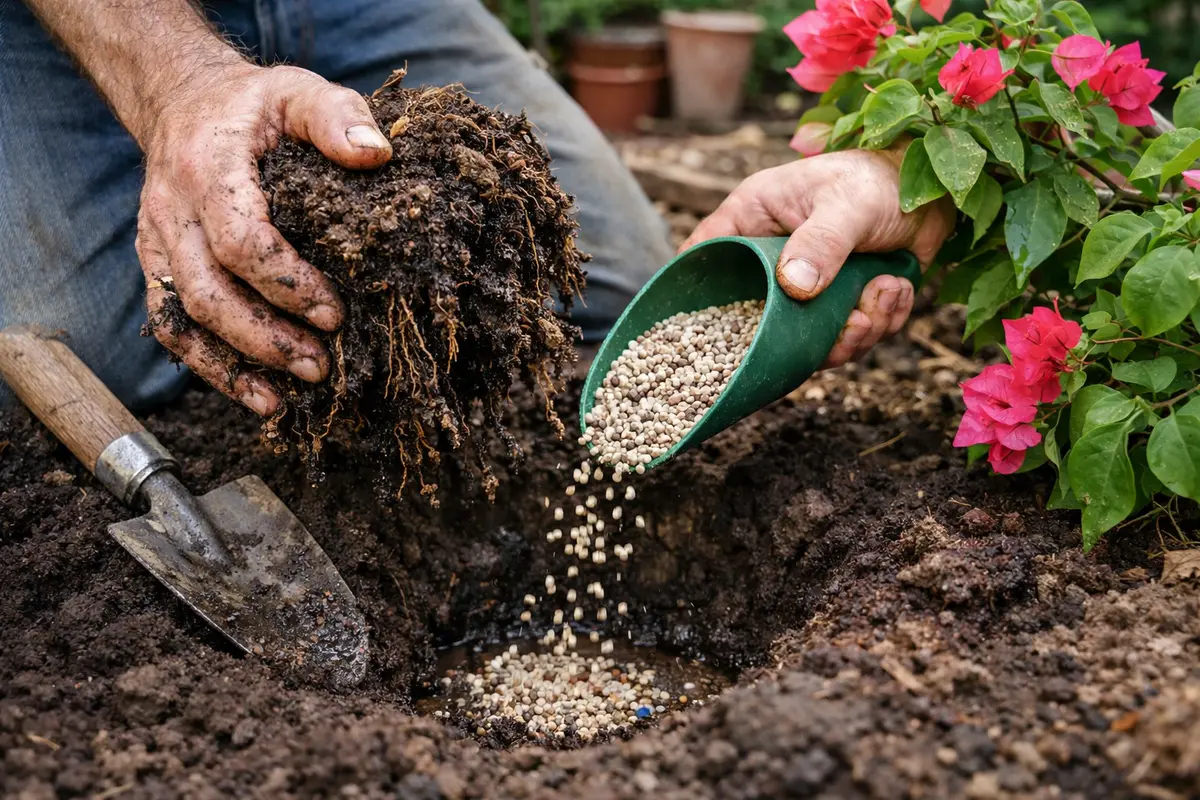
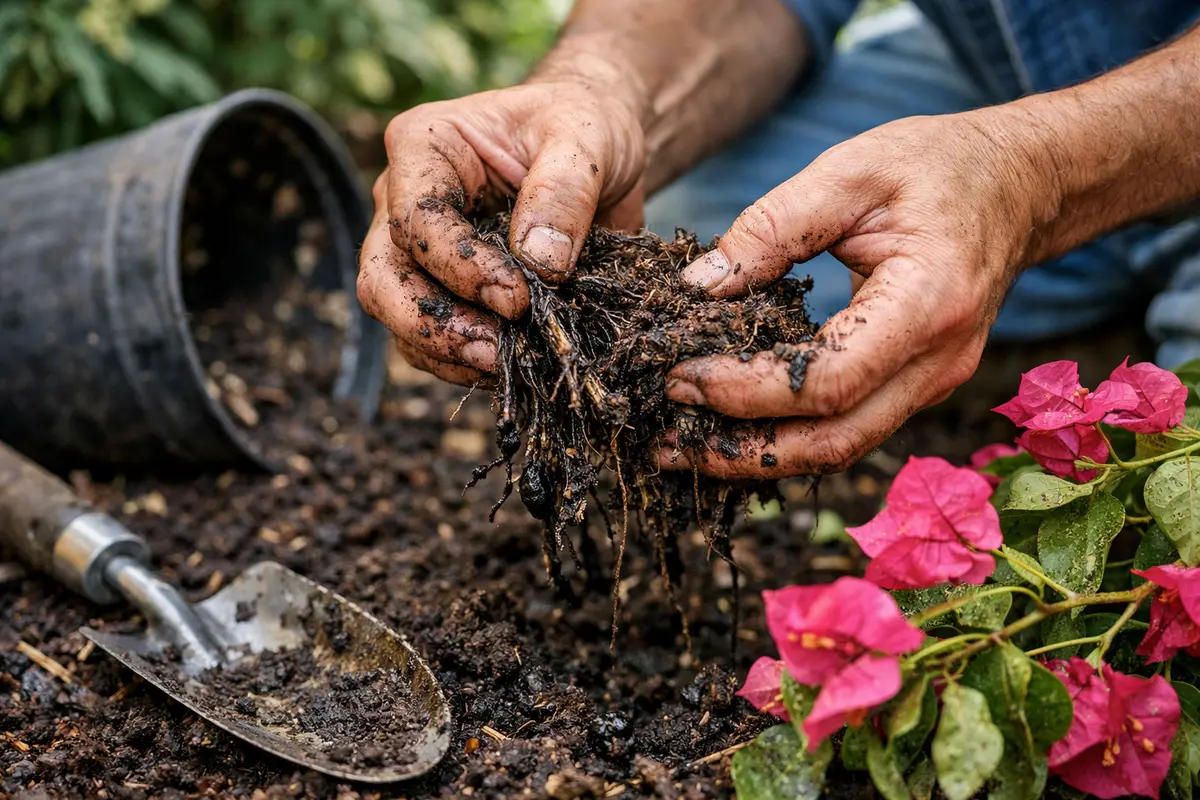
Start by removing the affected bougainvillea from its pot and trimming away any dark, mushy roots using sterilized scissors. After addressing the root rot, replant the bougainvillea in fresh, well-draining soil mix to aid recovery. In about a week, expect to see new leaf growth indicating that the plant is beginning to bounce back.
The recovery timeline for bougainvillea after flooding can vary; with proper care, you might see significant regrowth in 2-4 weeks. Healthy regrowth includes fresh, vibrant leaves and a sturdy structure, while poor recovery often results in further wilting or yellowing leaves. If you notice the roots are still brown, check the moisture levels in the soil to avoid excess water that could further contribute to rot.
A common mistake during recovery is overwatering or over-fertilizing the bougainvillea in an effort to accelerate regrowth. It’s crucial to maintain a balance, as too much water can lead to additional root issues. If the plant’s soil remains soggy after several days, check if the pot has adequate drainage or consider moving it to a drier location.
Healthy bougainvillea requires a good balance of nutrients, particularly nitrogen and potassium, that assist in recovery. By fertilizing appropriately, you’re replacing the essential elements lost during the rot process, improving the plant’s overall capability to recover. Early signs of new growth will help indicate whether the plant is responding positively to its nutrient intake. Look for newly formed leaves or shoots as positive indicators of recovery; if none appear after a week, further investigation may be required.
A major mistake to avoid during recovery is over-fertilization, which can further stress the plant and lead to nutrient burn. Ensure you only fertilize when the soil is moderately damp and follow up with regular checks for improvement. Monitor the plant closely for leaf scorch or yellowing, which can indicate fertilizer overload. Optimal recovery often comes with relatively stable weather conditions; extreme fluctuations can hinder the plant’s ability to utilize the nutrients effectively. Keeping environmental variables stable will encourage a successful recovery period.
Step 5 – Water Bougainvillea Only When Necessary
Water your bougainvillea judiciously, allowing the top inch of soil to dry out before applying more moisture. This practice will help prevent future root rot by maintaining the right balance of moisture. Through consistent watering habits, you can lock in proper hydration levels, fostering recovery. Pay close attention to the seasons; during hot, dry months, your plant may require more frequent watering compared to cooler, rainy seasons.
Excess water can quickly lead to saturated soil conditions again, which is detrimental for bougainvillea healing. Ensure that you’re watering based on the plant’s needs rather than sticking to a rigid schedule, particularly during cooler weather when moisture evaporates more slowly. Additionally, if you notice that the soil remains overly wet several days after watering, you might want to consider further enhancing drainage. Recognizing signs of thirst, like wilting leaves, can help keep watering intervals in check.
Seasonal factors can also play a role in watering needs; during the hotter months, your bougainvillea might require more frequent attention. Adjust your watering habits according to moisture levels and weather changes to guarantee optimal plant health. As the seasons shift, remember that the goal is to keep the root zone moist but not over-saturated. If your bougainvillea starts showing signs of drooping again, it could indicate that underlying moisture balance issues persist, necessitating further investigation into soil and drainage conditions.
Step 6 – Inspect Bougainvillea for New Growth Regularly
Start by checking the soil moisture level around the bougainvillea every few days after flooding. Look for signs of excess water pooling or mushy soil, as these indicate high moisture that can lead to root rot. Recheck the condition weekly, focusing on the consistency of the soil — it should dry out slightly but not completely harden.
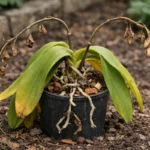
A fully recovered bougainvillea will exhibit vibrant, green leaves, along with sturdy stems that feel firm to the touch. In contrast, early signs of root rot returning include yellowing leaves or a texture that feels limp and soft, which often accompany a stagnant growth habit. If leaf drop occurs while new growth fails to appear, this indicates a problem is reemerging.
If root rot symptoms return despite following the treatment steps, immediately remove any affected roots and consider repotting the bougainvillea in fresh, well-draining soil. Monitor the plant closely for changes, and if yellow leaves persist, explore drainage solutions such as adding perlite or repositioning the pot to ensure water does not collect at the roots.
A fully recovered bougainvillea will display vibrant, healthy green leaves with a sturdy, upright growth habit. In contrast, if you see leaves drooping or displaying a brown, crispy texture at the edges, this could signal that root rot is resurfacing. If the plant regains its characteristic lushness in color and is forming new blooms, the treatment is likely successful; if not this → check the root system for necessary intervention.
If signs of root rot return despite previous treatment, re-examine the root system by gently removing the plant from its pot and inspecting the roots for softness or discoloration. Consider repotting in fresh, well-draining soil, ensuring to cut away any damaged roots. If problems persist, consult a local horticulturist or plant specialist for additional treatment options.
A fully recovered bougainvillea displays vibrant green leaves, sturdy branches, and roots that feel firm yet moist, showcasing resilience. In contrast, if you see yellowing leaves and roots that feel soft or spongy again, it indicates that root rot may be returning. If not bright green and robust → check for continued excess moisture around the roots.
If the root rot symptoms return despite your efforts, take immediate action by visually inspecting the soil moisture and adjusting your watering schedule to ensure it dries out properly. If problems persist, consider repotting the bougainvillea in fresh, well-draining soil and removing any affected roots to prevent further spread.
A fully recovered bougainvillea will exhibit vibrant leaves and thicker stems demonstrating resilience. If you observe yellowing or continued wilting, it may signify that root issues persist or have re-emerged. Immediate action will be crucial to prevent a repeat of the previous damage if retention of moisture is detected again. If more than a week passes without visible improvement, consider reevaluating all care practices and possibly seeking expert assistance.
If you find that the problem returns despite proper care, consider adding soil amendments that further improve drainage or an aeration method to the soil. Over time, you may need to periodically amend the soil with organic matter to retain moisture while improving drainage. If the issue worsens despite your efforts, the possibility of consulting a local horticulturist or replacing the plant could be the next step. Understanding when to seek help is vital for plant health, particularly if conditions seem to worsen despite following care protocols.
FAQ
How long does it take for bougainvillea to recover from root rot?
Recovery from root rot can take anywhere from a couple of weeks to several months, depending on the severity of the damage and the care the plant receives. With proper drainage solutions and appropriate watering techniques, you may start to see new growth within 2-3 weeks if the roots are treated adequately and conditions improve.
Can root rot spread to other plants in my garden?
Yes, root rot can spread to other plants, especially if environmental conditions remain favorable for fungal growth. Ensure to sanitize your gardening tools and isolate affected plants to prevent cross-contamination during the recovery process. Poor soil drainage can also create ideal conditions for root rot to proliferate amongst nearby plants.
Should I remove all affected roots immediately?
While removing as many affected roots as possible is advised, ensure to only cut back to healthy tissue. Extensive damage often requires careful evaluation; removing too many roots can stress the plant further. Striking a balance is critical; focus on trimming rotten tissue while keeping a healthy portion intact to encourage regrowth. Doing so increases the likelihood that your bougainvillea will recover effectively, rather than succumbing to stress.