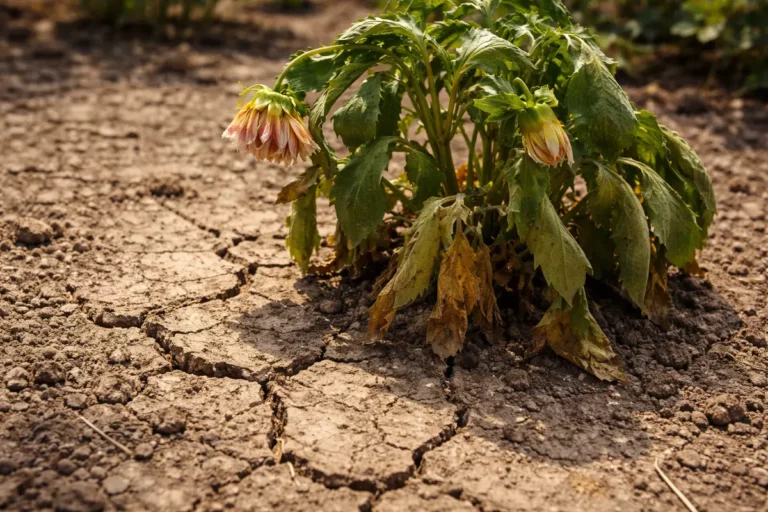
You may notice your ferns drooping and losing their vibrancy during particularly dry spells, a clear sign that you need to know how to fix drooping ferns during a drought. This wilting and drooping occurs due to inadequate moisture absorption, causing the fronds to resemble sad, wilting foliage. If left unattended, this condition gets worse and can weaken the plant, making recovery harder to achieve. Fortunately, you can still improve their health now by adjusting your watering routine and inspecting for any signs of damage.
Step 1 – Water Drooping Ferns Immediately
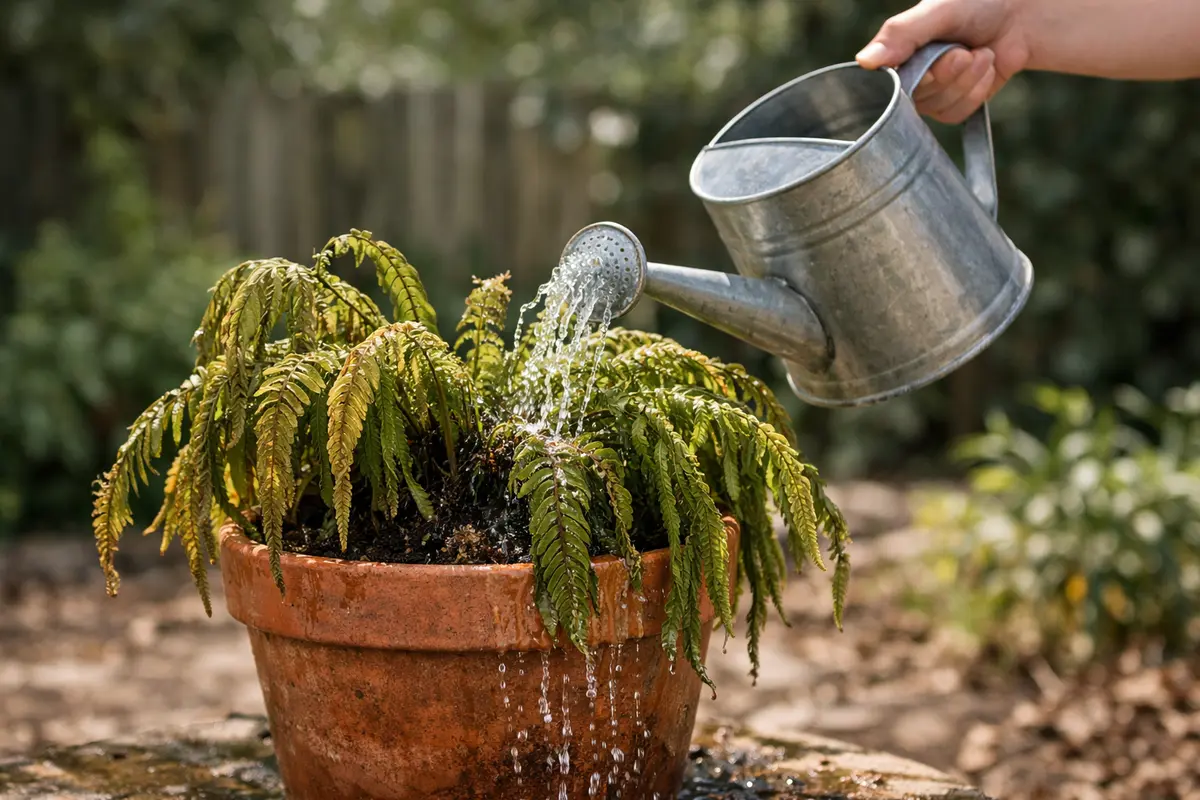
Start by watering the ferns thoroughly, ensuring every inch of the soil is saturated. You should aim to soak the soil to a depth of at least 6 inches, as this encourages the roots to extend deeper in search of moisture. You’ll notice the leaves begin to perk up within a few hours, restoring some of their previous vigor. However, keep in mind that if your ferns feel particularly dry or crispy, you may not see instant improvement and may require multiple applications over several hours to hydrate completely. Many gardeners recommend watering slowly to allow the soil to absorb moisture rather than creating runoff.
Watering is critical as it helps the ferns absorb moisture quickly, allowing the roots to rehydrate and function optimally again. Roots that have been left dry can experience shrinkage, reducing their ability to take up nutrients and water effectively. Immediate hydration can lessen the extent of the damage and promotes healing, particularly if the ferns are experiencing extreme stress due to drought. Using a soaker hose can be effective, as it delivers water directly to the root zone without saturating the foliage.
Many gardeners mistakenly wait for visible signs of improvement before rehydrating the soil, but this delay can worsen the ferns’ health. To avoid this pitfall, check the top inch of soil regularly; if it feels dry, water right away. Remember, the overall health of the fern often relies heavily on timely watering. I’ve found that addressing drought stress quickly can lead to surprisingly rapid recovery. Delaying water application can lead to a spiral of deterioration, with roots hardening and the plant’s ability to recover diminishing rapidly. Use a moisture meter for consistent monitoring; if the meter shows below 3 on a scale of 1 to 10, it’s time for another round of watering.
Step 2 – Diagnose Underlying Water Stress Issues
Check for any signs of water stress by inspecting the soil moisture level. After this step, you should immediately identify if the drooping is due solely to inadequate watering or if there are additional complicating factors. Look for specific symptoms such as wilting leaves or discoloration that could relate to root conditions, like a mushy texture indicating rot.
Assessing the soil helps confirm whether the roots are indeed suffering from lack of water or if other issues like root rot might be present. Moisture retention problems can often be linked to compacted soil that obstructs water infiltration, which can lead to similar drooping symptoms. Be aware that a soggy soil environment tends to foster anaerobic bacteria that can damage the root system. Getting it right at this stage is vital to applying the most effective correction; if the soil is too compacted, consider aerating or loosening it manually with a garden fork.
If the soil appears overly dry and crumbly, yet the roots are still intact, they likely just aren’t receiving enough moisture, signaling an immediate need for water. However, if the soil is soggy and has a sour smell, root rot may be at fault, necessitating a different approach. Identifying the moisture issue early ensures that you can rectify any underlying problems before promoting recovery through fertilization or additional care. If the soil feels waterlogged, you may need to assist with drainage by amending the bed with organic materials such as compost or perlite, which can improve aeration and water retention simultaneously, providing an environment more conducive to root health. Excess moisture often leads to problems like root rot in potted cacti.
Step 3 – Test Soil Moisture Before Treatment
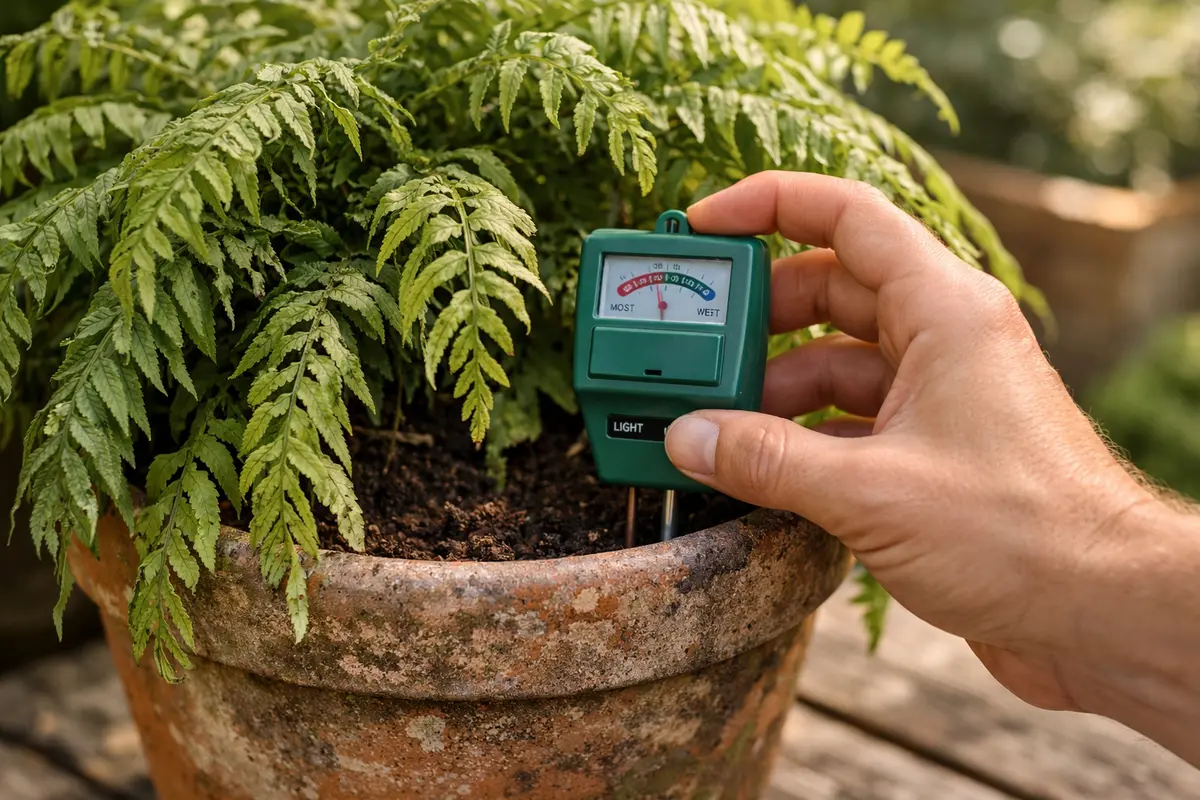
Inspect the soil by digging down to about 2 inches with your fingers. You should notice whether the soil is dry, has adequate moisture, or feels overly wet, which could complicate your recovery efforts. Testing moisture is easy; if your fingers come out clean and dry, it indicates the surrounding soil likely needs hydration. You might want to dig in several spots around the fern, as moisture can vary across the root zone.
If you find that the soil feels moist and cool, your ferns might be facing issues unrelated to watering, such as pest damage or diseases. If multiple fronds are wilting yet the soil retains moisture, inspect for signs of pests like aphids or fungal issues that could hinder the plants’ health, leading to similar drooping appearances. Conversely, if the soil feels dry, this indicates that the root zone needs immediate rehydration. Both scenarios can lead to drooping fronds, but their treatment will differ significantly; treating a pest problem requires a different intervention than simply increasing watering.
If the diagnosis remains unclear—perhaps the ferns are still drooping despite moist soil—consider waiting another day or observing leaf color changes. Ensure to look for any signs of wilting but also stress indicators like yellowing fronds or inconsistent firmness, as this will guide your next steps more effectively. If fronds are consistently limp despite adequate moisture, you might need to revisit the treatment plan by also evaluating whether the pH level is suitable for the fern species’ requirements, as a pH imbalance can further inhibit nutrient uptake. When feeding is off, expect signs such as if petunia plants turn yellow.
Step 4 – Apply Organic Fertilizer for Fern Recovery
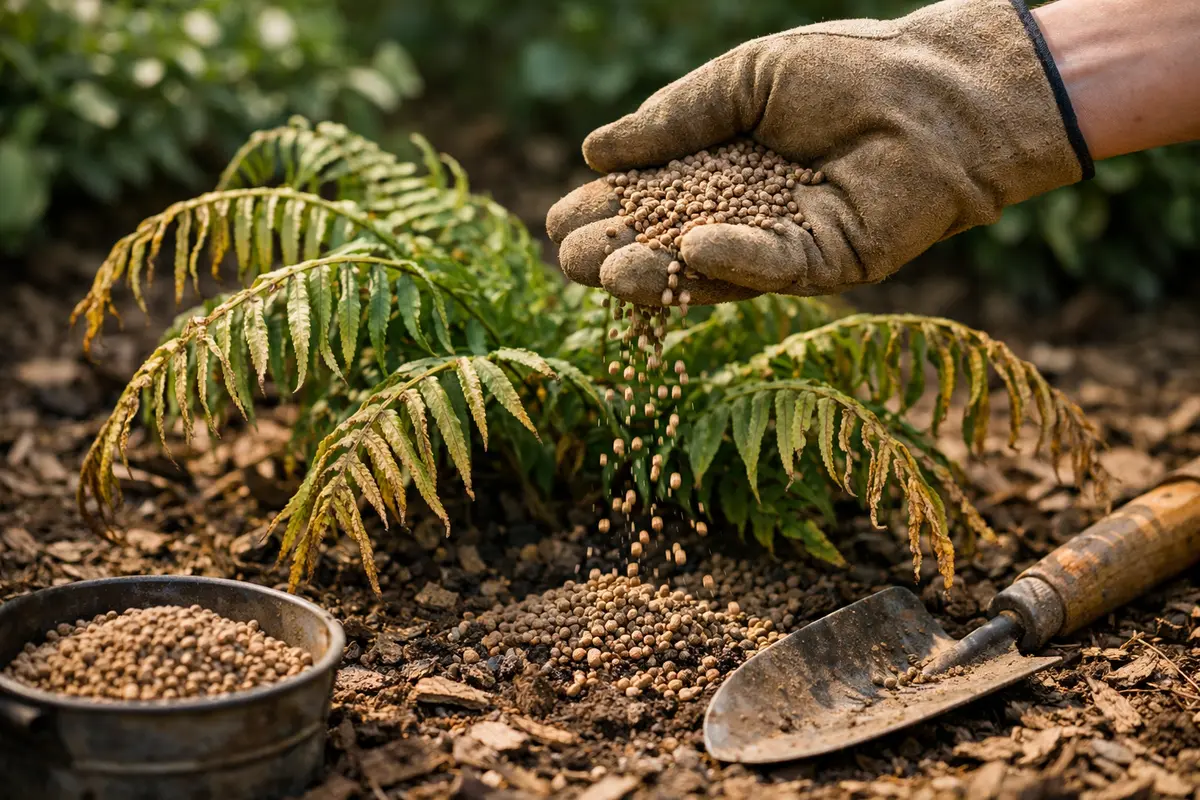
Begin revitalizing your ferns by applying an organic fertilizer with a balanced N-P-K ratio, such as 10-10-10, to promote growth. You should see healthy new growth sprouting within a couple of weeks as the ferns begin to acclimate to the rejuvenated soil conditions. During this time, observe how the new fronds emerge; they should appear green and resilient, showing no signs of browning or limpness.
Fertilizing provides a nutrient boost that supports the plant’s recovery process, especially after being stressed from drought conditions. As the soil becomes enriched, the roots can utilize additional nutrients required for new growth, significantly enhancing the ferns’ resilience. Focus on distributing the fertilizer evenly around the plant base to avoid direct root stress associated with concentrated nutrient exposure; be cautious of the fertilizer residue that may cause localized burning to the roots if not applied properly.
A common mistake during recovery is over-fertilizing in hopes of speeding up recovery, which can lead to nutrient burn and further damage. Always follow package instructions for dosage and timing, especially for ferns sensitive to high nutrient levels. Be mindful that applying fertilizer too frequently or in excessive amounts can exacerbate stress rather than alleviate it. Wait about four weeks after the initial application and observe the results before considering another round; assessing the ferns’ growth will help you gauge any additional needs. If the plants show signs of distress soon after fertilization, it may be prudent to dilute your application or even skip a feeding to allow them to recover from previous treatments.
Step 5 – Water Ferns Deeply During Hot Days
Start by regularly watering your ferns deeply once a week, ensuring the soil remains consistently moist but not soggy. This routine shows immediate effects with ferns upright and lush within days, as they access necessary moisture directly from the soil. When summer heat peaks, adapting your watering routine to add an extra day of watering can be advantageous; if soil moisture levels drop too low, you can reap the benefits of maintaining hydration before the plants show signs of stress.
Ferns often droop due to lack of moisture in the soil, especially during dry spells when evaporation rates frequently increase. By watering weekly, you prevent the soil from becoming too dry, which would otherwise cause stress to the plants and lead to drooping fronds. If the leaves were previously wilting from dryness, increasing watering frequency can help maintain their structural integrity during droughts. Observing the leaf textures while watering can provide insight; if they feel firm after watering, the plant is likely on its way to recovery.
During particularly hot summer days, adjust your routine by adding a light misting of water on the ferns in the early morning hours. This added layer of moisture helps combat increased evaporation from the foliage and ensures that ferns remain hydrated even during peak heat. If the fronds still appear droopy after this adjustment, check the soil moisture levels to confirm they are not overly dry. Maintaining a consistent watering schedule helps prevent the soil from drying out too quickly, especially in warm temperatures. Focus on watering early in the morning or late in the evening; this maximizes absorption and minimizes evaporation during the hottest parts of the day. Over time, this also establishes soil moisture retention, ultimately limiting the chances of experiencing drought stress again in the future. Additionally, consider introducing a light mulch layer to retain moisture and regulate soil temperature. When watering is too sparse, plants often develop yellow leaves eggplant drought.
Step 6 – Check Fern Fronds for New Growth Weekly
Start by checking your ferns every few days for moisture levels in the soil. Observe the fronds for any signs of improved turgor; they should feel firm rather than limp. If the fronds have not perked up within a week after your watering efforts, it’s time to reassess your watering schedule and methods.
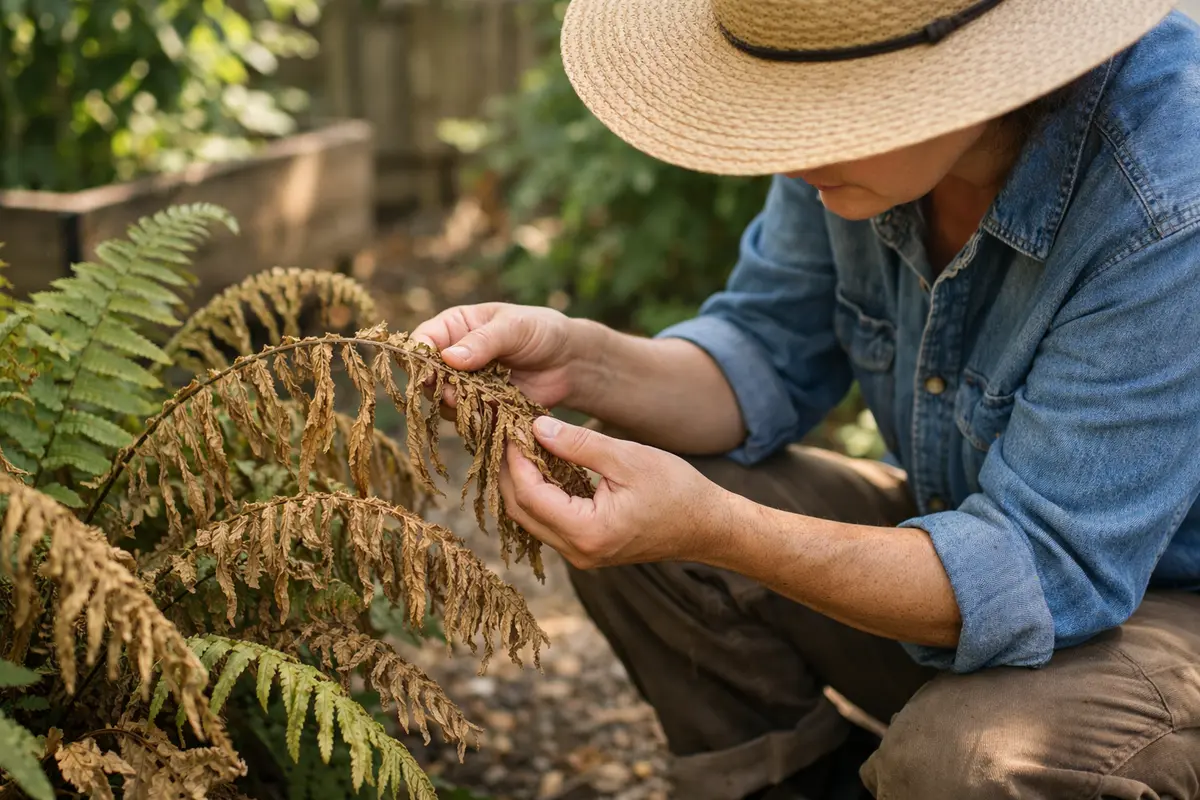
A fully recovered fern displays vibrant, upright fronds with a luscious green hue, indicative of proper hydration. In contrast, early signs of the problem returning include fronds that begin to droop again, appearing dull and soft to the touch. If the fronds feel dry and brittle, it signals a need for immediate intervention; if not a potential fungal issue, check for root rot by inspecting the rhizomes for dark, mushy spots.
If the drooping returns despite your best efforts, consider adjusting your watering technique to ensure deep, consistent moisture delivery. Alternatively, elevate the humidity around the fern by misting or using a pebble tray. If the issues persist, you might need to consider repotting, as root health is crucial for fern stability and resilience. Recently moved plants are also prone to fern plants droop transplanting.
A fully recovered fern will display vibrant, upright fronds with a consistent dark green color and smooth, firm textures. In contrast, early signs of the problem returning include fronds that become limp and yellow, suggesting a lack of water despite previous recovery. If the leaves begin to feel dry and crunchy compared to the lush softness during recovery, the issue may be resurfacing.
If drooping persists despite proper watering and monitoring, evaluate the drainage conditions and consider repotting the fern with fresh soil to improve aeration. If the problem does not resolve within a week, consult local gardening experts for advice on specific pests or diseases that may be affecting your ferns.
Look closely for any reemergence of wilting fronds, yellow spots, or signs that the original issues of drooping are resurfacing. Healthy new fronds will appear vibrant and robust, indicating the plant is transitioning back to health—this recovery phase is essential for successful long-term care. This will show the ferns are finally readjusting and thriving again; however, be cautious, as premature removal of damaged fronds can inhibit the plant’s recovery by reducing foliage for photosynthesis. If necessary, wait until you see clearly healthy growth before removing any damaged parts, as they may still serve a purpose during recovery.
If your ferns do not seem to recover after a week of diligent care, re-evaluate your previous steps and consider seeking expert advice. Feel free to consult local gardening experts or botanical societies on specific steps that might suit your environmental conditions better. Additionally, consider environmental factors such as light exposure and temperature variations as contributing factors in your diagnosis. If the ferns appear stagnant, it could be indicative of insufficient light, pushing the leaves to search for better light conditions, which adds another aspect to your nurturing efforts.
FAQ
How long does it take for drooping ferns to recover from drought?
Recovery can take anywhere from a few days to several weeks, depending on the severity of stress and environmental conditions. With consistent care and adequate moisture, you should see noticeable improvement within about a week, particularly if the underlying causes are addressed promptly. More severe cases may warrant longer recovery times; continue to monitor growth carefully.
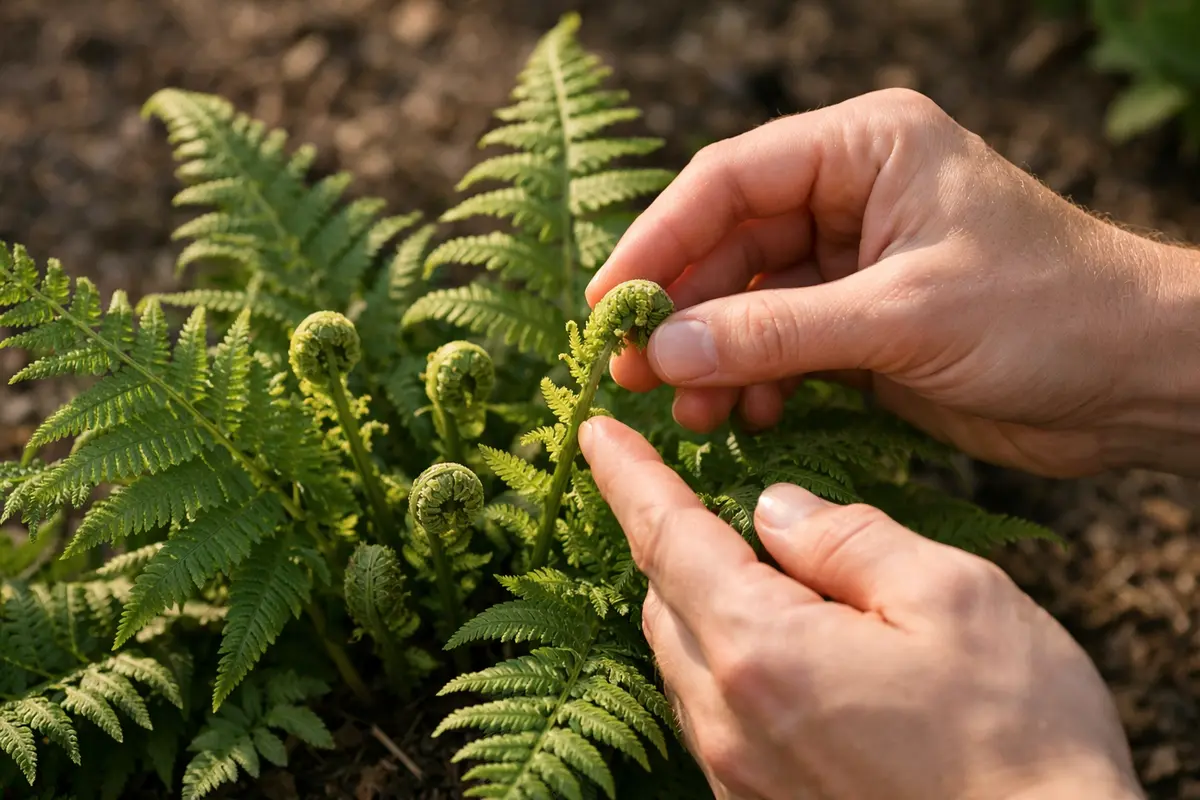
Can I remove affected fronds after a drought?
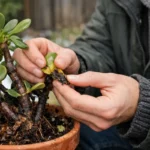
Yes, you can selectively prune damaged fronds to promote healthier growth. Trim back any brown or severely wilted leaves to allow the plant to direct energy toward new growth and improve overall appearance. Ensure you use clean, sharp scissors to avoid introducing pathogens to the plant. Remember, removing only partially damaged leaves can encourage the plant to concentrate on strong, vibrant fronds.
Will fern droop reappear after drought conditions?
If proper care routines aren’t established, droop can reoccur during hot spells or prolonged dry conditions. Regular watering, checking soil moisture, and adjusting your watering schedule according to weather patterns can help prevent this from happening. Establishing a solid monitoring routine will allow you to intervene before the problem worsens; additionally, consider seasonal changes in your watering regimen to avoid future stress.