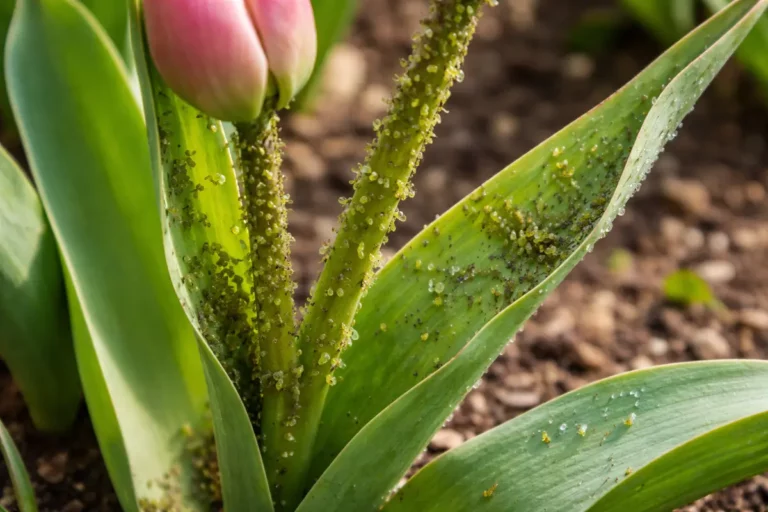
You may notice tiny, soft-bodied insects clustering on your kale plants during summer, which is why you need to know how to stop aphids on kale plants during summer. These pests suck the sap from your plants, leading to yellowing leaves and weakening the overall health of your crops. If left unchecked, the infestation can spread quickly, worsening damage and stalling growth, but fixing it is possible now—just inspect your plants regularly and remove any visible aphids to keep them healthy.
Step 1 – Spray Insecticidal Soap on Kale Leaves
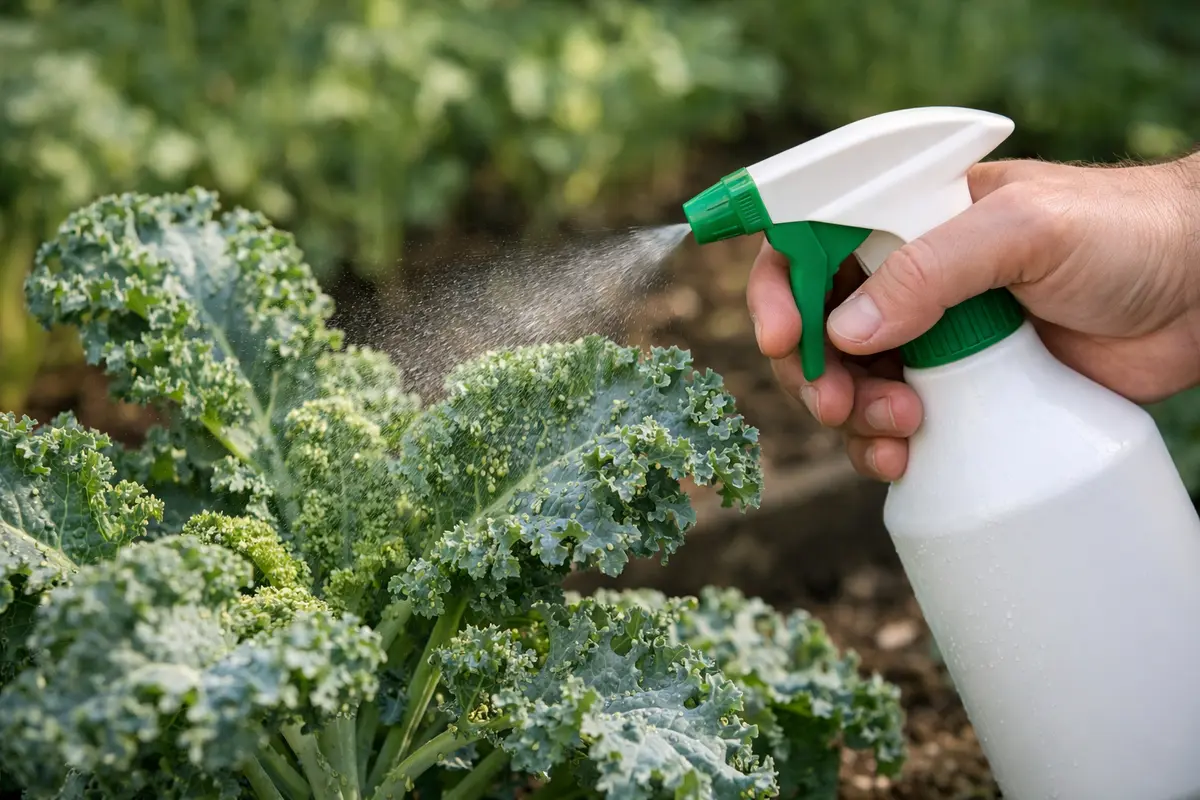
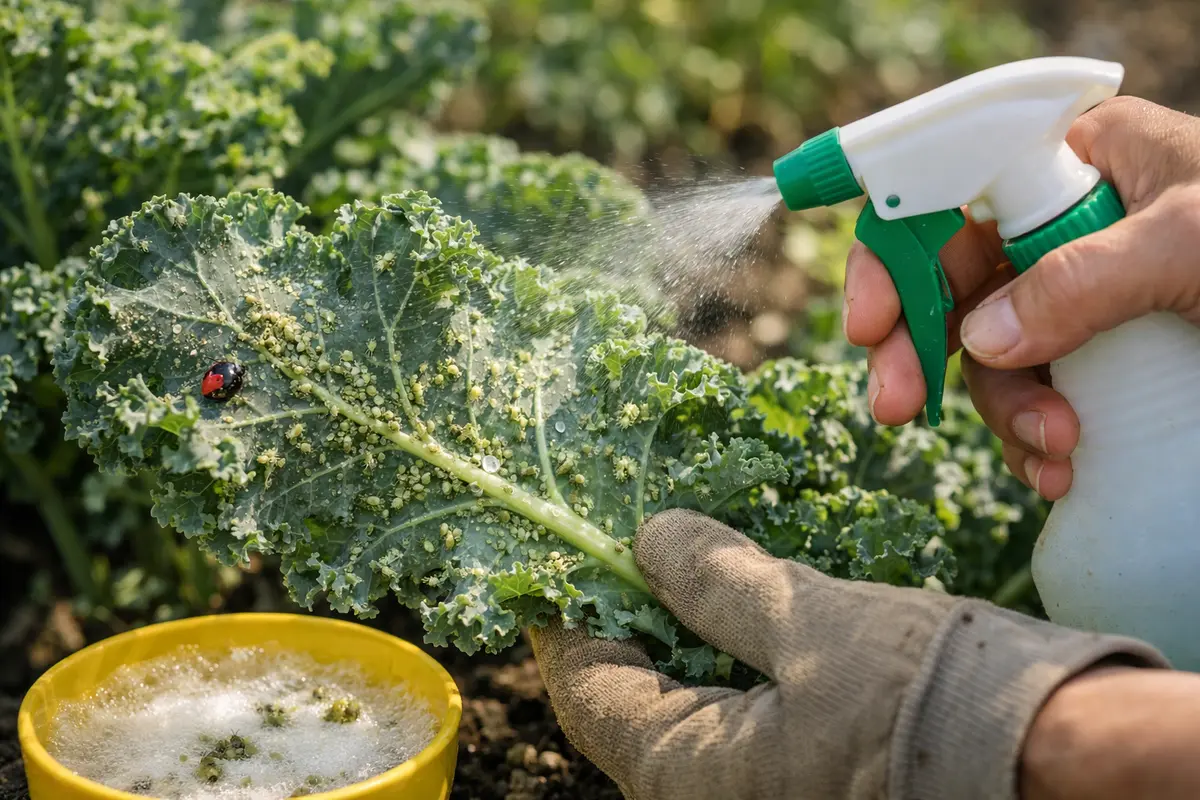
Start by spraying insecticidal soap directly onto the affected kale leaves, ensuring that the solution thoroughly coats the foliage. You will notice that the aphids start to die off and lose their grip on the leaves within hours. Timing is crucial; perform this action when the infestation is small and manageable for the best results.
Apply the soap carefully, focusing on the soft-bodied aphids that are vulnerable to suffocation. Cover both the tops and the undersides of the leaves because aphids often hide below, which allows them to escape treatment if not adequately targeted. Acting quickly after identifying an infestation helps minimize damage to your kale, promoting healthy growth. A related fix is explained in prevent aphids kale if you want to compare approaches.
Keep the temperature in mind; this treatment is most effective between 60°F and 80°F. If temperatures rise above this range or drop too low, the soap’s efficacy may decrease, so plan your application accordingly. Always mix the soap solution at the recommended dilution to avoid harming your plants.
Avoid common pitfalls such as spraying on a hot day, which can lead to leaf burn if the concentration is too high. The best times to apply the spray are early in the morning or late in the evening when temperatures are cooler. If you observe leaf curling or wilting shortly after application, consider diluting your mixture further and waiting for cooler conditions to reapply. Monitoring your kale closely will help ensure that aphids are effectively controlled while minimizing stress on your plants.
Step 2 – Investigate Pests Hiding in Soil
Inspect the base of your kale plants for signs of aphids and their larvae. If you notice a cluster of small green or black insects, use a strong jet of water to dislodge them from the leaves. This immediate action helps to reduce their population and prevents further damage to your plants, leading to healthier, more resilient kale.
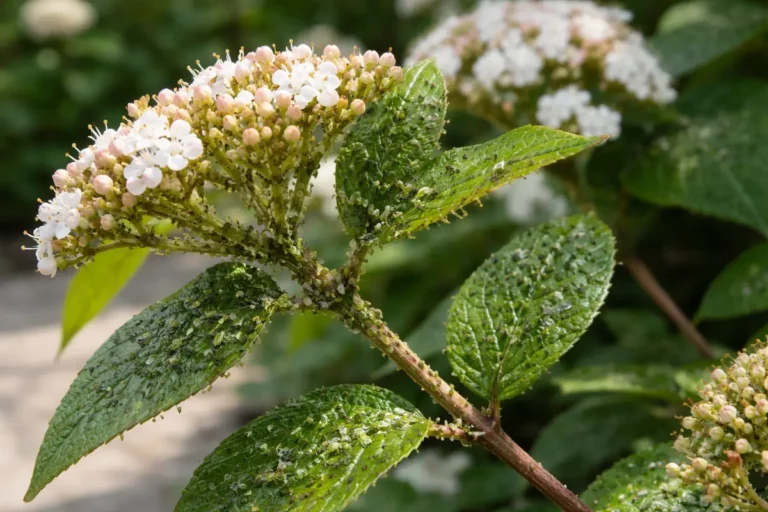
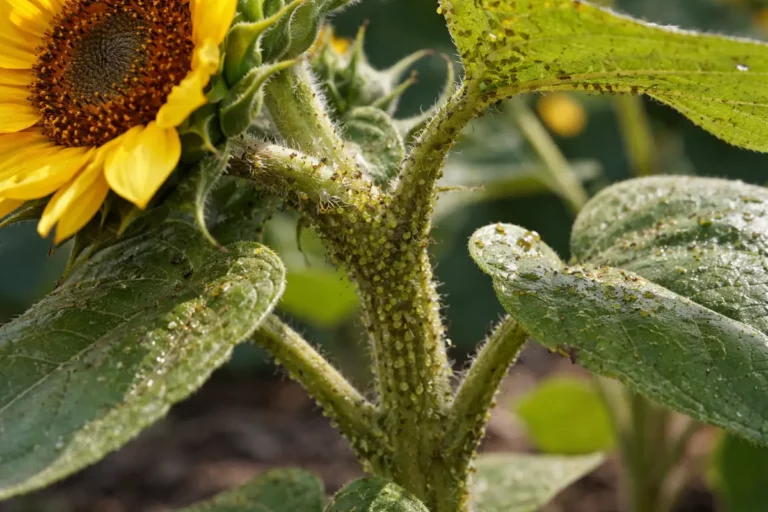
Aphids feed on the sap of the kale plants, extracting vital nutrients and causing stunted growth and deformed leaves. When they infest your plants, they can also excrete a sticky substance called honeydew, which attracts ants and promotes sooty mold growth. Understanding this interaction helps emphasize the need to manage aphid populations effectively to maintain plant health.
If you notice a sticky residue on your kale leaves, it could be a sign of aphid infestation or another pest. In this case, carefully inspect for aphids as well as mealybugs or spider mites, which require different treatments, such as insecticidal soap for mealybugs or a fine mist of water to dislodge spider mites. Addressing the correct pest is crucial for effective management and plant recovery.
Aphids often thrive when the kale is weak, and such vulnerabilities can be due to root pests siphoning essential nutrients from the soil. A careful examination allows you to identify these threats, leading to quicker and more comprehensive responses rather than just treating the visible symptoms above ground. Without addressing the underlying issues, your kale will repeatedly fall prey to aphids. A simple soil test can also reveal nutrient imbalances that stress plants, allowing aphids to take hold more easily. For a closely related scenario, see compacted soil around.
If you encounter signs of root pest infestations, such as darkened soil, stunted growth, or wilting, consider applying beneficial nematodes to the soil. These microscopic organisms target pests like grubs and larvae naturally without harming your kale plants. Avoid harsh chemical solutions that may disrupt beneficial organisms in the soil, and instead, focus on solutions that restore ecological balance, such as introducing compost or natural fertilizers to revitalize the soil. It’s essential to test soil moisture after applying nematodes, as they typically need a damp environment to thrive; ensure conditions are suitable for maximum effect. If the soil remains dry or overly compacted, the nematodes may not establish effectively, leading to persistent pest issues.
Step 3 – Fertilize Kale to Boost Recovery
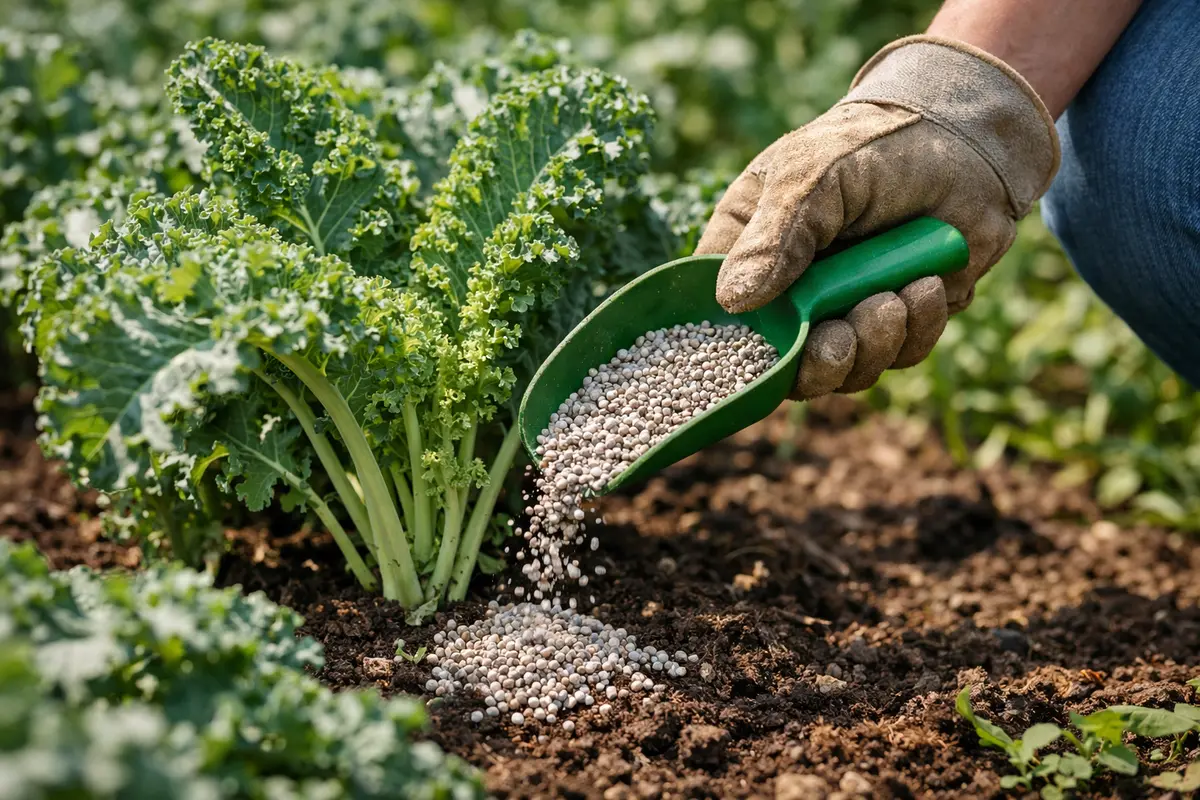
Begin by applying a balanced fertilizer to your kale plants to replenish lost nutrients and support their recovery. Within a few days, you will notice greener, more vibrant leaves as the plants start to respond positively to the fertilization.
The recovery timeline for your kale plants can vary, but typically, you should expect to see visible regrowth within one to two weeks if conditions are favorable. Healthy regrowth looks like bright green, tender leaves that are free from any sticky residue or aphid clustering. To enhance the recovery process, ensure your plants receive adequate sunlight, consistent watering, and moderate temperatures. Excessive heat or prolonged moisture can hinder recovery, so monitor your plants closely.
Avoid overwatering your kale during the recovery phase, as it can lead to root rot and further stress the plant. It is also crucial to prevent over-fertilization, since too much fertilizer can promote weak, leggy growth, which aphids find favorable. Instead, choose a fertilizer low in salt and with a balanced N-P-K ratio, such as 4-4-4, to support robust growth. Make sure to water the plants thoroughly after fertilizing to facilitate optimal nutrient absorption, ideally with a light application to avoid washing away nutrients.
Be cautious not to over-fertilize; observing your plants’ reactions will guide you in adjusting the application. For instance, if some leaves begin to turn yellow after fertilizing, that may signal excessive nitrogen. In such cases, reduce your fertilizer dose by half or switch to a slow-release formula that feeds gradually over time. Additionally, consider the soil quality, as nutrient-poor or compacted soils may limit a fertilizer’s effectiveness. Improving the soil can enhance nutrient uptake and overall plant health, further aiding in recovery from aphid damage.
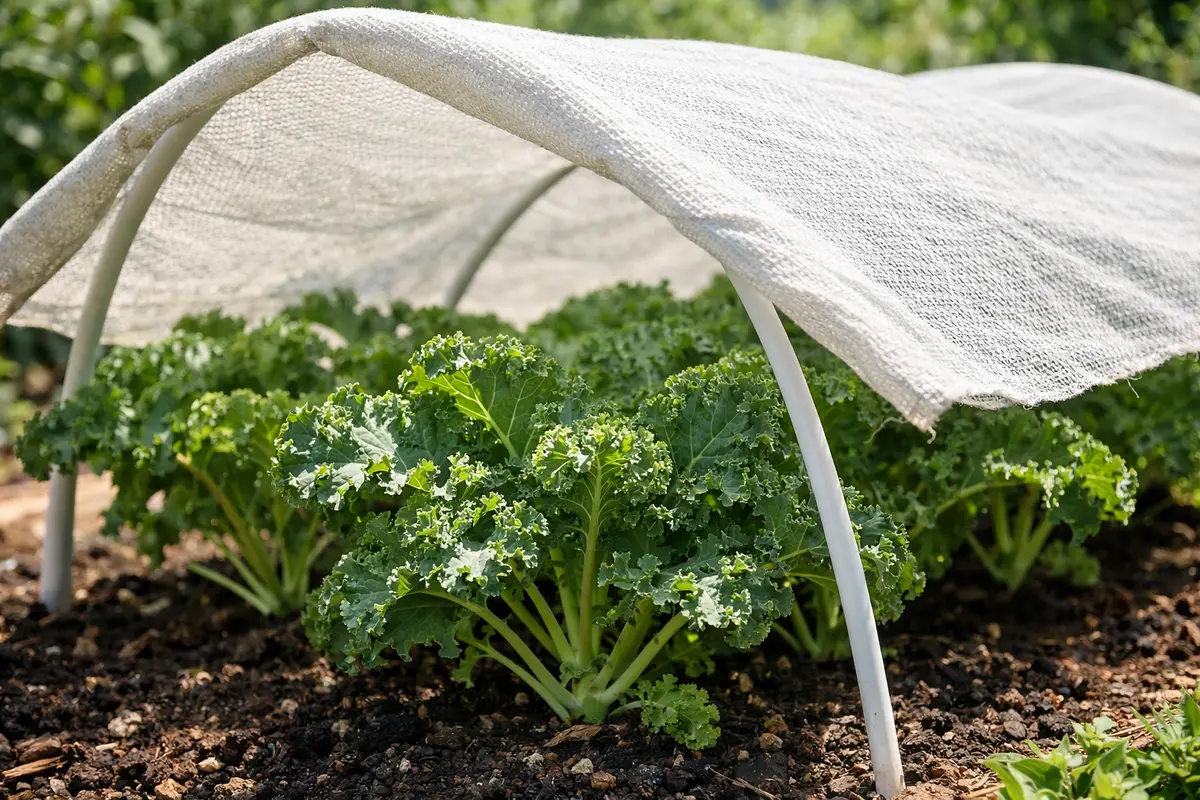
Step 4 – Shield Kale from Sunlight Extreme
Begin by applying a neem oil spray to your kale plants every two weeks during the summer to create a protective barrier against aphids. This consistent treatment will help reduce aphid populations and promote healthier growth in your kale plants. Ensure that you cover both the top and underside of the leaves, as this is where aphids tend to congregate for feeding.
To reinforce your prevention strategy, implement a routine of checking for aphid activity and adjusting your neem oil applications based on weather conditions. During dry spells or high heat, increase your application frequency. This proactive approach not only deters current infestations but also cultivates an environment that prevents future outbreaks through consistent care.
In addition to neem oil, consider implementing a companion planting strategy by introducing aphid-repelling plants, such as marigolds or garlic, in proximity to your kale. Monitor these companion plants to confirm their impact; if aphid numbers decrease, you can assume they are effectively disrupting the aphid life cycle.
As summer temperatures climb, intensify your prevention efforts by applying a weekly spray of insecticidal soap alongside your neem oil regimen. This combination creates an added layer of protection, particularly during peak aphid activity, ensuring that your kale remains robust and healthy. Keep an eye on the leaves for signs of improvement, such as a reduction in visible aphids and overall plant vitality.
To mitigate stress from excessive sunlight, provide shade during peak hours. This will help retain soil moisture and prevent leaf scorch. Consider using shade cloth during the hottest part of the day, but remember to remove it in the evenings to facilitate adequate nighttime cooling—allowing for proper air circulation is crucial to prevent plant stress.
As temperatures soar, adjust the position of your shade cloth to ensure it adequately covers your kale, especially during extreme heat waves. Review your watering schedule as well; plants under shade typically require less frequent watering due to reduced evaporation. Regularly inspect the soil moisture; if it appears dry an inch below the surface, provide a deep watering to maintain hydration levels. Keeping an eye on your watering habits is vital as improper moisture can lead to root rot, complicating pest management efforts. Additionally, monitor daily for any signs of the leaves stretching upwards, indicating they need more light; adjust your shade cloth accordingly to balance light exposure.
Step 5 – Inspect Kale Daily for New Aphids
Begin by inspecting your kale plants daily for any signs of new aphids or damage. Observe for curled or distorted leaves, as well as sticky honeydew residue on the foliage or surrounding soil. Regular daily checks allow you to catch any emerging infestations early, ensuring the health of your plants.
A fully recovered kale plant exhibits vibrant and firm leaves that are rich in color and free from discoloration or curling. In contrast, early warning signs of a returning problem may include tiny green or black insects reappearing on the undersides of leaves, along with a sticky sheen on the foliage. Pay close attention to changes in leaf texture, as newly infested plants may show signs of wilting or have a bumpy appearance.
If you notice aphid populations returning despite your preventive measures, escalate your control strategies by reapplying insecticidal soap. Cover all areas where aphids might hide, ensuring thorough treatment. Also, introduce natural predators like ladybugs to help regulate the aphid population, as they can provide a sustainable solution over time.
Recovery from aphid infestations typically takes about two weeks, with leaf color and vitality serving as reliable indicators of your plants bouncing back. Look for fresh growth and firm leaves; these signs suggest that your treatments are effective. Conversely, keep an eye out for clusters of aphids returning, indicating that your interventions may not be sustaining or that the infestation wasn’t completely eradicated.
Should aphid populations surge again despite your preventative efforts, repeat your insecticidal soap treatment and consider integrating beneficial insects for longer-term pest management. Additionally, rotating biological control products is advisable, as consistent use of the same treatment may lead to resistance in aphid populations, enhancing your effectiveness against these pests. If infestations persist, it may indicate underlying stress factors affecting your kale plants, prompting a thorough review of your overall garden care routine for better resilience.
FAQ
How long will it take for my kale to recover after treatment?
The recovery timeline for kale can vary, but typically, you can expect visible signs of improvement within one to two weeks of starting treatment. This includes new leaf growth and an increase in the overall vibrancy of the plants. Factors such as temperature, soil health, and pest pressure will impact this recovery time, so it’s vital to maintain an optimal environment.
Can aphids spread to other plants in my garden?
Yes, aphids can easily spread to nearby plants, especially during summer when their reproductive rates are high. Monitoring neighboring plants for early signs of infestation is crucial to prevent cross-contamination. Consider implementing companion planting techniques to confuse aphids and reduce their movement among plants; this can serve as a natural deterrent in your garden.
Should I remove heavily infested leaves from my kale plants?
Yes, removing any heavily infested leaves is a good practice to reduce the aphid population and lessen the burden on the plant. Ensure to dispose of them far from your garden to avoid re-infestation. Additionally, prune with sterile tools to minimize the risk of introducing further pests or diseases, ensuring your kale has a fighting chance against future threats. Keeping a close eye on overall plant health following such removal is essential, as it can also reveal nutrient deficiencies or additional stressors affecting recovery.