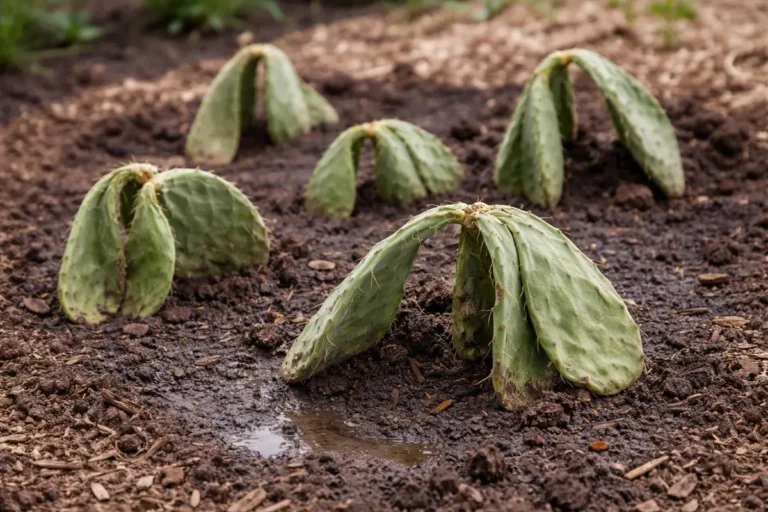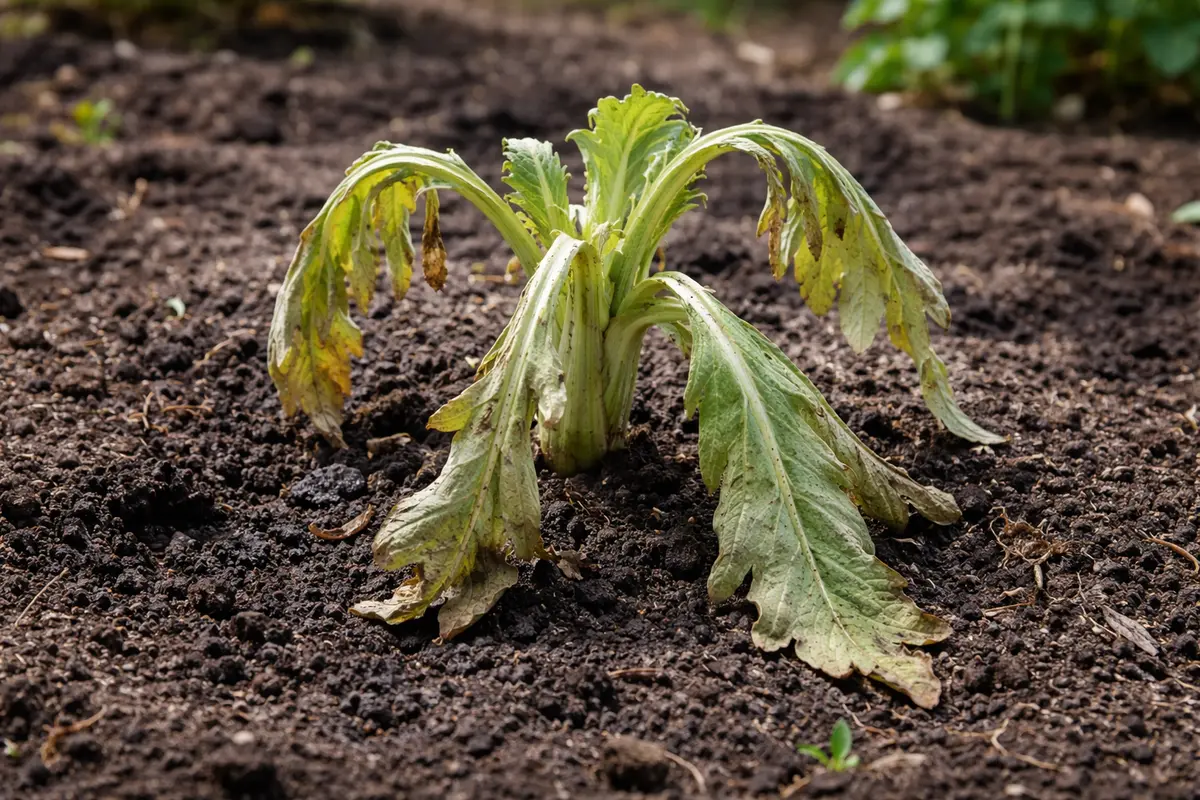
You may notice your artichoke drooping and losing its luster soon after transplanting, which is why you need to know “Why is my artichoke wilting after transplant shock.” The plant struggles to adjust to its new environment, leading to wilting and yellowing leaves as it experiences stress and water imbalance. If left unaddressed, this issue can worsen, weakening the plant and stalling growth, but you can still fix it by checking the soil moisture and adjusting your watering schedule.
Step 1 – Water Artichoke Immediately After Transplant
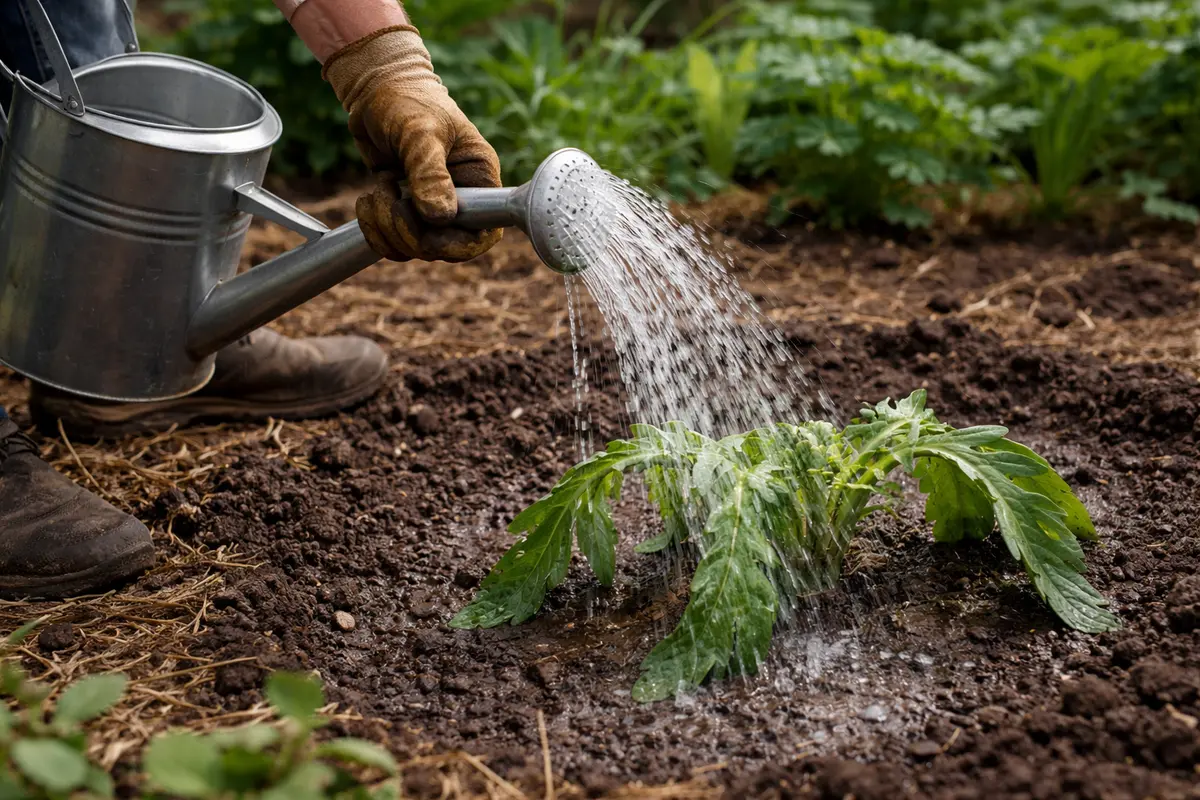
Start by watering the artichoke thoroughly right after transplanting it. You will notice the leaves begin to perk up noticeably within a few hours, indicating that the immediate stress is being alleviated.
Acting fast is critical because artichokes are sensitive to prolonged transplant shock, which can disrupt water uptake. If left unaddressed, the plant may become increasingly stressed, leading to further wilting or even death from dehydration. A fresh, moist environment promotes better nutrient absorption and rapid recovery, whereas delayed action can lead to more severe wilting as time passes.
For instance, a gardener who transplanted their artichoke too late experienced significant wilting that took longer to recover. In contrast, those who watered immediately noticed much quicker rejuvenation of their plants. If you observe extensive browning on the leaves—indicative of severe shock—check the root system to ensure it is healthy and intact.
Prompt intervention is crucial because artichokes struggle with stress from transplant shock, impacting their water absorption and nutrient uptake. If you delay addressing the wilting, the stress may lead to root damage and result in dieback, complicating recovery efforts.
For example, a gardener who wasn’t careful with spacing ended up with wilting plants, while another who ensured proper distance within their garden saw their artichokes rebound within days. If your artichoke continues to droop despite adequate watering, check for potential root damage or soil quality issues hindering recovery.
Both roots and leaves require adequate moisture to stabilize. After transplanting, artichokes may suffer from desiccation, causing wilting as they struggle to absorb essential nutrients and water. This step is vital for ensuring moisture retention around the roots, which aids the plant’s recovery from transplant shock. If the soil is sandy, it may dry out quickly, necessitating additional watering sessions in the first week. Conversely, heavy clay soils can retain water for too long, potentially drowning the roots and worsening wilting if not monitored closely.
A common misconception at this stage is that newly transplanted artichokes require less frequent watering than established plants. In reality, they must remain moist right after transplanting to effectively re-establish their root systems. If any soil feels dry to the touch, increase the watering frequency to avoid worsening wilting. For those with drainage issues, enriching the soil with organic matter such as compost can enhance moisture retention and improve soil structure. Additionally, monitoring moisture levels daily in the first week is advisable, especially in warm or dry climates to mitigate the risk of severe wilting that can jeopardize the plant’s survival.
Step 2 – Diagnose Causes of Artichoke Wilting
Start by inspecting the root zone for any signs of distress, such as discolored or mushy roots. If you notice unhealthy roots, they may indicate transplant shock or root rot. Transplant shock can impede the plant’s ability to uptake water and nutrients due to root disturbance, while root rot, often caused by overwatering, creates an environment where roots cannot breathe.
The cause is often related to poor soil conditions; compacted or waterlogged soil can limit root expansion and oxygen access. If you find that your artichoke’s leaves are yellowing and wilting, coupled with a sour smell from the soil, this suggests root rot. Healthy roots should be firm and white, contrasting with brown, mushy roots that indicate decay. Remove any damaged roots immediately, trimming them back to healthy tissue before replanting in well-draining soil.
Once you’ve addressed any rot, use a quality potting mix that allows for good drainage—consider amendments like perlite, sand, or vermiculite to enhance soil aeration. If you suspect compacted soil, loosen it with a fork or trowel around the root zone to encourage proper growth. If the artichoke continues to show symptoms, assess the moisture levels; under-watered plants exhibit drooping leaves but retain green color, while overwatered plants will show discoloration alongside wilting.
If you find your plant is still struggling despite these corrections, it’s crucial to check for drainage issues in your garden. Relocating the artichoke to a sunnier spot with well-aerated soil may be necessary if the drainage remains poor. If not this, ensure that the watering schedule is adjusted appropriately based on current climate conditions, allowing the top inch of soil to dry out before watering again.
Finally, monitor closely for any signs of improvement; you should observe a gradual recovery in your plant’s health over the next week as conditions stabilize and roots re-establish. If wilting persists or leaf drop occurs, additional diagnostic steps may be warranted to further evaluate the plant’s condition.
Step 3 – Fertilize Artichoke for Shock Recovery
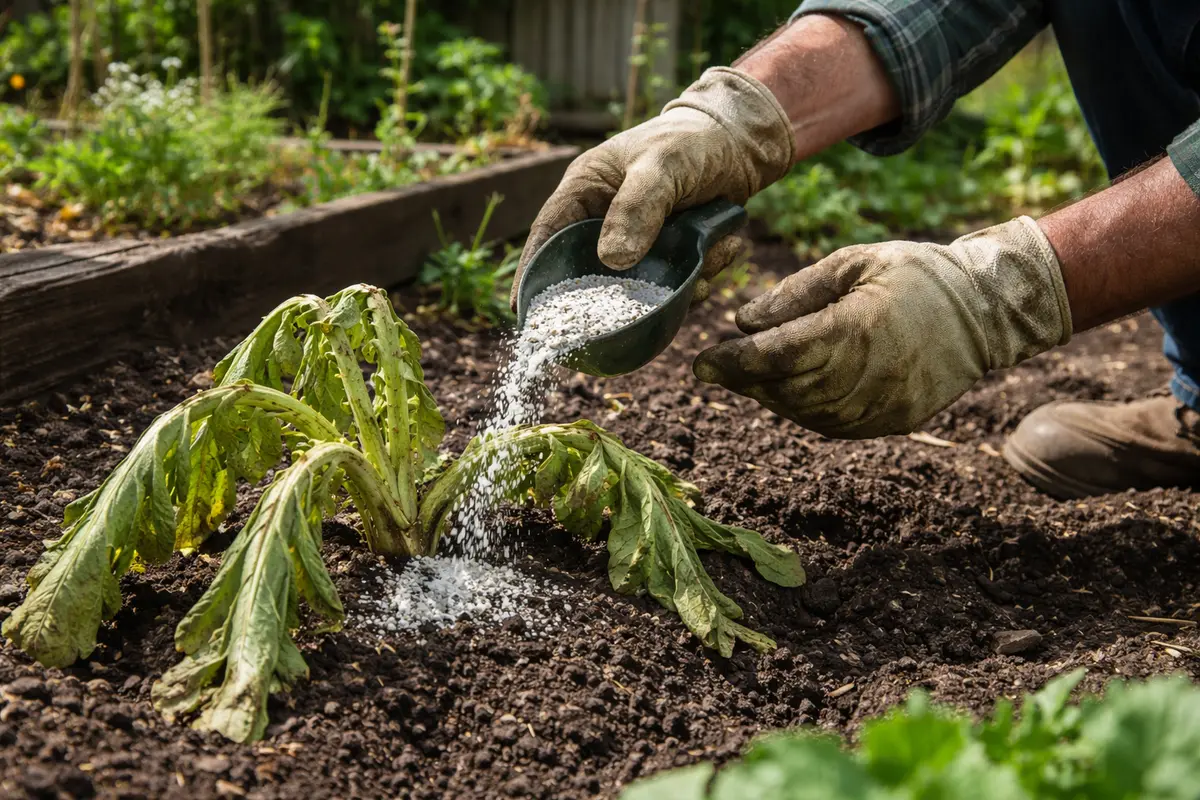
Start by applying a balanced, water-soluble fertilizer according to the package instructions once the immediate stressors are managed. You will notice new leaf growth within a week or two, indicating the plant is rebounding from shock. This recovery is essential as it replenishes the depleted nutrients in the soil. Use a nitrogen-rich fertilizer to promote robust leaf growth, vital for artichokes during their re-establishment phase. Initiate with about half the recommended dose to prevent overwhelming the plant. Aim to fertilize every 4-6 weeks as the plant gains stability.
Once the plant shows signs of recovery, continue supporting its growth with a consistent fertilization routine. This approach boosts nutrient absorption and fosters faster growth. If the new growth appears pale or weak after fertilization, it may suggest the fertilizer isn’t adequately enhancing nutrient density. In this case, consider soil testing to check for underlying nutrient deficiencies that could impair recovery. Also, verify soil pH levels, which should ideally range between 6.0 and 7.0, as extreme pH values can restrict nutrient uptake.
Be cautious not to over-fertilize, as this can lead to nutrient burn and additional stress. A common mistake is applying too much fertilizer too quickly in hopes of expediting recovery. Watch out for symptoms like curling edges or discoloration in leaves, which indicate fertilizer burn. If these symptoms appear, immediately flush the soil with water to dilute the fertilizer concentration and counteract its effects; ensure thorough watering to wash away excess salts from the fertilizers.
From here on, wait for clear signs of recovery before adjusting your fertilization routine. Maintain close observation of the plant’s response after each feeding. If you notice a boost in growth, remember that this can also attract pests like aphids. Thus, routinely check for signs of pests in conjunction with your fertilization schedule.
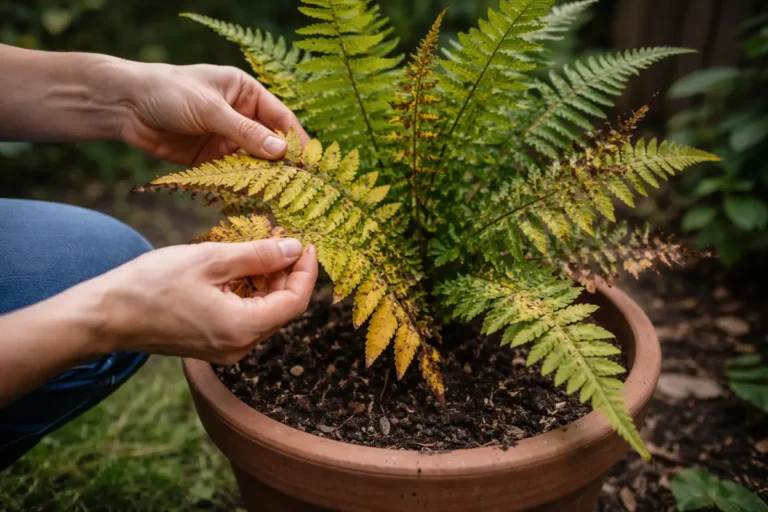
Step 4 – Inspect Artichoke Leaves for New Growth
Start by checking the moisture level in the soil around your artichoke after transplanting. Dig about an inch into the soil to see if it feels dry; if so, water the plant deeply but infrequently to encourage root expansion. Recheck the soil moisture every few days to monitor how quickly it dries out, adjusting your watering schedule accordingly. Use your finger to judge the depth at which the soil is still moist; if it’s dry all the way down to 2 inches, it’s time to water again.
A fully recovered artichoke will show consistent growth, with strong, upright stems and vibrant green leaves that feel firm to the touch. In contrast, the early signs of the problem returning include drooping leaves that appear soft and limp, indicating another potential stressor from recent transplanting. If not this texture of firmness and color vibrance, check for signs of root rot, such as a foul smell from the base of the plant. Keeping a keen eye on surface conditions and how the plant reacts can differentiate between healthy development and stress responses.
If the wilting returns despite proper watering and care, consider re-evaluating the soil conditions and drainage to ensure your plant isn’t sitting in overly wet or compacted soil. If this doesn’t solve the issue, escalate by moving the artichoke to a new location with better light or airflow, which can help reduce stress from environmental factors. Always consider whether surrounding plants are competing for nutrients or water, as sudden wilting could also indicate overcompetition in densely planted areas.
A fully recovered artichoke should exhibit vibrant, upright leaves and develop new shoots, confirming the success of your interventions. Conversely, if you notice continued wilting or browning, it indicates that further steps might be necessary to rectify the underlying issues. This phase is also crucial for monitoring pest activity, as increased aphid or spider mite populations can exacerbate stress. Should you notice insects on the leaves or webbing, consider applying insecticidal soap or neem oil to eliminate them. The application of such treatments should be done in the cool of the evening to be most effective and to minimize harm to beneficial insects.
If the wilting reoccurs even after following the steps outlined, it may be beneficial to reassess your watering techniques or check for underlying pest problems that could also stress the plant. Ensuring a consistent care schedule—including a daily inspection of soil moisture and plant foliage—is vital to prevent the artichoke from falling back into shock again. Regularly observing plant behavior during recovery enables a gardener to make timely adjustments, reinforcing healthy growth cycles and ensuring that the plant acquires the strength it needs to flourish.
FAQ
How long does it take for an artichoke to recover after transplant shock?
Typically, an artichoke will begin showing signs of recovery within 1 to 3 weeks after appropriate care and attention. Look for fresh growth and foliage that becomes firm again, indicating that the plant is stabilizing. However, full recovery may take longer based on environmental conditions and how well the plant reacted to your intervention. Monitoring moisture levels and nutrient availability during this time can further influence recovery rates. If after three weeks conditions do not improve, consider reassessing your planting method or possibly consulting with a gardening expert.
Should I remove any wilted leaves after transplanting?
Yes, it’s advisable to remove severely wilted or damaged leaves to allow the plant to focus its energy on new growth. Doing so can also help prevent potential disease spread if the leaves appear unhealthy. However, be cautious not to remove healthy foliage, as it is crucial for the plant’s recovery, serving as a major resource for energy production through photosynthesis. A tip to follow is to only cut back leaves that are completely beyond recovery; leaves displaying minimal damage can still contribute positively to the plant’s health.
Can nutrient deficiencies cause my artichoke to wilt after transplant shock?
Absolutely, nutrient deficiencies can significantly contribute to wilting in artichokes after transplant shock. As the plant becomes stressed from the transition, its ability to absorb nutrients is compromised, leading to further weakening and symptoms like drooping leaves. Ensuring that the soil is rich in necessary vitamins and minerals will aid in recovery and prevent future issues. Checking soil tests can help assess whether your soil lacks essential components such as nitrogen, phosphorus, and potassium, which can inform your fertilization strategy. If deficiencies are found, adjusting your fertilizer approach based on the test results can yield better health outcomes for your artichoke.