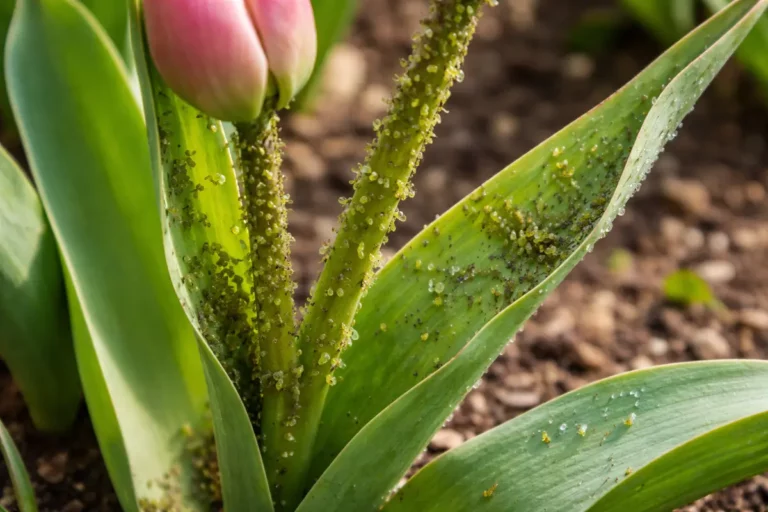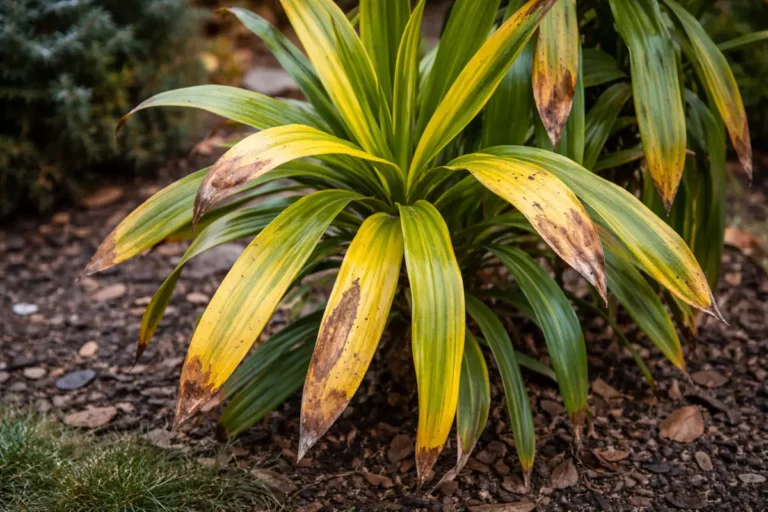
You may notice your geraniums developing yellowing leaves after feeding, which is a clear sign that you need to know how to fix yellowing leaves on geraniums after feeding. This discoloration often occurs due to nutrient imbalances or over-fertilization, leading to yellowing and potential leaf drop. If ignored, the issue can spread, weakening the plant and making it harder to fix, but addressing it now allows you to adjust your feeding regimen and monitor for further symptoms.
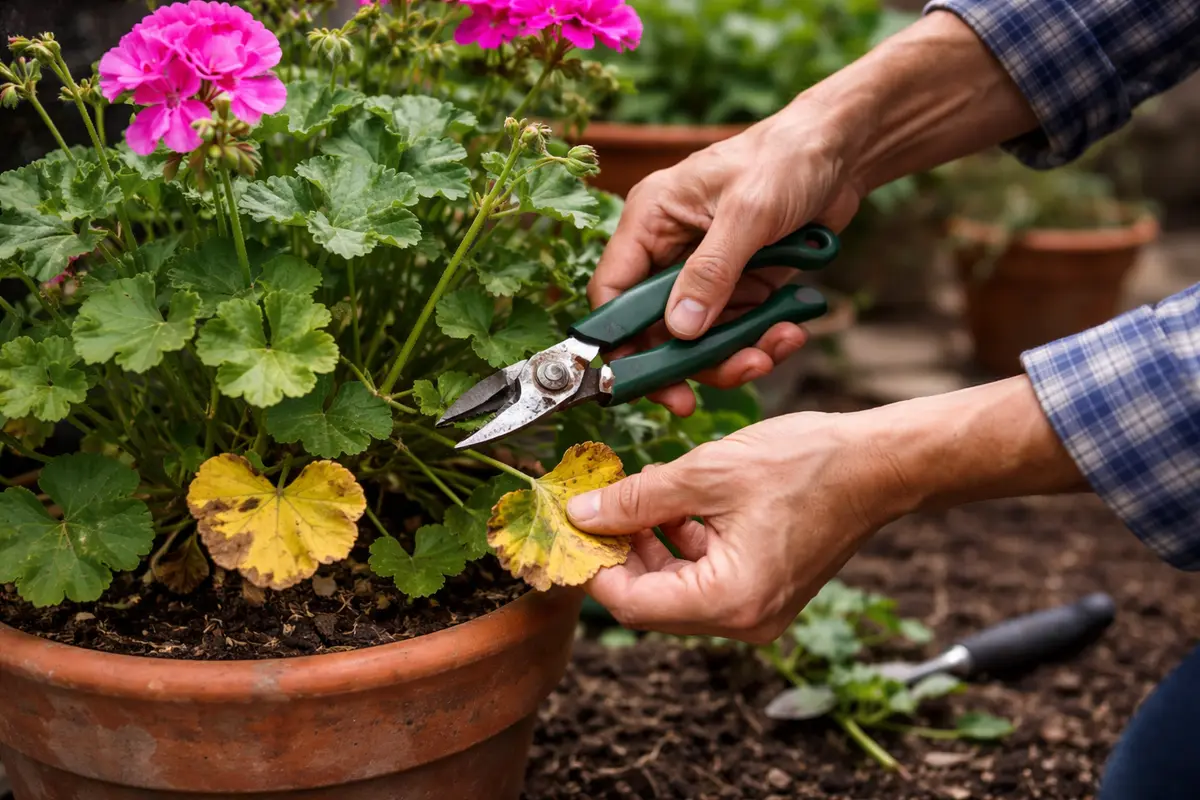
Step 1 – Trim Yellowing Geranium Leaves Immediately
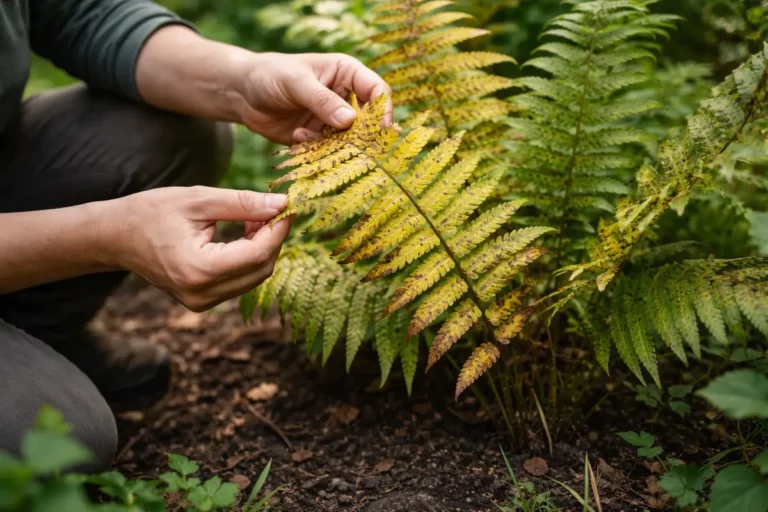
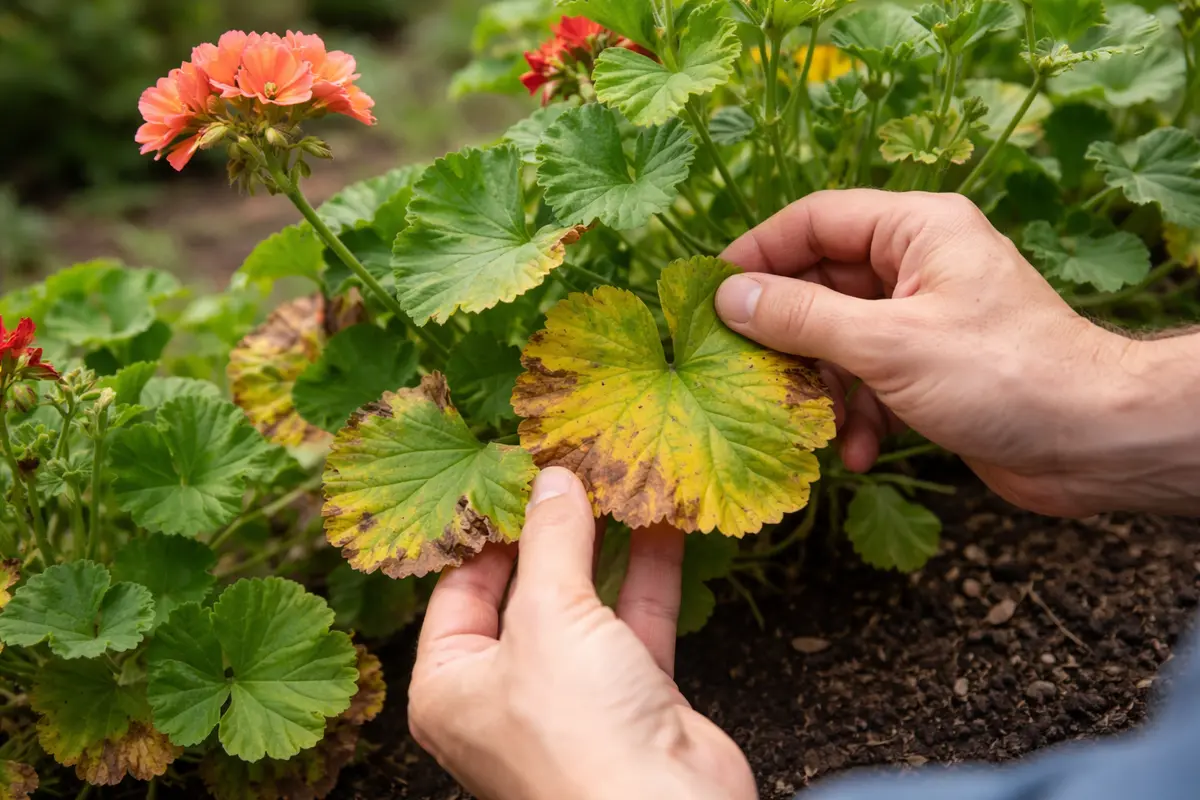
Start by removing the yellowing leaves from your geraniums. You will notice a clearer appearance and a potential boost in overall plant vitality shortly after trimming. Within a day or two, you may see an improvement in the overall structure of the plant as it redirects energy to its healthier parts. Ensure that you inspect not just the visibly yellow leaves but also check for leaves that may be turning a lighter shade of green, as they too are struggling to photosynthesize effectively. Notably, yellowing may also spread from older leaves to younger ones if not addressed quickly.
Removing the impacted leaves is crucial as it prevents potential disease spread and initiates the plant’s recovery process. When geraniums face nutrient overload, they may struggle to absorb nutrients evenly, which can result in further yellowing. By trimming these leaves away, you enhance the plant’s ability to focus on the healthier leaves, thereby promoting effective photosynthesis. For instance, if these yellowed leaves are allowed to remain, they can attract pests or pathogens that thrive in stressed conditions. Be mindful that if the yellowing is due to over-fertilization, the remaining green leaves might also be particularly susceptible. If you observe any signs of pests or fungal growth, consider applying an organic pesticide immediately.
A common mistake is trimming leaves without first addressing the underlying issue of nutrient overload. If you only cut away the yellow leaves but do not correct the nutrient imbalance, you might find new leaves turning yellow shortly thereafter. Therefore, it’s essential to pair this immediate action with a deeper diagnosis. Additionally, improper trimming techniques, such as leaving jagged edges on the stem, can hinder recovery and lead to further stress on the plant. Always use clean, sharp scissors or pruning shears to make a clean cut, and sterilize the blades between cuts to avoid introducing pathogens into the plant. Inconsistent trimming can also lead to an unbalanced plant structure, making it more susceptible to wind and causing physical damage.
Step 2 – Diagnose Nutrient Overload Affecting Geraniums
First, check the soil moisture levels and ensure they are adequate; if the soil is too dry or too wet, adjust accordingly. After correcting the moisture, you should see an improvement in leaf color within a week, indicating the plant is absorbing nutrients effectively. Additionally, mark your water schedule rigorously; if you water every four to six days and observe no change, it may signal deeper issues in soil quality.
Yellowing leaves on geraniums can frequently result from poor root function due to overwatering, which reduces oxygen levels in the soil. This poor oxygenation hampers root health, preventing them from taking up nutrients efficiently, leading to noticeable leaf discoloration. On the other hand, insufficient watering can cause similar yellowing but may also result in leaf droop, indicating the need for moisture. Furthermore, if the soil feels mushy, this is often a strong warning sign to inspect your drainage system. If left unaddressed, you may observe signs of mold or mildew, indicating a more invasive root rot condition.
If the soil smells sour, it points to root rot, and you should immediately repot the geranium in fresh, well-draining soil to encourage recovery. Alternatively, if the yellowing coincides with extreme temperatures or drafty conditions, reposition the plant to a more stable environment, as this can exacerbate stress responses. In both cases, monitor the plant for signs of improvement or further decline. If geraniums are subjected to fluctuating temperatures, it can lead to excess moisture evaporation during the day while making their roots struggle to recoup overnight. This fluctuation can be detrimental, especially during key growth phases.
Nutrient overload usually results from excessive fertilization or poor watering practices that prevent nutrients from being absorbed correctly. Over-fertilization introduces too much nitrogen into the soil, leading to yellowing of older leaves while newer foliage may remain green but weak. Roots may also experience poor oxygenation, which further compounds the yellowing effect. For example, if the soil has a compact layer, it will restrict root growth and make it difficult for the plant to draw in adequate moisture and nutrients. If you dig just below the surface and feel a hard layer, immediate action is required to address potential compaction. In some severe cases, soil compaction can limit root breadth, leading to stunted growth and a short lifespan for your geraniums.
If your geraniums are still experiencing discoloration, consider checking the soil’s pH level. Ideally, geraniums thrive in slightly acidic to neutral soil with a pH of 6.0 to 7.0. If your pH is too low or high, it can restrict nutrient uptake, making it similar to having a nutrient overload condition. Use a pH meter or pH test strips to get a precise reading. If you detect conditions such as a sour smell, it indicates anaerobic conditions that may require repotting with fresh soil or revising your watering practices to improve drainage. If your soil is not open to absorbing nutrients properly, the geraniums’ recovery will be stunted, even if added fertilizers are applied. It’s essential to maintain good drainage, as overly soggy conditions can exacerbate nutrient imbalances and further stress your geraniums. A worthwhile step here could be amending your soil with perlite or vermiculite to improve aeration.
Step 3 – Fertilize Geraniums to Revive Their Color
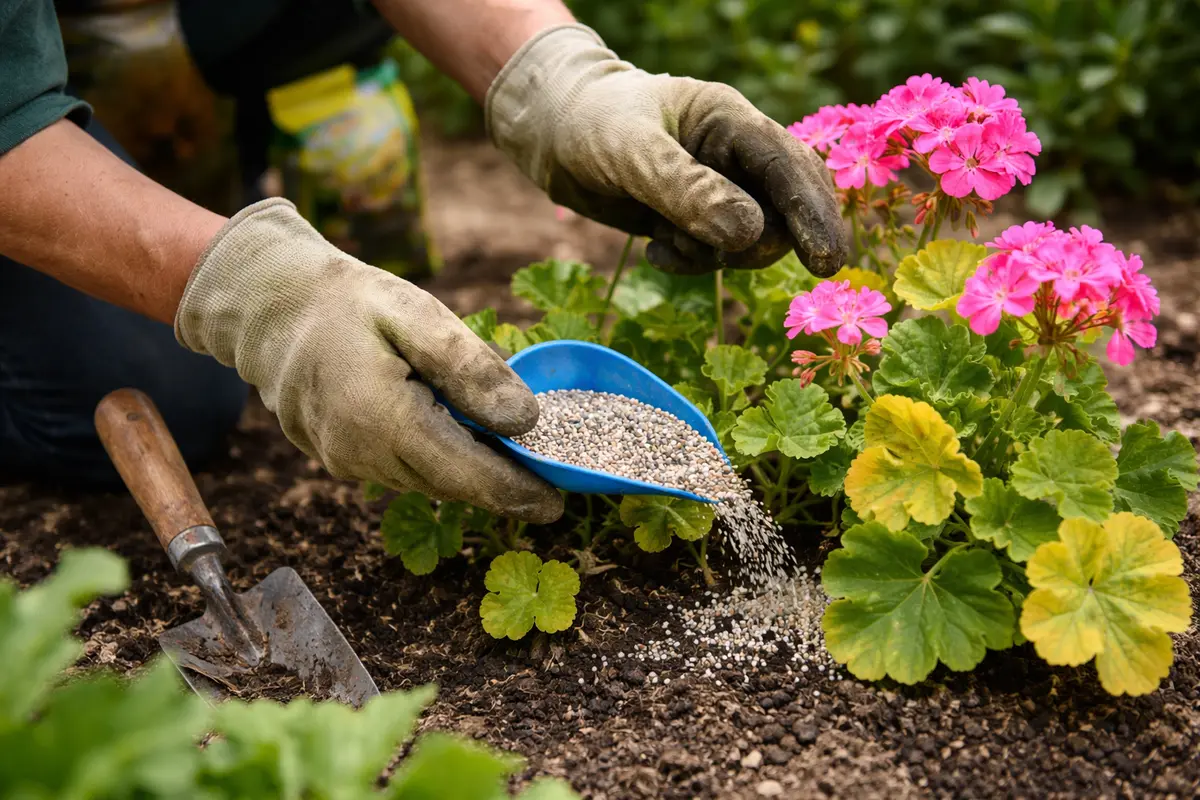
Start by reducing the frequency of fertilizer application to every four to six weeks and ensuring you use a diluted, balanced fertilizer. In a week or two, look for improvement in color vibrancy and new growth on the geraniums, indicating they are recovering from nutrient overload. To prevent recurrence, establish a routine to monitor soil moisture and adjust feeding schedules based on growth stages, ensuring nutrient supply aligns with the plant’s needs.
The recovery timeline for yellowing leaves usually takes one to two weeks, where symptoms might begin to fade as the plant regains its strength. If leaves continue yellowing after adjustment, it could indicate root rot from overwatering; if your plant remains vibrant, but only a few leaves show yellowing, this may point to a localized nutrient deficiency requiring localized attention. If not this issue, check that your soil drains well to avoid prolonged moisture around roots.
A common oversight during the recovery-prevention phase is neglecting to assess soil drainage conditions, which can impact root health. If your geraniums show signs of yellowing just weeks after recovery efforts, consider repotting in fresh, well-draining soil for severe cases; doing so can reboot recovery. Conversely, if the yellowing persists due to over-fertilization, extending the waiting period before fertilizing again can help stabilize the plant’s condition.
Recovery typically takes 1-3 weeks, with leaves becoming greener as nutrient levels stabilize. Yellowing will reappear if the plants are over-fertilized again or if they are in poorly draining soil. If your geraniums notice frequent yellowing, evaluate their exposure to sunlight and ensure they receive at least 6 hours of indirect light daily, as inadequate light can exacerbate nutrient deficiencies. In low-light conditions, consider relocating the plant to a brighter area or even supplementing with grow lights during dark periods.
A common mistake in transitioning from recovery to prevention is continuing to fertilize too frequently, thinking the plant needs extra nutrients. If your geraniums are still showing signs of distress after adjusting feeding, check your watering practices and drainage. As overly saturated soil can hinder nutrient uptake and cause similar yellowing, adjusting your watering schedule to allow the soil to dry between waterings can make a significant difference. Employ a moisture meter if necessary to ensure accurate measurement of soil dampness before the next watering.
This recovery action works effectively as it introduces essential nutrients back into the soil without overwhelming the plant. Gradual application allows for steady absorption, which is vital for revitalizing chlorophyll production needed for healthy green leaves and overall vigor. Before applying the fertilizer, ensure that you water the plants adequately right beforehand to enhance nutrient absorption; this will prevent root burn that can occur from overly concentrated fertilizer. Monitor the plants closely after application; if any yellowing persists, consider diluting the fertilizer further. Note that if you ever see roots visibly peeking above the soil surface, it indicates that your geraniums have outgrown their pot and the root system may be compromised, necessitating repotting.
A common mistake is over-fertilizing again once signs of improvement appear. It is crucial to adopt a moderate feeding regimen moving forward, applying the fertilizer only every 4-6 weeks under regular watering habits. Over-fertilizing can lead to nutrient toxicity similar to the initial yellowing problem. This usually becomes evident by observing new leaves emerging with curled edges or discoloration; ensure you’re not conflicting with typical plant growth cycles. If you observe these symptoms, you should flush the soil with water to help dilute the remaining nutrients. If your geraniums are showing substantial recovery signs, keep a close eye on any new growth, as it may still be sensitive until the plant fully stabilizes. Too much fertilizer can reverse progress and cause additional stress to your geraniums, so a cautious approach is always recommended.
Step 4 – Check Geranium Foliage for Signs of Recovery
Recheck your geraniums every 3-5 days for visible signs of recovery and new growth. Look for brightening leaf color and the emergence of new shoots, which indicate that your intervention has been effective. Initially, focus on the most affected leaves; if they are beginning to show improvement, that’s a positive sign. Keep an eye on the firmness of the leaves as well; vigorous, healthy leaves should feel firm and not limp, as this firmness is a strong indicator that they are adequately hydrated and receiving proper nutrients.
A fully recovered geranium should showcase vibrant leaves that are firm and exhibit new leafy growth. This often happens as new buds develop, leading to the plant’s natural resilience. Conversely, if you start to see more yellowing or droopy leaves, that signals the possibility that nutrient levels might still be off, or that the plant has not fully stabilized. Regular monitoring is critical in the recovery phase, as it allows for timely adjustments to care that can further support your geranium’s recovery process. If you detect ongoing issues, consider if the plant is too crowded in its pot or if it needs more light or airflow. A common pitfall is neglecting repotting in time, which can lead to excessive crowding and nutrient competition among the roots.
If you notice that recovery signs decline even after adhering to the previous steps, reassess the surrounding environment for other stressors. Overexposure to direct sunlight can harm recovering plants, while inconsistent watering practices can worsen yellowing and restabilization. For instance, if your geraniums are placed directly in harsh afternoon sunlight, consider relocating them to a more shaded area that still provides adequate light while reducing stress on the plants. Additionally, be vigilant about nighttime temperatures; excessive cold can stress plants, causing further yellowing. In cases of fluctuating temperatures, you might consider using a thermal blanket or plant cover to buffer against extremities until the plant regains strength.
FAQ
How long does it take for geraniums to recover from yellowing leaves?
Recovery can typically take 1-2 weeks, depending on the severity of the nutrient overload and the care steps taken afterward. During this time, monitor the plants closely, as you should start seeing improvement in leaf color and new growth within this time frame as long as a balanced approach is maintained across watering and fertilizing practices. If signs of distress persist, it may take longer to fully recover. Note that in some cases, lack of light or poor soil conditions may also prolong recovery, necessitating a reevaluation of the plant’s environment.
Can yellowing leaves on geraniums spread to healthy foliage?
If nutrient overload persists without addressing the underlying soil and feeding conditions, yes, it can lead to further yellowing and impact healthy foliage. This often becomes noticeable when the condition of the surrounding soil is not improved, leading to new growth exhibiting similar symptoms. Ensuring proper diagnosis and care, including timely removal of affected leaves and adequate nutrient balance, is essential to prevent the spread of symptoms throughout the plant and safeguard overall plant health.
Should I remove all yellowing leaves from geraniums?
You should remove any heavily damaged yellowing leaves to encourage the plant’s energy to focus on healthy growth. However, if leaves are only slightly yellow, it may be best to monitor them as they can still contribute to the plant’s photosynthesis process until further degradation occurs. Regular monitoring will help determine if further action is required on the less pronounced symptoms. Additionally, avoid removing too many leaves at once, as this can shock the plant, delaying recovery. Careful observation of the plant’s overall response following any trimming is vital to understand its recovery progress.