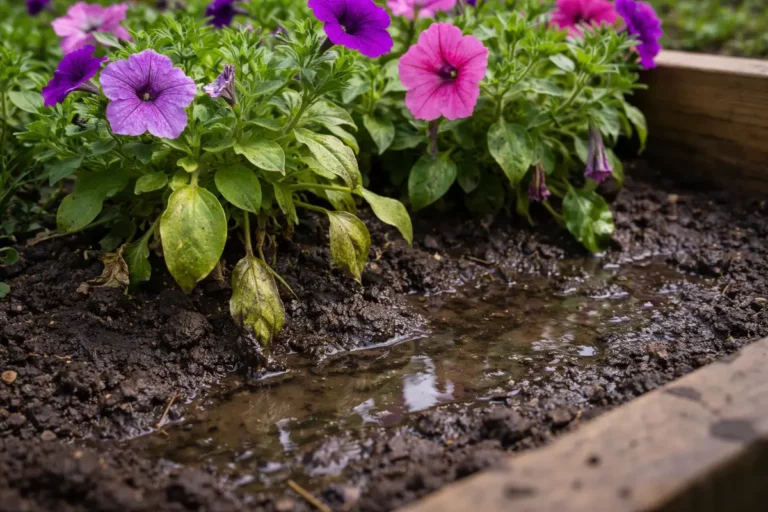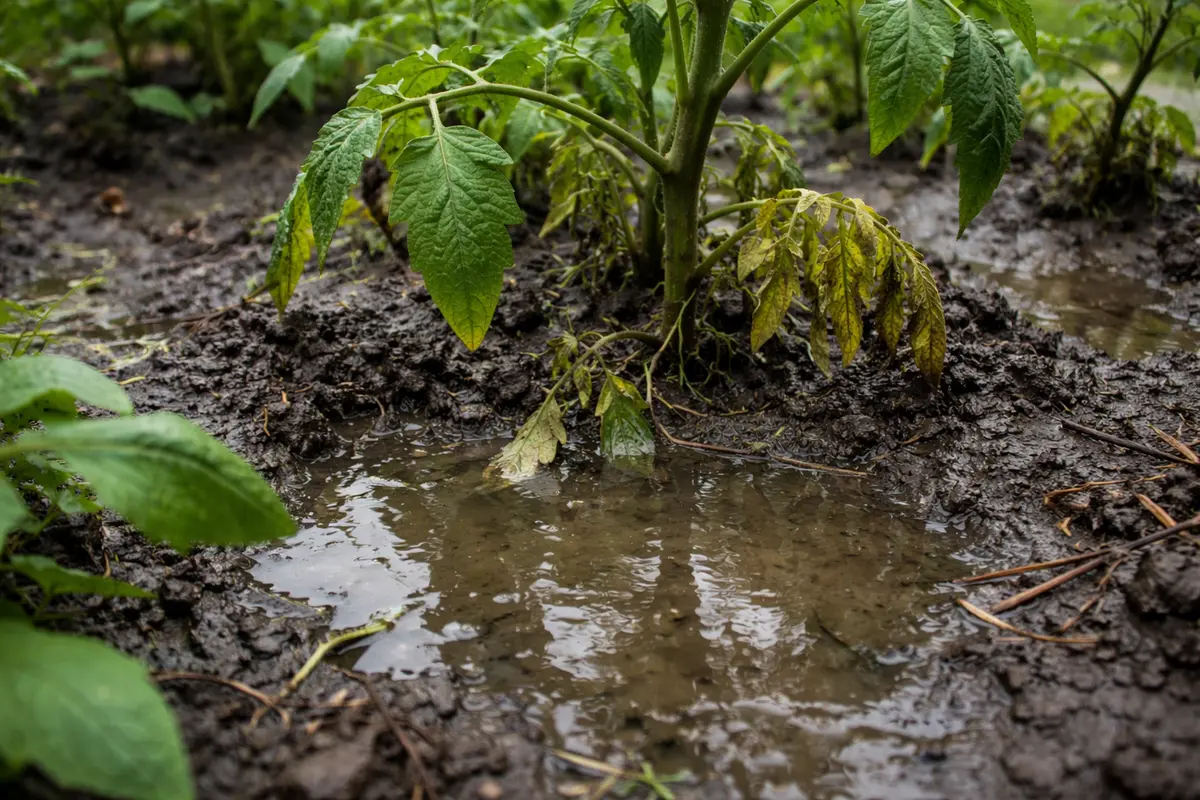
You may notice puddles forming in your garden beds after heavy rain, which is why you need to know how to fix poor drainage in garden beds after heavy rain. Over time, excess water can lead to drooping or yellowing leaves as roots struggle with poor oxygen levels. If left unaddressed, this problem only gets worse, weakening the plant and setting it back, but you can improve the situation now by checking soil conditions and adjusting your watering practices.
Step 1 – Clear Debris from Garden Bed Quickly
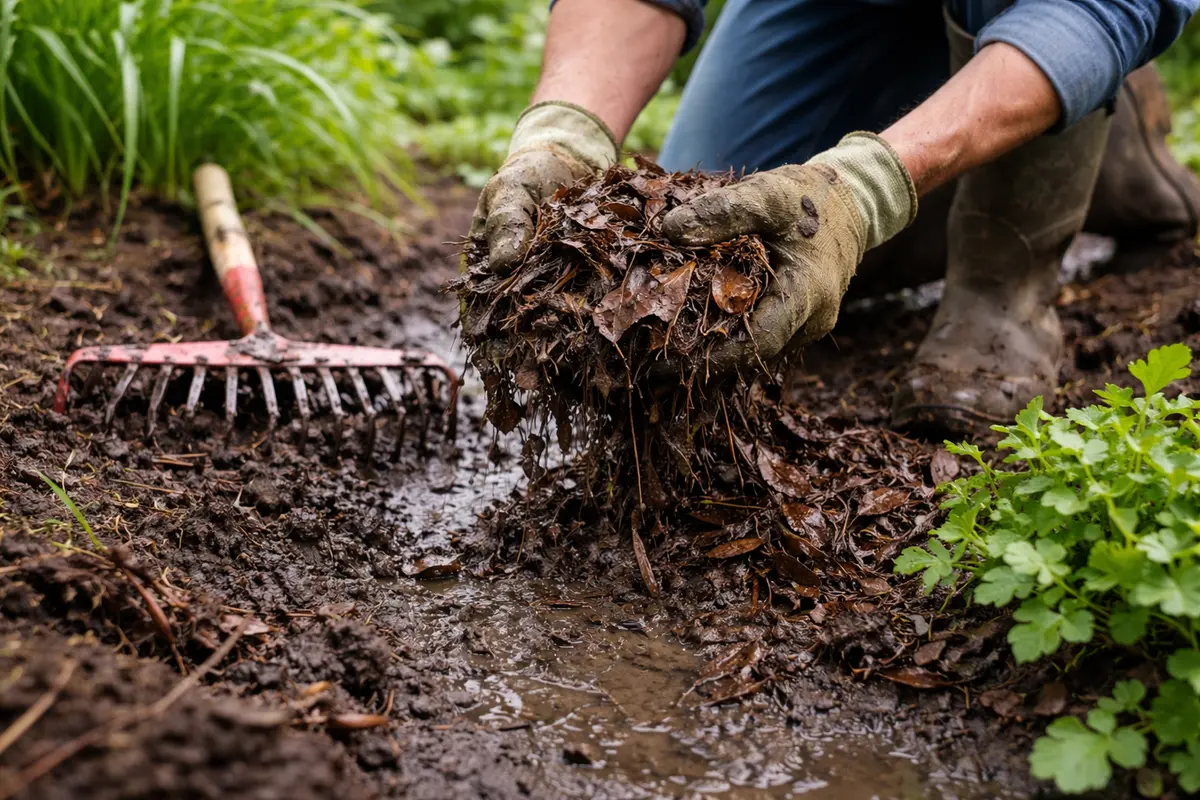
Remove any debris such as fallen leaves, twigs, or branches from the top of the garden bed immediately. Once cleared, you should see the surface area of the soil exposed, ready for further inspection or treatment. Clearing debris allows better air circulation, preventing additional blockage of drainage pathways while also reducing the potential for fungal growth. It also minimizes the risk of pests that thrive in damp, cluttered environments.
Acting fast to remove debris is crucial for maintaining proper drainage. Debris can trap moisture against the soil, creating a saturated environment that leads to root suffocation and increases the risk of diseases like black rot. Additionally, if left to accumulate, this organic matter will decompose and contribute to soil compaction, ultimately restricting drainage further. It can even form a mat that inhibits the water from penetrating the soil. Be particularly cautious of any rot that may have begun underneath the surface layer, as this can worsen soil conditions.
A common mistake gardeners make is waiting too long to remove debris, thinking it will break down naturally. This belief can lead to a deteriorating soil structure over time. If you notice persistent wet spots and pooled water in your garden beds, it often signals a larger issue that can worsen if debris continues to obstruct airflow. Thus, the sooner you act, the better the recovery prospects for your plants. If the soil remains soggy after clearing debris, it may indicate deeper drainage issues requiring prompt attention.
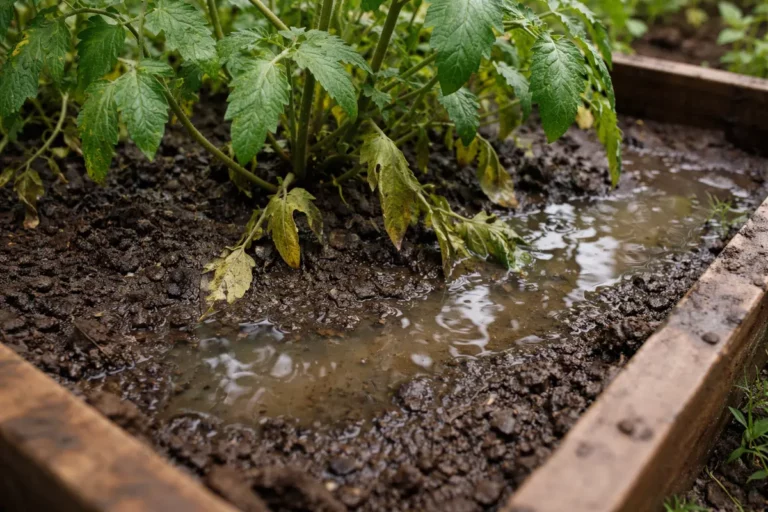
Step 2 – Diagnose Water Accumulation in Soil
Start by inspecting the garden bed for areas of trapped water and evidence of soil compaction. You will observe dry patches forming in areas where drainage has improved. Water accumulation often occurs due to compacted soil layers that prevent proper infiltration and aeration. Watch for signs such as yellowing leaves or foul odors that indicate anaerobic conditions beneath the surface.
If soil feels sticky or slimy, it suggests significant compaction, which obstructs airflow. To correct this, mix organic matter into the top layers to increase soil porosity and promote better drainage. Typically, this action improves soil structure within a few weeks, allowing roots to access necessary nutrients and oxygen.
When checking for drainage, observe if puddling is limited to specific areas or widespread across various garden beds. If the latter occurs, assess the overall landscape grade to ensure adequate runoff. If the grade appears flat, consider re-grading to create a slope that encourages water diversion away from plant roots.
If you notice a consistent sour smell, this may indicate waterlogged conditions leading to root suffocation. To address this, incorporate a blend of coarse materials like sand or perlite into the soil to enhance drainage capabilities. The improved texture will allow for better water movement and air exchange, supporting healthier plant growth.
If you find wilting plants despite regular watering, check for weeds that could be competing for moisture and hindering drainage. Removing these weeds can help equalize moisture levels throughout your garden bed, ultimately improving the performance of your plants.
Step 3 – Aerate Soil to Encourage Drainage
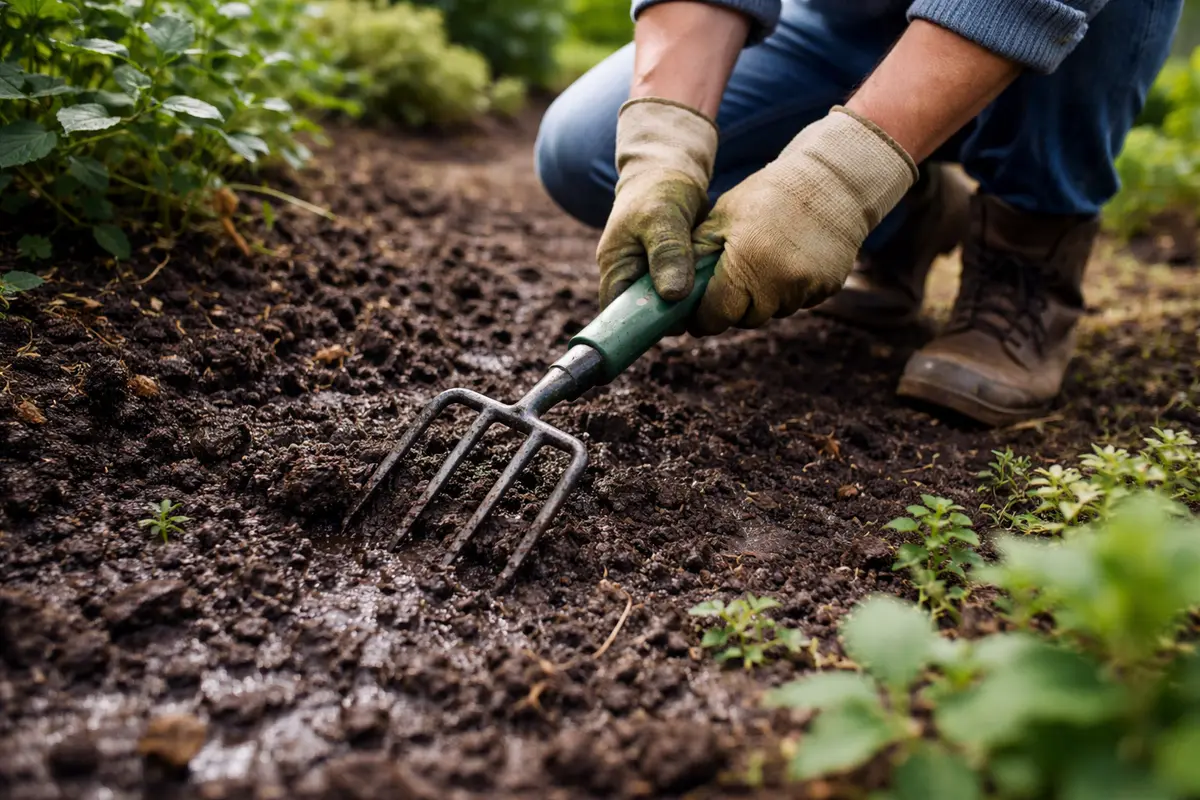
Begin by aerating the soil in your garden beds using a garden fork or aerator to enhance drainage. You should notice the water level in the beds declining within a day or two, indicating improved drainage conditions.
Recovery begins when you observe new growth within a week, confirming that your plants are responding positively. In contrast, stagnation for several weeks might suggest deeper soil or root issues. Adequate sunlight and warmth can boost growth rates, while prolonged cool temperatures or shaded areas can hinder recovery. If your plants develop yellowing leaves, check for root damage from excess moisture or a compacted soil situation that inhibits root expansion.
During recovery, minimize fertilization to avoid further stressing your plants. Oversupplying nutrients can cause nutrient burn, noticeable by browning leaf tips. If symptoms persist, check the soil’s moisture levels before watering again, as over-saturation can counteract recovery efforts.
Aeration effectively breaks up compacted soils that restrict root development and nutrient uptake. When soil is compacted, roots become stunted, limiting overall plant vigor. Proper aeration allows for better soil particle connections, resulting in improved drainage and rooting conditions. If you find that water still sits for an extended time after heavy rain, it could indicate lack of aeration. Check for signs of struggling roots such as wilting or stunted growth, which suggest ongoing drainage issues.
Ensure you do not aerate in excessively wet conditions, as this can damage soil structure further and lead to additional compaction. Perform aeration when the soil is moist but not soggy to the touch. After aeration, monitor your plants closely; signs of recovery will include new growth and robust root systems anchoring the plants firmly. If you don’t see improvements within a week, reassess soil conditions or drainage strategies. Remember, frequent aeration can stress the soil, so limit this activity to no more than twice per growing season.
Step 4 – Add Organic Matter to Prevent Compaction
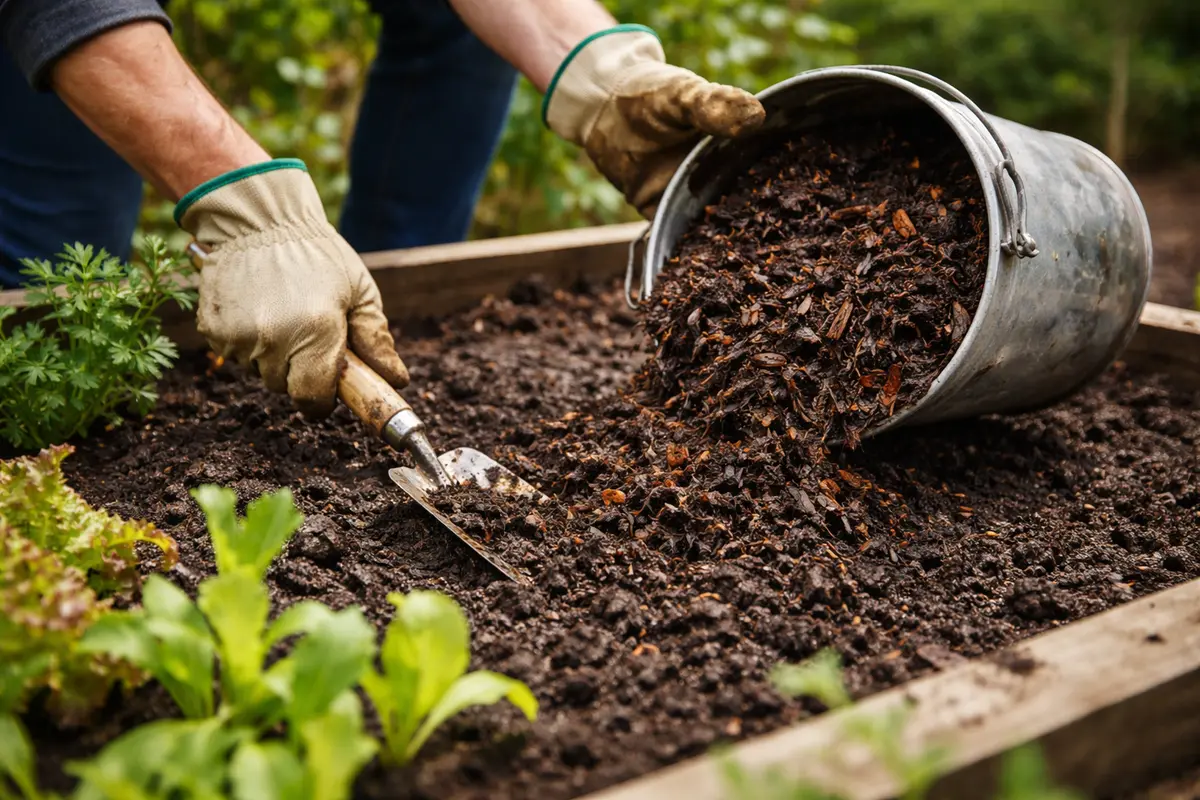
Start by incorporating organic matter such as compost or well-rotted manure into your garden beds to enhance soil structure and drainage. Within a few weeks, you will notice improved soil texture and reduced water pooling after heavy rains.
From here on, establish a routine of adding organic matter at least twice a year, ideally in spring and fall, to maintain the soil’s health and prevent compaction. If your garden beds experience heavy rainfalls and soil compaction frequently, enforce a schedule to apply organic amendments right before the rainy season. Regular applications will prevent the common sight of crusted, compacted soil seen after heavy rains.
- In spring, begin by mixing 2-3 inches of compost into the top 6 inches of soil when preparing your garden for planting.
- Following summer rains, assess your soil; if it appears dense or sticky, apply another layer of compost to restore aeration.
- After any significant rain events, check for visible signs of compaction—if the soil surface appears crusted, increase your organic matter top-dressing frequency.
If conditions do not improve after these habitual amendments, check the soil drainage by digging a small hole and observing how quickly water disappears. This diagnostic step can confirm if ongoing compaction is due to high clay content rather than inadequate organic matter.
Step 5 – Inspect Garden Bed for Pests After Rain
Start by monitoring the soil three to four days after heavy rain. Dig down about six inches to check for moisture levels; ideally, the soil should be damp but not muddy. Observe any remaining puddles and note how quickly they drain over the next few days — if water persists, further intervention is necessary.
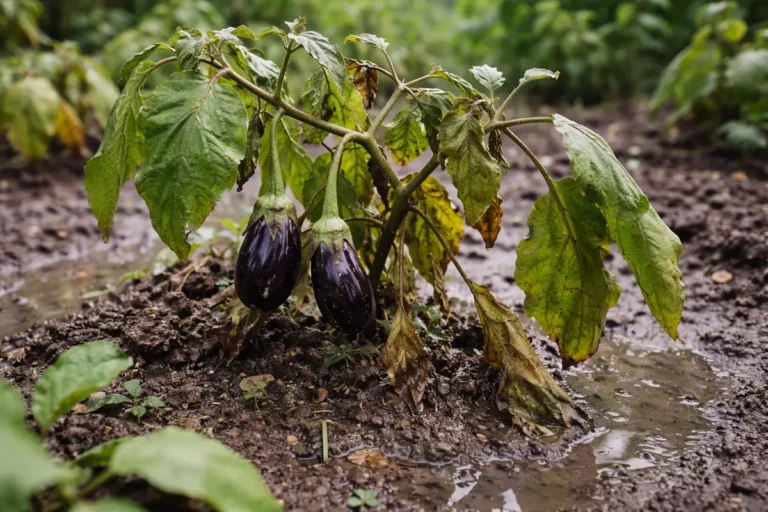
A fully recovered plant displays vibrant green leaves without yellowing or wilting, indicating it has regained strength. In contrast, an early sign of the problem returning shows leaves starting to droop and a brownish tint at the tips, suggesting insufficient drainage is impacting root health. If the soil feels mushy or compacted again, this warrants immediate attention.
If drainage problems return despite initial remediation efforts, consider amending the soil with organic matter to improve structure and aeration. Alternatively, if puddles reappear consistently, elevating the garden bed or installing drainage tiles can provide a more permanent solution. Always act promptly to prevent further plant stress.
A fully recovered plant will show firm, vibrant green leaves with a smooth texture, signaling that it has regained moisture balance. In contrast, early signs of the problem returning include yellowing leaves and a wilting appearance, often with soggy stems or discolored spots, indicating potential root rot. If you notice drooping stems yet firm soil, check for compacted soil beneath.
If the drainage issues persist despite following the previous steps, consider adding organic matter like compost to improve soil structure. Alternatively, if the plants show no improvement, escalate the situation by inspecting for root diseases or consider relocating the affected plants to a more suitable location with better drainage.
A fully recovered plant will exhibit vibrant green leaves, well-formed roots visible at the surface, and a sturdy, upright stance. In contrast, early signs of the problem returning may include yellowing leaves with a mushy texture and stunted growth. If the soil appears consistently wet again, check for root rot by gently tugging on the plant; if it comes out too easily, the roots are likely damaged.
If waterlogged conditions persist despite following the recommended steps, consider enhancing drainage by adding sand or organic matter to improve soil structure. If issues continue, escalating to a professional landscaper for a more thorough assessment of the drainage layout may be necessary.
A fully recovered plant will exhibit vibrant green leaves, sturdy stems, and a rich, dark soil texture that allows for airflow and moisture. In contrast, early signs of the problem returning include yellowing leaves and a spongy, overly wet soil surface that lacks structure. If leaf tips begin to brown and soil feels dense and waterlogged again, these are telltale signs of drainage issues resurfacing.
If the drainage problem persists despite your adjustments, consider creating additional pathways for water flow by adding gravel or building raised beds. Escalate your response by consulting local garden experts if symptoms do not improve and plants continue to exhibit stress indicators. If leaf drop occurs without additional rain, check for soil compactness as it could signal compaction issues obstructing aeration.
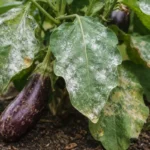
Understanding what a fully recovered plant looks like is integral to spotting problems swiftly. Healthy plants should display vibrant colors, firm stems, and noticeable signs of new growth within several days following the drainage improvement efforts. On the other hand, early indicators of returning issues may include yellowing leaves, wilting stems, or noticeable holes in the foliage—signals that pests may be present. Additionally, pay attention to the base of the plants, where many pests prefer to stay hidden due to moisture.
If you discover pests during your inspection, treat them with appropriate organic pest control methods. For example, introducing beneficial insects like ladybugs can combat aphids and other pests without harming the plants. However, ensure you address the drainage improvements made. If damage persists or increases despite your efforts, you may need to consider hiring a professional to examine underlying issues such as soil health or drainage setup to halt further infestations. Furthermore, keep records of pest activity, as these trends can help you fine-tune pest management strategies going forward.
FAQ
How long does it take to see improvements after fixing poor drainage?
You may typically notice improvements within a week after implementing drainage fixes. Look for signs of recovery such as new growth, vigorous leaves, or firm, upright stems during this period. Monitoring closely during this timeframe will help ensure that your interventions have made a measurable difference.
Can poor drainage spread disease to other plants?
Yes, poor drainage can foster conditions that lead to root rot and other fungal infections that may spread from affected plants to those nearby. The waterlogged conditions create an ideal breeding ground for pathogens, so regular inspection and prompt remediation are crucial for preventing this problem from escalating in your garden. Ensure that you segregate affected areas to limit potential spreading.
Should I remove affected plants if drainage issues persist?
Removing affected plants may be necessary if they exhibit severe signs of stress or rot while drainage issues remain unresolved. Before making the removal decision, however, examine the surrounding soil conditions to understand the extent of the drainage problem and ensure that steps are taken to fix any underlying issues. In some cases, relocating plants to better-drained locations may yield more favorable results instead.