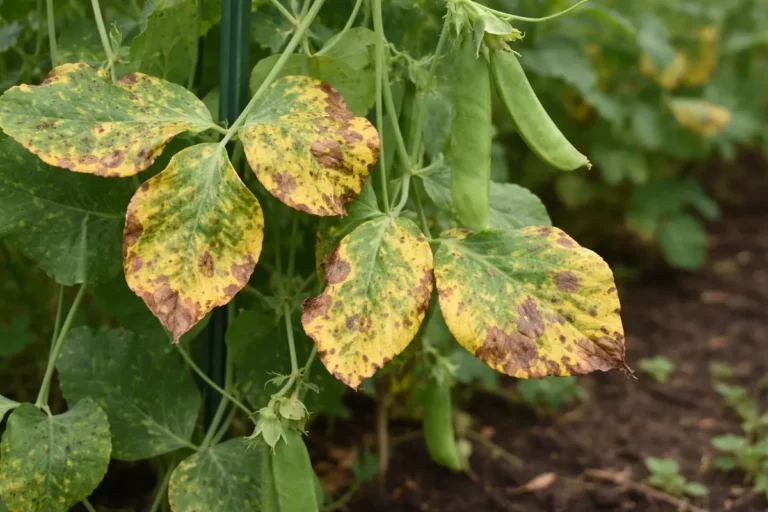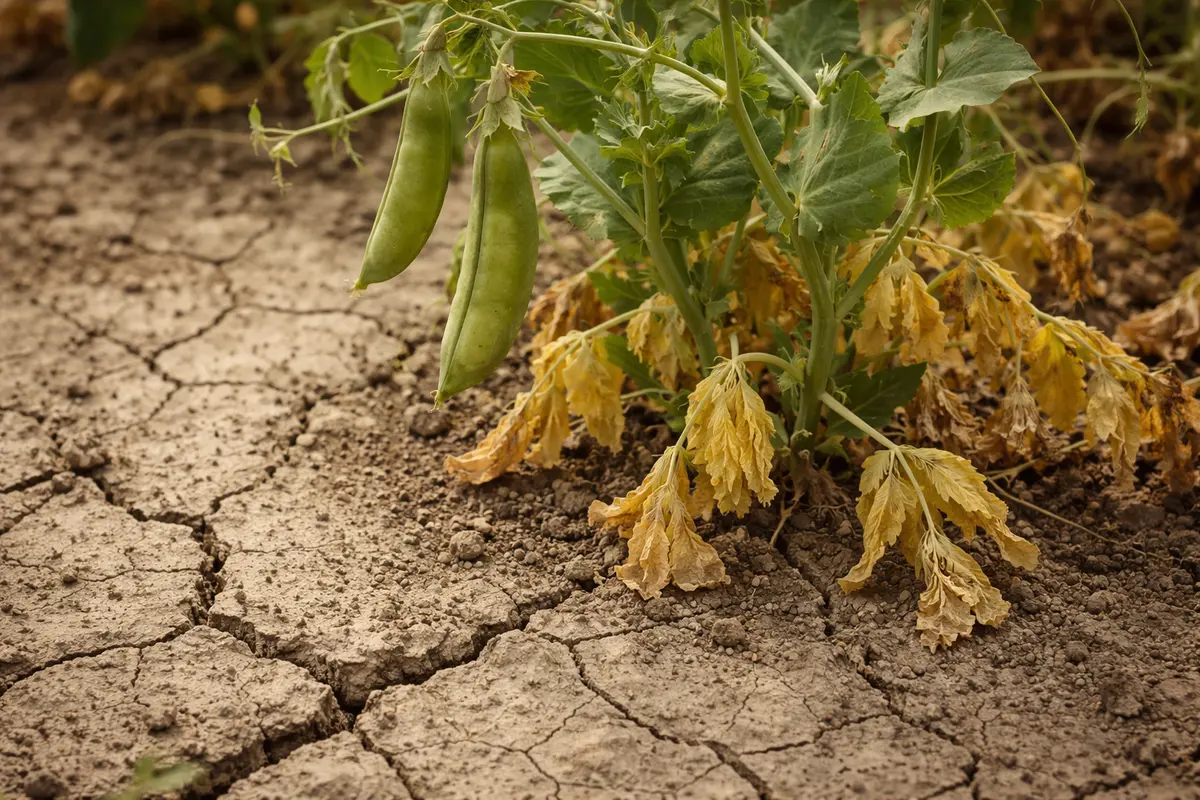
You may notice your pea plants developing a distinct yellow hue during particularly dry periods, which is why you need to know why are my peas turning yellow after a dry spell. This yellowing occurs when the plants experience stress due to lack of moisture, leading to wilting and decreased vigor. If left unaddressed, this moisture deficit can worsen, ultimately weakens the plant and stalling growth, but you can remedy the situation now by adjusting your watering schedule and monitoring the soil for moisture levels.
Step 1 – Water Peas to Stop Yellowing Leaves
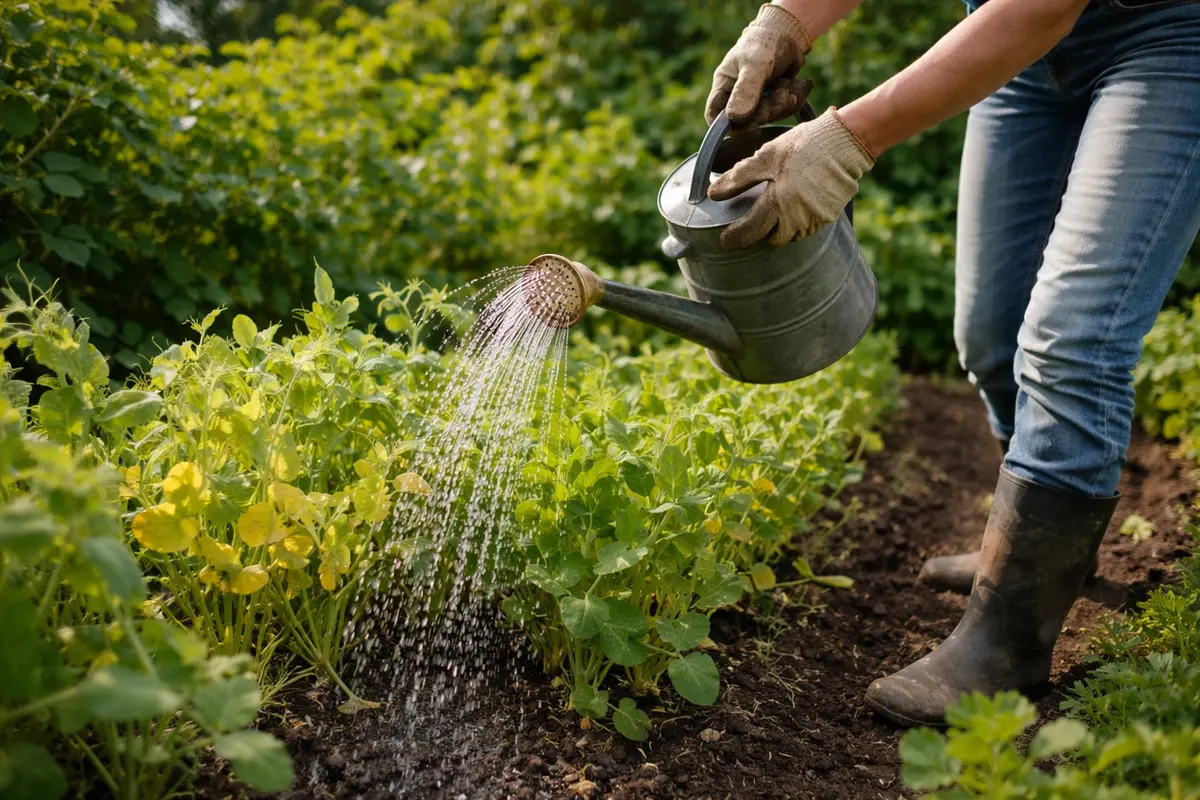
Water your pea plants deeply, ensuring moisture reaches at least six inches into the soil. You should notice the soil becoming moist and the leaves beginning to regain their green color within a day or so. A clear indicator that your watering was successful is when the soil feels cool and retains moisture beneath the surface, allowing roots to access the vital hydration they were missing.
Immediate watering is crucial when your peas are showing signs of yellowing. Peas are particularly sensitive to water availability as they depend on consistent moisture levels for nutrient uptake. Without sufficient water, their ability to photosynthesize effectively diminishes, leading to yellowing and stunting growth. If the soil is allowed to dry out too long, it can become hydrophobic, where water simply runs off the top rather than being absorbed, further complicating recovery efforts. Addressing this with deep watering replenishes soil moisture layers crucial for healthy root function, which is often overlooked by many growers.
A common mistake gardeners make is to avoid watering because they fear overwatering during a dry spell. However, plants suffering from drought stress need an immediate infusion of water to jumpstart recovery. If water doesn’t reach deep into the root zone, the yellowing will likely continue. For best results, water in the early morning or late afternoon to minimize evaporation. This timing gives the plants ample opportunity to absorb moisture before the heat of the day, while evening watering can lead to increased fungal diseases.
Step 2 – Assess Nitrogen Levels in Soil
Start by inspecting the soil moisture levels around your pea plants. If the soil is dry to the touch several inches down, water the plants deeply and evenly, ensuring that the roots can access moisture. Within a few days, you should notice the yellowing leaves starting to green up again as the plants recover from stress.
The yellowing of your pea plants is typically a sign of drought stress, which occurs when the roots can’t effectively uptake water due to a lack of moisture in the soil. This deficiency inhibits nutrient transport to the leaves, leading to chlorosis, where leaves lose their green pigment. As a comparison, if you notice peas with dark spots and curling leaves, it might indicate a pest issue rather than water stress; therefore, differentiating the symptoms is crucial.
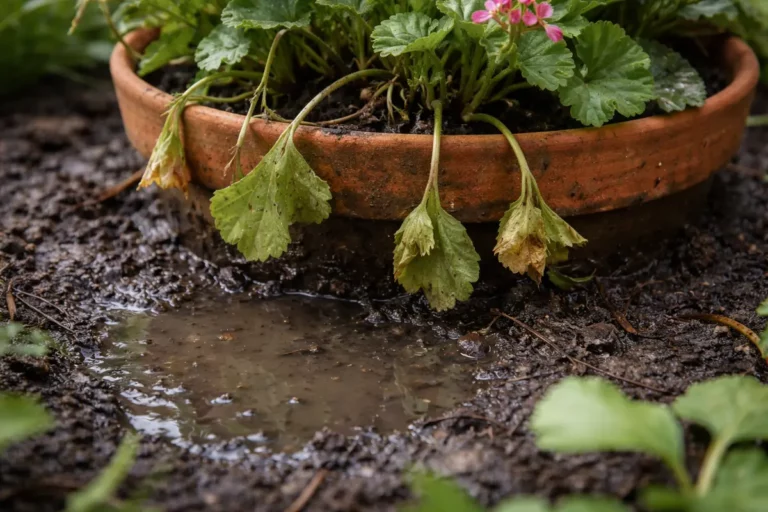
If the soil smells sour, indicating possible root rot or lack of oxygen, immediately improve drainage by amending the soil with organic matter or gravel. Conversely, if the leaves are yellowing but the soil is adequately moist, check for nutrient deficiencies, such as nitrogen, and consider fertilizing with a balanced fertilizer to provide the necessary nutrients.
Nitrogen is essential for leafy growth in plants, particularly for legumes like peas. When the nitrogen content is low due to prolonged drought or insufficient fertilization, the pea plants will struggle to maintain their chlorophyll levels, resulting in yellowing leaves. Testing the soil allows you to identify nutrient deficiencies that affect growth. Low nitrogen might be compounded by compaction or drainage issues, where roots struggle to access available nutrients. It’s worth noting that while legumes can fix some atmospheric nitrogen, they still require a baseline level in the soil for optimal growth, especially since poor soil conditions can inhibit this ability.
If your soil test indicates low nitrogen, consider using a balanced fertilizer that includes nitrogen, such as a 10-20-10 formula, or incorporating organic matter like compost, which can improve soil fertility over time. Trailing plants often exhibit nutrient deficiencies quickly, so look for other symptoms like stunted growth and poor flowering. Heed that when overly compacted, the soil can make it challenging for roots to expand, impeding water and nutrient absorption. If you observe signs of further nutrient deficiency, such as dry leaf tips or yellowing older leaves, consider providing supplemental feedings or aerating the soil to enhance conditions further.
Step 3 – Fertilize Peas to Promote Recovery
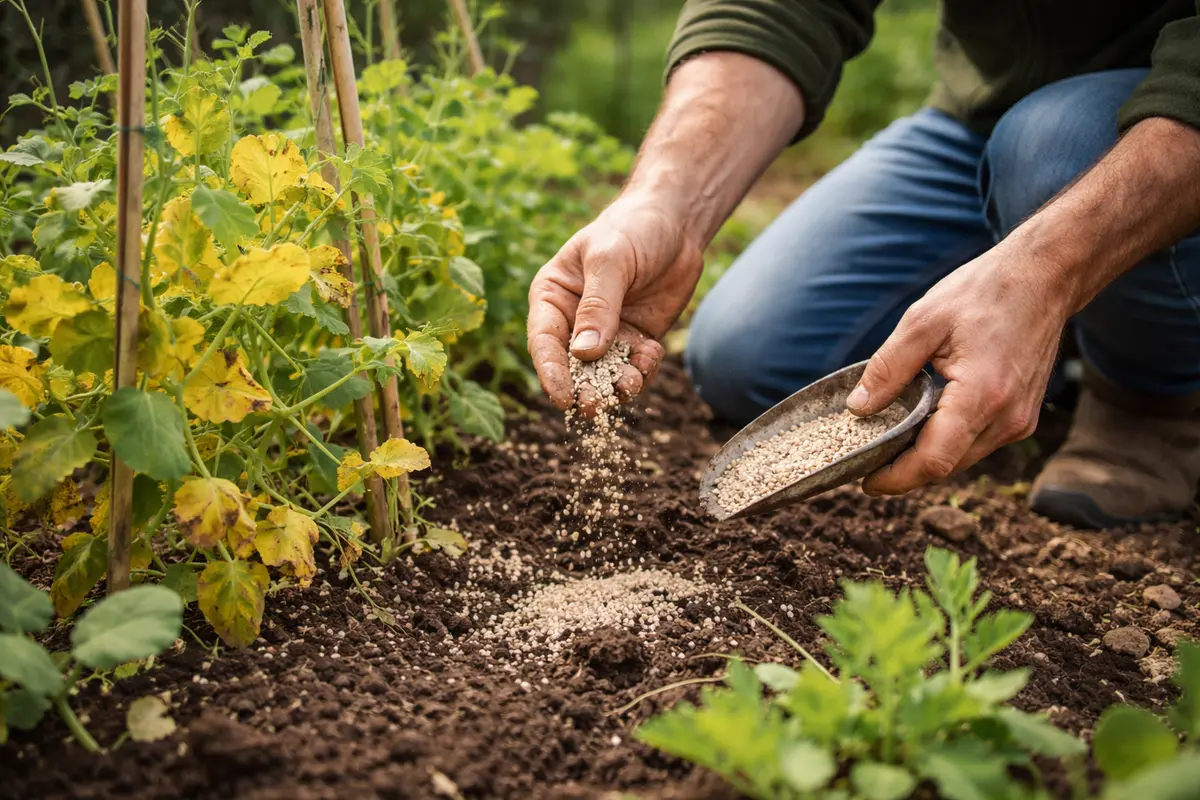
Apply a nitrogen-rich fertilizer to your pea plants to support their recovery. You can expect visible improvements in leaf color and new growth sprouting within one to two weeks. Fertilizers with a slow-release formula may provide prolonged benefits, minimizing the need for frequent applications while helping sustain nutrient levels during the growing season.
Adding fertilizer like a 10-10-10 NPK or a fish emulsion can help restore nitrogen levels quickly. When nitrogen is reintroduced into the soil, it promotes a boost in chlorophyll production, which enhances the green color of the leaves and fosters new growth. This nutrient replenishment is vital for plants that have been stressed by both drought and nutrient deficiency. However, if the leaves continue to show signs of yellowing after a two-week observation period, another application may be necessary, or you might need to reassess your watering practices and additional nutrient needs, particularly if the moisture levels in the soil exhibit big swings.
One mistake to avoid during this recovery phase is over-fertilizing your peas. This can lead to nutrient burn, where the leaves turn brown and crispy at the tips, worsening the plant’s health. Over-fertilization may accidentally change the soil pH, making other nutrients unavailable to the plant. Applying fertilizer according to the recommended schedule usually promotes steady recovery. If your plants are particularly stressed, it may be wise to dilute the fertilizer solution before application. You should also observe the weather closely; extremely hot conditions may necessitate reduced fertilization to prevent plants from burning, as stressed plants sometimes react negatively to high nutrient levels during periods of heat.
Step 4 – Mulch Around Peas to Retain Moisture
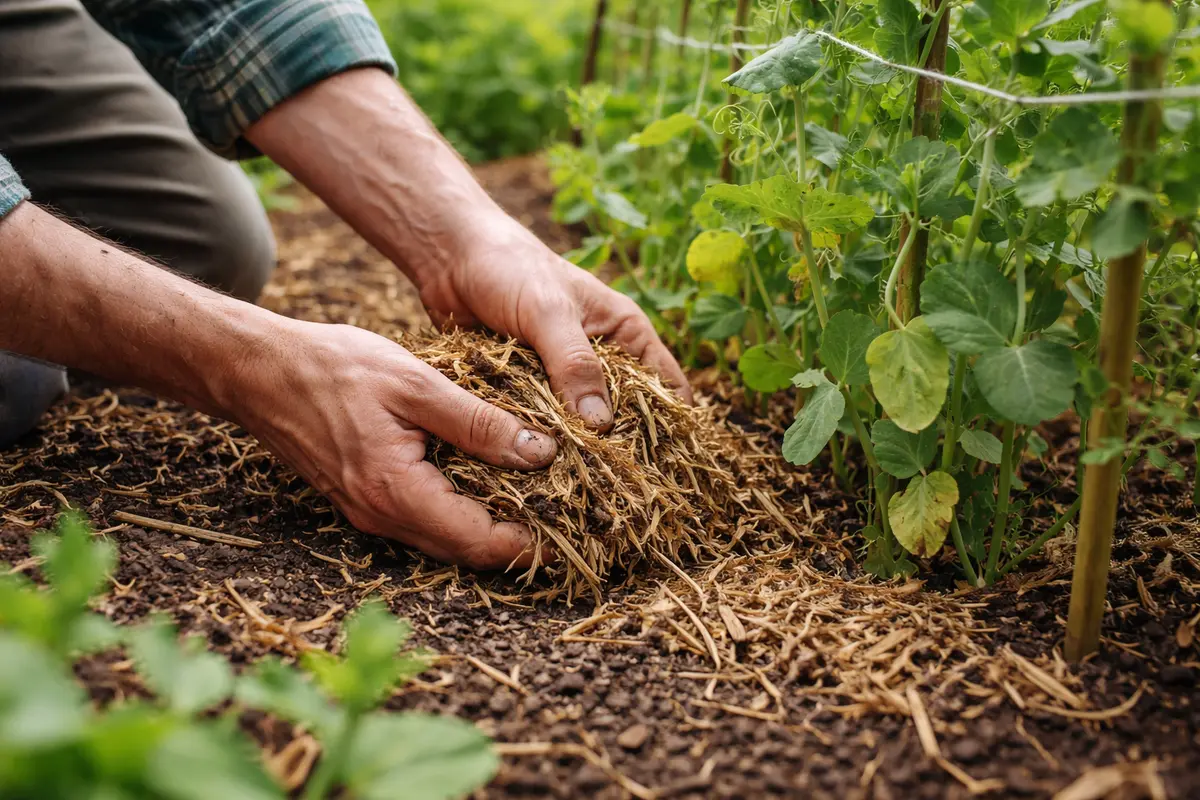
Spread a layer of mulch around your pea plants to help retain soil moisture. You will notice the soil remaining cooler and more moist for a longer period after watering. A layer of mulch also reduces surface evaporation, which is critical during warmer months when moisture could be quickly lost from the soil. Pay attention to how the soil condition improves, noting a more consistent moisture profile around the roots.
Mulching helps regulate the temperature and moisture levels in the soil, reducing evaporation while promoting a more stable environment for root development. It also suppresses weed growth that competes for essential nutrients and water, further aiding the recovery for stressed plants. This protective layer becomes part of a long-term strategy for preventing future moisture loss as the plants continue to grow. Organic materials like shredded leaves, straw, or grass clippings can contribute nutrients as they decompose, replenishing the soil as well. Monitor how long the mulch stays intact; if it starts to decompose too quickly, consider adding more to maintain an effective barrier against evaporation.
It’s beneficial to use organic mulch, such as straw or wood chips, as they will decompose over time and contribute nutrients back into the soil. During particularly hot months, monitor the mulch layer—ideally, it should be about 2-4 inches thick. This serves as a reminder to keep your plants shaded; too thin a layer allows weeds to poke through, competing for the very nutrients your peas need. Keep a lookout for potential pest presence, too, as mulch can create a favorable micro-environment for pests. If you notice the mulch has decomposed significantly and the soil is visible, it’s time to replenish it, which will help maintain moisture retention. Additionally, inspect for any fungal issues or molds that may develop underneath as excess moisture builds up.
Step 5 – Check Pea Vines for Fresh Yellowing Signs
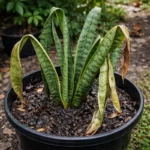
Inspect your pea vines for any signs of fresh yellowing every few days after implementing the recovery steps. You should observe green leaves returning and signs of new growth starting within a week if the plants are recovering well. Regular monitoring creates an opportunity to catch any emerging issues before they escalate into serious problems; looking out for fresh yellowing creates insights into ongoing water supply or nutrient deficiencies that may exist.
A fully recovered pea plant will have vibrant green leaves and no new yellowing, indicating that your mitigation efforts have succeeded. Snapping a few leaves and checking their texture can reveal whether the regeneration is effective, with healthy leaves feeling firm and supple compared to limp, yellowed ones indicative of poor health. If fresh yellowing appears, it suggests either insufficient watering or a possible pest issue that needs immediate attention. Regular checking will help identify any re-emerging moisture stress or possible root damage affecting growth.
If problems persist or yellowing recurs, it may become necessary to evaluate environmental changes like sun exposure or pest infestation, as these factors can contribute to stress. Immediate soil testing again may reveal underlying issues requiring further adjustments as well. If none of these factors seem to be at fault, consider the possibility of root damage or pathogens affecting the health of the plants. In particularly complex cases, you may need to consult a local agricultural extension officer or gardening expert for further diagnosis.
FAQ
How long will it take for my peas to recover from yellowing?
Your peas should show signs of recovery within one to two weeks after addressing water and nutrient issues. Leaves may start regaining their green color, and new shoots should begin to emerge if the conditions are improved. However, this timeline can vary depending on the extent of the stress the plants experienced, with severe cases taking longer to fully bounce back.
Can yellow leaves spread disease to healthy plants?
While yellowing leaves themselves do not spread disease, they can attract pests that may carry diseases. It’s crucial to manage stress in your plants quickly to prevent attracting these pests, safeguarding the overall health of your garden. Additionally, maintaining good plant spacing can help improve air circulation, decreasing disease chances and fostering a more resilient growing environment.
Should I remove yellow leaves from my pea plants?
Yes, you should prune off any severely yellowed or damaged leaves to promote healthy growth. This not only improves air circulation but also allows the plant to focus its energy on producing new, healthy foliage. If yellow leaves are left, they can become a breeding ground for pests and may hinder the overall aesthetic and health of the affected plant. It’s also recommended to remove any dead material from the ground, as it can attract pests and contribute to further plant stress.