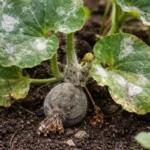
You may notice that your strawberries are developing soft, mushy spots during particularly humid periods, which is why you need to know, “Why do my strawberries keep rotting before harvest?” This rot occurs due to excess moisture and fungal infections that compromise the fruit’s integrity, leading to rotting. If left unchecked, the problem gets worse, weakening the plant and potentially leading to more damage. Immediate intervention is critical; thus, adjust your watering schedule and inspect your plants regularly to prevent further deterioration.
Step 1 – Remove Rotten Strawberries Immediately
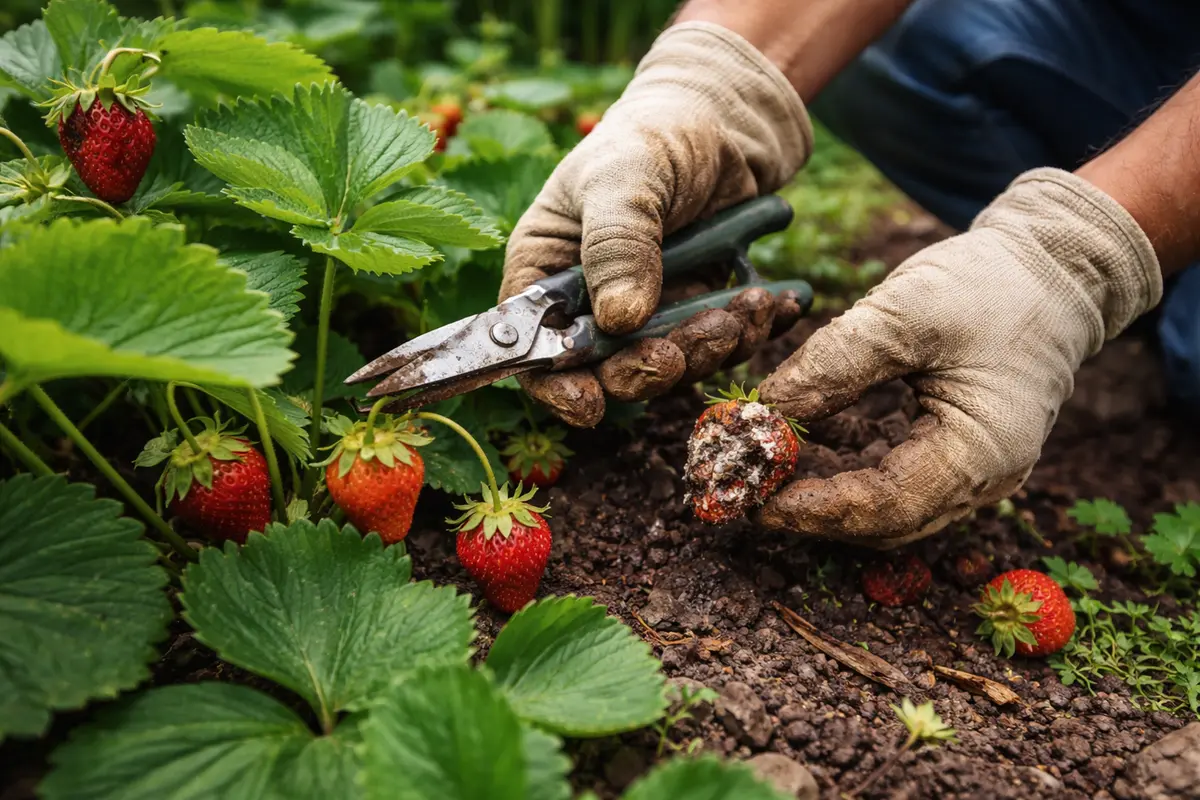
Start by carefully removing any rotten or mushy strawberries from the plant. You will notice a significant reduction in mold and rot on healthy berries shortly after this step, allowing the healthier fruit a better chance to mature. Act swiftly; even a short delay can lead to the undoing of your entire harvest, as the rapid spread of disease can escalate rapidly from a few affected fruits to the entire cluster.
Acting immediately prevents further fungal spread to the healthy fruit on the plant. Rotting strawberries can release spores, contaminating the surrounding strawberries, leading to a widespread issue. If left unattended for even a day or two, healthy strawberries may begin to show signs of wilting or discoloration, indicating the spread of decay. Perform daily inspections during peak rain seasons to catch issues early, looking out specifically for berries that feel soft to the touch or have discolored patches that signify early stages of rot. Each inspection should involve a gentle touch to feel for firmness; berries that yield easily to pressure should be removed right away.
A common mistake many gardeners make is assuming they can leave rotting fruit on until harvest. This oversight can lead to further rot and significantly affect overall plant health, increasing the likelihood of more extensive damage. It’s advisable to inspect your strawberries regularly, especially after rainfall, as moisture encourages fungal growth. If you see even the slightest bit of softening, act quickly — removing even one offending berry can save the entire cluster. Always discard the removed strawberries at least a few meters away from the plants to prevent reinfection. If left near the garden bed, spores can easily waft back to neighboring fruits and begin the cycle over again.
Step 2 – Check for Soil Moisture Retention Issues
Start by inspecting your soil for poor drainage and compacted areas, ensuring it is well-aerated. If puddles form after heavy rain or watering, amend the soil with organic matter such as compost or peat moss to improve water retention and aeration. You should notice a decrease in rotting strawberries within a few days as the moisture levels stabilize. Conducting simple tests, like digging a small hole with your hand, can reveal soil texture and help assess compaction directly.
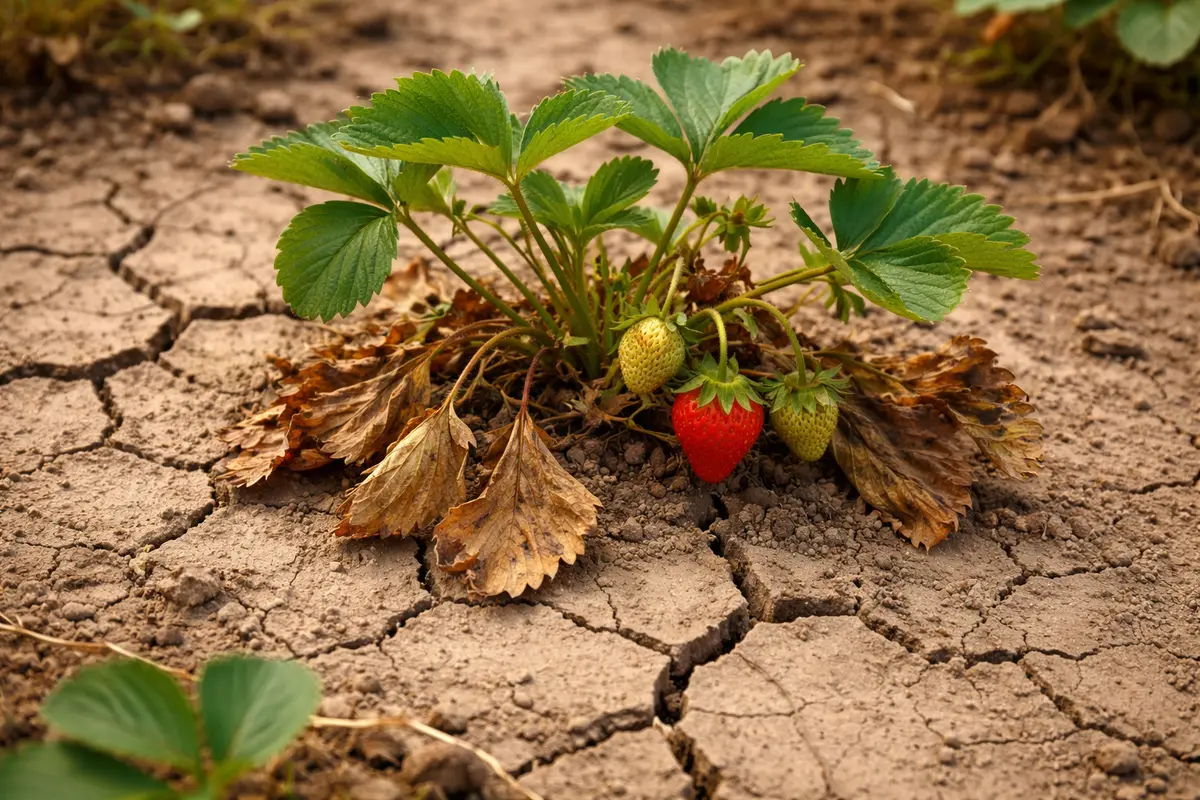
Poor drainage leads to waterlogged roots, which can foster the development of harmful pathogens like root rot and, subsequently, fruit rot. When the roots are deprived of oxygen due to saturated soil conditions, they become stressed, causing symptoms such as wilting or yellowing leaves. If your strawberries display these signs alongside rotting fruit, it confirms drainage issues. Checking the saturation of your soil by feeling for excessive dampness near the roots can guide potential corrective actions.
If your soil smells sour, indicating anaerobic conditions, replace it with fresh, well-draining soil and consider raised beds to improve drainage. Conversely, if your strawberries are rotting but the soil seems healthy, check for visible fungal infections as indicated by moldy spots on fruit or leaves. Address these different issues with appropriate treatments to manage the respective problems effectively. Testing for soil pH can also provide insights; an overly acidic or alkaline environment can exacerbate drainage problems. High moisture retention in the soil creates the perfect environment for fungal diseases, while strawberries require well-drained soil to thrive. Excess soil moisture can suffocate the roots, leading to restricted oxygen flow and negatively impacting fruit health and ripening. Pay close attention to both soil composition and drainage pathways around your plants, as both factors contribute significantly to your strawberries’ wellbeing.
If you find that the soil is retaining too much moisture due to compaction or high clay content, consider improving drainage by amending the soil with organic matter and increasing aeration practices, such as tilling or using a broadfork. Conversely, if the soil seems excessively dry, it could limit the strawberries’ growth potential; this is especially critical as insufficient moisture can lead to stress. Regularly check the soil moisture by inserting your finger two inches deep; if your finger feels dry at this level, you may need to water your plants. This careful balance is critical, because poorly draining soil generally leads to root and fruit problems that can result in wilting or full rot. Additionally, consider using mulch to manage moisture levels better, as it can help moderate temperature extremes and preserve soil moisture without over-saturating the root zone.
Step 3 – Fertilize Plants to Revive Growth After Rot
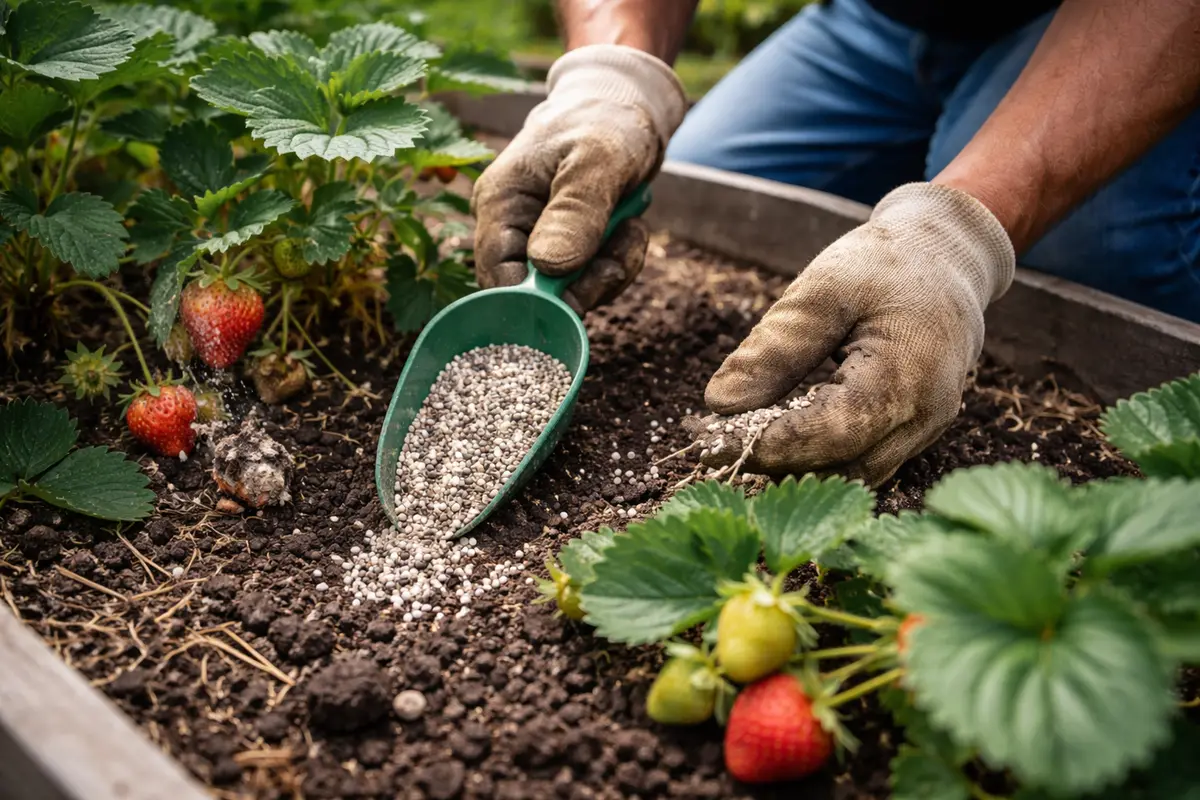
Apply a balanced, water-soluble fertilizer around your strawberries to revive their growth. You should begin to see new, healthy growth within a week or two, indicating that the plants are starting to bounce back. Expect to notice greener foliage and sturdier fruit, which are essential for a successful harvest in a process that depends on meticulously timed nutrient application.
Proper fertilization replenishes essential nutrients that may have been depleted due to the rot problem. When applied correctly, this promotes renewed plant vigor, enhancing fruit development. Fertilizers rich in nitrogen, phosphorus, and potassium are critical; for example, a 10-10-10 nitrogen-phosphorus-potassium blend will dramatically improve the overall condition of your strawberries, including the quality of new flower sets. Remember, poorly nourished plants are often less resilient to both environmental stressors and diseases, creating a cycle of decline that could lead to future issues.
One mistake to avoid during recovery is over-fertilizing, as this can lead to nutrient burn or salt buildup in the soil, causing more harm than good. Apply the fertilizer evenly but sparingly; a good rule of thumb is to use half the recommended dosage on the package to start. Monitor your plants closely after fertilization, looking for signs of distress such as leaf curling or discoloration, which can indicate potential fertilizer burn. Ideally, gentle fertilization should lead to visible signs of recovery — including new leaves and firm fruit developing. If you encounter severe fertilizer burn, stop all feeding immediately and flush the soil with plenty of water to help leach out excess salts accumulated in the soil.
Step 4 – Water Strawberries Less During Fruiting Season
Start by ensuring proper air circulation around your strawberry plants by spacing them at least 12 inches apart. By implementing this practice, you will notice a significant reduction in moisture retention around the fruit, ultimately preventing rot before harvest.
Strawberries thrive in a well-ventilated environment, and dense planting can trap humidity, creating conditions ripe for fungal growth. When strawberries are spaced adequately, air can flow freely, helping to lower humidity levels and combat the onset of rot. If you see a misty morning dew lingering on dense patches of strawberries, it’s a clear sign that air circulation is compromised. If your berries still struggle after spacing, check the watering schedule to ensure you’re not overwatering.
In wetter seasons, consider using mulch made from straw or wood chips to elevate the fruit off the ground. This not only helps with drainage but also acts as a barrier against soil-borne pathogens. If you notice persistent soil moisture, it’s crucial to adjust your mulch layer to prevent rot, particularly during rainy periods.
High humidity and overhead watering can contribute to the development of mold and rot on strawberries, especially in warmer months. By watering at the root level in the morning, you limit moisture on the leaves, which directly addresses the conditions that encourage fungal infections. If you notice wilting or yellowing leaves despite this routine, check for stagnant water in your soil.
During particularly wet or rainy seasons, consider adding a second layer of protection by using mulch around your strawberry plants. Mulch not only retains soil moisture but also prevents splashing water that carries pathogens to the ripening fruit. If rainfall exceeds normal levels, inspect your mulch periodically to ensure it remains effective.
Overwatering is a common cause of splitting and rotting fruit during late harvest. Striking the right balance is essential; strawberries require consistent, adequate hydration, but tipping the balance towards excess moisture can trigger a chain reaction leading to disease. Monitoring rainfall and adjusting irrigation accordingly can help ensure that your soil remains adequately moist but not oversaturated. If you begin to notice pooling during your watering sessions, consider this a clear sign to alter your approach. Instead of daily watering, focus on thorough sessions every few days, allowing the soil to dry slightly between waterings.
In times of unexpected heavy rain, raising the bed height slightly or using mulch can help manage moisture levels and maintain appropriate soil conditions. Utilizing organic mulch such as straw or wood chips does not only preserve soil moisture; it also protects developing fruit from potential rot by improving air circulation around the berries. Seasonal conditions may dramatically alter how and when to water your strawberries, so be prepared to adjust your habits based on full weather forecasts. If your soil feels dry two inches beneath the surface, it’s time to rehydrate your strawberry plants. Yet at the same time, ensure that the soil is well-drained to prevent rot — if necessary, add sand or drainage pipes to help facilitate better water flow.
Step 5 – Inspect Strawberries for Mold Every Few Days
Recheck your strawberry plants for mold or any visible signs of further rot every few days. This proactive inspection will enable you to catch potential problems early before they escalate into a larger issue that could ruin your harvest. Observing health indicators regularly ensures that the plants remain in good standing, which is critical for your strawberry yield.
A fully recovered strawberry plant should display new growth, firm fruit, and the absence of mold or rot. Early signs of trouble can include unusual white or fuzzy growth, signaling that fungal issues may be resurfacing; addressing them immediately is crucial for preserving your crop. Note that rotting frequently starts around the crown and can extend to the fruit if ignored — thus, regular checks help intercept these problems efficiently. Use a magnifying glass if needed to detect early signs or tiny webbing that indicate spider mites, which can also stress the plants.
If you continue to find persistent mold or rot despite your monitoring efforts, you may need to take more drastic measures. This could include applying a mild fungicide or further improving drainage to combat excessive moisture levels. Attention to visual cues will gauge the effectiveness of your interventions; for example, consistently healthy fruit with no signs of mold is a good signal of success. Consulting local agricultural extension offices or gardening experts can be invaluable if problems persist beyond your control. Remember, once mold establishes itself, managing it becomes significantly harder, so early action is crucial as it also allows for time to intervene before the situation worsens. If the problem seems to be escalating rapidly despite your best efforts, consider implementing a more aggressive treatment strategy along with expecting assistance or advice from professionals.
FAQ
What causes my strawberries to rot during hot weather?
Hot weather can significantly increase the risk of strawberries rotting, particularly if there is insufficient air circulation around the fruit, which can become overly moisture-laden. High temperatures can prompt fruits to ripen too quickly, creating conditions that favor mold growth, especially in damp environments. To mitigate these risks, ensure proper plant spacing, avoid dense foliage around berries, and adjust irrigation practices during heat to keep moisture in check.
Should I remove any strawberries that are slightly damaged?
Yes, it is advisable to remove slightly damaged strawberries to prevent rot from spreading to others and ensure the health of the remaining fruit. Even minor damage can lead to mold growth that will impact an entire harvest if left unattended. Prioritizing the harvest of any compromised berries promotes healthier growth and significantly maintains plant health, improving the chances for a robust yield.
Can fertilizer help prevent rot in strawberries?
Fertilizer can indeed improve the health of strawberry plants, subsequently making them less susceptible to rot by promoting stronger growth and better resistance to diseases. When fertilizers are applied correctly, a balanced formulation effectively assists the plants in coping with environmental stressors and nutrient deficiencies. However, caution is key; over-fertilization can lead to root burn and complicate your management efforts. Following recommended guidelines for balanced feeding and possibly conducting soil tests can help you optimize nutrient supply effectively.