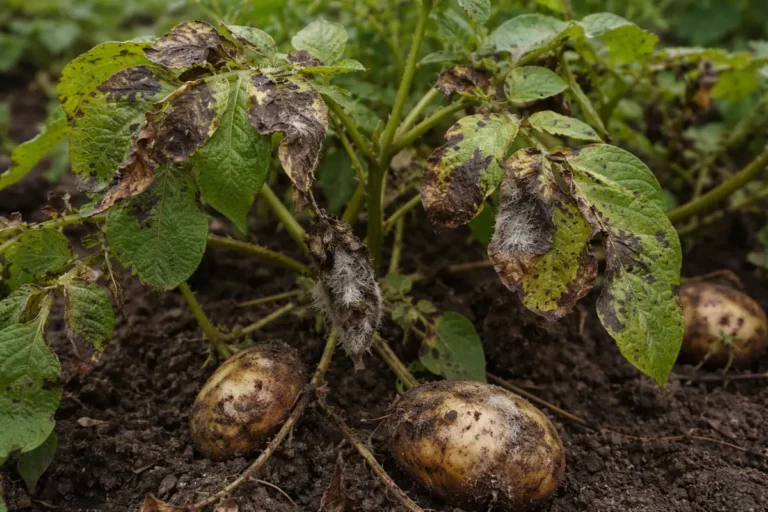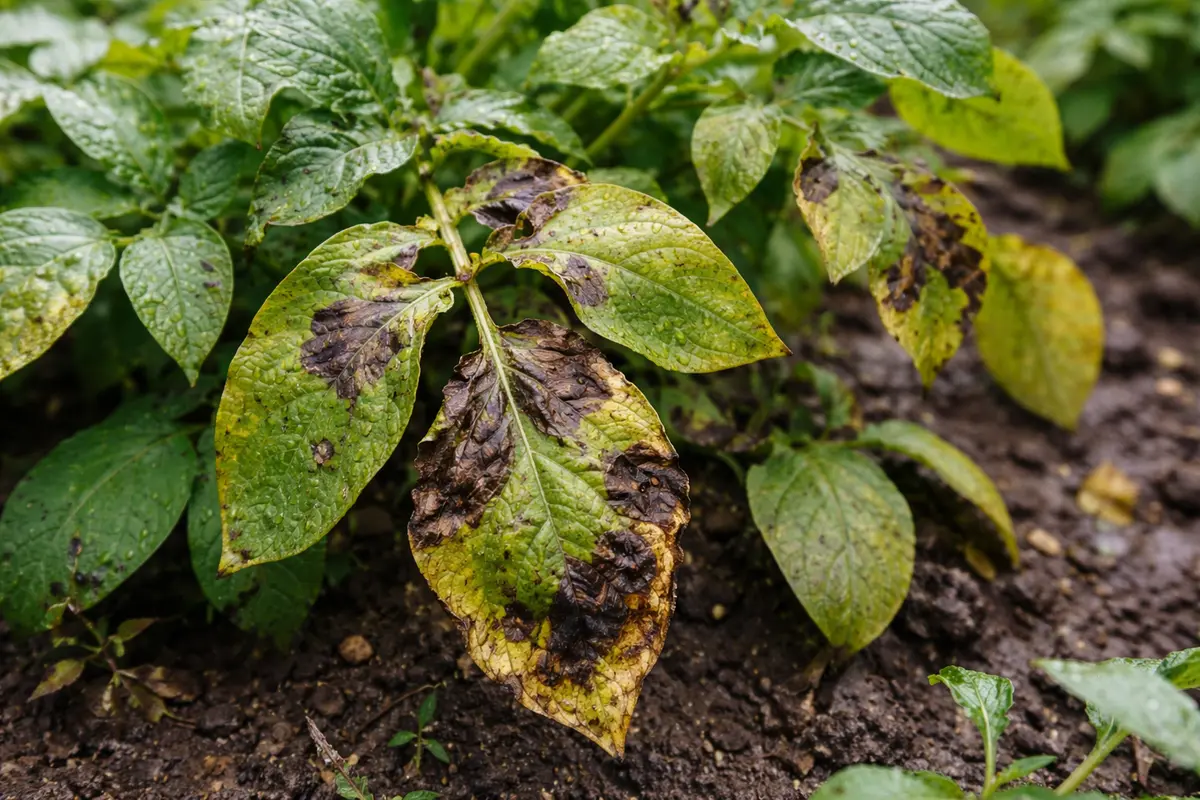
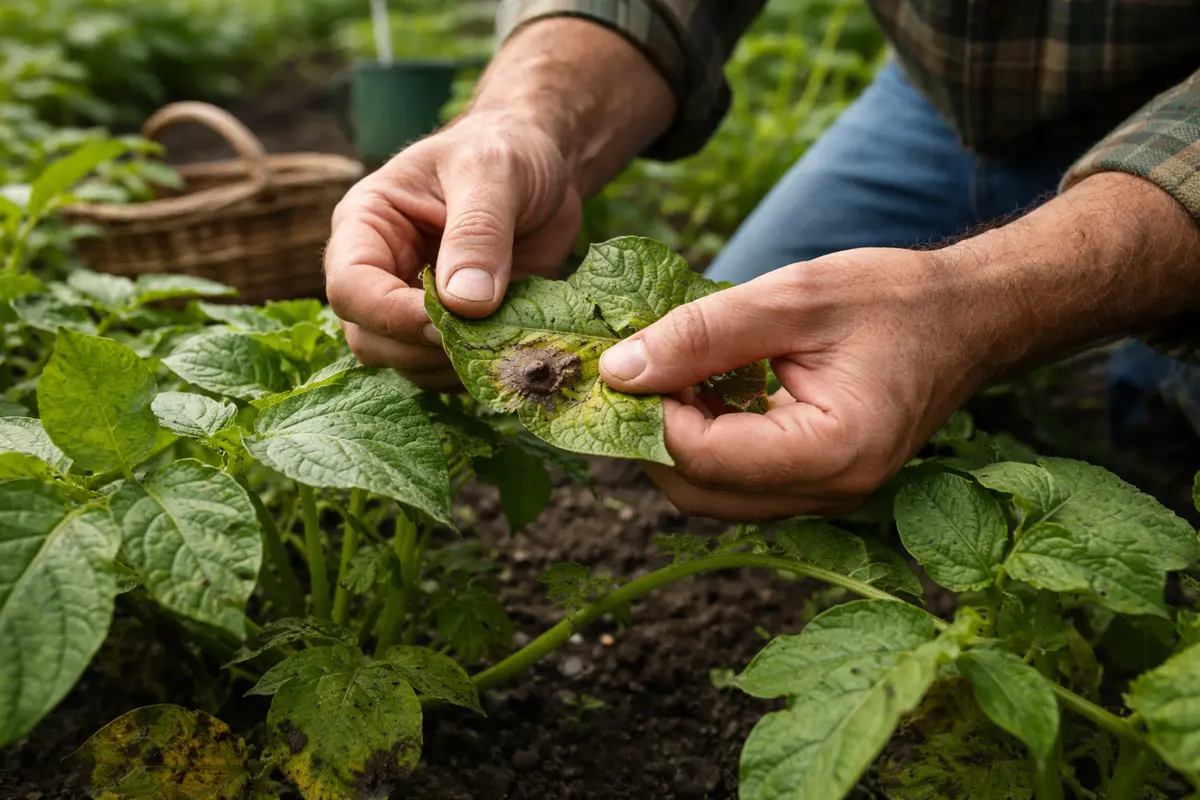
You may notice your potato plants starting to show signs of distress during rainy weeks, which is why you need to know how to stop blight on potatoes during rainy weeks. This fungal infection manifests as dark brown or black spots on the leaves, leading to wilting and eventual decay if left unchecked. If ignored, the issue gets worse, can spread to the tubers, weakening the plant and making recovery harder, but you can still fix it now by inspecting your plants and adjusting their care to improve air circulation and reduce moisture.
Step 1 – Trim Back Infected Potato Foliage
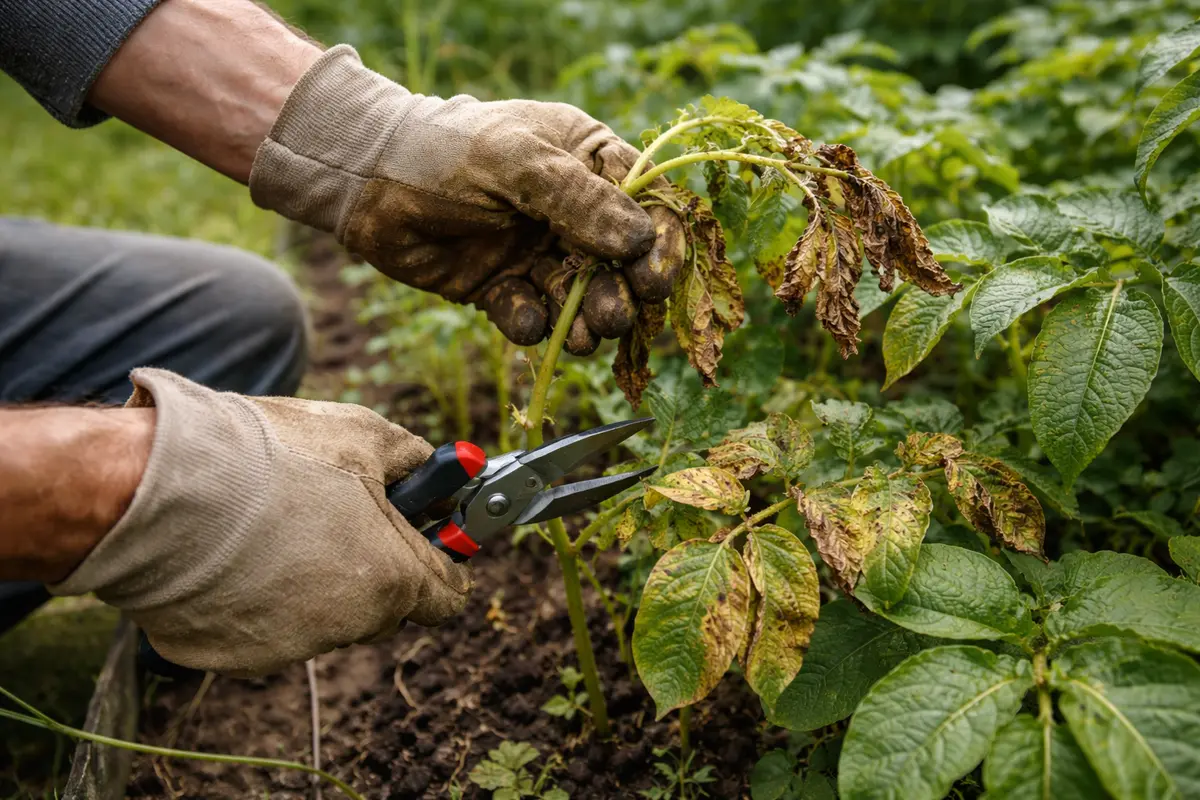
Begin by trimming back any visibly infected potato foliage immediately. You should see a reduction in the spread of dark spots after doing this within a day or two. This step limits further infective spores from dispersing and contaminating nearby healthy tissue. Be sure to use clean, sharp garden shears to prevent further injury to the plants. After the mid-morning dew has dried, start from the top of the plant and work your way down, removing infected leaves immediately and placing them in a sealed plastic bag to prevent spore spread.
Acting quickly to remove infected leaves prevents the spread of the pathogen throughout the plant. The fungal spores multiply rapidly, especially in warm, moist conditions, which are prevalent during rainy weeks. By eliminating the infected parts, you help protect the remaining foliage, which is crucial for photosynthesis and overall plant health. New growth often occurs from healthier areas, raising your potential yield significantly in the long run. Observe how quickly plants rebound post-trim; healthy regrowth indicates effective action.
A common mistake is to delay this step, thinking the infection will resolve itself with better weather. For instance, if you wait too long, entire stems may become unsalvageable, leading to further plant decline. It’s crucial to inspect plants promptly after rainstorms, as moisture promotes fungal growth and visibility of symptoms. Ideally, any necessary foliage removal should occur within 24 hours of rain; this minimizes the potential spread of fungal spores. Each additional day spent ignoring the signs can exponentially increase vulnerability to future infections.
Step 2 – Confirm Fungal Issues in Soil Health
Inspect the soil surrounding your potato plants for signs of excess moisture and fungal buildup. After this assessment, a clearer understanding of soil health will emerge, guiding your next steps. It’s essential to manage soil health, as unhealthy soil can harbor pathogens and lead to recurring blight challenges. Look for pooling water or muddy spots, which indicate inadequate drainage. Monitor the soil’s color and texture closely; overly dark or slick soil can point to moisture retention issues.
Fungal organisms thrive in consistently moist soil conditions, which can lead to root rot and further disease in potato plants. Assessing the soil’s texture—whether it retains water too long or drains effectively—can demonstrate why fungal issues have arisen. Poorly draining clay soils are particularly notorious for retaining moisture and fostering these pathogens. In this context, identifying soil types becomes vital; if your soil is heavy and compacted, you may need to amend it with compost to enhance aeration and drainage.
If you find that your soil smells sour or has a soggy texture, adjust your irrigation practices and improve drainage strategies. Adding compost or organic amendments can help break up compaction. If mud persists beyond storms, consider switching to raised beds, which can elevate the root zones and improve drainage throughout the growing season. Regular soil testing can also inform you of nutrient levels and acidity, helping to fine-tune the conditions for your potato plants. Failing to correct soil health issues can set the stage for future blight outbreaks, making ongoing soil management necessary. If moisture issues persist beyond reasonable levels, re-evaluate your irrigation frequency and rainwater collection methods.
Step 3 – Test Leaf Samples for Blight Pathogens
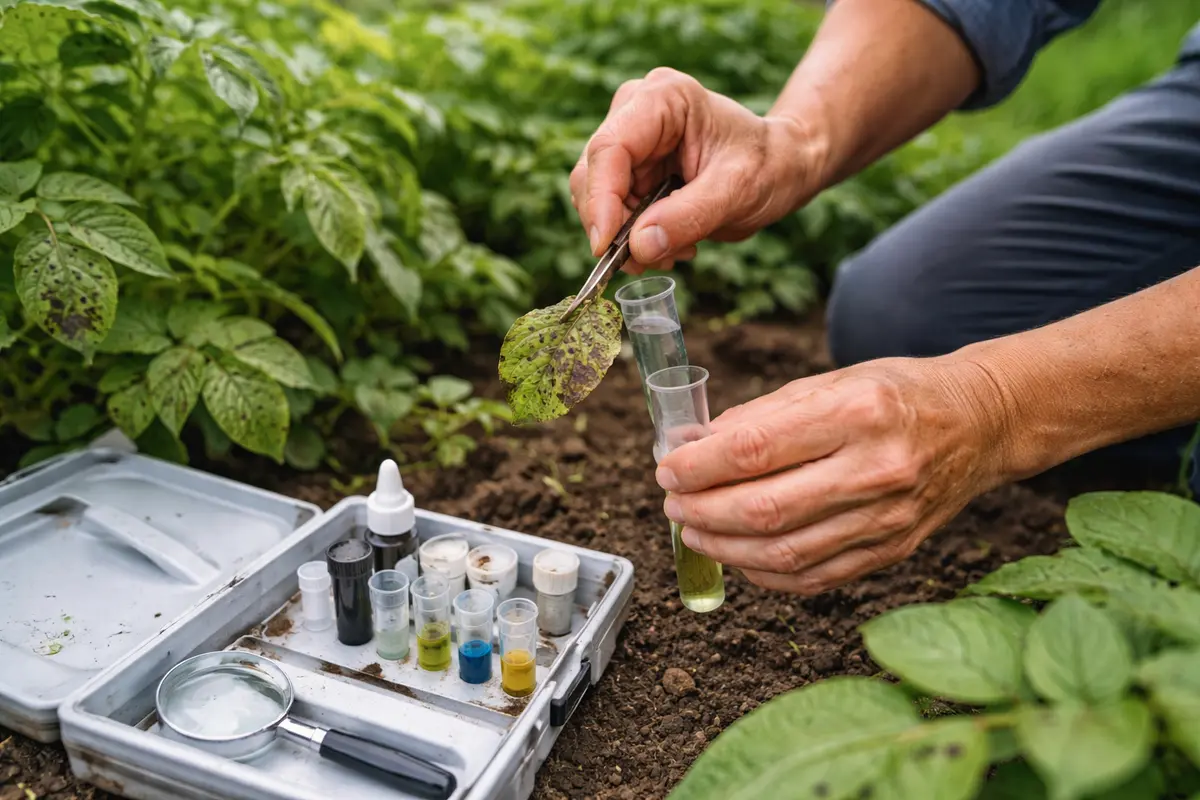
Start by inspecting your potato plants for signs of late blight, which manifests as dark green or black lesions on the leaves, often with a greasy appearance. Make sure to inspect both the tops and undersides of the leaves. If you notice any of these symptoms, especially during rainy weeks, you are likely encountering blight, and immediate action is required to prevent further spread. Condition of leaf texture will also serve as a noticeable indicator—texture changes often reveal underlying fungal activity.
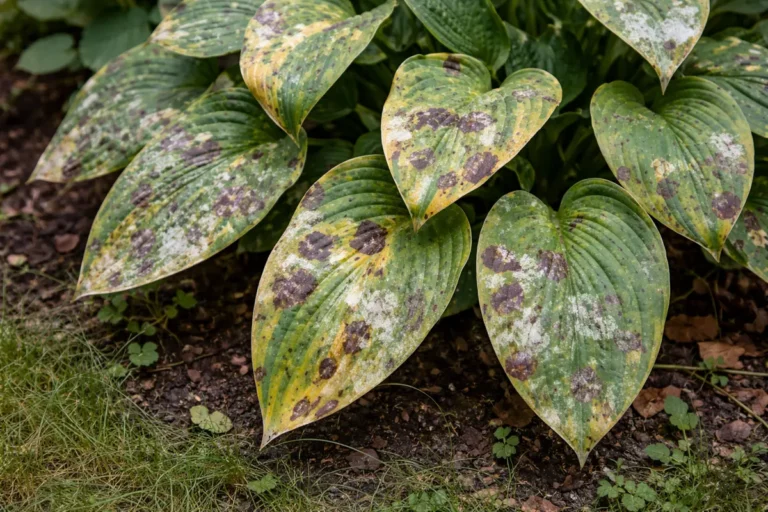
In comparison, similar issues like early blight may present with yellowing leaves and concentric rings on lesions, making it crucial to differentiate between them. Late blight lesions are typically larger and more irregular, often spreading rapidly in wet conditions, while early blight usually appears less aggressive. Take note of the leaf’s surroundings; are there any signs of moisture buildup? If the leaves have a velvety texture due to mold growth, it’s a strong indicator of late blight, whereas early blight lesions are drier and more crinkled.
If your diagnosis is uncertain, wait a few days and observe any changes in the symptoms. Document the progression of the spots and keep track of moisture levels in your garden. If symptoms worsen or spread, arrange for a soil test or consult local agricultural extension services for guidance. An accurate diagnosis can determine your treatment’s effectiveness. This period allows you to gather more evidence before proceeding with treatment; understanding the severity of the situation will dictate your course of action.
Look for signs that distinguish blight from similar issues. For instance, early blight shows circular lesions with a yellow halo, while late blight tends to appear as darker patches that can expand rapidly. Keeping a journal of observed symptoms is invaluable during this time. Observing leaf backs can also reveal a purplish fuzz, indicating fungal growth. If you are still uncertain about the identification, utilize a magnifying glass to spot the differences in texture and structure that can assist with clarity, noting any spread differences over the course of days.
If there’s uncertainty in your diagnosis and you’re unsure whether it’s blight or another condition, consider setting aside samples in a dry place for a few days to observe changes. Any noticeable increase in size or spread indicates a lingering problem that needs immediate focus. Regular inspections should be marked in your calendar to catch early signs as they appear; this vigilance is critical. If blight reappears, remember to document not only the symptoms but also environmental factors like humidity levels and rainfall, which can inform future preventive measures.
Step 4 – Apply Organic Treatments to Revive Potatoes
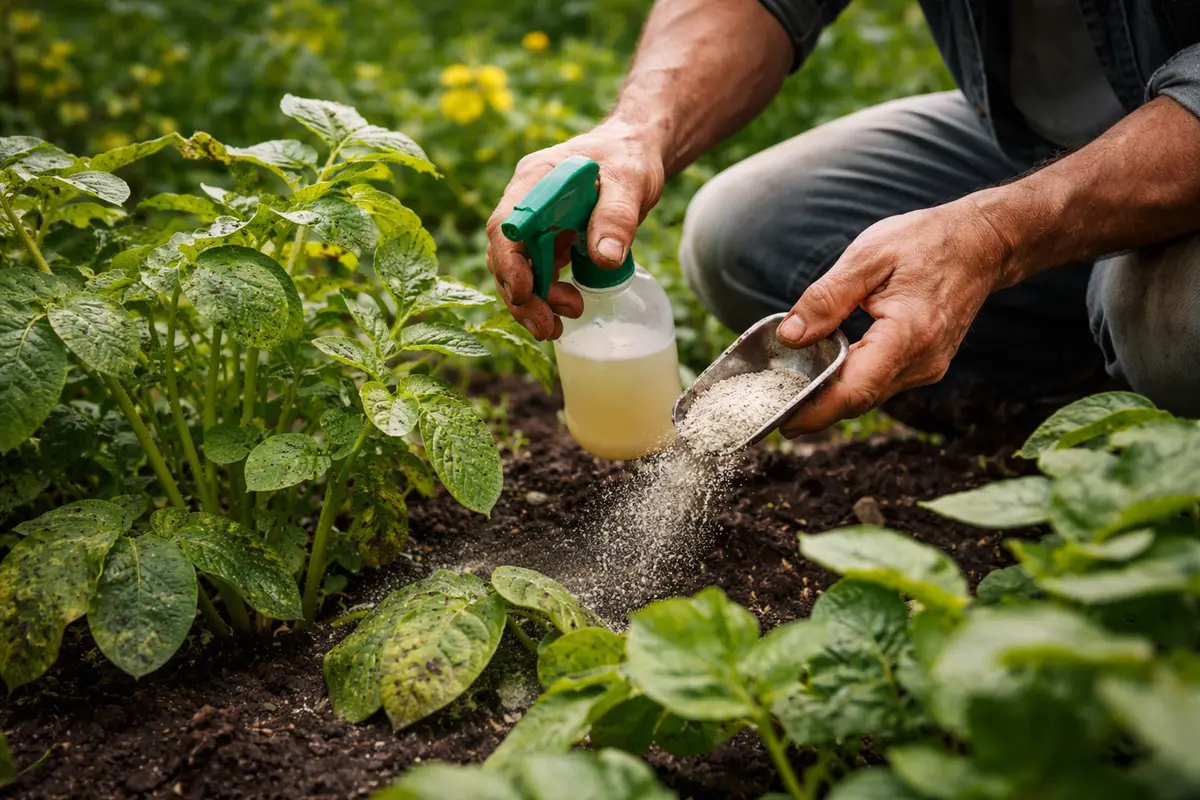
Apply organic fungicidal treatments immediately to affected areas to curb the blight’s progress. After application, you should observe immediate effects, such as the halting of visible fungal growth within one week. Using natural products like neem oil can drastically decrease the chances of further spread without harming the environment. Ensure to apply the treatment in calm weather conditions to prevent wash-off during rain and to maximize efficacy; treating in early morning or late afternoon often yields the best results.
Organic fungicides work by creating a barrier that interrupts the life cycle of the fungi, allowing the remaining healthy leaves to recover. Timing the application after heavy rain when plants are most susceptible is crucial; optimal conditions—such as warm temperatures combined with humidity—drive the success of these treatments. Spray solutions thoroughly cover both the upper and lower surfaces of the leaves to maximize impact; no surface should remain untreated, as spores can thrive in unprotected areas.
A critical mistake often made during this recovery step is over-applying the treatment, which can damage healthy leaves by stressing them further. Be sure to follow dosage instructions, as excess application can overpower the plants’ natural defenses. If you notice new, tender growth post-treatment browning or burning, it indicates that your dosage may be too concentrated. Keeping an eye on any stunted growth can provide insight into how well they are handling the treatment; if new growth indicates distress, adjust dilution ratios for future applications accordingly.
Step 5 – Water Potatoes Only at Soil Level During Rain
Water your potato plants directly at the soil level to prevent foliage wetting during rainy weeks. This practice will help maintain healthier plants and limit the chances of fungal issues recurring. If you’re using overhead irrigation, switch to more targeted methods like drip lines or soaker hoses. By ensuring the leaves remain dry, you decrease the chance for fungal spores to germinate. Watering should be done in early morning to allow soil absorption and reduce evaporation.
Excess moisture on the leaves encourages infections to thrive, especially during rainy seasons when humidity is high. By focusing on watering directly to the roots, you allow air circulation and sunlight to dry the leaves more effectively, making the conditions less hospitable for blight. Implementing a soaker hose or drip irrigation system can enhance this method by uniformly delivering water directly to the soil without wetting the plants. Monitor the moisture level by sticking your finger into the soil; if it feels soggy at a depth of two inches, reduce watering time.
If you notice persistent wet conditions, consider applying a mulch layer to regulate moisture levels in the soil and reduce evaporation. Choosing straw or wood chips as mulch can significantly aid moisture control while also suppressing weeds. Assess your weather forecast frequently—if rain showers are expected, fewer waterings are necessary. If fungal growth recurs, evaluate your watering frequency, as consistent wetness can lead to additional disease outbreaks. Keep a note of rainfall variables as this will help you fine-tune your watering strategy going forward, minimizing potential blight risks.
Step 6 – Inspect Leaves for New Blight Signs Weekly
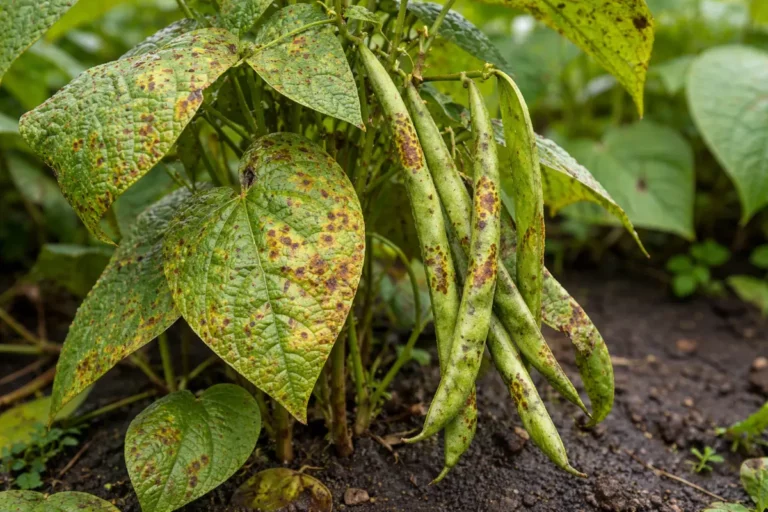
Start by monitoring your potato plants closely during rainy periods. Check the leaves daily for signs of blight, such as dark spots with a yellow halo or a wet, greasy appearance. If you observe these symptoms, recheck in 3-4 days to assess any changes and take immediate action if necessary to minimize the spread. Engage your senses; the odor or texture of the leaves can also provide cues about advancing decay.
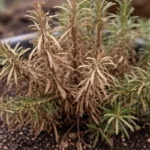
A fully recovered potato plant displays vibrant green leaves with a smooth, glossy texture, while early signs of blight returning may include uneven leaf wilting, with patches of brown or mushy spots present. If the stems start feeling soft and discolored rather than firm and sturdy, that’s an indicator to be vigilant. If leaves maintain their rigidity while showing some browning, it merits closer inspection; monitor moisture retention levels closely—the crunch of dryness should be a signal that something may be amiss.
If blight symptoms appear again despite your preventive measures, immediately remove and dispose of the affected parts to limit further spread. Dispose of them away from your garden to prevent any chance of re-contamination. Consider applying a fungicide treatment specifically designed for potatoes as a precautionary step and monitor the plant closely over the next week for the re-emergence of any symptoms. Diligent monitoring aids in regaining control from fungal challenges quickly; having a systematic approach to inspection can make all the difference.
A fully recovered potato plant should exhibit fresh, green growth, with no visible signs of discoloration or lesions. Conversely, early indicators of returning blight may present as new brown patches or wilting. As seasons change, adjust your monitoring schedule accordingly; more frequent checks may be necessary during peak humidity or rain. If blight frequency remains a concern, consider consulting with local agricultural services for stronger treatment options or additional soil amendments. Your proactive approach will arm you with the knowledge needed to protect your crop effectively; iterative learning from each season’s conditions is invaluable.
FAQ
How long does it take for potato blight to spread?
Potato blight can spread rapidly, often within a few days under ideal conditions of warmth and moisture. If left untreated, the disease may cause significant crop loss in just one or two weeks. Monitoring your plants closely for any signs can help mitigate this risk; those who conduct regular inspections stand a better chance of early detection.
Should I remove affected potato plants entirely?
Removing completely infected plants can be necessary if they show severe symptoms and cannot recover. However, trim only the affected parts if you catch the disease early; doing so allows healthier sections to remain, which is valuable for photosynthesis and recovery. The key is to be decisive—the sooner action is taken, the more likelihood there is to save the crop from extensive damage.
How can I improve the recovery of my potato plants?
Improving recovery involves applying organic treatments promptly and ensuring good airflow around the plants. Regular inspections and maintaining dry foliage through proper watering practices encourage faster healing and crop resilience. Implementing strong soil drainage and maintaining nutrient levels through amendments can further enhance recovery rates—consistent attention during wet seasons will support plant resilience against future threats.