You may notice that the leaves of your sweet potato plants are turning yellow during the hot summer months, which is a clear sign that you need to know how to fix yellowing leaves on sweet potatoes in sandy soil. This yellowing is often caused by nutrient deficiencies, improper watering, or soil conditions that hinder nutrient uptake. If left unaddressed, this problem can spread and weaken the plant, making recovery harder and stalling growth. Fortunately, fixing this issue is possible now; you can inspect the soil, adjust your watering habits, and add fertilizers to restore the health of your plants.
Step 1 – Trim Back Yellowing Sweet Potato Foliage
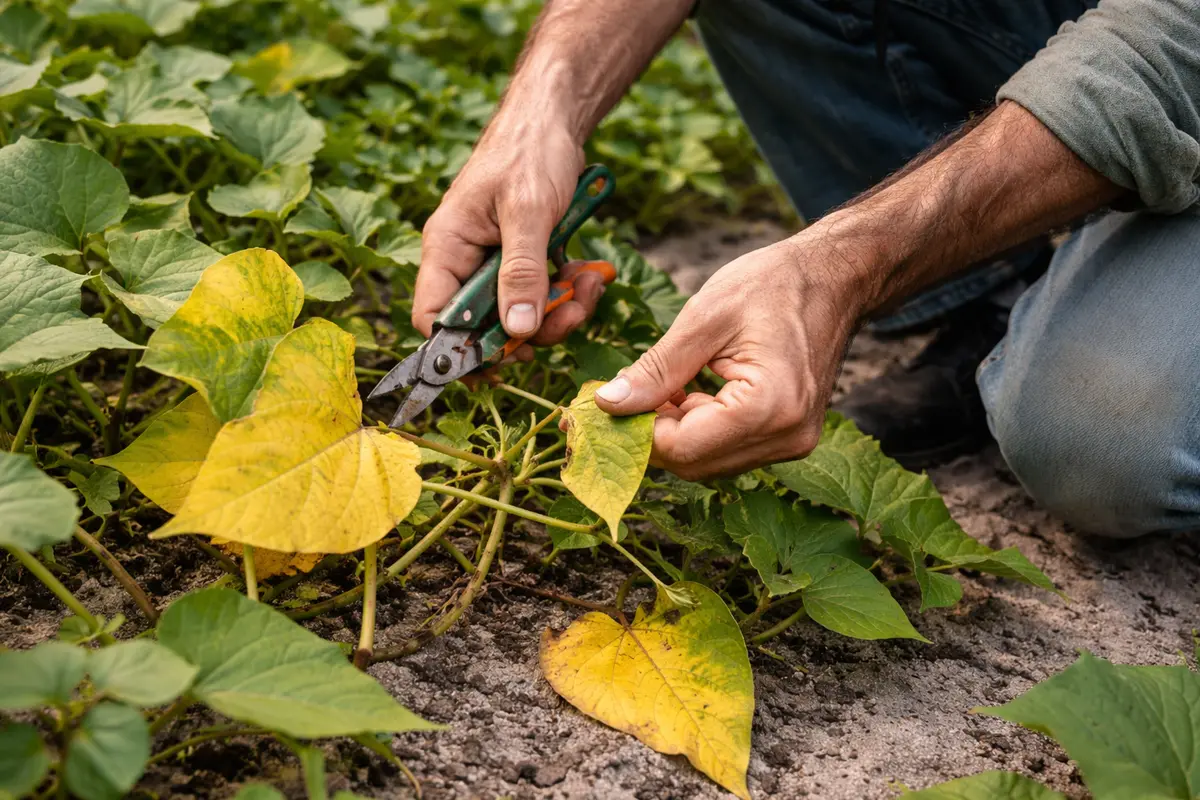
Start by cutting away any yellowing or damaged leaves on the sweet potato plants. You will notice that the affected leaves removed will stop spreading yellowing, offering a fresh start for the remaining foliage. This will also encourage the plants to focus their energy on the healthier parts rather than on the dying leaves. Trim leaves that are experiencing discoloration first, as these are typically the most affected by stressors and could harbor pests.
This immediate action helps to reduce the plant’s stress level, allowing it to redirect energy toward healthy growth. Yellowing leaves can hinder photosynthesis, which is critical for the survival of the sweet potato vines. By trimming them away, you enable the plant to focus on thriving, especially under the stress of sandy soil where nutrient retention is poor. It is advisable to make clean cuts just above the leaf node to promote rapid healing and minimize the risk of disease entry points. If you have tools that are not sterilized, there’s a risk of introducing diseases while cutting — always remember to disinfect your pruners with a bleach solution or rubbing alcohol beforehand. This can significantly reduce the chance of spreading pathogens that may already be present in the garden.
A common mistake gardeners make is waiting too long to cut away yellow leaves, underestimating the impact they have on overall plant health. If cuts are not made promptly, the problem caused by nutrient deficiencies or poor drainage can worsen, leading to even more yellowing or the potential for root rot. Act before the situation escalates significantly — removing damaged foliage can stimulate healthier leaf growth over the coming weeks. Additionally, be vigilant for any pests that might exploit weakened plants; a quick inspection can prevent pest infestations from compounding the issue. If new growth fails to appear after trimming within a week, check for other signs of stress related to soil conditions or pest activity. Look for wilting, stunted growth, or any leaf spots that may indicate other problems.
Step 2 – Diagnose Nutrient Deficiencies in Sweet Potatoes
Check for signs of nutrient deficiencies after trimming the leaves. Observe the new growth for any discoloration, which will indicate if there are nutrient issues that need addressing. A soil test can also provide definitive insights into nutrient levels and pH, allowing for targeted corrective actions. Remember, nutrient imbalances can also affect root tuber development, leading to smaller and lower-quality harvests. To perform a soil test, collect samples from the root zone of your plants and send them to a local extension service or commercial lab for analysis.
Nutrient availability is crucial in sandy soils as they tend to leach away nutrients quickly, especially during periods of heavy rainfall. Your sweet potatoes might exhibit yellowing leaves due to deficiencies in nitrogen or potassium, both vital for healthy foliage and root development. If the nutritional balance is off, the plant will struggle to build strength, leading to more severe issues. Monitoring the leaves will show that older leaves yellow first with nitrogen deficiency, while potassium deficiency often leads to yellowing near the leaf tips moving inward. If inadequacies are detected early, remedying these issues can result in quick recovery within just a few days if followed by proper care. Regularly inspecting your plants will help pinpoint deficiencies before they escalate, saving time and resources down the line.
In cases where soil tests show an appropriate nutrient balance, check for improper watering practices, as overwatering can also cause yellowing. If you notice waterlogged conditions or sour smells from the soil, reduce watering immediately and allow it to dry out. Conversely, if the soil feels too dry, consider adjusting your watering schedule to ensure consistent moisture without flooding. Nutrient assessments should prompt immediate corrective action to avoid permanent damage to your plants. If adjusting these elements doesn’t yield improvements after one or two weeks, reassessing your pest control measures might be necessary to rule out insect interference. Distressed plants can often attract pests looking to take advantage of weakened defenses, so maintain a regular monitoring schedule. Keep an eye out for leaf surface textures; a rough texture can indicate pest presence or root issues, while a smooth texture typically indicates healthy growth.
Step 3 – Fertilize Sweet Potatoes to Revive Health
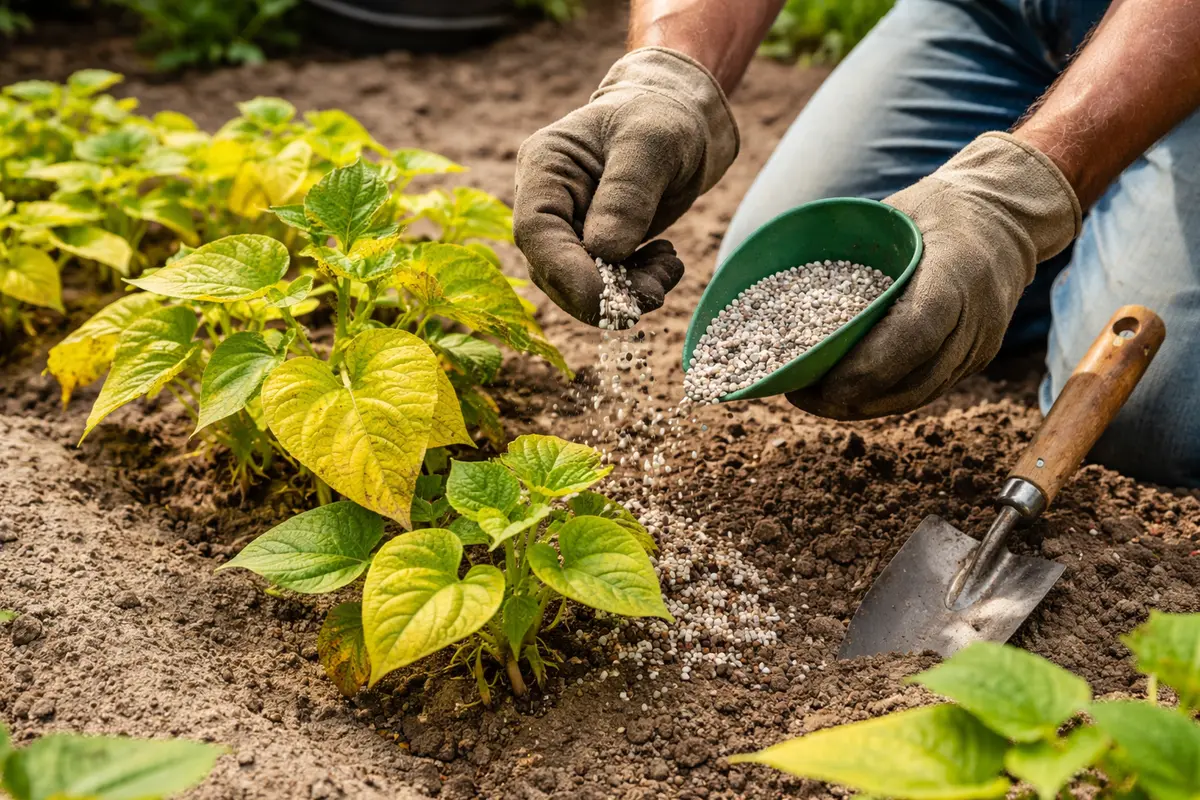
Apply a balanced fertilizer formulated for sweet potatoes to support recovery. You will see improvements in foliage color and vitality within a few weeks, as the fertilizer provides essential nutrients your plants have been lacking. Select a fertilizer with a balanced N-P-K ratio, such as 10-10-10, and follow the manufacturer’s guidelines for application rates. Typically, applying around 1 to 2 pounds per 100 square feet is a good starting point, based on soil test recommendations. For precision, consider using a scale to measure out the fertilizer accurately, ensuring even distribution across the soil base.
Using fertilizer tailored for root crops will enhance nutrient uptake essential for the chlorophyll production the plants depend on for robust health. It’s particularly important to fertilize in sandy soil, where nutrients are quickly washed away, especially after heavy rains. Regular feeding can help rebuild the lost nutrient supply and stimulate both root and leaf growth. To maximize nutrient retention, consider using slow-release fertilizers, which deliver nutrients gradually, ensuring consistent availability during critical growth stages. Within two weeks after application, you should notice a shift in coloration and overall plant vigor, indicating effective nutrient uptake. Track changes to leaf color and new growth as indicators of success.
However, be careful not to over-fertilize, as this can create salt buildup, causing further stress. A common mistake is to fertilize only sporadically; instead, establish a consistent feeding schedule, applying the balanced fertilizer every 4 to 6 weeks throughout the growing season. Watch for signs of nitrogen burn, such as browning leaf tips, which indicate too much fertilizer has been applied and that reevaluation of your fertilization schedule is needed. Not accounting for rainfall patterns can lead to problems; apply fertilizer before dry periods to ensure optimal uptake by the plants, as heavy rain can wash away newly applied nutrients. If, after several applications, yellowing still persists, evaluate the type of fertilizer being used; some compounds may not suit your soil conditions or specific crop needs. Additionally, consider whether the timing of fertilizer application aligns with your sweet potatoes’ growth cycle.
Step 4 – Check Leaves for Recurring Yellowing Weekly
Check the leaves of your sweet potatoes weekly for any return of yellowing. You should observe healthy greens returning as evidence of recovery, signaling that the corrective measures are working. Renewed growth pales in comparison to the vibrant green of a healthy sweet potato leaf, particularly in contrast to the previously yellowed foliage. If you don’t see signs of recovery within two weeks after making changes, consider increasing your fertilizer application or adjusting your watering practices more aggressively. Document each week’s observations to establish a pattern of improvement or decline.
When leaves remain a vibrant green for at least two consecutive weeks, that is a good indicator that your plants have stabilized. However, the occurrence of yellowing should be monitored closely because re-emergence could signify returning nutrient deficiencies or watering issues. Early intervention is critical, as fresh growth may still be vulnerable. For thorough health assessment, look for leaf texture and firmness along with color; soft or wilting leaves could indicate additional stress factors like pest damage or inadequate watering practices. If pests are suspected, conducting a thorough leaf inspection should reveal any unusual spots or webbing indicative of pest activity. Inadequate sunlight exposure or sudden changes in temperature can also stress plants leading to yellowing, so note these factors.
If yellowing recurs despite your efforts, consider conducting a soil test to assess nutrient levels more accurately. In cases where nutrient levels are adequate and watering practices are sound, seeking professional advice from a local horticulturist might be necessary to tackle unseen problems. Pay attention to environmental factors as well, such as sunlight exposure and temperature fluctuations, which can stress the plants further and initiate yellowing. Documenting these conditions can help correlate any recurring problems you encounter, aiding in troubleshooting for future growing seasons. Seasonal changes can impact nutrient availability, so being proactive in adjustments beforehand will protect your crop.
FAQ
How long does it take for sweet potatoes to recover after trimming yellow leaves?
Recovery from trimming yellow leaves can take a few weeks, depending on the overall health of the plant and environmental conditions. You should notice new vibrant leaves emerging within two to three weeks after trimming, provided other care measures are also addressed. It is crucial to ensure that watering, sunlight, and nutrients are optimized during this period to support recovery. Monitoring new growth is important; if new leaves begin to yellow, it may signal a continuation of underlying issues that need to be reevaluated.
Will yellowing leaves spread to other parts of the sweet potato plant?
If not addressed promptly, yellowing leaves from nutrient deficiencies can lead to wasted plant resources and ultimately affect the overall health of the plant. Regular monitoring and the immediate removal of affected leaves are essential to contain issues and prevent the spread of yellowing. Additionally, visual checks for signs of pests or diseases must be integrated into routine inspections as these can exacerbate leaf yellowing if not managed swiftly. Watch for patterns in initial yellowing — if central leaves begin to show symptoms, further intervention may be necessary.
Should I remove yellowing leaves from sweet potatoes immediately?
Yes, removing yellowing leaves promptly is necessary, as it helps prevent the energy drain on the plant and avoids further spread of the issue. This action encourages healthy new growth and allows the plants to recover more effectively from underlying problems. Following your trimming, always maintain vigilance over newly emerging leaves, ensuring they display the rich green color indicative of good health. Regularly inspect the soil moisture and check for any signs of environmental stress such as extreme temperatures or insufficient watering, as these can hinder the plant’s recovery even after leaf removal.