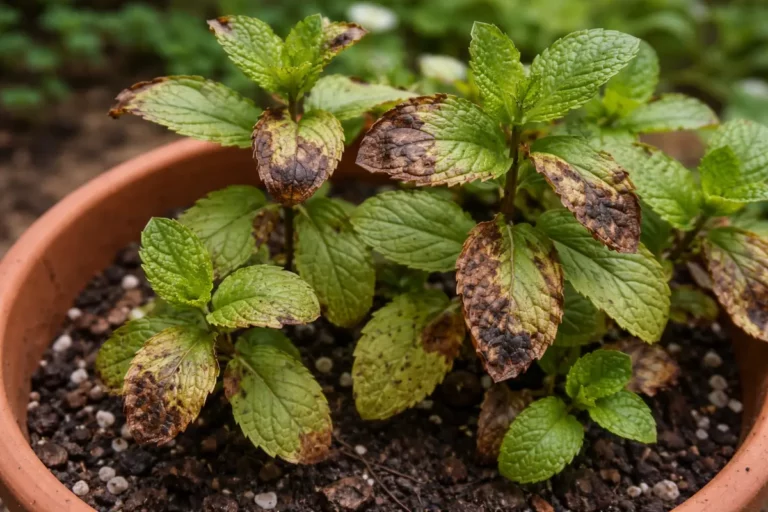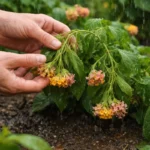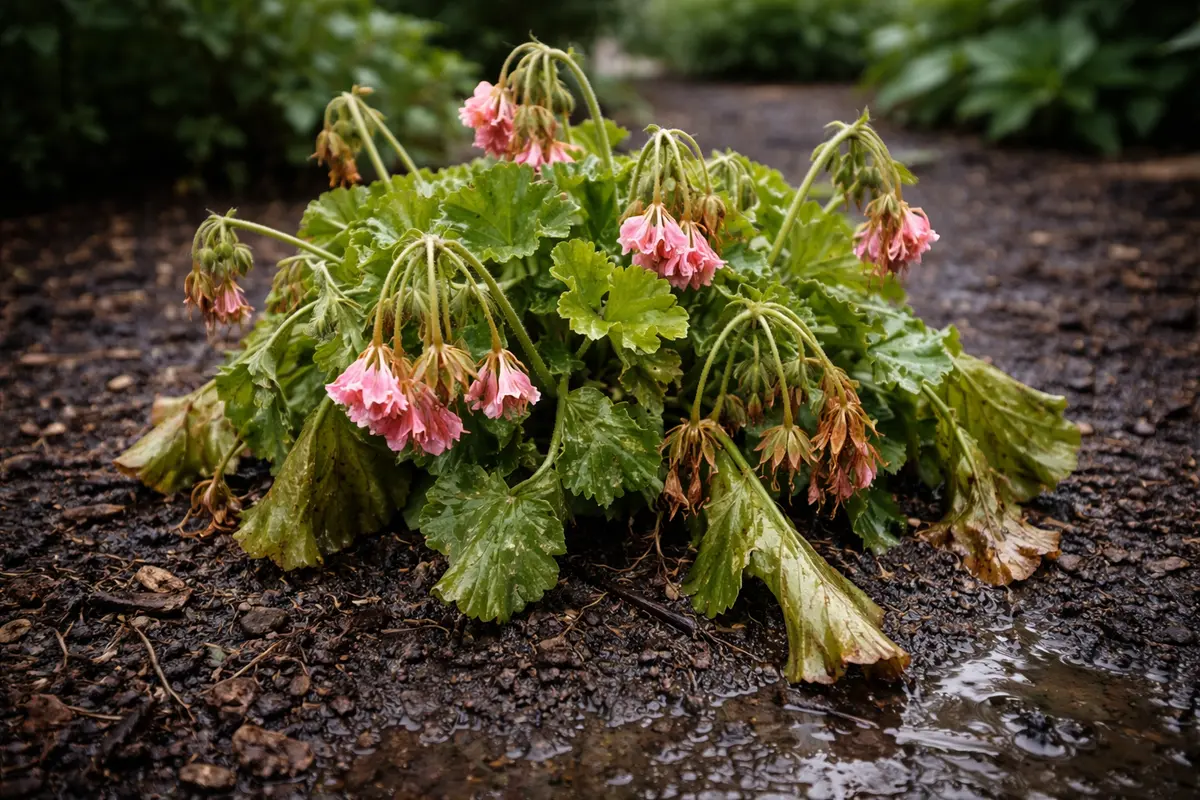
You may notice your geraniums looking limp and sad during the days after heavy rainfall, which is why you need to know why are my geraniums wilting after heavy rainfall. This wilting often occurs due to excess moisture causing root rot, leading to drooping leaves and compromised plants. Ignoring this issue can worsen the damage, weakening the plant and stalling growth, but you can still improve the situation by checking the soil’s drainage and adjusting your watering routine.
Step 1 – Check Geranium Soil Drainage Immediately
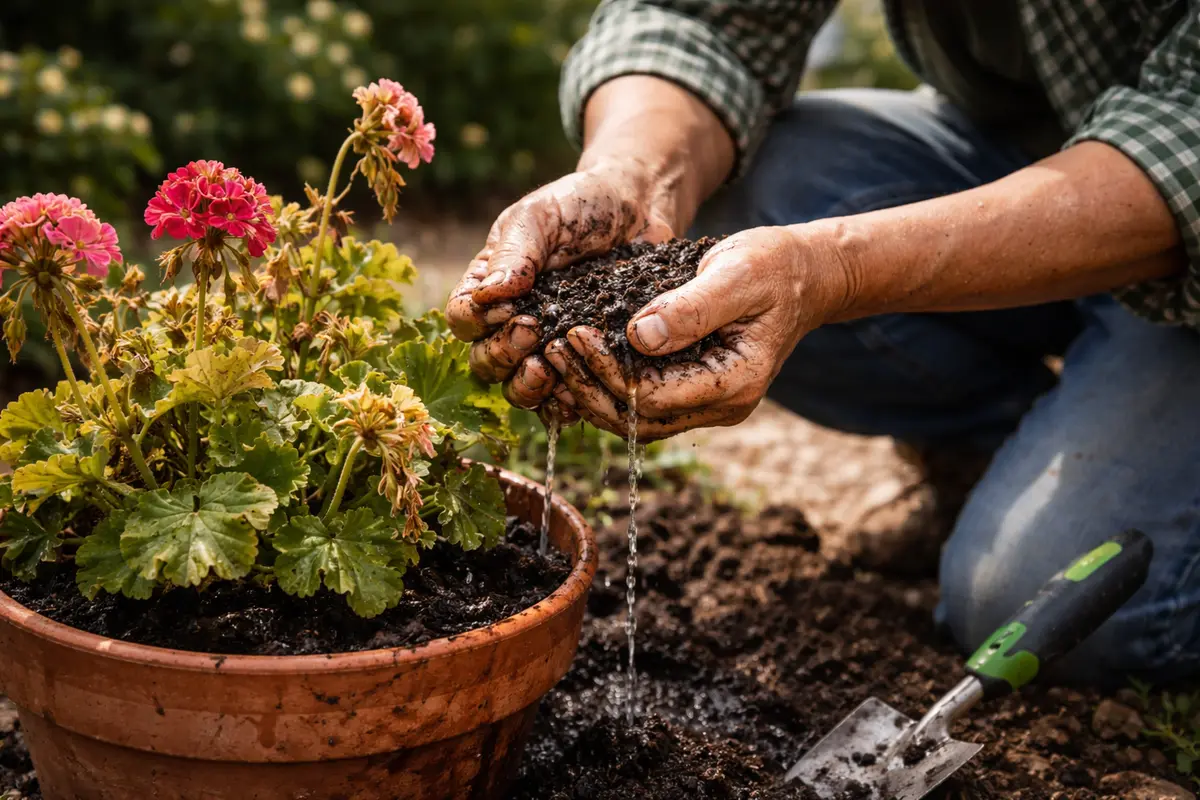
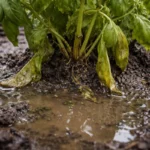
Inspect the soil around your geraniums for proper drainage. You will notice whether the soil feels overly saturated or remains dry and crumbly. Start by probing the soil with your finger up to the first knuckle to check moisture levels. If the soil retains water around your plants rather than draining efficiently, you will feel a heavy, soggy texture that indicates potential issues. A rubbery or mushy feel signifies too much moisture has accumulated, leading to the roots sitting in standing water, which can suffocate them. This check should ideally occur within 24 hours after heavy rain to catch problems early.
Proper drainage is crucial for geranium health, especially after heavy rain. If the soil retains excessive moisture, it deprives the roots of necessary oxygen, leading to your geraniums suffering from water stress. Ideally, the soil should feel slightly moist but never waterlogged. Look closely at the texture of the soil—poorly draining soils will often appear darker and clump together rather than crumble between your fingers. Conversely, if the soil feels adequately moist and well-aerated, your plants are less likely to suffer from wilting caused by waterlogged conditions. Be sure to also check if your pots have proper drainage holes; plants in pots without holes can easily become overwatered, creating a detrimental environment for root health. Over time, excessive moisture can lead to a significant buildup of harmful pathogens in the soil, further aggravating the wilting.
This scenario often arises when backyard gardeners neglect to check drainage holes in pots or planters, leading to standing water after rainfall. If a gardener routinely finds their geraniums wilting after rain, they should also assess whether the surrounding ground is sloped appropriately to facilitate natural drainage away from the plants. Poorly drained flowerbeds can create zones where excess water pools, exacerbating root problems. Remember, geraniums thrive best in well-draining soil; if yours is compacted or overly wet, consider repotting into a lightweight mix with better aeration properties, such as one that contains peat moss and perlite, which helps maintain moisture without causing root rot. If irregular pooling is noted, installing a drainage system or using raised beds can dramatically improve the overall health of your geraniums.
Step 2 – Diagnose Overwatering Issues with Geranium Roots
Examine the roots of your geraniums for signs of rot or damage. Carefully pull the geraniums out of the soil and assess the root condition. After doing this, you will notice whether any roots appear brown, soft, or mushy, indicating overwatering. If you find these symptoms, it’s critical to remove your geraniums from their pots for a thorough inspection. Healthy roots should be firm and white, while damaged roots often have a foul smell associated with decay. If once-healthy roots have darkened and begun to mush upon touch, immediate action is necessary.
Geranium roots thrive in moist but not excessively wet conditions, and when they become waterlogged, they can quickly rot. This suffocation prevents nutrient uptake, which exacerbates wilting. To check for ongoing root health, run your fingers along the roots gently; if they break off easily or feel slimy, they’re likely compromised. Take note of how widespread the damage is—if only a few roots are impacted, you may be able to salvage the plant. However, if root rot has set in severely, as indicated by a substantial number of soft or blackened roots, re-evaluation of your geraniums’ conditions will be necessary. If you observe healthy roots amidst the damaged ones, trimming back only the affected areas can often save the plant.
Create a systematic approach to identify root issues; if you find mushy roots, trim them back, and let the healthy portions dry out briefly before repotting in fresh soil. It’s advisable to keep the trimmed roots in a dry, shaded area while you work to prevent further decay. If your geraniums were placed in compacted or clay-heavy soil, consider experimenting with different soil types or amendments. For instance, mixing in perlite or vermiculite can drastically enhance drainage properties while still retaining some necessary moisture. If this issue is frequent, it’s worth planning for raised beds or adjusting the planting zone to enhance water flow and reduce pooling. Furthermore, adopting a schedule for checking root health every couple of weeks can help catch any deterioration early.
Step 3 – Revitalize Geraniums with Proper Fertilization
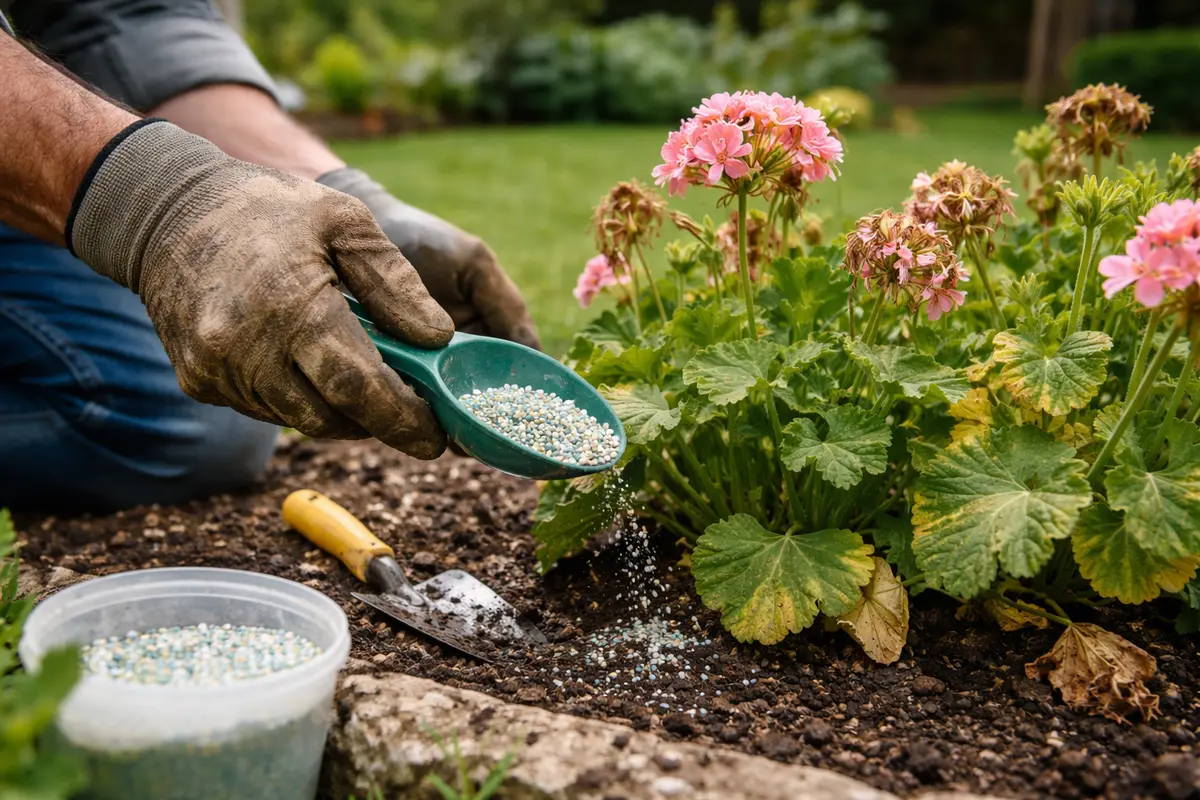
Start by checking the soil moisture level around your geraniums; if it feels soggy, gently aerate the soil to improve drainage. Look for signs of improvement, such as leaves starting to perk up within a few days and roots beginning to breathe again. To prevent future wilting after rainfall, incorporate well-draining organic matter into the soil before the rainy season so that moisture does not accumulate in the root zone during heavy downpours. A balanced fertilizer, with a ratio such as 10-10-10, can provide a good nutrient boost without overloading.
Wilting occurs when geraniums are held in waterlogged soil for prolonged periods, leading to root rot over weeks; recovery usually takes one to two weeks if conditions stay favorable. If your geraniums are not responding despite drainage improvements, check the surrounding environment for high humidity or dense shade, both capable of triggering a recurrence of wilting issues. Additionally, consider the temperature; cooler, damp conditions can exacerbate stress on your plants, leading to further issues.
A common mistake during this recovery phase is over-fertilizing to hasten recovery; instead, focus on providing balanced nutrients and refrain from adding fertilizer until the plant stabilizes. Once the plant shows signs of recovery, begin fertilizing with a diluted formula to ease the transition back to health. If wilting persists despite proper fertilization and care, check the drainage system—if not working correctly, consider adjusting the plant’s location to ensure adequate sunlight and circulation. Timing is also critical; fertilize during active growth periods rather than during stress recovery to minimize risks of further damaging the root system.
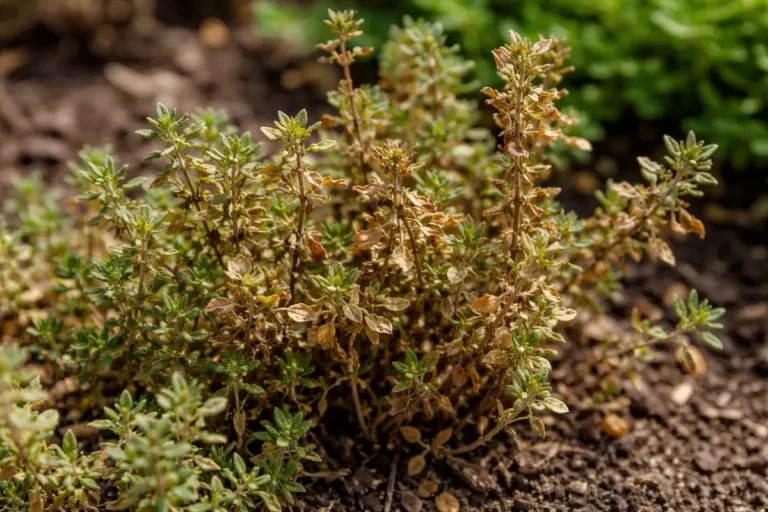
Fertilization can significantly enhance your geranium’s ability to recover as it provides necessary nutrients that may have been lost during heavy rains and subsequent root stress. Geraniums, in particular, benefit from the additional nitrogen and potassium, especially when they are trying to recover and grow new healthy foliage. Be cautious, as applying fertilizer too frequently can lead to salt buildup in the soil, which can cause further damage to roots. Signs of over-fertilization include leaf curling and browning, often around the edges, so approach this step cautiously. Additionally, measure the fertilizer as directed on the label, and do not exceed recommended amounts under any circumstances. If sudden temperature swings are common in your area, consider holding off on fertilization until after a stable stretch of weather.
Step 4 – Inspect Geranium Foliage for Signs of Recovery
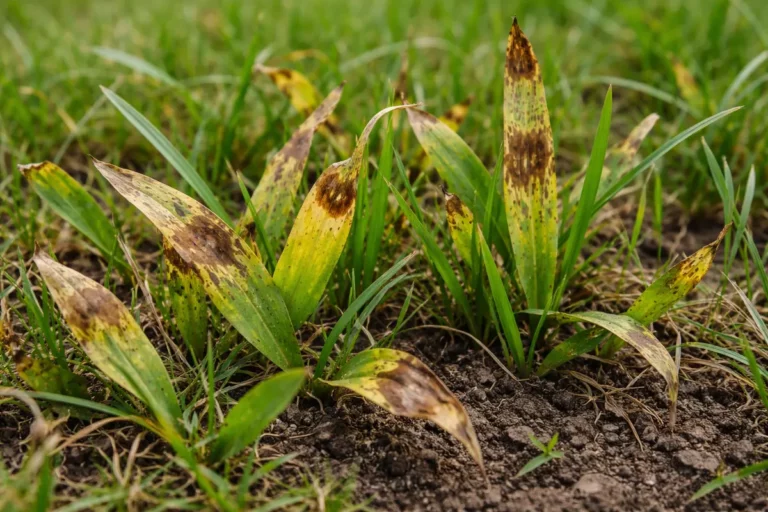
Check your geraniums every few days for signs of regrowth and improved leaf texture. You should look for indicators such as new shoots developing and an overall firming of the existing leaves if successful. Conduct this inspection weekly to stay ahead of any potential setbacks that may arise from persistent water-related issues. Taking the time to observe these changes can guide your next steps in care. Additionally, monitoring colors—healthy geranium leaves should be vibrant green rather than yellowish—can help indicate recovery status. Testing moisture levels during this period is also essential; if the soil remains too wet during recovery, it can hinder growth.
A fully recovered geranium will exhibit vibrant, firm leaves and renewed flowering, which are strong indicators that the plant has overcome the stress caused by heavy rainfall. Conversely, if you see yellowing or browning edges on the leaves, it signifies ongoing issues possibly related to root damage, nutrient imbalance, or insufficient light exposure. If leaves begin to droop again shortly after appearing healthier, this could indicate a relapse due to poor drainage or overwatering once more. Regularly tracking changes gives you a clear gauge of your plants’ well-being and can accelerate recovery.
If, despite following these steps, your geraniums don’t improve or display new symptoms, consider reevaluating the soil mix and drainage again or even consulting with a gardening professional. Root rot can sometimes lead to secondary infections, and an expert may be able to identify problems that are not immediately evident. Often, specific indoor conditions like humidity levels or indoor pests can exacerbate problems, leading to cyclical wilting issues. Should wilting symptoms persist for more than a couple of weeks after treatment, it might be time to explore treatments for potential fungal infections, such as applying a suitable fungicide to avoid further root deterioration. Develop a checklist based on observations to monitor key aspects of plant health; this proactive approach can help prevent repeat issues.
FAQ
How long does it take for my geraniums to recover after overwatering?
Recovery after addressing overwatering can take several days to a few weeks, depending on the extent of root damage. You’ll notice signs of recovery through new growth and firm leaves, often within one to two weeks if conditions are favorable. If minimal signs of progress appear after two weeks, reevaluation of care practices might be necessary, including checking for pests or changing environmental factors that could hinder recovery.
Can wilting geraniums spread their issues to nearby plants?
Yes, if the cause of wilting is a fungal infection, such as root rot, it can potentially affect nearby plants. Fungal pathogens can easily transfer through soil or water, making it essential to contain affected plants. To prevent spreading, isolate the affected geraniums, improving their conditions while ensuring nearby plants are monitored for similar symptoms. Regularly inspect the soil and roots of healthy plants to catch any emerging problems early; consider using sterilized soil and tools to avoid cross-contamination.
Should I remove the affected parts of wilting geraniums?
Yes, if you notice severely damaged leaves or stems, it’s advisable to remove them to prevent further stress on the plant. Trimming these parts can redirect energy toward healthy growth and recovery. Make sure to use clean, sanitized shears to avoid introducing new pathogens as you prune. If significant portions of the plant are affected, a careful assessment to check overall root health for remaining parts may also be warranted.