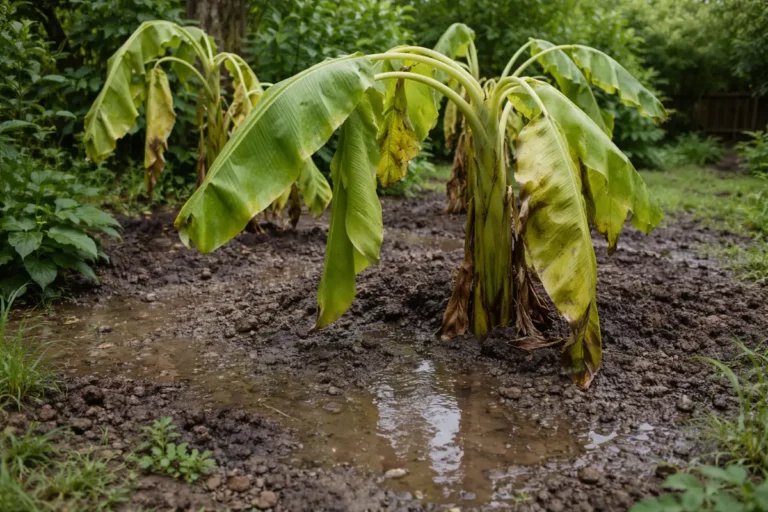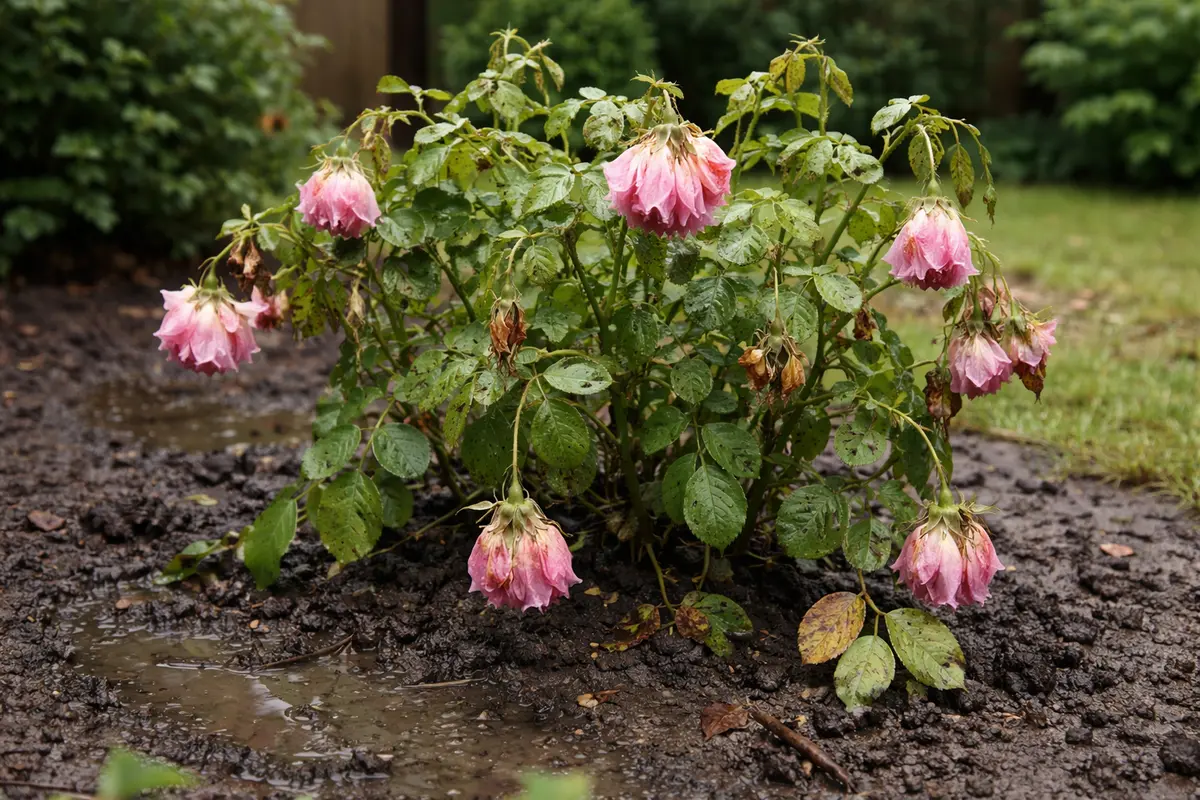
You notice your once-vibrant rose bushes drooping and struggling to stand tall after heavy rain, which is why you need to know why are my rose bushes wilting after heavy rain. This wilting can occur due to excess moisture leading to root rot and mushy stems, causing significant stress to the plants. If ignored, this condition can spread and weaken the plant, making recovery much harder, but fixing it is possible now by inspecting the roots and adjusting your watering practices.
Step 1 – Inspect Roses for Root Rot Quickly
Start by carefully removing excess water from around the base of the rose bushes. Use a small shovel or garden trowel to create small drainage channels to direct the water away from the roots. You should notice the wilting leaves beginning to perk up within a few hours as the plants start to relieve some pressure on their root systems.
Acting quickly is crucial because rose bushes are particularly sensitive to prolonged saturation of their roots, which can lead to root rot and fungal diseases. If the waterlogged conditions persist, the roots become anaerobic, depriving the plant of oxygen and decaying their tissue, leading to irreversible damage. In contrast, prompt water removal allows the roots to breathe and absorb nutrients, significantly increasing the chances of recovery.
For instance, a gardener who waited too long to drain excess water saw their roses decline rapidly, with entire sections wilting beyond recovery. On the flip side, another gardener who acted quickly by creating drainage channels not only saved their plants but also prevented further disease. If the buds are also turning mushy and black, check for rot at the root level.
Acting fast is crucial because prolonged exposure to overly moist conditions can suffocate the roots, hindering their ability to uptake nutrients and water. When roots sit in waterlogged soil, their structure deteriorates, leading to darkened, mushy roots that can no longer support the plant’s needs. If not caught early, this can lead to the death of the plant. Regular assessments of moisture levels can significantly change outcomes; wilting will often worsen within just a few days if conditions are not improved urgently. If you find that some areas of the soil are drier while others are saturated, this may indicate uneven watering practices or drainage issues.
A common mistake gardeners make is to assume the wilting is temporary and delay their inspection. If they wait too long, they might find that the roots have already started to decay significantly. Frequent checks during and after heavy rainfall can prevent this issue from escalating into root rot. For instance, you might find that after heavy rain, the soil remains consistently muddy for days; this suggests that drainage is inadequate. If the soil feels dry on the upper surface yet heavy below the surface, you may assume the roots are experiencing trapped moisture and should check deeper into the root zone.
Step 2 – Determine Cause of Wilting After Rain
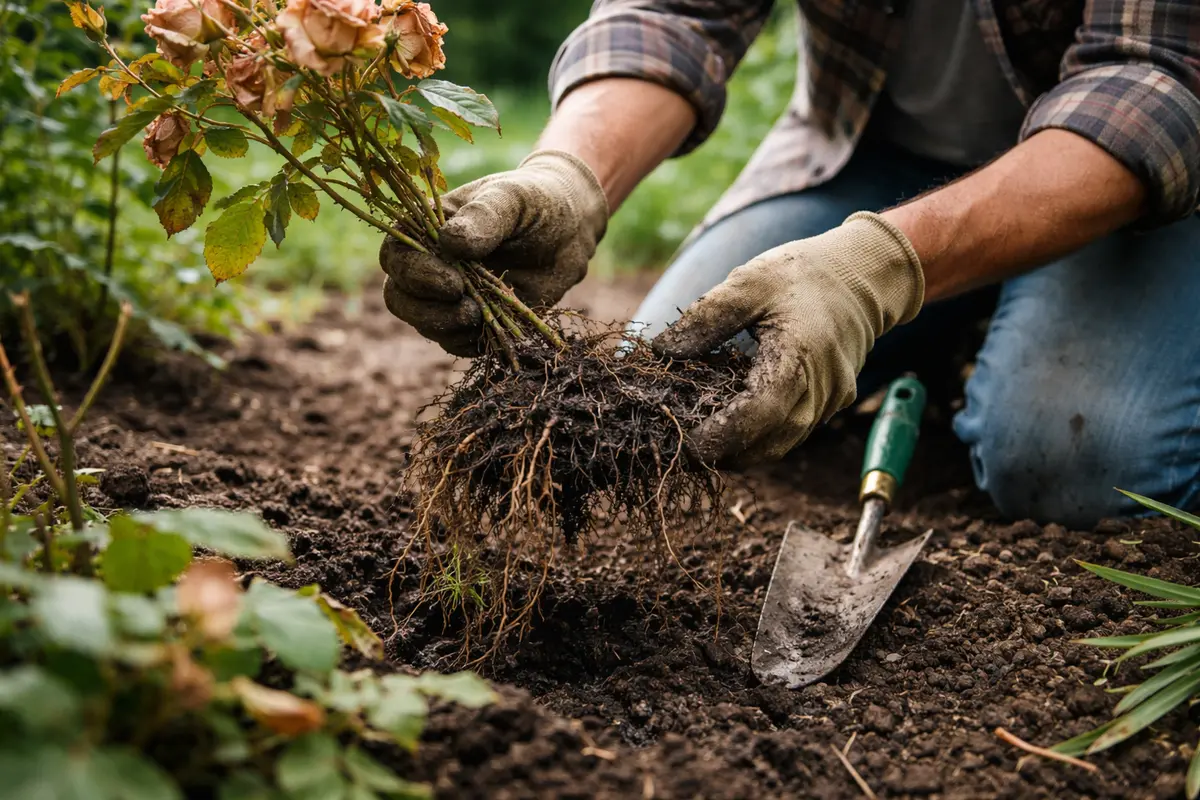
Next, examine the root zone for signs of root rot or other problems. If the roots appear brown or mushy, they indicate that the cause of wilting is likely related to excess moisture leading to decay. Conducting this diagnosis effectively halts further damage. You can do this by gently pulling back the soil to expose the root system. If they appear slimy, an immediate intervention is required. Always be gentle when handling the roots to avoid further injury; a clean cut with sanitized scissors may be necessary if parts of the root system appear dead or decayed.
Wilting occurs after heavy rain largely due to over-saturation that leads to poor aeration in the soil. When soil becomes saturated, oxygen levels drop, causing roots to deteriorate and preventing the plant from absorbing vital nutrients. This process can be exacerbated by poorly draining soil that retains water. If you find yourself in a situation where the ground feels compacted yet wet, your soil composition style may not support healthy drainage. Adding amendments such as perlite, sand, or leaf litter can significantly enhance drainage capabilities, reducing water retention in the future.
If you notice that the soil smells foul, which indicates anaerobic conditions, immediately remove the affected root areas. In contrast, if the soil feels merely damp without any rotten roots, your problem may be related to nutrient depletion rather than root decay. For instance, if the soil smells clean but appears waterlogged, the plant may simply be struggling to absorb nutrients while already saturated. Distinguishing between these conditions allows for targeted intervention. If roots are still healthy, you can take remediation steps such as amending the soil with organic compost to improve nutrient levels without risking further saturation, provided that your drainage is also corrected to accommodate these changes.
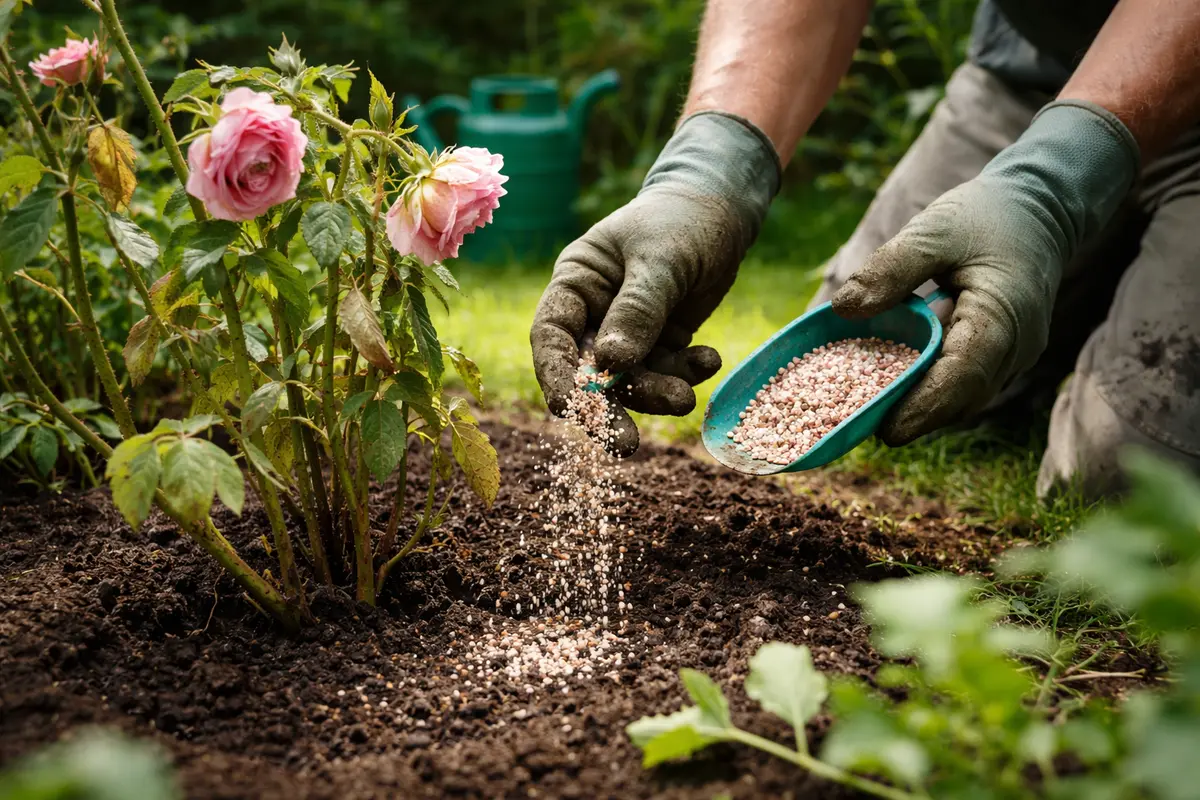
Step 3 – Treat Roses with Nutrients for Recovery
Start by gently removing excess soil around the base of the rose bushes to aid in drainage and prevent root rot. After a few days, you should notice the leaves beginning to perk up and regain their natural color. To prevent future wilting after rainfall, establish a routine of checking your soil moisture levels before watering and ensure the planting area has proper drainage, especially during the early spring and late summer months when heavy thunderstorms are more common.
Wilting after heavy rain can occur when the soil stays too saturated, limiting oxygen to the roots and causing stress. Recovery may take several days to weeks depending on how long the roots have been deprived of air. Heavy rains coupled with compacted soil can often trigger recurrence; if your roses seem perky but succumb again after subsequent rainfalls, check your drainage or soil type.
A common mistake during the recovery-prevention transition is overwatering as a knee-jerk reaction to wilting. If the soil remains damp, avoid watering even if the plants droop further—similar situations show that roses can bounce back significantly when left in drier conditions for a bit longer. If your plants are not responding, check for root rot by examining the roots for mushiness and discoloration.
Wilting can occur due to root rot, which takes about one to two weeks to show visible symptoms after heavy rain. When the soil remains persistently wet, anaerobic bacteria thrive, leading to further deterioration of the plant’s roots. Conversely, if the soil dries out too quickly after a rainstorm, this can also stress the plants, resulting in leaf curling and browning. If you see drooping leaves with dark spots, check for root issues; if the leaves are dry at the edges, confirm your watering strategy.
A common error during recovery is over-fertilizing roses once they show signs of regrowth, believing they need a boost. If the soil remains too wet, adding fertilizer can exacerbate root rot. Instead, hold off on fertilization until the soil has fully dried out, or if experiencing stunted regrowth, consider switching to a well-balanced, water-soluble fertilizer that enhances root health without contributing to soil saturation.
This treatment helps restore essential nutrients, promoting new growth and revitalizing the plant’s health. When roses lack vital nutrients, their ability to thrive diminishes, leading to further wilting and possible pest problems. Effective nutrient application can help strengthen the plant, encouraging beneficial root regeneration. If the leaves are yellowing or the stems are soft, they are indications that the shrubs are struggling. Fertilizing at this juncture is especially critical if you’ve determined nutrient depletion as a problem during your diagnostic inspection. Use a slow-release fertilizer if you prefer a longer-term solution, allowing the plants to access nutrients gradually over time.
During this recovery phase, ensure a consistent watering routine that prevents future saturation. Watering should be done deeply, allowing the top few inches of soil to dry out between watering sessions. Avoid over-fertilizing as it can lead to nutrient burn, impacting your plants negatively. In my experience, watering once a week allows the roots to regain strength without the risk of rot. If the soil remains damp for more than a few days after watering, consider reducing the frequency even further. Keeping a close eye on the soil moisture level post-fertilization is vital, as too much water can reverse the benefits of the nutrient boost. If you over-fertilize, a sign is excessive leaf drop, and you may need to flush the soil with water to counteract the buildup effectively.
Step 4 – Check Rose Health for New Symptoms Regularly
Monitor your rose bushes every few days for new growth or any signs of return symptoms. You should observe fresh growth and a return of color as indicators of recovery within two weeks. Pay close attention to the texture of the leaves as well; healthy leaves should feel firm and not wilted. If you only notice a few new leaves without improved color, this could be a warning sign that the solution implemented hasn’t fully addressed the underlying issue. This may require going back to the root zone for another inspection or alteration of your watering practices.
A healthy rose bush will exhibit vibrant, green leaves and firm stems while showing no new wilting signs or softened leaves. Regular checks help you quickly identify if the initial overwatering issue is returning, ensuring your roses stay healthy. If they start to show wilting again, it may signal trouble in soil drainage, or that another round of treatment is necessary. Conversely, if you see dark spots on the new foliage, this often indicates a fungal issue stemming from previous root rot conditions, necessitating fungicidal treatment. Keep in mind that various factors such as nearby plant competition or changes in environmental conditions can also affect recovery speed.
If the signs of wilting reappear despite following previous steps, consider rearranging the design of your garden to improve drainage or even repotting the affected bushes to prevent further issues. Be proactive in checking the root zone, as this is often where the first signs of trouble emerge. When inspecting, look for signs of dampness that persist even in drier weather; excessive moisture at the root level is a critical warning that cannot be ignored. Adjusting the soil composition to include more sand or organic matter can further enhance drainage and support prolonged health. If possible, consider planting your roses on a slight mound to encourage better drainage away from the roots during heavy rains.
FAQ
How long will it take for my roses to recover after fixing the wilting?
Recovery can typically take about one to two weeks after treatment, depending on the extent of root damage. You should begin to see new growth and improved foliage color within this timeframe. Monitoring the foliage for leaf turgor and firmness is vital, as these are key indicators of a positive response to treatment.
Can root rot spread to other plants in my garden?
Yes, if left untreated, root rot can potentially spread through the soil, affecting nearby plants. Be diligent about maintaining proper spacing and sanitation practices in your garden to minimize this risk. Regular inspection of neighboring plants can help identify early signs of stress, such as yellowing or wilting beyond typical seasonal adjustments, allowing you to address problems early.
Should I remove the affected rose bush if it does not recover?
If your rose bush shows no signs of recovery after several weeks despite proper care, it may be best to remove it to prevent the potential spread of pests or diseases to healthy plants. Replace it only after improving the soil conditions to prevent recurrence, and consider replanting with a variety that is better suited for your soil type. Before planting anew, conduct a soil test to evaluate nutrient levels and pH, ensuring a suitable environment for new plants.