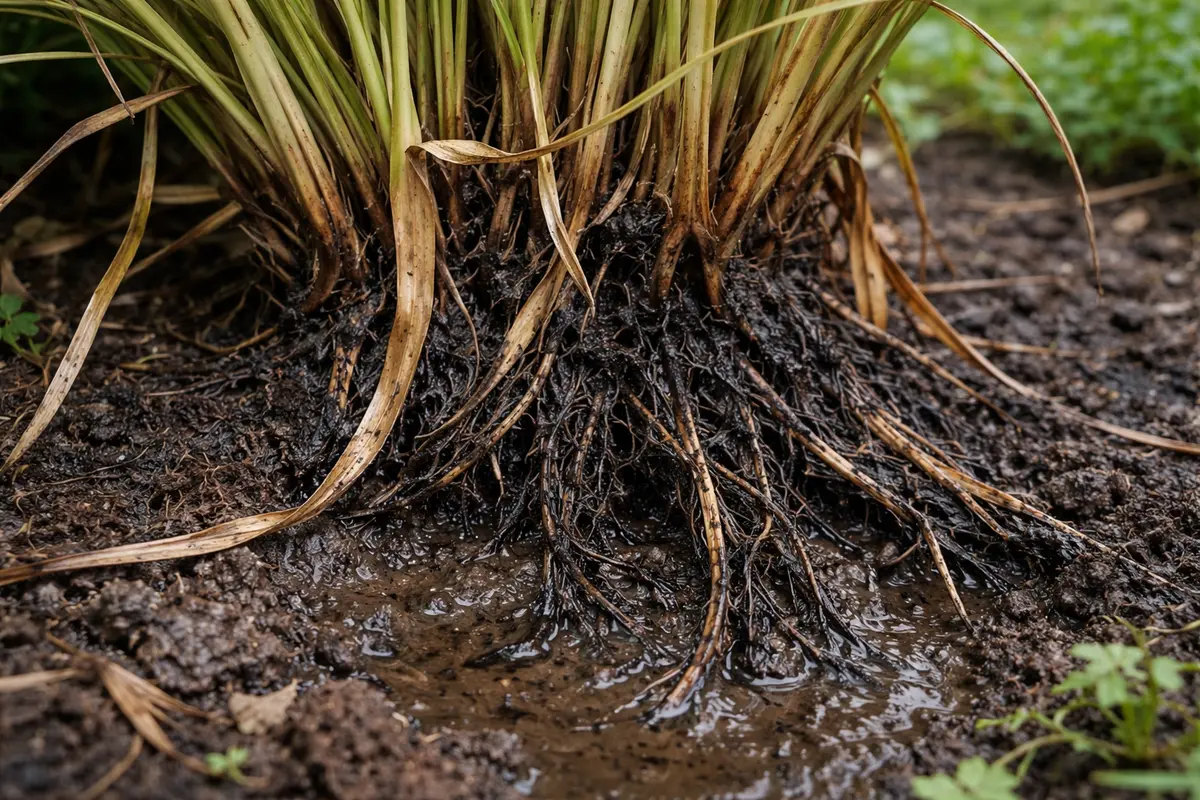
You may notice your ornamental grasses wilting and developing mushy spots during prolonged wet conditions, which is why you need to know how to treat root rot in ornamental grasses during wet conditions. This issue stems from excess moisture around the roots, leading to rotting that ultimately weakens the plant’s structure and vitality. If left untreated, the situation gets worse and can spread to neighboring plants, stalling growth and causing more damage, but fixing it is possible now if you inspect the roots thoroughly and reduce moisture levels in the soil.
Step 1 – Dig Out Grasses with Wilting Leaves
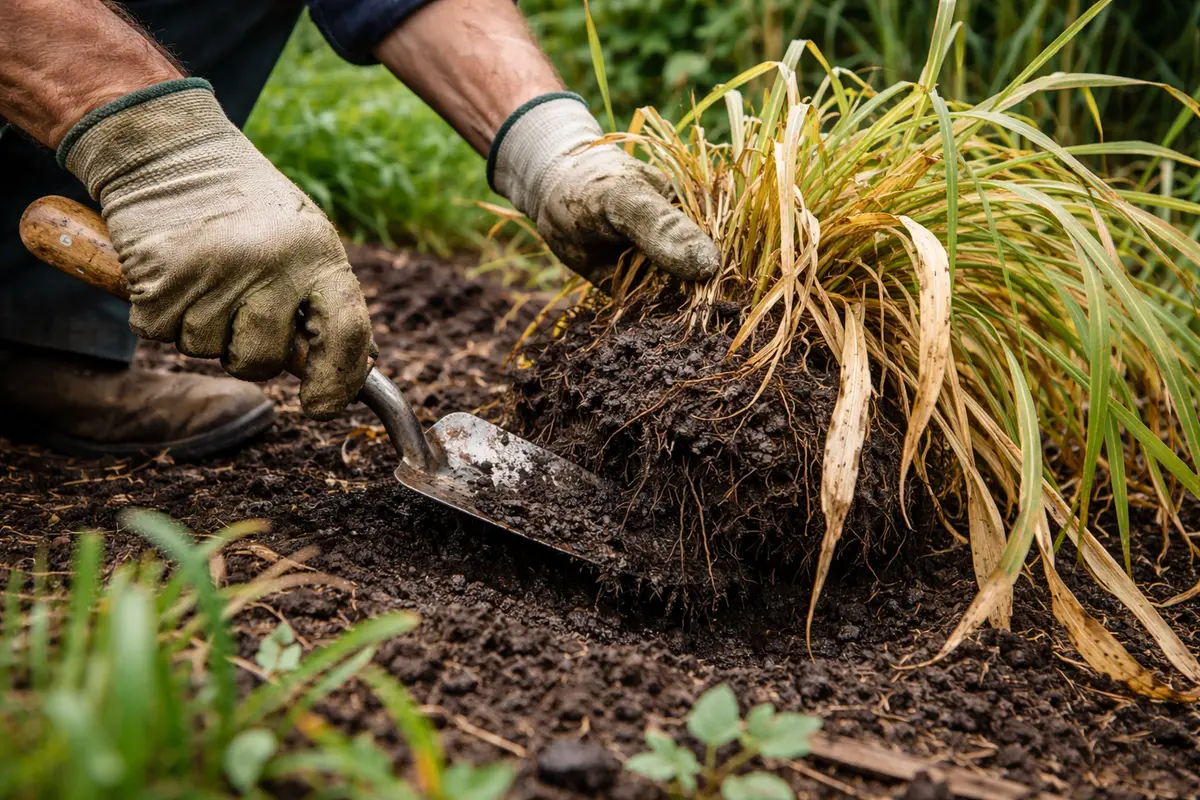
Start by carefully removing the affected ornamental grasses from the soil, ensuring you avoid damaging healthy roots. Inspect the root system for blackened or mushy roots and trim away any that are rotting. Immediately replant the healthy sections in dry, well-draining soil to promote quicker recovery, and you should notice stability in the remaining roots and less wilting in the foliage within a few days.
Acting fast prevents the spread of pathogenic fungi that thrive in overly wet conditions, which can overwhelm the plant’s root system. If left untreated, rot causes a lack of oxygen in the roots, leading to irreversible damage and potential death of the plant. Conversely, if you act quickly, healthy root tissues can recover and support nutrient uptake, promoting a bounce-back response in the plant.
A gardener once waited a week to address root rot symptoms in their ornamental grasses, resulting in total collapse of the plants. In contrast, another gardener acted immediately, salvaging half of their crop through prompt intervention. If the roots have a sour odor, check for rot; if they appear firm and white, chances are good that they’ll recover with proper care.
Acting fast is crucial because ornamental grasses are particularly sensitive to excessive moisture around their roots, which can disrupt their nutrient intake and oxygen availability. Delaying treatment allows the root rot to spread throughout the entire root system, further diminishing the plant’s ability to recover. If you notice a slimy texture and dark coloration in roots, those signs indicate advanced rot that can severely hinder the plant’s ability to thrive.
For example, a gardener who promptly removed severely affected roots from a clump of blue fescue noticed a rapid recovery, while another who waited a week found the entire root system compromised, leading to plant death. Timing in addressing root rot can significantly determine whether a plant rebounds or declines; many mistakenly only remove visible sections, neglecting the deeper roots that may harbor rot if they lack sufficient air circulation.
Acting fast is crucial because root rot can rapidly spread, often overwhelming the plant within just a few days. When roots are submerged in waterlogged conditions, they begin to decay, drastically cutting off the plant’s ability to absorb moisture and nutrients from the soil. Should you delay, fungal pathogens can proliferate and complicate recovery efforts significantly. Once visible symptoms manifest, those environmental indicators should prompt immediate action.
For instance, one gardener who acted quickly and replaced soggy soil saw their grasses rebound within weeks. In contrast, another who waited allowed rot to progress, resulting in total loss of the plants. Interestingly, a common mistake at this stage is neglecting to check for drainage issues right away; if your plants aren’t thriving in well-drained setups, reassess your soil composition and drainage methods as a primary step in prevention.
The sooner you remove the infected grasses, the better your chances of preserving healthy sections or surrounding plants. Root rot spreads with alarming speed in wet conditions, especially because the lack of oxygen in saturated soil suffocates roots, leading to accelerated decay. If these symptoms are ignored, the plant will continue to decline until it is too late to recover. An ideal root structure should showcase bright white coloration and firm feel; anything else likely indicates ongoing issues.
It’s important to recognize that leaving the wilting grasses in the ground, hoping they will bounce back, is a common misstep. This delay often results in further spreading of rot to nearby grasses as moisture levels remain high, facilitating the growth of airborne pathogens. The presence of wilting leaves needs immediate attention; the clock is ticking. If an inspection reveals extensive rot, consider the removal of adjacent soils to avoid infecting neighboring plants.
Step 2 – Assess Soil Saturation Around Grass Roots
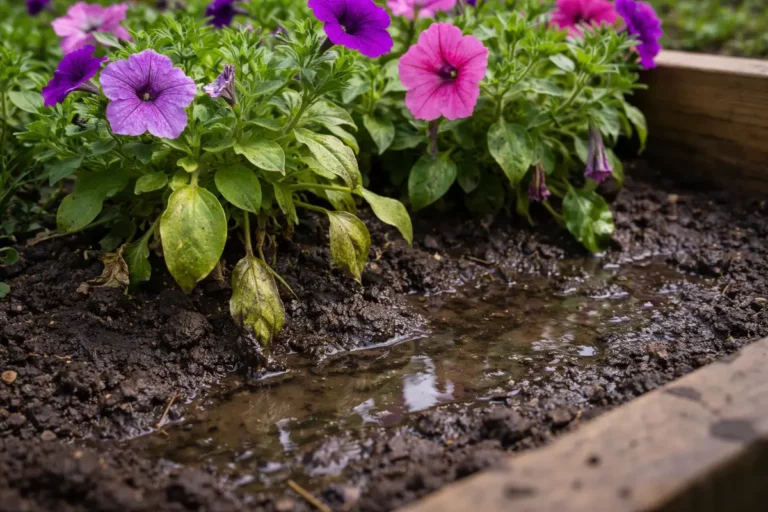
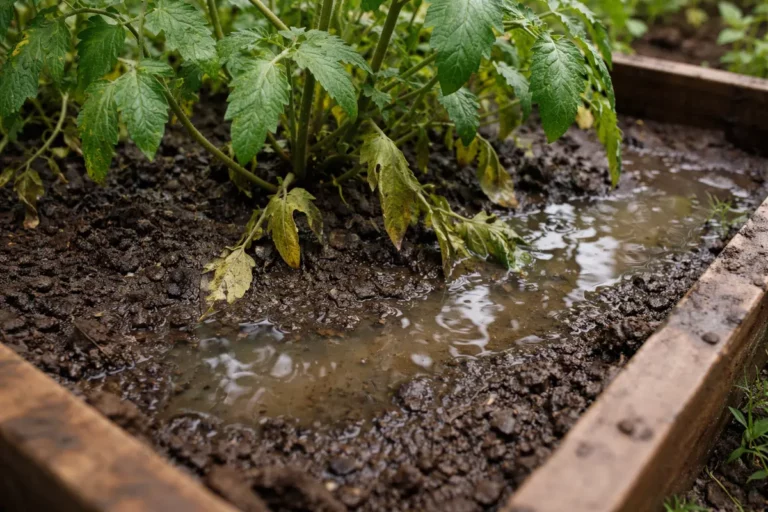
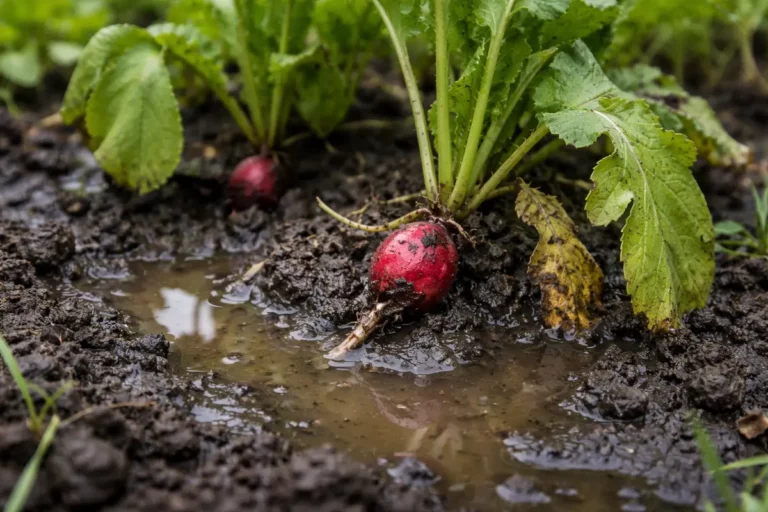
Assess the soil saturation around the grass roots thoroughly. You will need to gauge whether the soil feels soggy and compacted or dry and crumbly as you probe it. Correctly identifying soil moisture levels gives you vital information on how to treat the remaining grasses. A good practice is to stick your finger into the soil up to two inches; if it feels soft and squishy, that indicates excessive moisture.
Overly saturated soil suggests poor drainage, which often occurs when heavy rainfall combines with compacted or clay-heavy soil. This waterlogged environment creates ideal conditions for fungal growth that leads to root rot. From this assessment, you should be able to implement corrective watering or drainage solutions to prevent further occurrences. If you notice standing water around the roots, that serves as a clear indication that immediate action must be taken.
If the soil smells sour while assessing saturation, it means that anaerobic conditions have developed, and you should take action to improve drainage immediately. Conversely, if you find that the saturation is not extreme, but the roots still feel soft and mushy, the problem may extend beyond watering practices. In such a case, consider incorporating coarser materials like perlite or sand to improve aeration in the long term. Additionally, if you can pinch the soil and it holds together firmly without crumbling, this is a telltale sign of excess compaction and inadequate drainage.
Many gardeners feel inclined to water immediately after assessing soil conditions, but that can lead to over-saturation and exacerbate the existing root rot issue. Ensure that any light soaking of near-saturated soils is not consistent; maintaining a balance is critical. If you find the soil requires aeration and seems persistently muddy, it is wise to delay any further watering of the grasses until the conditions improve.
Step 3 – Add Organic Matter to Affected Grasses
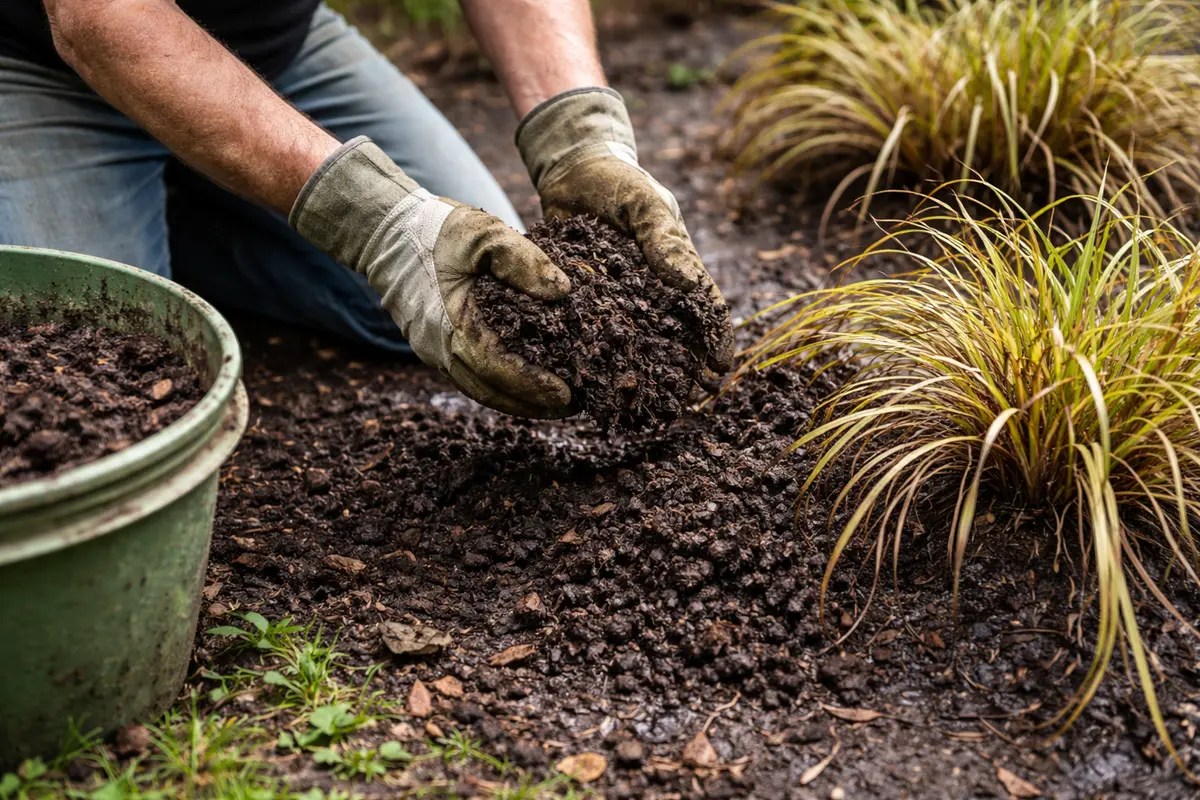
Start by carefully removing the affected grasses from their pots or the ground, gently shaking off excess soil to reveal the roots. Trim away any blackened, mushy roots carefully, and replant them in a well-draining soil mix. You should notice new green shoots emerging within a few weeks, indicating that the grass is starting to recover.
The recovery timeline for ornamental grasses can vary considerably; while some may show signs of new growth within just two weeks, others may take a month or more. New growth typically manifests as vibrant green shoots at the crown, which thrive best in well-drained soil and warm, sunny conditions. If you notice more wilting or deteriorating health after a month, check for excessive moisture or pooling around the root area.
Avoid the mistake of overwatering during this recovery phase, as this can exacerbate root rot significantly. While some grasses thrive on regular moisture, too much water can delay their recovery and create a perfect environment for further disease. If your grass struggles despite consistent care, further investigation is necessary. Check to ensure the planting area isn’t too shaded or damp, as both factors can hinder root recovery.
Incorporating organic matter not only promotes better moisture retention but also ensures that any excess can drain away efficiently, which is essential for healthy root development. A balanced moisture level is key in preventing fungal growth, especially in areas prone to heavy rains. You’ll find that proper incorporation leads to a crumbly texture that signals improved aeration and moisture dynamics; this is critical given the existing conditions.
During this recovery phase, many gardeners make the common error of overcompensating with water or fertilizer immediately after treating root rot. Applying too much fertilizer can lead to nutrient burn or imbalance, especially in already weakened grasses. It is best to apply balanced fertilizers sparingly, keeping nitrogen levels low to prevent adding to the plants’ stress. Regularly observe the moisture levels, ensuring no watering occurs until you feel confident the roots have established some recovery.
Step 4 – Water Grasses Only When Soil Dries Out
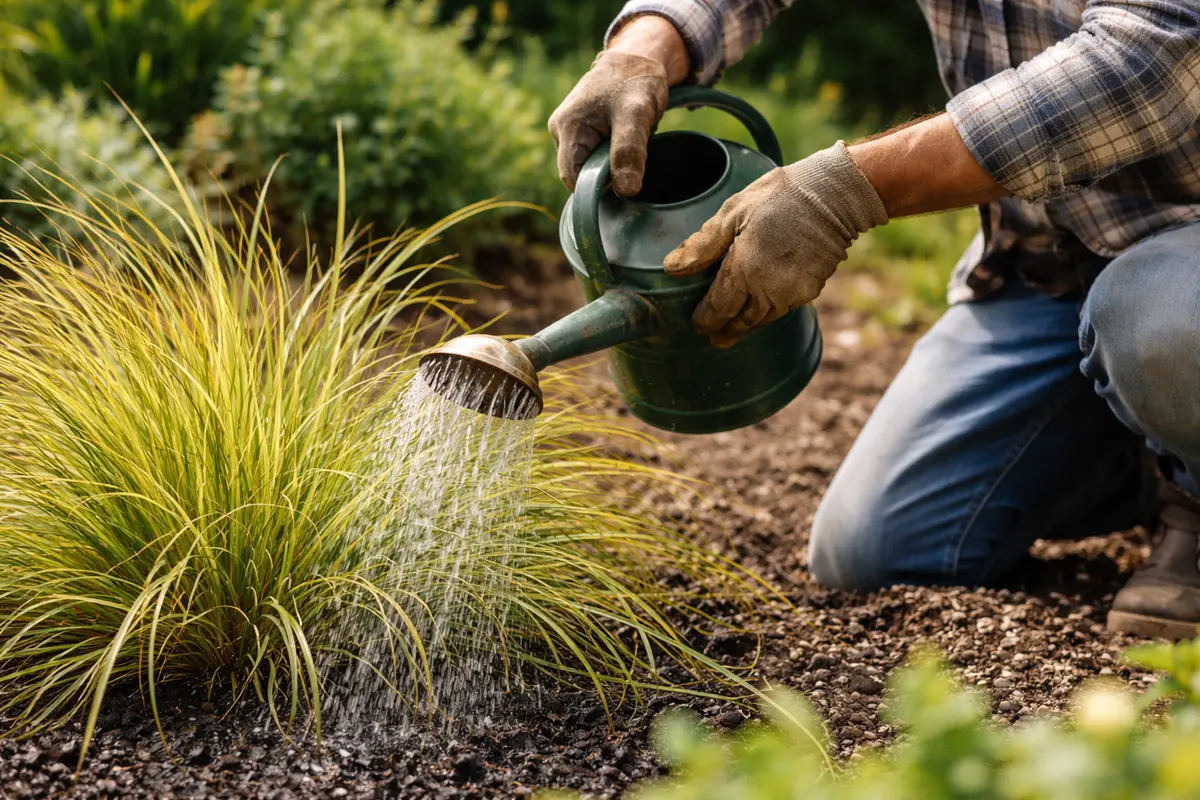
Water the grasses only when the soil dries out sufficiently—this ensures that their roots are less susceptible to rot and can focus on recovery. Establishing proper watering habits will significantly reduce the risk of recurrence and help maintain overall plant health. Use a moisture meter to monitor soil conditions accurately; ideally, the tool should read between 3 to 4 for optimal moisture before watering.
Environmental conditions will greatly influence how often you need to water. For instance, if the weather has been consistently damp and cool, the grass might require less frequent watering than normal. Monitoring soil moisture a few inches below the surface can guide your watering schedule with precision, keeping plants happy while avoiding water overload. Ideally, the top layer of soil should dry out before your next watering, which can take several days depending on the humidity levels in your area.
During periods of drier weather or increased temperatures, modify your watering schedule accordingly, as ornamental grasses may need more moisture. Additionally, checking the weather forecast allows you to adjust your routine based on expected precipitation levels. While applying mulch helps retain moisture efficiently, an excess of it can create an overly humid bed, undoing your water management efforts. If you notice that the mulch layer remains excessively damp for extended periods, it is advisable to rake it back to allow for increased air circulation around the roots.
Many gardeners underestimate the impact of heat during prolonged wet periods; this can lead to rapid evaporation. Monitoring soil conditions during sudden changes in weather may cause you to reevaluate your entire irrigation plan. Keep a careful eye on soil texture, especially focusing on any changes from sticky to dry, as this transition can inform you when to adjust watering practices.
Step 5 – Look for New Growth on Treated Grasses
Look for new growth on treated grasses within a few weeks after implementing your care strategies. Fresh shoots should emerge from previously wilted specimens, serving as a strong indicator that your actions helped cure the roots and improve their environment. This indicator of regrowth confirms that your treatments are taking effect and shows your grasses responding positively to revised care.
A fully recovered grass plant typically exhibits vibrant, green foliage that stands erect, showing no signs of wilting. If, however, wilting returns alongside soft roots, this may indicate potential reinfection or stress from the surrounding environment, which needs immediate attention. By conducting regular checks for new growth, you’ll catch signs of deterioration early, preventing extensive damage from taking hold again. A gentle tug on the emerging shoots should reveal solid anchoring roots; if they feel weak or dislodged, re-assessing your watering strategy is crucial.
If recovery isn’t happening as expected within a week or two, it’s vital to reevaluate both the soil drainage and moisture levels. Ensure that no environmental factors, like increased rainfall or humidity, contribute to ongoing root rot issues. You may find previous damage may have allowed for further rot to reestablish; in such scenarios, re-loosening the soil around existing roots can provide significant benefits. Consider treatments for any fungal threats that may have developed in response to high moisture levels.
Identifying these issues early can save your plants from severe health problems. A little proactive management will significantly improve the chances of successful recovery and return your ornamental grasses to their vibrant state.
FAQ
How can I tell if my ornamental grasses are recovering from root rot?
Look for signs such as new green shoots developing from their base and the existing leaves becoming more upright instead of wilting. This process may take several weeks, so keep a close watch on your treatments. Healthy recovery often comes with a lush canopy and a gradual thickening of leaf blades that indicates a return to vitality.
Can root rot spread to other nearby plants?
Yes, root rot can easily spread if the environmental conditions remain favorable for pathogens, such as persistent moisture in the ground. It is crucial to manage soil saturation around all plants to avoid cross-contamination. Regular drainage checks for nearby soils and plants can prevent issues from spreading;
Should I remove all affected parts of the grass immediately?
Only remove severely affected grasses that show no signs of recovery after initial treatments. If portions appear salvageable, allow them to recover while improving drainage and monitoring efforts. Closely monitor any surviving sections for further signs of stress; differentiating between truly healthy portions and those entirely compromised is critical for your recovery strategy.