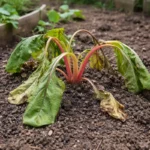
You may notice dark spots appearing on your pea plants during damp weather, which is why you need to know how to prevent rust on peas during damp weather. This fungal infection causes yellowing leaves and can lead to significant damage if left unchecked. Ignoring this problem can spread the infection, weakening the plant over time, but fixing it is possible now—just inspect your plants regularly and remove any affected areas to keep them healthy.
Step 1 – Trim Affected Pea Foliage Immediately
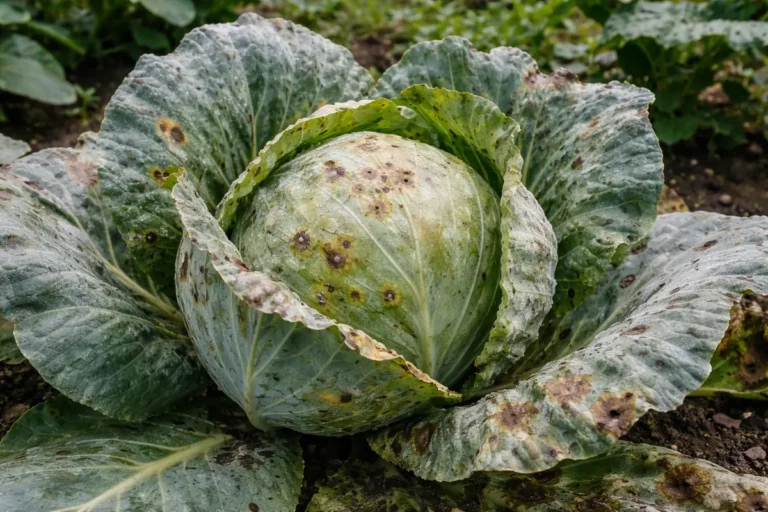
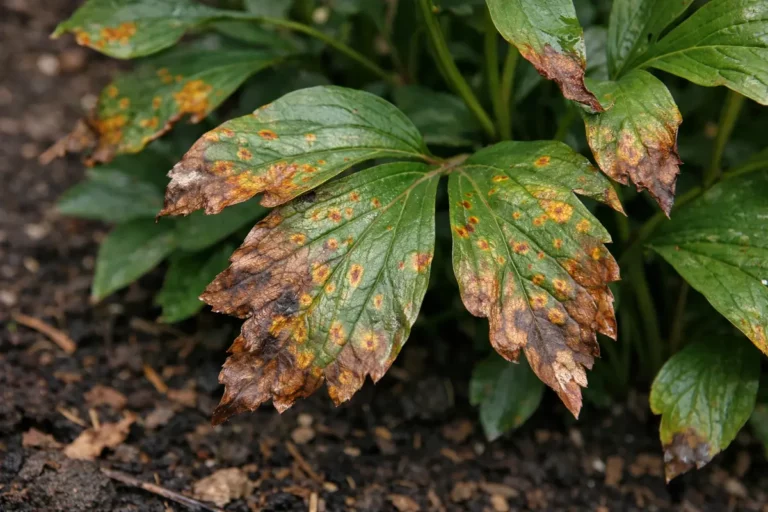
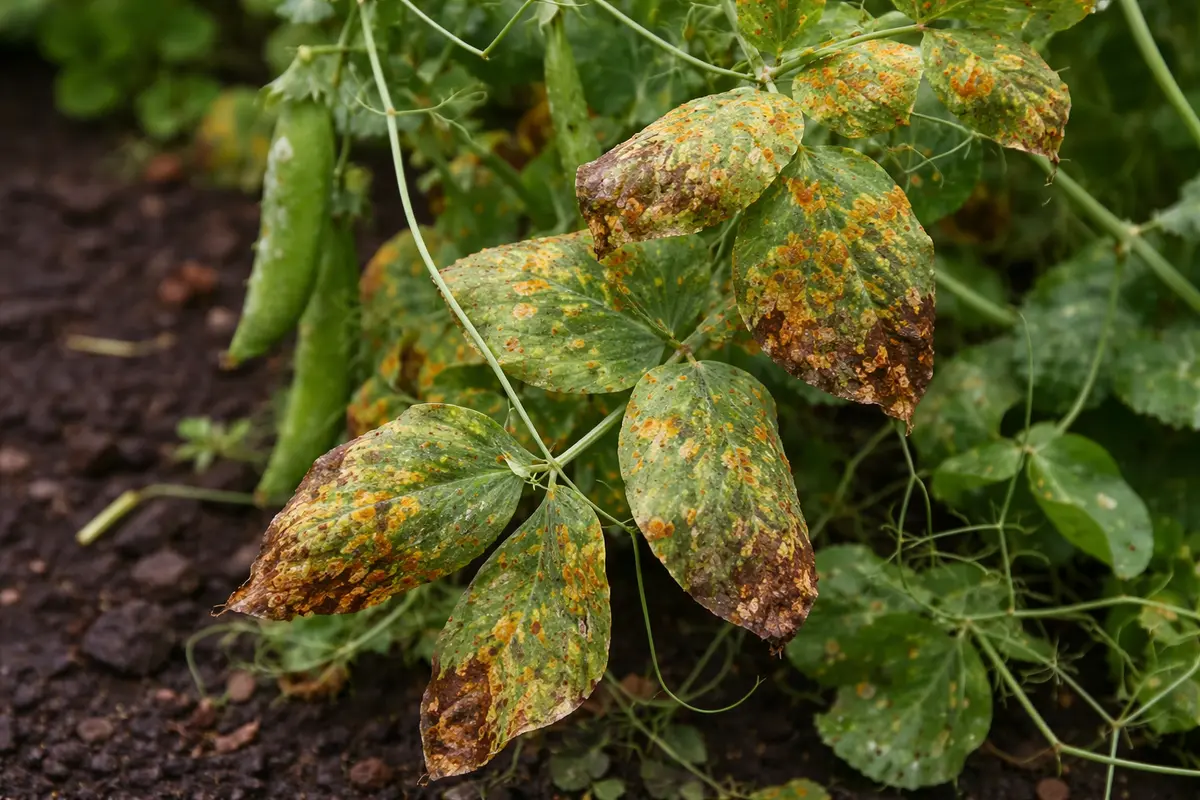
Start by thoroughly inspecting your pea plants for any signs of rust, which appear as small orange-brown pustules on the leaves. Remove any affected leaves immediately to limit the spread of the spores and see a visible reduction in rust spots on healthy foliage. Additionally, clear out any debris or old plant material around your plants to enhance air circulation and promote faster drying of the foliage.
Acting quickly is essential because rust can spread rapidly in damp conditions, leading to significant yield loss if not addressed. When rust spores infect the foliage, they disrupt the plant’s ability to photosynthesize effectively, which can weaken the plant within days. If you notice yellowing leaves in addition to rust, then the infection may have already advanced, and it’s crucial to remove affected areas promptly.
Consider a scenario where a gardener delayed pruning rusty leaves, resulting in a widespread infection that ravaged their crop. They initially thought the damage was manageable but failed to act soon enough, leading to a near-total loss of their pea harvest. If you see widespread yellowing along with rust, check for underlying moisture issues in your growing area that may contribute to excessively humid conditions.
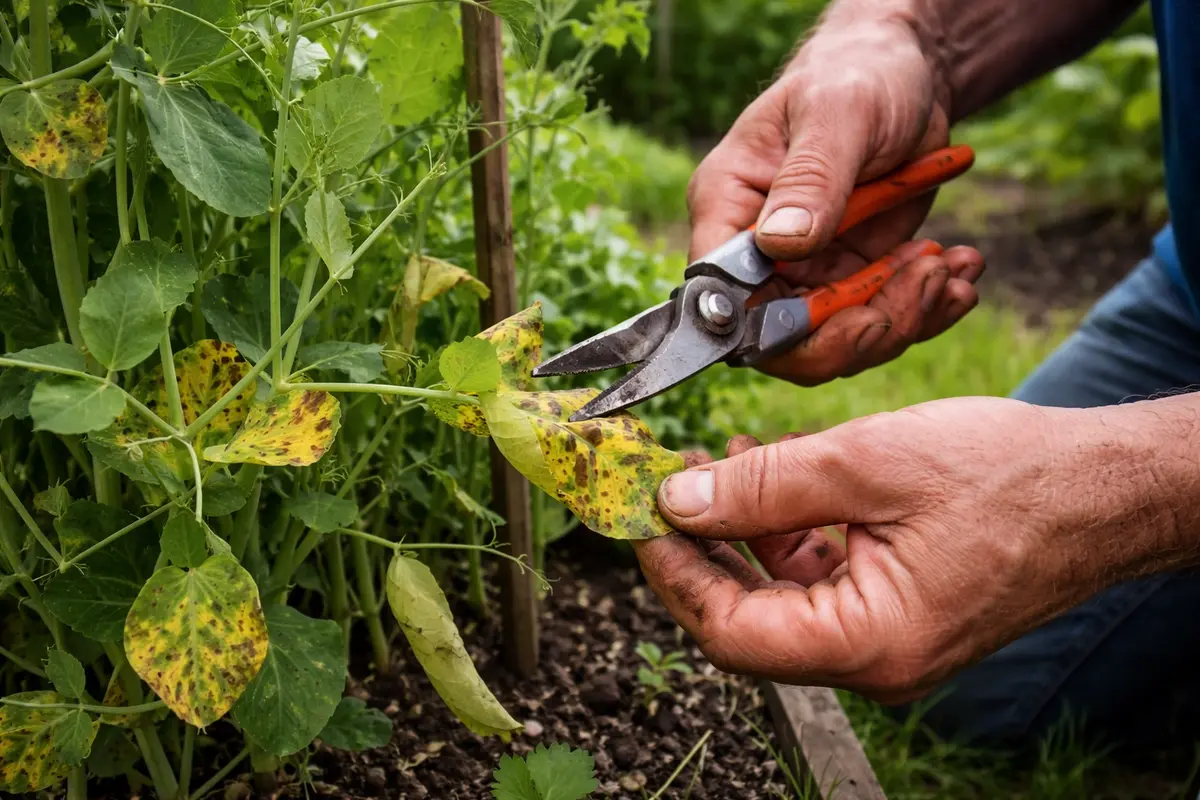
Taking immediate action helps limit the spread of rust, which thrives on moisture and weakens plants. By cutting away infected leaves, you disrupt the fungal life cycle and enable healthier foliage to emerge. If these rusted sections are left, the fungus will only continue to reproduce and spread throughout your garden, increasing the workload on your recovery plan. Ensure that you are cutting at least one inch below the infected area to avoid leaving residual spores that could lead to reinfection, as these spores can easily survive on stems and branches. This is where many gardeners err; they might only snip the visible decay instead of accounting for potential unseen spores. Additionally, improper disposal of infected plant material can lead to re-infection in your garden, so consider bagging up the removed sections and discarding them appropriately.
Timing is crucial; addressing the problem within 24 hours of spotting symptoms can significantly decrease rust concentration on your plants. A common mistake here is waiting too long to prune—some gardeners mistakenly believe that affected leaves will heal on their own, which unfortunately doesn’t happen with rust. When you’re pruning, wear gloves and sanitize your tools after each cut to prevent the accidental spread of spores to healthy sections. Make sure your pruning tools are clean to avoid further spreading infections; no gardener wants to inadvertently introduce a worse problem. If you have multiple infected plants, designate a separate pair of shears for those affected to prevent cross-contamination. If left untreated, the rust may not only spread to healthy plants but also cause the complete dieback of damaged areas, leading to persistent issues through the season. This situation demands not just a one-time effort, but ongoing vigilance.
Step 2 – Diagnose Excess Moisture Around Peas
Examine the soil around your pea plants for excessive moisture and poor drainage. You will notice a shift in your plants’ health when you correct underlying moisture issues, showing signs of stronger growth within a week. Feel the soil beneath the surface; if it clumps or sticks to your fingers, drainage likely needs improvement. In addition to tactile checks, consider using a soil moisture meter for more accurate readings; this will help identify subsurface moisture levels you might not see at first glance.
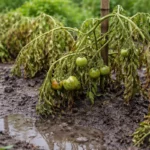
Peas thrive in well-drained soil, and excessive moisture can lead to root suffocation and facilitate fungal growth, including rust. An indication that soil moisture is too high can include dark, compacted soil that does not easily crumble in your hand. If the roots are sitting in water, they will exude a sour odor, suggesting root rot is also a risk. Addressing these signs quickly can save your crop from extensive damage and help mold soil amendments accordingly to improve drainage. Make sure to also observe for any pooling of water around the base of the plants after rainfall, as this can be a telltale sign of drainage issues. If you’ve installed any drainage systems, regularly check if they are functioning effectively or need clearing to promote water flow.
If you detect waterlogged soil, consider implementing drainage solutions like raised beds or adding organic matter to improve aeration. Organic amendments, such as compost or well-rotted manure, can help break up heavy soils, thus improving both structure and drainage over time. On the other hand, if the soil feels dry yet the foliage looks wilted, it may be a sign of root disease rather than simple moisture deficiency; this can be a harder scenario to diagnose. Regularly checking soil moisture can help catch and correct these issues early. If left unaddressed, wet soil can encourage pathogens that further exacerbate rust proliferation on foliage. Establishing a soil moisture monitoring routine can be crucial, especially after heavy rains or watering sessions. Shifting your focus to long-term drainage solutions will improve conditions not just for current crops but also for future plantings. A good rule of thumb is to plan for soil amendments at least a month before planting, giving them time to improve the soil structure.
Step 3 – Treat Rust with Fungicide on Peas
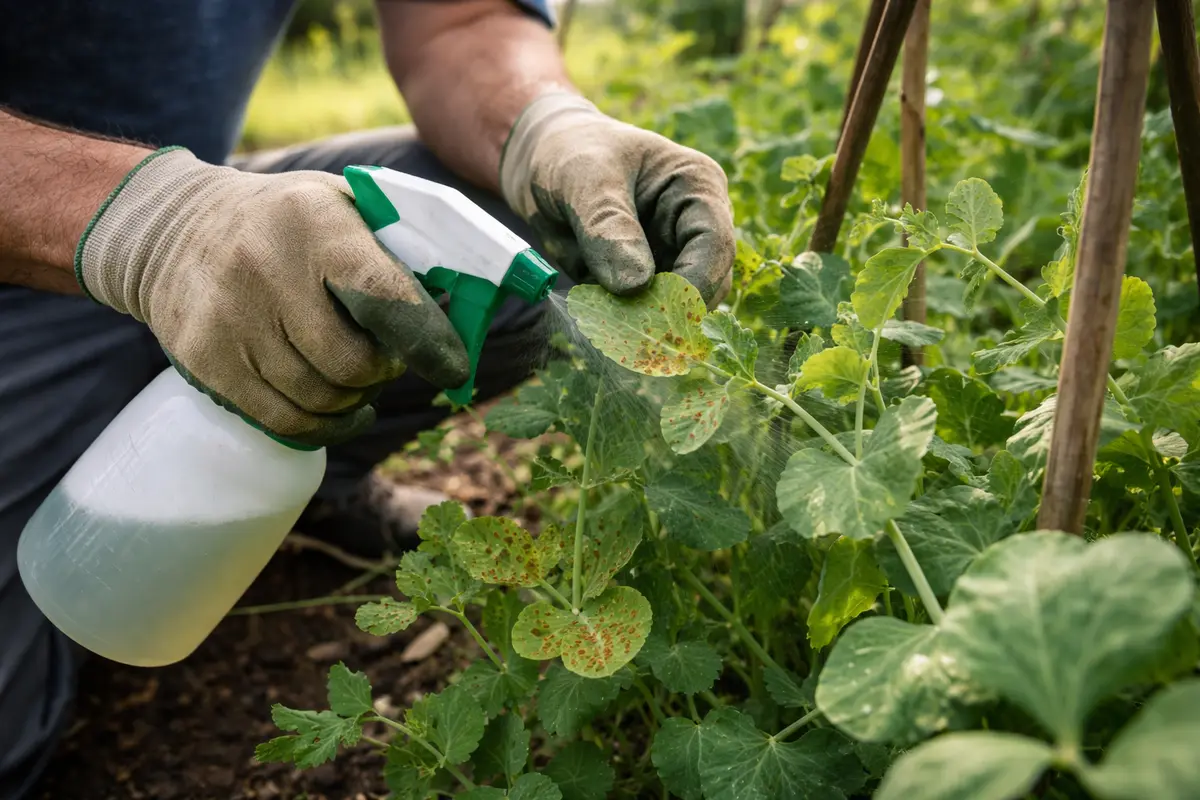
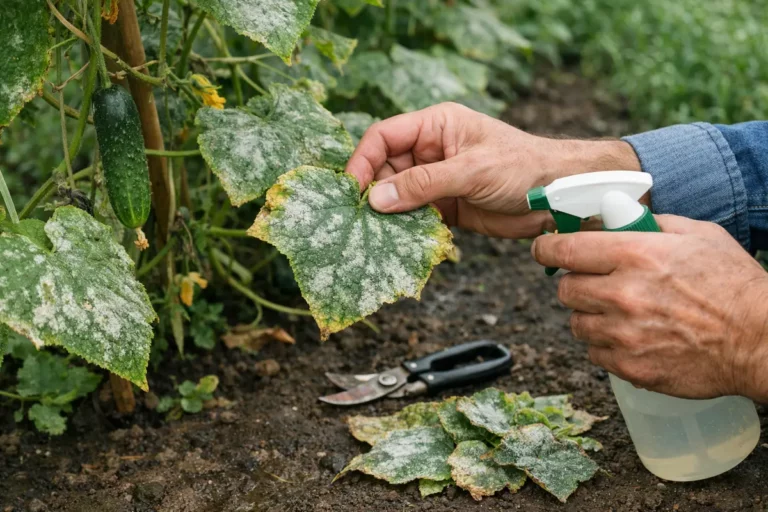
Apply a suitable fungicide to the leaves of your pea plants showing signs of rust. You should see new, healthier leaves starting to grow back within a week, validating that the infection is being effectively managed. If you see leaves still showing symptoms post-application, it may indicate that re-treatment is necessary. This is vital because ineffective treatment can lead to the gradual weakening of your plants; signs of ineffectiveness often show as leaf discoloration and new rust spots appearing soon after treatment.
Using fungicide is essential for actively treating existing infections and preventing any future outbreaks. After treatment, you may see some leaves still affected, but gradually, the new growth should emerge unblemished. For best results, it’s crucial to choose a fungicide that targets rust specifically and to adhere to labeled instructions for application. Timing your treatment for when conditions are least conducive to rust proliferation (i.e., when humidity levels drop) can significantly enhance effectiveness. Always spray in the early morning or late afternoon when temperatures are cooler; this also reduces the risk of burning your plant’s leaves. Furthermore, standing water on leaves after treatment can lead to fungicide wash-off; it’s best to check for any leaf wetness post-application.
A mistake during recovery is over-treating with fungicide. While it might seem logical to apply more in hopes of quicker recovery, excessive fungicide can harm beneficial organisms in the soil and even the peas themselves, leading to imbalanced soil health. Following the manufacturer’s guidelines on dosage and application frequency typically yields the best results for healthy regrowth. If conditions remain humid, applying a preventative fungicide every few weeks can maintain healthier plants. If spotted issues recur despite regular treatment, consider alternating fungicides to tackle potential resistance developed by the pathogen; rotating options can help keep the fungus vulnerable to the treatments.
Step 4 – Apply Mulch to Reduce Pea Dampness
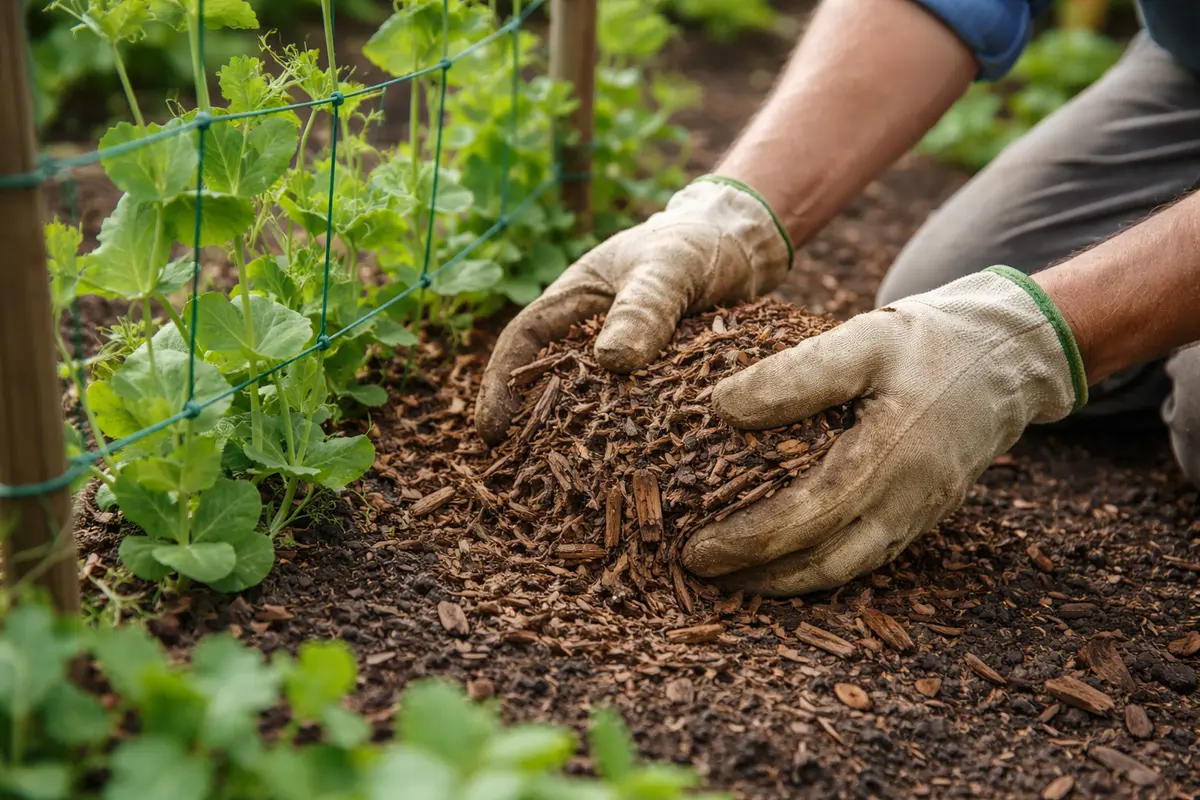
Start by applying a layer of organic mulch around your pea plants to reduce moisture retention in the soil, especially following rainy periods. This action will reduce the incidence of rust, allowing your plants to thrive without the detrimental effects of fungal infection while also helping regulate soil temperature.
Damp conditions combined with mild temperatures create an ideal environment for rust spores to flourish. Regular treatment with fungicide disrupts this cycle by eliminating spores before they can settle on your plants, thus preventing a recurring outbreak. If you notice yellowing leaves but no spores, reevaluate your watering methods to ensure they are not contributing to excess moisture. In some cases, soil amendments may be required to balance nutrient levels further, especially nitrogen, which can indirectly influence leaf health and rust susceptibility.
During particularly wet seasons, increase the frequency of your fungicide applications to bi-weekly until conditions improve. Additionally, improve air circulation around your plants by properly spacing them; inadequate spacing can create stale air conditions that contribute to rust development. Applying mulch helps regulate soil temperature and moisture levels, creating an unfavorable environment for rust to thrive. Mulch absorbs excess moisture from rain or irrigation and releases it slowly, minimizing shock to the plants. Additionally, organic mulch contributes nutrients as it breaks down, further supporting healthy plant growth. Ideally, maintain that 2-3 inch layer, as a thicker layer may restrict air circulation to the soil. Monitor the condition of your mulch; if it becomes compacted or matted down, it may need to be fluffed up or replenished. Regular mulching practices can significantly impact plant vigor by maintaining a consistent moisture level and promoting beneficial microbial activity in the soil.
In varying weather conditions, adjust your mulching practices. During prolonged rainfall, inspect mulch layers regularly, as they can compact and hold too much moisture, potentially becoming breeding grounds for pests and pathogens. If your area experiences heavy humidity coupled with seasonal rains, consider refreshing mulch every few weeks to maintain its effectiveness in moisture management, replacing overly decomposed material or adding fresh layers. If your mulch becomes waterlogged, it can create an undesirable habitat for pests like slugs, which may also contribute to the overall weakening of the plant’s defenses. Look for any signs of rot or fungal growth on the mulch itself; if darker patches appear, it’s crucial to replace that portion to prevent further soil contamination.
Step 5 – Inspect Pea Plants for Signs of Rust Regularly
Check your pea plants every few days for signs of rust reemergence. You should see improved plant health and no signs of new lesions if your previous efforts have been effective. Inspect both the upper and lower surfaces of the leaves, as the spores often reside on the underside. Consistency in observation can mean the difference between early detection and a need for harsher treatments later; poor inspection can lead to letting the infection resurface and complicating your recovery plan.
Regular inspections help detect rust early, allowing for timely interventions. Healthy peas should exhibit vibrant green foliage and sturdy stems; any color changes or leaf distortions may indicate returning fungal activity. Early detection enables more effective treatment, drastically reducing the chance of severe loss. If you spot any yellowing or browning near leaf edges, it could signify rust returning, requiring immediate action. Furthermore, checks should extend to neighboring plant species, as they can also harbor the fungus and impact the peas. In the case of intercroppings, cross-monitoring becomes essential.
If rust reappears despite previous treatments, do not hesitate to revisit your fungicide application. Re-evaluate watering practices and consider increasing airflow around the plants if they are too crowded; space not only influences present issues but can set the stage for future problems. An urgent response can mean the difference between saving your crop or facing further decline. Rotate planting locations each year to further mitigate disease recurrence by disrupting the life cycle of the fungal spores. In addition, consider intercropping with resistant varieties, which also helps to break disease cycles. Implementing crop rotation combined with resistant planting can significantly reduce the rust load seasonally, building a sustainable and healthy garden atmosphere long-term.
FAQ
How long does it take for rust to spread on pea plants?
Rust can spread rapidly within just a few days in warm, humid conditions. It’s essential to act quickly, as temperature and moisture can create an ideal environment for the fungus to thrive. Under optimal conditions, lesions may appear and multiply significantly, leading to considerable damage if left untreated. To prevent a small issue from becoming a major infestation, check and manage moisture levels diligently in your garden.
Should I remove all affected leaves immediately?
Yes, removing all visibly affected leaves will help stop the spread of rust. However, take care not to remove healthy foliage that can still contribute to the plant’s growth. Focus on trimming infected areas first, making precise cuts to ensure thorough removal while prioritizing the plant’s overall health. Reassess after a week or so to determine if additional pruning is required based on re-examination of symptoms and plant responses.
Will my peas recover from rust after treatment?
With prompt action and proper treatment, many peas can recover from rust infections. Monitor the plants for new growth, which indicates that rust has been managed and the plant is healing. However, continuous attention to environmental factors such as moisture levels is critical in supporting ongoing recovery, as any lapse can lead to quick reoccurrence. Incorporating these practices guarantees that the crop stays resilient against future threats.