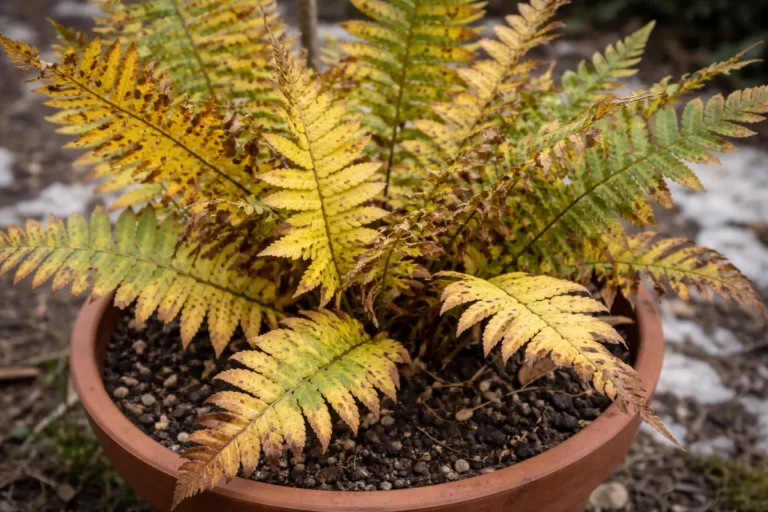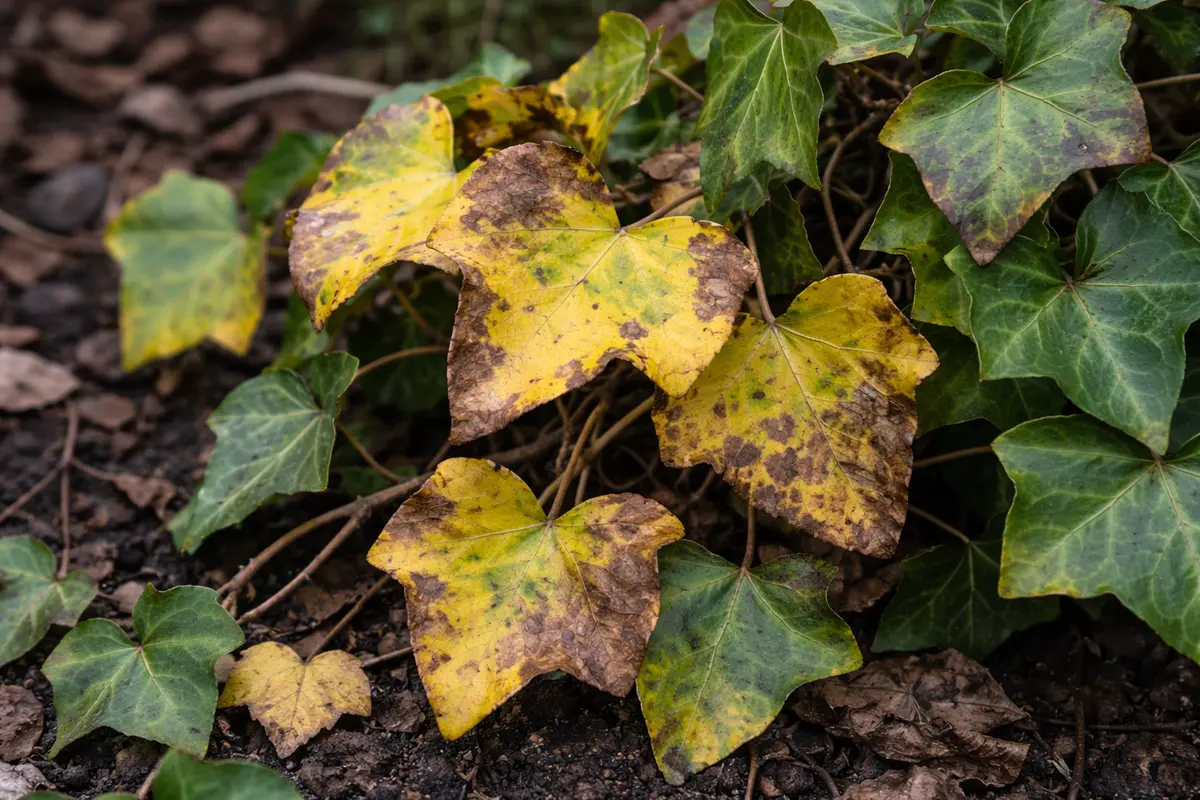
You may notice your ivy displaying signs of distress when temperatures drop during winter, which is why you need to know what to do when ivy turns yellow during winter. This yellowing often results from a combination of inadequate light and improper moisture levels, leading to damage on the leaves. If left unaddressed, the problem can spread and ultimately weaken the plant, making it harder to fix. Fortunately, you can improve the situation now by adjusting its watering schedule and providing adequate light to encourage recovery.
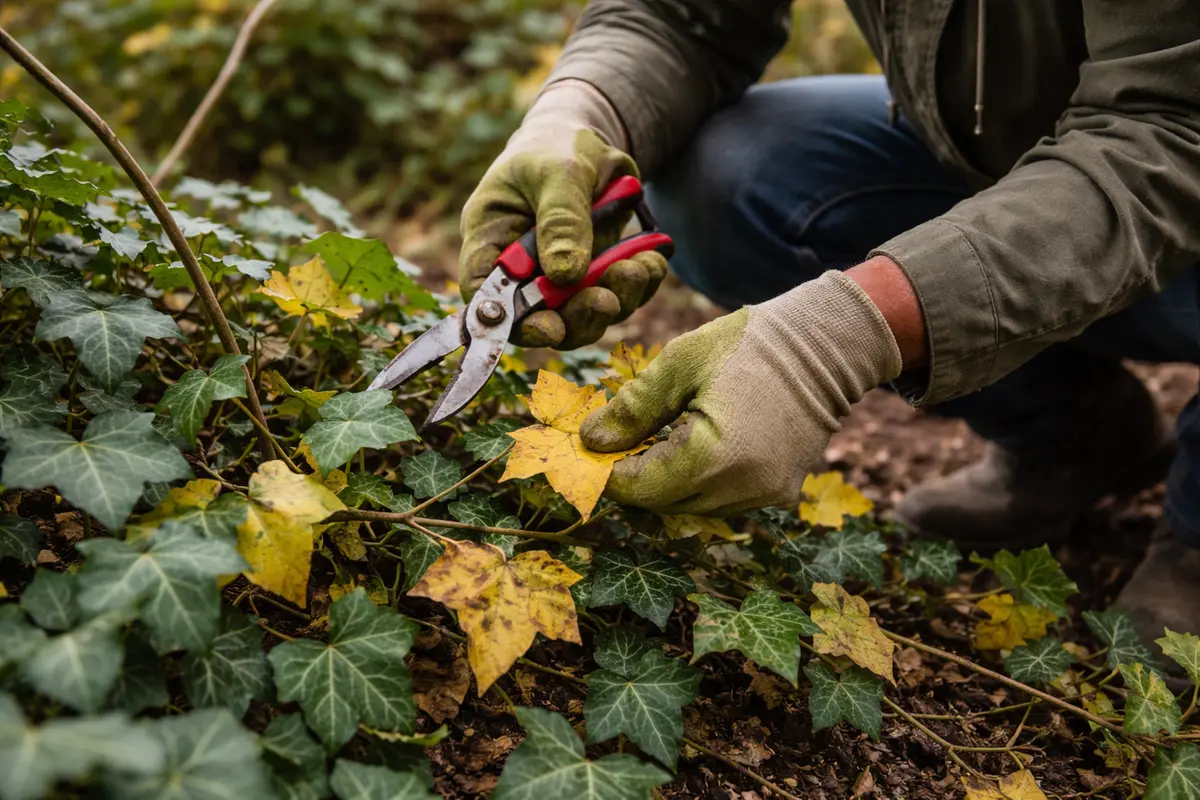
Step 1 – Trim Yellowing Ivy Leaves Promptly
First, check the soil moisture around the ivy roots and water it thoroughly if the soil feels dry, ensuring it retains moisture without becoming soggy. You should see an immediate improvement in the leaf turgidity and color as the plant begins to rehydrate, indicating a positive response to the watering.
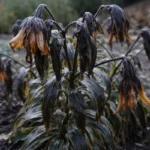
Acting quickly is crucial because ivy can experience cellular damage from prolonged dehydration, leading to yellowing leaves and stunted growth. If you delay, the roots may not absorb water efficiently, which exacerbates the yellow appearance and can result in irreversible damage. In contrast, ivy that receives timely hydration typically regains its rich green hue within days, whereas neglected ivy may suffer prolonged distress.
A common mistake is to think that yellowing ivy just needs more sunlight when it is actually drought stress causing the issue. For instance, a gardener who immediately watered their ivy saw a noticeable recovery within a week, while a neighbor who neglected their plant until spring faced significant die-back. If leaves droop despite moist soil, check for root rot instead of increasing light exposure.
Ivy turns yellow during winter primarily due to underwatering and stress from cold temperatures. Acting quickly to restore moisture can prevent root damage, which occurs when plants are deprived of water for too long. A well-hydrated ivy can better withstand the stress of fluctuating winter temperatures compared to a dehydrated one, which may suffer from further leaf loss and decline.
For example, a gardener who promptly watered their yellowing ivy noted an immediate recovery of leaf color compared to one who delayed action. The latter gardener faced a decline into root rot due to prolonged dryness, illustrating how timely intervention can prevent serious damage. If you see wilting leaves but notice the soil is damp, check for root rot instead of just adding more water.
Acting quickly is crucial because yellow leaves can indicate a response to stressors such as insufficient light, pests, or nutrient deficiency. If you delay removing the yellowed foliage, the plant may expend resources trying to revitalize them, ultimately weakening it. By removing these leaves, you allow the healthy parts of the plant to flourish and recover, which is vital since ivy’s growth patterns change significantly in winter.
A common mistake here is to hesitate or think that the ivy will naturally shed its yellow leaves. However, most gardeners often find that waiting too long allows rot to set in or invites pests into the weakened areas, making recovery more complicated. Keeping a close eye on the leaves and trimming as needed is essential for improving your plant’s health during this vulnerable season. If you find that yellowing persists after removing the leaves, consider investigating the root causes more deeply. Additionally, if after a few weeks the new growth still shows yellowing, check your watering habits and light conditions, as they often need to be adjusted.
Step 2 – Diagnose Winter Stress Factors for Ivy
First, examine the soil moisture by sticking your finger about 2 inches deep into the soil. If it feels dry, water the ivy thoroughly until the moisture reaches deeper into the root zone; this should help the yellowing leaves regain their vibrant color within a couple of weeks.
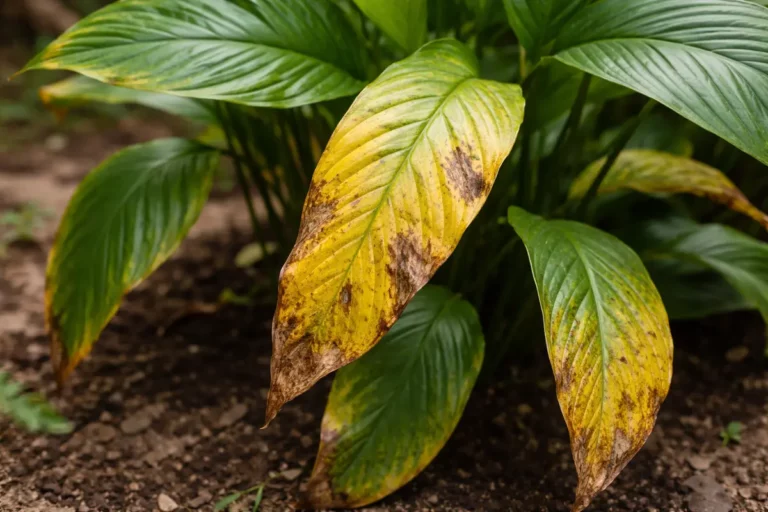
The yellowing of ivy leaves often indicates inadequate moisture in the soil. Dried-out soil leads to stress in the plant, causing the leaves to lose their green pigment as they struggle to access necessary water through the roots. If the leaves have a crispy texture, realize that the roots are likely not absorbing enough water, resulting in the observed symptoms.
If the soil smells sour, indicating potential root rot instead of simple dryness, stop watering immediately and repot the ivy in fresh, well-draining soil to promote healthier root growth. Alternatively, check for pest infestations such as spider mites, which can also cause leaf discoloration but require different strategies for treatment.
Ivy can show yellow leaves when it’s under-watered, over-watered, or receiving inadequate light during winter. These factors harm its roots and moisture absorption capacity, leading to diminished vitality. Regularly observing these conditions in conjunction with any recent environmental changes—such as fluctuating temperatures or exposure to cold drafts—can help you provide appropriate adjustments that significantly enhance the overall health of your ivy.
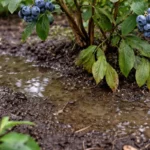
If the soil is overly moist and has a sour smell, it indicates root rot, which can lead to irreversible damage if not promptly addressed. In contrast, if the soil feels dry and the plant appears limp, increasing watering frequency will assist. Conversely, if the top layer of soil is dry but deeper layers remain damp, it might indicate poor drainage. Identifying these specific stressors swiftly allows for targeted recovery, ensuring the ivy’s needs are met effectively. Additionally, if you spot sap on the leaves or discoloration, this can signify pest infestations, requiring immediate treatment. If you suspect pests, use a magnifying glass to examine the leaves closely, especially the undersides, which are often hiding spots.
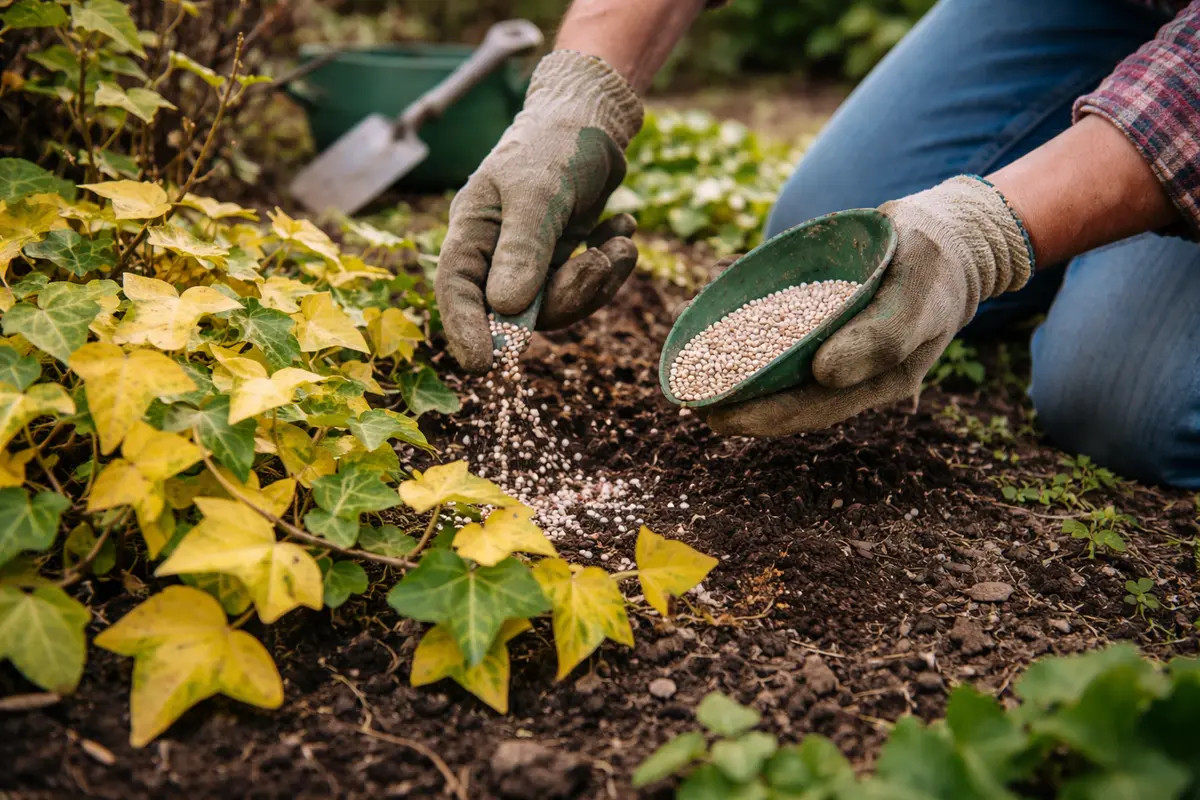
Step 3 – Apply Fertilizer for Ivy Recovery
First, remove any yellow or dead ivy leaves by gently pruning them back to healthy green stems. This action promotes better air circulation and allows the plant to direct energy toward new growth. In a week or so, you should observe new, vibrant leaves beginning to sprout in areas that were previously yellowed.
Recovery can take anywhere from a few weeks to several months, depending on the extent of damage and environmental conditions. Healthy regrowth will appear as small, bright green leaves emerging at the stem tips if the plant is adequately cared for. Warmer temperatures and consistent humidity levels can expedite this process, while excessively cold or dry conditions will slow regrowth. If you see the new growth stunted, check for proper light levels.
A mistake to avoid during recovery is overwatering or applying too much fertilizer, which can lead to root rot or nutrient burn. Ivy requires moderate moisture; the soil should be allowed to dry out slightly between waterings. If yellowing resumes in spite of proper care, check the drainage holes for blockages to ensure adequate water flow.
This added nourishment is especially beneficial in winter, when natural nutrients in the soil can be scarce, and plants are less active, which limits their ability to uptake nutrients. By applying fertilizer, you’re compensating for what may be a lack of resources, leading to more vibrant growth marked by the emergence of new shoots. Watch for fresh growth, which is a positive sign your ivy is responding well to the treatment and regaining vigor. In cases where you notice yellowing persisting despite fertilizing, assess whether you are adhering to the correct dilution ratios, as too strong a solution can burn the roots and further stress the plant.
A common mistake is over-fertilizing, which can result in leaf burn and further stress. It’s essential to follow the recommended application rates and observe the plant’s response because too much fertilizer can harm the healthy roots. If yellowing resumes after fertilizing, consider re-evaluating your soil condition, as compacted soil can limit nutrient absorption. It can also be useful to alternate between fertilizer applications and waterings to avoid nutrient buildup, which can stress the plant. If you still see no sign of recovery after a few weeks, it may be time to change the type of fertilizer to one specifically formulated for ivy and similar climbers.
Step 4 – Water Ivy Wisely to Avoid Yellowing
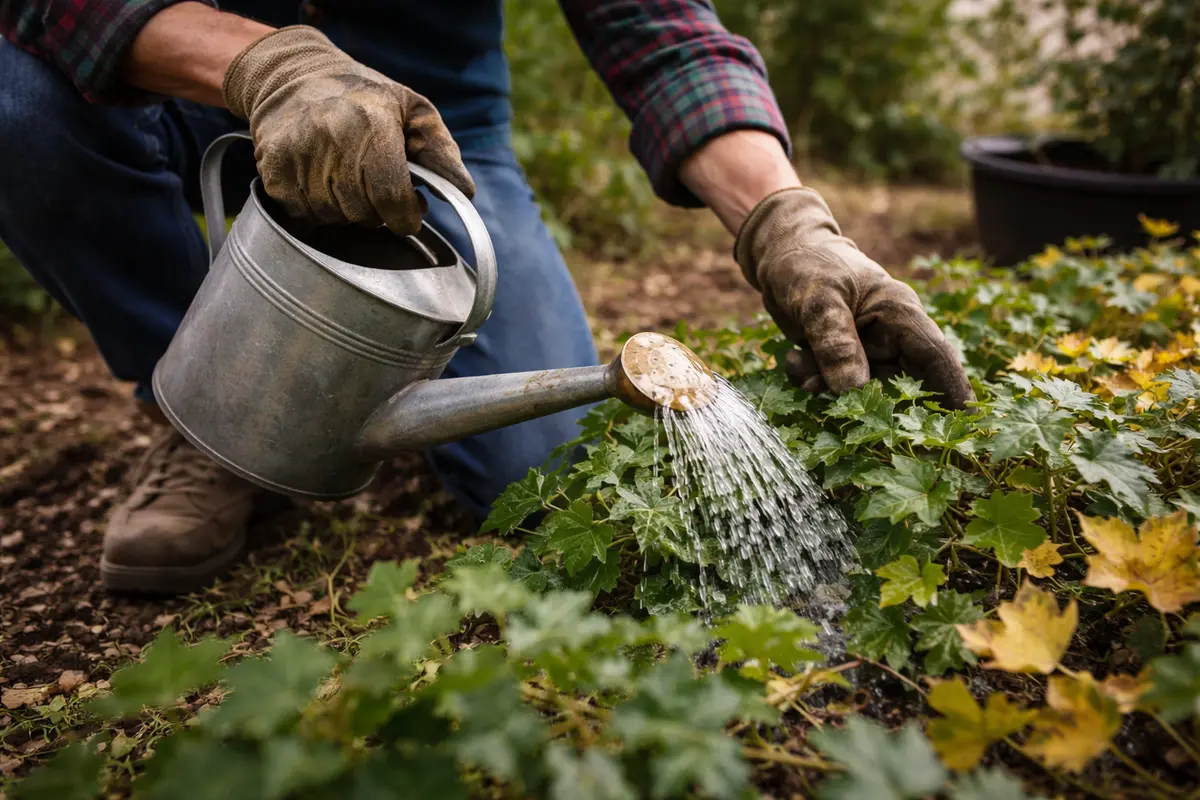
Water your ivy only when the soil top one inch feels dry to the touch. If you do this consistently, you can prevent both yellowing and root rot. This careful monitoring will ensure that the plant maintains adequate moisture levels without suffocating the roots. Establishing a regular watering schedule prevents root rot, which is a common trigger for yellowing leaves. Assessing the soil moisture level not only involves touch but can also include observing the plant’s overall appearance; wilting or droopy stems can indicate a lack of water, while excessively wet soil can result in yellowing.
Improper watering habits are often the most significant contributing factor to ivy’s health decline during winter. Over-watering leads to saturated soil that restricts oxygen access to the roots, while under-watering deprives the plant of essential hydration. By implementing a consistent watering routine, you can effectively reduce symptoms of stress and yellowing foliage. If you find that the soil takes too long to dry out, consider repotting your ivy in a pot that allows for better drainage. Additionally, if you notice any fungus gnats flying around, it indicates overwatering—these pests thrive in excessively moist conditions.
If the winter months bring lower humidity levels, consider misting the ivy once a week to maintain moisture in the leaves while ensuring the soil remains appropriately saturated. For those in drier climates, utilizing humidity trays can help create a more suitable environment. Keeping an eye on moisture levels and adjusting as necessary will safeguard against future issues. If the ivy appears shriveled or leaves develop a crispy edge, these are signs that the plant is urgently in need of water. Conversely, if the leaves start turning mushy and feel soft, it is an indication of over-watering. In either scenario, immediate adjustment of your watering regimen is necessary.
Step 5 – Inspect Ivy for New Yellowing Regularly
Check your ivy for any new yellowing leaves every week. You should observe any fresh leaf growth and a return to a healthy vibrancy as signs of progress. Regular inspections help catch any potential issues early before they can escalate and become more severe. Note that new leaves should develop a bright green color, which indicates that the plant is recovering and responding to the changes you’ve made in care. This practice not only helps in spotting issues quickly but also allows you to celebrate early signs of recovery, such as stronger leaf development and less yellowing.
A fully recovered ivy will display bright green leaves with no signs of yellowing or wilting, and the stems should feel firm and strong to the touch. Monitoring allows for early detection of stressors, ensuring a strong return to health. Additionally, if new yellow leaves appear or the plant shows signs of wilting, further investigation into watering habits, light exposure, or even the pest treatment applied could be necessary. Establish a routine of checking the underside of the leaves as well, as this is where you can often find pests hiding, which could be the underlying cause of stress and yellowing.
Should issues persist despite your corrective actions, don’t hesitate to consider isolating the ivy from other plants to prevent possible pests from spreading. If you notice consistently high moisture levels leading to yellowing, adjusting watering frequency or exploring soil quality could be beneficial. If the leaves continue to show signs of distress after adequately correcting your care routine, it may be time to consult a professional gardener to assess the situation more thoroughly. Catching these changes early on is pivotal in keeping your ivy thriving through winter. Create a simple log of your ivy’s care, including watering dates, fertilizer applications, and any changes observed to help you refine your approach over time.
FAQ
Will my ivy recover after turning yellow in winter?
Yes, ivy can recover from yellowing leaves if the underlying issues are identified and addressed properly. With proper care, such as reducing excess moisture, adjusting light exposure, and applying balanced fertilizers, you will likely see improved leaf coloration and growth within a few weeks.
How often should I check my ivy for yellow leaves?
Ivy should be inspected weekly, especially during winter when environmental changes can rapidly affect its health. Regular check-ups will allow you to catch any returning yellowing early and adjust care conditions as needed. If issues are observed, adjusting irrigation and light placement quickly can make a significant difference in recovery.
Can too much water cause yellowing of ivy leaves in winter?
Yes, over-watering during winter is a common issue that leads to yellowing leaves. If the soil remains soggy, it can suffocate the roots and result in root rot, which, if left unhandled, can damage your ivy permanently. Monitoring the moisture levels closely is vital, and remembering to only water when the top inch of soil feels dry is a good rule to follow.