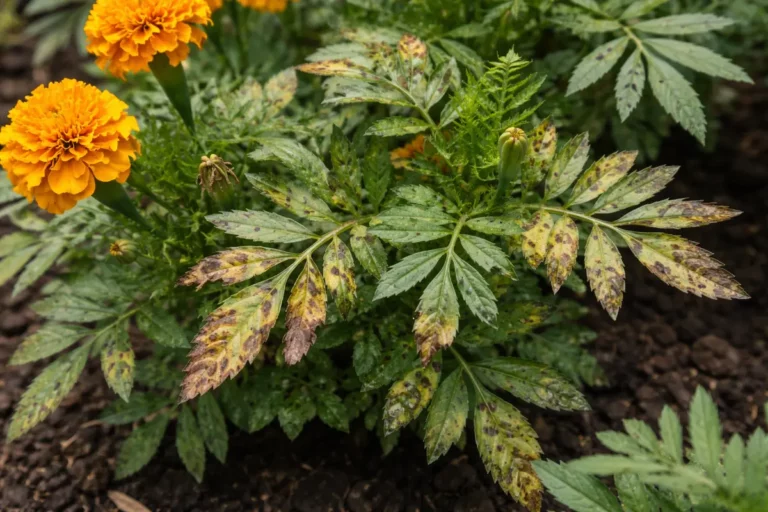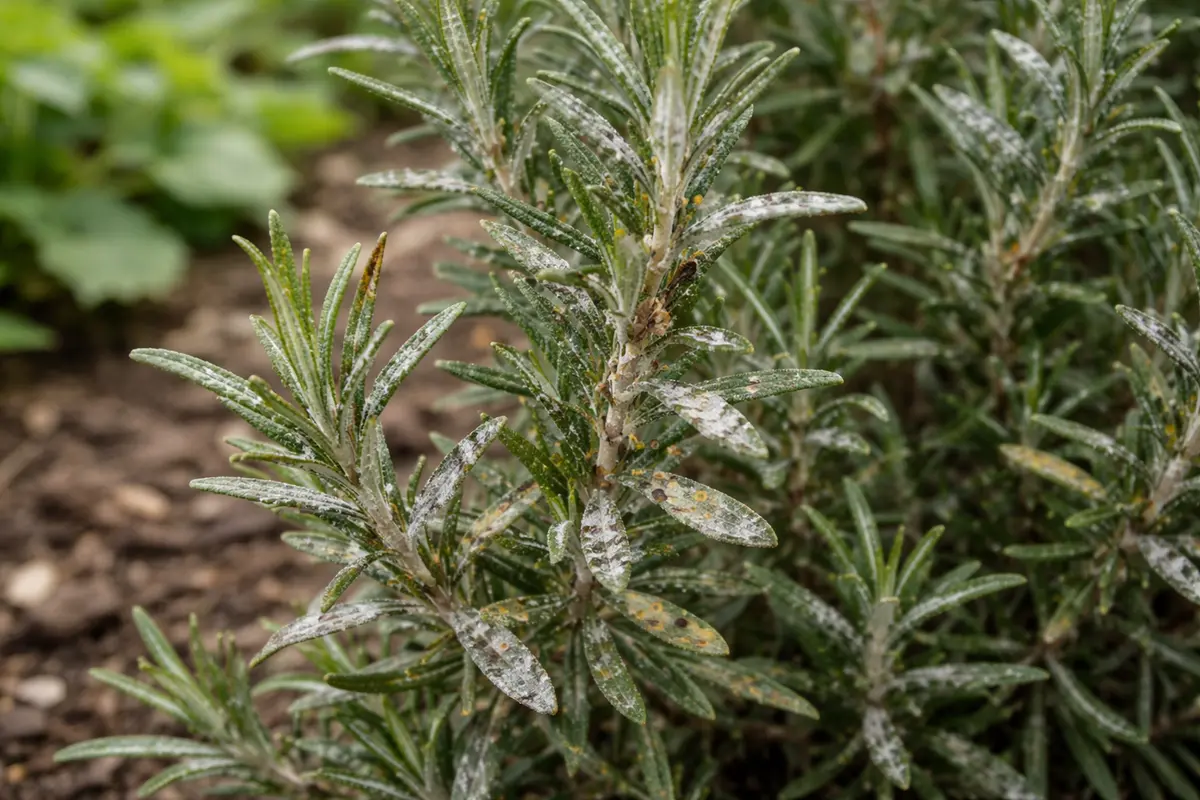
You may notice unsightly brown or gray spots appearing on your rosemary, especially during humid days, which is why you need to know how to stop fungal spots on rosemary during humid days. These spots are a result of fungal infections thriving in wet conditions, leading to damage and potential leaf drop. If left untreated, the problem gets worse and can spread to nearby plants, weakening your rosemary’s health, but fixing it is possible now if you inspect for affected areas and reduce moisture around the plant.
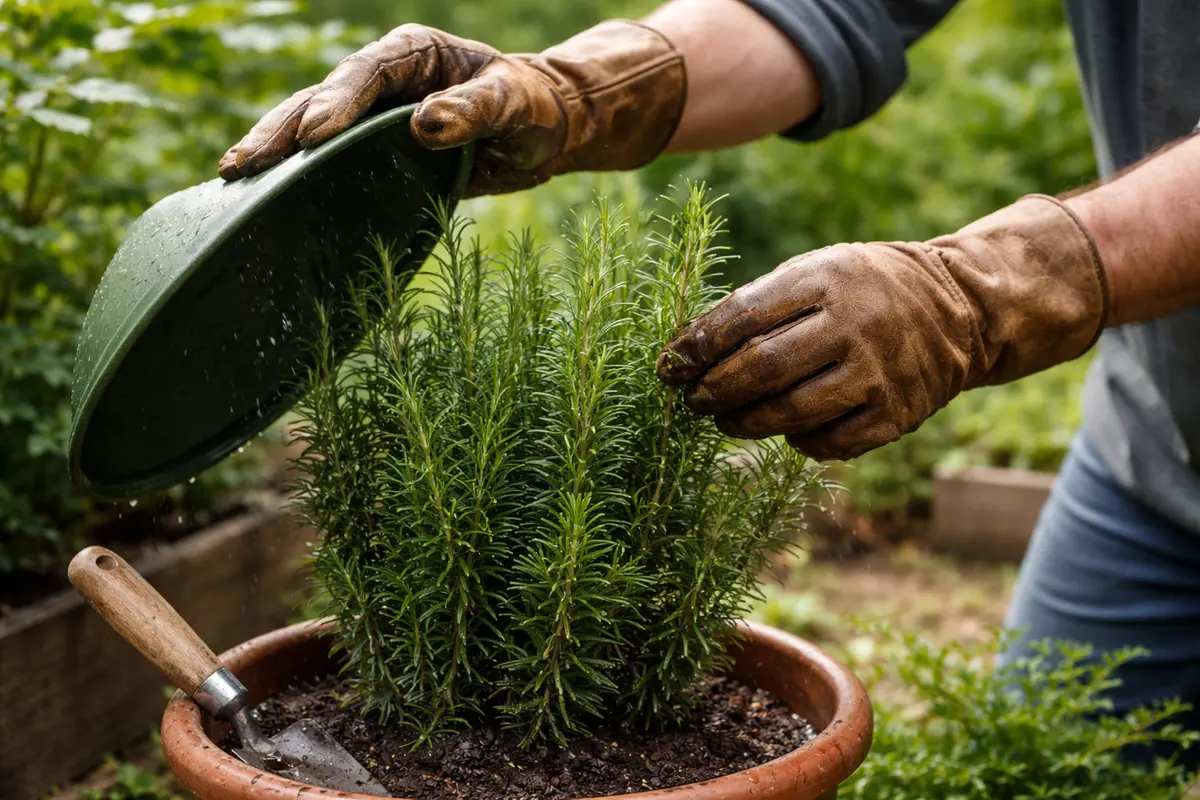
Step 1 – Trim Rosemary Leaves with Fungal Spots

First, inspect the undersides of your rosemary leaves for any signs of grey or black fungal spots. If you find them, immediately prune away the affected leaves using clean, sharp scissors. After this action, you should see less visible fungal spread on the surrounding healthy foliage within a couple of days, as the airflow improves and moisture retention decreases.
Acting quickly is crucial with rosemary, as high humidity allows fungal spores to proliferate rapidly, leading to wilting and eventual death of the plant. If you delay action, the infective fungal agents can absorb resources from healthy tissues, causing widespread leaf discoloration. If you notice spots only on a few leaves, it indicates an early stage, whereas widespread damage signals a severe infestation that may require more intensive treatment. If not all the leaves are affected → check the soil moisture and humidity levels.
A gardener once waited too long to address fungal spots on their rosemary, leading to a complete die-off within weeks. In contrast, a neighbor observed the early signs and acted swiftly, enjoying a vibrant plant season despite the humidity. Commonly, gardeners may assume that less disease visible means less threat, neglecting to assess hidden areas where spores can linger and spread.
Removing the damaged leaves helps prevent the spread of the fungus to healthy parts of the rosemary. This immediate action reduces the infection load on the plant, allowing more energy to be redirected towards recovery. If these spots are allowed to proliferate, they can weaken the entire plant, leading to more severe damage and potentially the plant’s death. Dead and damaged tissues can serve as a breeding ground for pests like aphids and spider mites, compounding the issue further. Routine inspections are essential; focus on areas that retain moisture longer, such as lower leaves and inner foliage.
Many gardeners make the mistake of waiting too long to act, thinking the problem will resolve itself on its own. It’s vital to assess the damage promptly; if you delay, the fungus can spread quickly, causing more extensive injuries to the plant. A common misconception is to keep cutting back leaves only when they become extremely affected. Regular inspections are necessary—make a habit of checking your rosemary every few days, particularly during humid conditions. Failing to act swiftly often results in the need for harsher treatments later. If you notice that the fungus has spread to more than just a few leaves, consider reassessing your entire plant care strategy, as it may indicate issues beyond just humidity or fungus.
Step 2 – Examine Humidity Levels Causing Fungus
Start by examining your rosemary plants closely for any signs of fungal spots, focusing on the leaves and stems. If you spot discoloration or a velvety texture, immediately remove the affected foliage and improve air circulation around the plants by spacing them adequately. You should notice a reduction in fungal spots over the next few days as the plant adjusts to the increased airflow.
Fungal spots on rosemary often stem from excess moisture in the soil due to high humidity or poor drainage. In these conditions, the soil is likely retaining too much water, creating an ideal environment for fungal pathogens to thrive. This results in symptoms like yellowing leaves or patches that can spread quickly if not addressed; contrasting healthy plants will have bright green, firm leaves without discoloration. If the soil feels soggy and compact, check for proper drainage issues such as blocked pots or heavy mulch covering the roots.
If you notice a sour smell emanating from the soil, it indicates root rot, which necessitates immediately removing the rosemary from its pot and inspecting the roots for decay. Off-colored, mushy roots signify the presence of rot, while firm white roots suggest a healthier state. In this case, repot the plant in fresh, well-draining soil to prevent further fungal issues.
Excess moisture, particularly in warm, humid weather, encourages fungal growth on rosemary. By measuring humidity with a hygrometer or checking environmental conditions, you can determine how much moisture is in the air. If humidity levels remain above 60%, the likelihood of fungal infections increases, creating a vicious cycle that keeps the problem worsening. Prolonged rain or high humidity can lead to waterlogged soil, which hinders root respiration. Look for symptoms such as yellowing leaves or root rot, which can signal too much moisture around the root zone.
If you notice the soil retains excessive moisture or the air is particularly muggy, consider improving airflow around the plant. This might involve thinning out competing plants or rearranging your garden layout to increase space. Proper spacing allows for better air circulation and helps in drying out the foliage after rain. Make sure to position rosemary in a location with good sunlight exposure, as direct sunlight can help evaporate excess moisture on the leaves. Additionally, adjust your watering practices; allow the soil to dry out slightly between waterings. If your rosemary stays damp too long, fungal issues will persist, requiring more drastic measures. Look for soil that is consistently wet or exhibiting a sour smell, which can indicate overwatering and poor drainage. If you suspect poor drainage, consider replanting in a well-draining mix or elevated bed.
Step 3 – Apply Anti-Fungal Solution on Rosemary
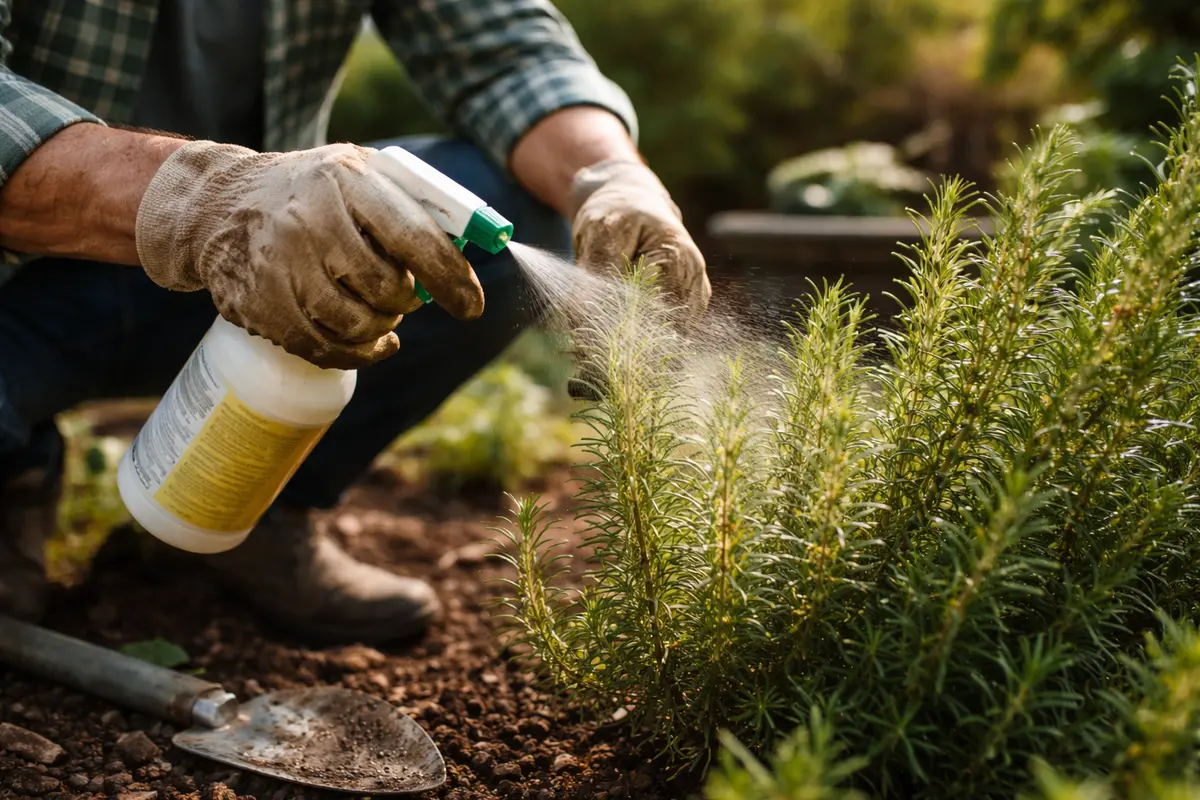
First, apply a balanced, organic fungicide to the affected rosemary plants, ensuring to cover both the upper and lower surfaces of the leaves. Within a few days, you should notice a reduction in the fungal spots, with new, healthy growth beginning to emerge from the stems.
Realistically, the recovery timeline can vary, but you may see significant improvements within two weeks under ideal conditions, such as dry weather and adequate sunlight. Healthy regrowth will appear as bright green shoots that are free from discoloration, indicating that the plant is effectively shedding the infected foliage. If you identify leaf yellowing persisting beyond this period, check for consistent moisture levels in the soil, as excess water can hinder recovery.
During recovery, avoid the mistake of over-fertilizing your rosemary, which can lead to new growth that is more susceptible to fungal infection. Instead, focus on ensuring that the watering schedule allows the soil to dry out between waterings, as overly wet soil can promote fungal issues. If you notice that new growth is wilting or becoming limp, check for waterlogged soil, as this condition can severely stall the recovery process.
Recovery from fungal spots may take about two to four weeks, during which you may notice new, vibrant growth emerging from the stems. Healthy regrowth appears as small, light green leaves that are free from discoloration, while unhealthy areas will show delayed growth and persistent spots. If the rosemary continues to have issues after treatment, check for excessive moisture in the soil, as this can hinder the plant’s recovery.
A critical mistake during recovery is overwatering, which can lead to root rot and exacerbate fungal issues. Timing your watering based on the weather conditions — allowing the soil to dry slightly between waterings — helps maintain optimal root health. If you notice the leaves drooping or wilting despite regular watering, check the soil moisture levels as these can indicate overwatering or underwatering.
A good anti-fungal treatment can break down the spores that cause the fungus and promote healthier growth in your rosemary. Organic fungicides or solutions with copper sulfate are often effective without harming the plant. The application should be repeated every week for a few weeks until the fungus is completely eradicated. After the initial application, assess the condition of the plant; dead leaves should continue to be removed to prevent them from harboring spores. After spraying, avoid watering the plant for 24 hours to give the treatment time to work effectively.
Be cautious not to oversaturate the rosemary with too much treatment, as it can lead to leaf burn or root complications. It’s critical to follow label directions closely, as dosages vary significantly between products. A common error is to try multiple products at once, which can stress the plant more than necessary. Instead, use one approach effectively and give your rosemary time to recover between treatments. If the treatment appears ineffective after a week, it might be time to investigate alternative treatments or reassess your method of application. Also, keep an eye on the weather; applying antifungal treatments when rain is imminent can wash the treatment away and reduce efficacy, and be cautious not to expose treated leaves to direct sunlight immediately after application, as this can increase the risk of burning.
Step 4 – Shield Rosemary from Excess Humidity
Start by ensuring your rosemary plants receive proper air circulation by spacing them adequately and pruning any overcrowded areas. This simple action decreases humidity around the foliage, leading to fewer fungal spots and promoting healthier leaves.
The main trigger for fungal spots on rosemary during humid days is excessive moisture in the air, which fosters fungal growth. By improving air circulation and reducing dampness, the likelihood of developing these spots significantly decreases. If you notice spots appearing, it’s crucial to examine the surrounding plants; tight spacing can also lead to increased fungal outbreaks.
During particularly humid summer months, consider applying a natural fungicide like neem oil every two weeks as an additional preventive measure. This creates a protective barrier against fungus and helps to manage existing spores, ensuring your rosemary stays resilient even in unpredictable weather conditions.
Seasonal weather changes might shift humidity levels, so it’s wise to adjust your care routine accordingly. During particularly humid summers, consider using row covers to shield your plants from excessive moisture while still allowing sunlight. This technique can create a micro-environment that is less hospitable to fungus. Likewise, during cooler nights when dew forms, take extra care to ventilate your garden properly. Lightly shaking your rosemary to encourage air movement can help, as can using fans strategically placed in the garden to increase airflow. A layered approach of adjusting watering, spacing, and protective measures can lead to a more sustainable solution against fungal attacks. Keep track of the weather forecast; if heavy rain is expected, plan to implement protective measures in advance. If your area is prone to high humidity conditions frequently, consider relocating containers to a less humid spot or redesigning flower beds with airflow in mind.
Step 5 – Look for New Fungal Growth on Rosemary
Monitor your rosemary closely for any signs of new fungal growth every few days after treatment. You should observe that the affected areas are stabilizing, meaning existing lesions are shrinking and that no new spots appear. An increase in new foliage or shoots is also a positive indicator that your treatment strategies are working. Pay special attention to the newer leaves, as they are particularly vulnerable during recovery.
After you’ve applied treatments and managed humidity levels, it becomes crucial to keep an eye on your rosemary plant regularly. If the environment remains conducive to fungus, you might notice new spots forming even after you’ve treated an infection. Recovery will present as new growth, firm leaves, and greener coloration if the plant stabilizes. This should take around two weeks, depending on the environment. If conditions in your garden frequently revert to humid, then ongoing monitoring will be necessary.
If you find new growth of fungal spots, it’s essential to reevaluate your humidity control measures. Check for localized moisture around the stem base and offer more airflow, or modify your watering schedule again to ensure that the top layer of soil dries out. In severe cases, consider reapplying anti-fungal treatments or consulting an expert for more advanced solutions if the problem persists. Keep in mind that environmental stressors can exacerbate the issue, so if your rosemary shows signs of wilting or discoloration, despite treatment, it might be worth investigating other contributing factors like soil quality, pH levels, or potential pests. If multiple areas of your rosemary become affected, it may indicate a larger systemic issue requiring immediate attention; be vigilant in assessing not just the plant health but overall garden conditions.
FAQ
Can fungal spots spread to other plants in my garden?
Yes, fungal spots can spread to nearby plants if the conditions remain favorable. High humidity and close planting can facilitate the rapid transfer of spores. This transmission occurs most readily when leaves touch or if moisture settles on them during nighttime, providing a pathway for fungal spores. Separating affected plants immediately reduces the risk of wider spread, so consider relocating plants to provide physical distance.
Will rosemary recover from fungal spots if treated properly?
Yes, rosemary can recover from fungal spots when treated correctly. With prompt action, including trimming affected leaves and applying fungicides, you’ll likely see improvements within a week. Evidence of recovery includes denser foliage and healthier colors back on your plant. Moreover, monitoring your plant’s environment for recurring humidity issues is key to sustaining this recovery.
How long should I wait to apply more treatment for fungal spots?
Typically, you should wait about a week before reapplying treatment to allow time for the first application to take effect. During this period, keep a close watch on your plants to assess treatment effectiveness up to that point. If symptoms are still observable after that week, consider reassessing the product and method used before applying again. Watch for any recurring symptoms, especially after rain showers, as they could indicate lingering moisture conducive to new fungal growth.