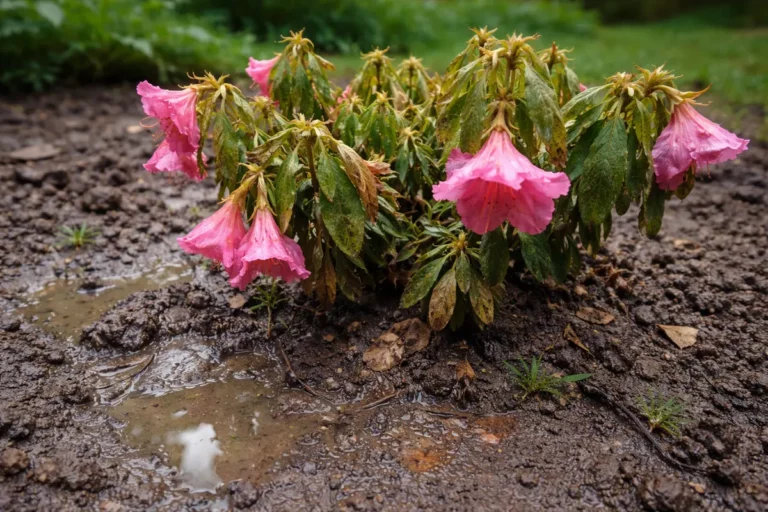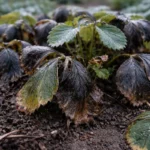
You may notice your ferns sagging and losing their lush appeal during high humidity, which is why you need to know how to stop drooping ferns during high humidity. This drooping often occurs because excessive moisture disrupts their water balance, leading to wilting and poor health. If left unaddressed, the situation can worsen and weaken the plant, making recovery harder. However, you can fix this now by adjusting their environment and monitoring their watering needs.
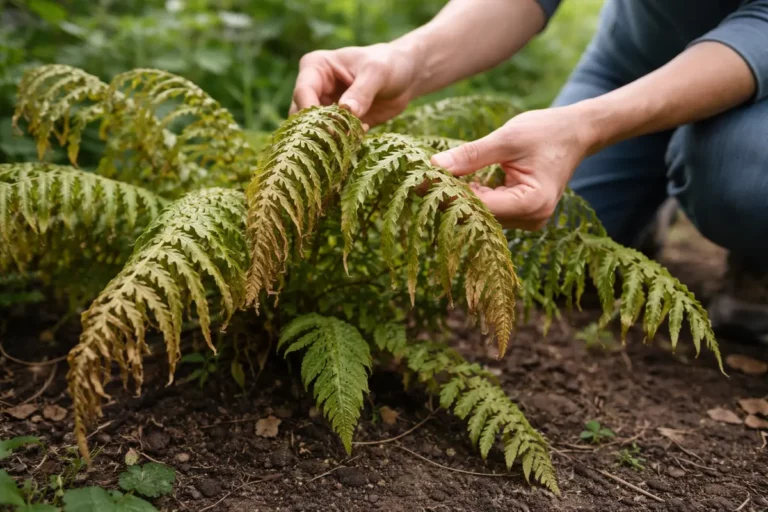
Step 1 – Inspect Ferns for Signs of Overwatering
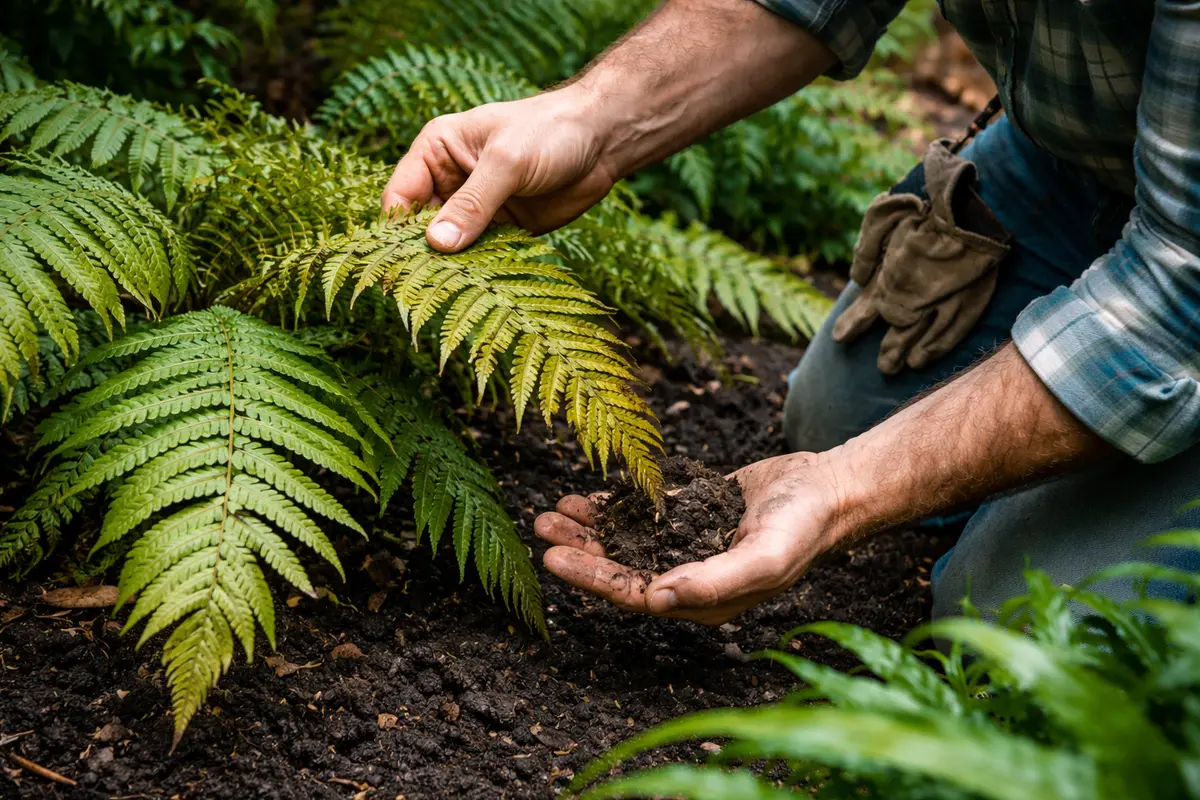
Start by checking the soil moisture around your ferns immediately. You should check if it feels overly saturated or if the surface is dry. This is critical because overwatering can lead to root rot, which compromises the plant’s ability to absorb water and nutrients effectively. If you insert your finger into the soil up to your second knuckle and feel that it is wet, it’s a clear sign of excessive moisture. The soil’s heavy weight and tendency to clump easily frequently indicate prolonged saturation, which can severely compromise root health over time.
Inspecting the soil is essential because ferns thrive in well-drained conditions. Prolonged wetness can suffocate the roots, leading to diminished oxygen availability essential for normal metabolic processes. When the soil stays saturated, it leads to root rot, which directly causes drooping leaves. This situation is usually exacerbated during periods of high humidity, where evaporative loss from the soil is minimal and underground fungal issues can proliferate. Early detection is crucial; if you find the soil soggy and continually wet, it indicates damage to your ferns’ health. Implementing a routine of checking the soil every week, particularly after heavy rain, can prevent such issues before they escalate into serious problems.
A common mistake is not recognizing how high humidity affects soil moisture levels. For example, many gardeners think they can water their ferns based solely on humidity indicators. If the soil appears soaked while the air is humid, it may signal an oversaturation issue rather than appropriate moisture retention. To avoid further complications, utilize a moisture meter for a quick check; if the reading suggests overwatering, hold off on watering until moisture levels normalize and the leaves begin to recover. If you discover persistently high moisture even during dry spells, consider replacing the potting mix with a blend designed for better drainage, ideally with perlite or sand mixed in. Moreover, checking the roots for signs of rot, like a dark color or a mushy texture, can help confirm superfluous moisture is stifling your ferns. If rot is detected, trimming the affected roots will help prevent the issue from spreading further.
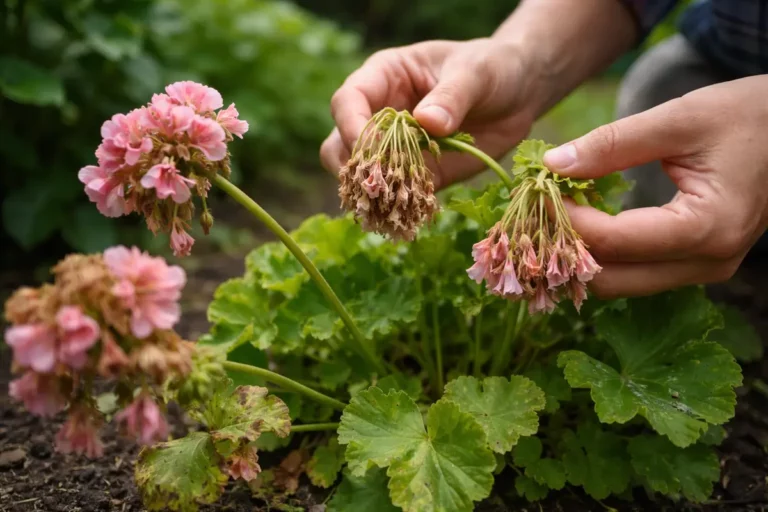
Step 2 – Diagnose Humidity Effects on Leaf Droop
First, check the moisture level of the soil by sticking your finger about an inch deep. If it feels overly wet, reduce watering immediately to prevent further drooping, and observe the ferns perk up within a few days.
When soil remains constantly wet during high humidity, the roots of the ferns may become waterlogged, leading to oxygen deprivation. This condition stunts nutrient intake and results in drooping fronds. In contrast, if the soil drains well and is merely damp, the plant is likely responding to humidity and may simply need better airflow.
If the soil smells sour, indicating possible root rot, remove the ferns from the pot, trim away damaged roots, and repot in fresh, well-draining soil. Alternatively, if you notice the fronds are turning brown at the tips, it could signal a lack of humidity rather than too much water, which would require misting or a humidity tray instead.
In high humidity conditions, drooping ferns often indicate root rot due to waterlogged soil, leading to poor oxygen availability for the roots. The plants’ tissues can become waterlogged and weak, causing them to droop as they lose structural integrity. If your ferns are drooping but the soil feels dry, it could suggest underlying stress from inconsistent watering instead of excess moisture. This inconsistent moisture can worsen over time, leading to further droopiness. If drought conditions arise, take action by consistently providing adequate water and ensuring the pot remains in a humid environment.
If you notice a sour smell coming from the soil, it suggests decay and requires immediate repotting in fresh potting mix to prevent damage to the roots. Conversely, if the soil appears dry yet the leaves droop, this may indicate insufficient watering or erratic humidity. Check for signs that indicate whether your ferns need more humidity; you might introduce a humidity tray or a small humidifier, especially during dry conditions. If the location receives bright sunlight, consider moving them to a more shaded area, as the combination of hot sunlight and high humidity can exacerbate leaf drooping. If the location remains humid despite such changes, employing a humidifier in drier seasons can also maintain balanced humidity levels that reduce plant stress over time. Observations should include watching for consistent leaf droopiness, which may indicate a deeper soil issue that requires attention.
Step 3 – Fertilize Ferns to Revive Leaf Structure
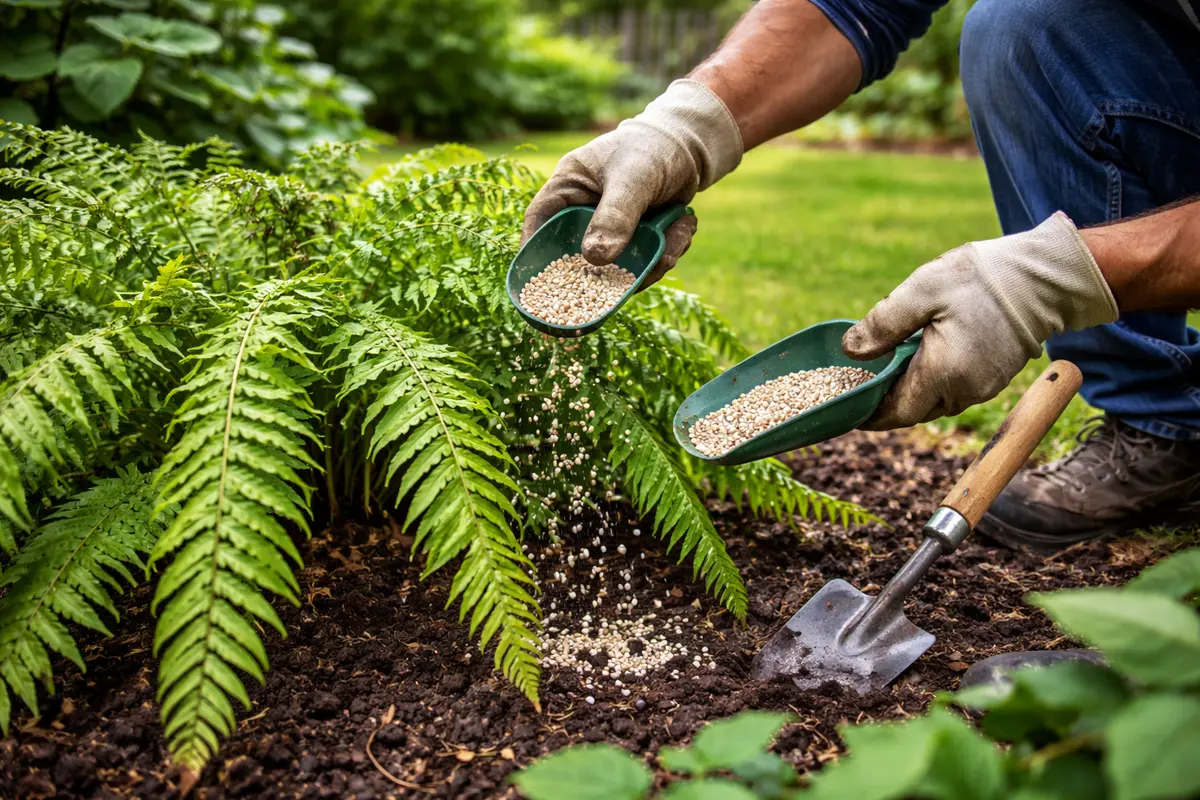
Apply a balanced fertilizer formulated for ferns to help restore vigor to drooping leaves. Within a week, you should observe an increase in leaf firmness, with new fronds emerging as signs that the plants are bouncing back from humidity stress. If you are using liquid fertilizer, follow the package instructions regarding the dilution ratio carefully; typically, a half-strength solution can be safer when the plant is under stress. Moreover, aim to fertilize during the cooler parts of the day, as this prevents the potential for fertilizer burn on the stressed foliage. Pay attention to the response of the fern approximately one week after application; an observable perkiness in leaves indicates that the nutrient uptake has improved, while any wilting or yellowing may signal a need for adjustment in the fertilizing process.
Fertilization is essential because it supplies the necessary nutrients that help ferns recover and thrive. During their active growth seasons in spring and summer, more nutrients are required for optimal health and recovery. Engaging in this fertilizer routine allows the plants to draw strength from improved nutrient availability. Keep an eye out for the emergence of new fronds as a sign that nutrient deficiencies are being resolved. If you fail to notice changes, it may be indicative of nutrient lockout due to overly compacted soil or insufficient drainage happening over time. Remember that the growing environment affects how well your ferns respond to fertilizing; higher humidity can aid in nutrient absorption, whereas stagnating water further complicates their recovery. This is particularly important to consider in high-humidity environments where nutrient uptake may require adjustment.
A common error is over-fertilizing ferns, believing that more fertilizer leads to healthier plants. In reality, applying too much fertilizer can lead to a chemical burn or an imbalance in soil pH, ultimately worsening plant health. Always apply fertilizer after watering to help avoid root burn. Monitoring responses closely after fertilization can reveal if your plants are showing signs of stress, such as yellowing leaves. If unusual yellowing or browning occurs after fertilization, consider cutting back on the frequency or concentration of fertilizer applied. Additionally, reassessing the soil health is crucial, as the suboptimal soil conditions would prevent ferns from advancing well even with fertilizer present. If the soil reads as too acidic, consider amending with lime to restore balance. If changes are required to improve the growth response, a simple soil amendment strategy could include integrating organic compost to foster better nutrient-dense conditions enabling vigorous growth.
Step 4 – Check for New Leaf Growth Post-Treatment
Monitor your ferns every few days for indications of new leaf growth. Look for signs like firmer stems and new growth emerging from the center of the plant. Observing these changes confirms that your interventions have been effective and that the ferns are on their way to recovery. Make it a habit of taking notes daily or marking dates up on a calendar to see whether your corrective measures yield results over time. Be attentive to the overall vibrancy of the foliage, as dullness can indicate underlying issues resurfacing and needs to be addressed immediately.
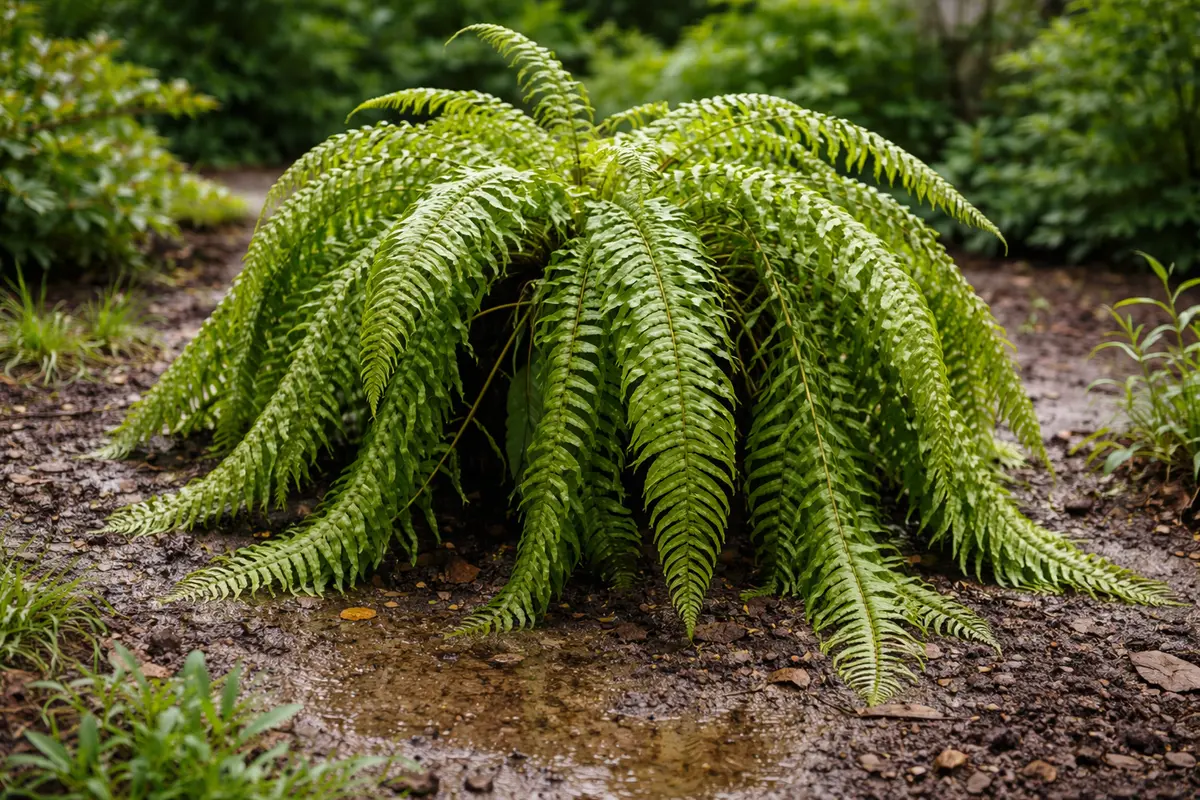
A fully recovered fern will exhibit perky and vibrant leaves, showing no signs of droopiness or yellowing. Look for revitalized colors, such as bright greens and the formation of new leaf shoots as they indicate that the plant is regaining its moisture and nutrient exchange capabilities. Conversely, if you notice ongoing wilt or browning despite these interventions, it hints that the original problem may be returning. In this case, take a closer look at environmental factors; for example, if the fern is still receiving direct sunlight or if there is underlying root entanglement complicating growth. Additional steps may be required; reevaluate water drainage, light exposure, or make adjustments to the location, as shifts in temperature can influence humidity and plant health. Frequent visual checks can be vital in determining whether initial correction efforts were successful.
If the ferns are not showing signs of improvement after a week, consider analyzing their growing conditions or seeking professional advice. Fungal diseases and nutritional deficiencies can develop inadvertently, so an outside perspective may aid in determining the issue. Check environmental factors such as overcrowding or root entanglement constraining overall health evaluations. If multiple plants show similar issues, it may indicate a broader concern that requires immediate attention. Always reevaluate growth conditions if you notice persistent drooping—even after you’ve implemented changes. Observing environmental elements can yield crucial insights for further adjustments. Additionally, if fungal or bacterial growth appears, applying a fungicide as per directions can quickly address the threat while allowing your ferns to begin their recovery. This additional caution should always be approached with care, ensuring proper application timing and quantity are observed.
FAQ
How long does it take for drooping ferns to recover?
The recovery for drooping ferns can take a week or two, depending on the initial severity of the issue. Observing new growth or firm leaves is a good sign that the plants are recovering. Ensuring that humidity remains stable and that waterlogging is avoided are key factors during this recovery period. If recovery is slow, consider reassessing the growing medium and drainage options available in your pot to ensure there is no compaction or layering preventing proper drainage. Furthermore, if new growth isn’t visible within this timeframe, it may signal that deeper root issues are at play that require attention.
Can high humidity cause fungal infections in ferns?
Yes, high humidity can lead to fungal infections such as root rot or powdery mildew. Should you notice any unusual spots or a musty odor emanating from the soil, immediate adjustments to enhance drainage and reduce moisture levels are necessary. Timely interventions, like modifying watering schedules or enhancing air circulation, can greatly help limit these infections from spreading. Regularly monitor moisture levels, especially during cooler months when humidity levels can unexpectedly increase and create prime conditions for fungal growth. Furthermore, addressing any humidity misalignments can enhance plant vitality over time.
Should I remove severely drooping leaves?
If the leaves are severely drooping or damaged beyond recovery, it is advisable to prune them. This not only improves the plant’s looks but also helps redirect its energy to healthier portions. Always make clean cuts using sterilized tools to minimize the risk of disease transmission and facilitate the healing of the remaining foliage. If pruning encourages substantial growth in the remaining leaves, consider this a positive sign indicating the plant’s resilience and response to improved care practices. Such actions can help create a visibly vibrant plant that reflects its better health condition moving forward.