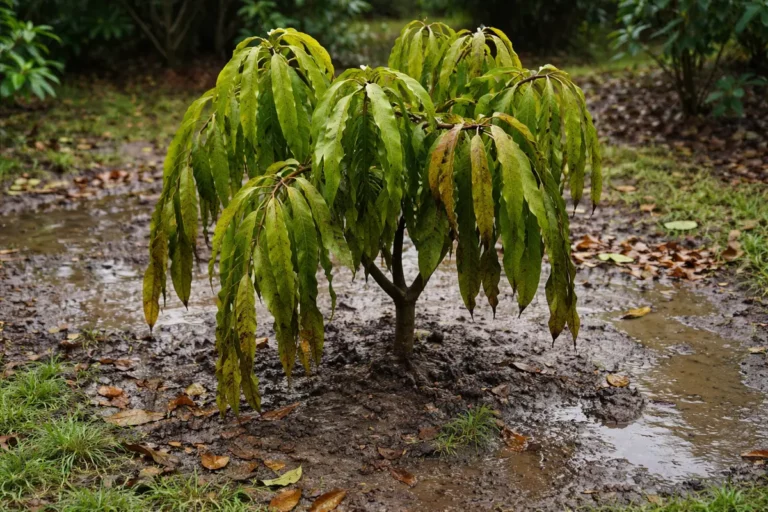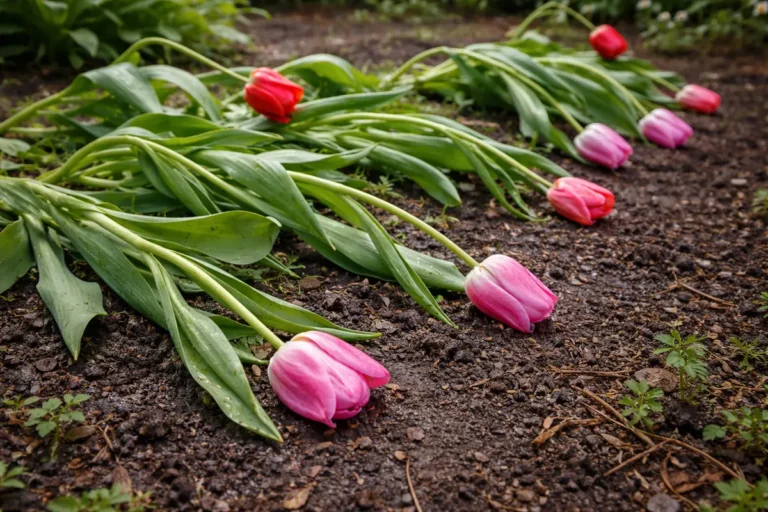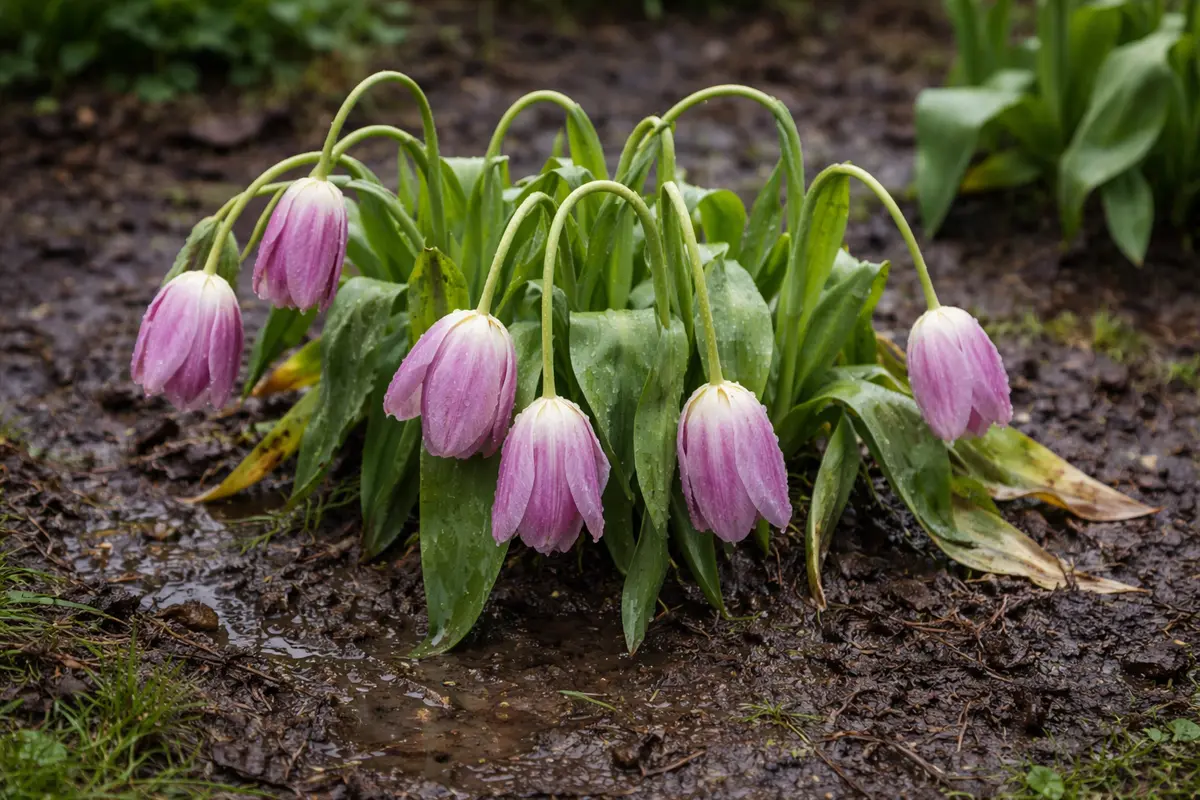
You may notice that your tulips are drooping and losing their vibrancy when checked just a few days after heavy rainfall, which is why you need to know why are my tulips wilting after heavy rainfall. This wilting is often caused by waterlogged soil that leads to root rot and ultimately leaves the plants suffering from damage. If left unaddressed, this condition can spread through the roots and weaken the plant, making recovery harder to fix; however, you can still improve the situation by inspecting the soil, adjusting watering habits, and ensuring proper drainage.
Step 1 – Assess Wilting Tulip Condition Immediately
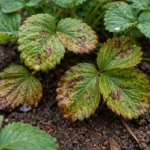
Inspect the tulips for signs of excessive water exposure, especially at the base of the plant. You will see areas of soil that are visibly soaked and may even notice wilting leaves developing discolored edges within a few hours. Additionally, if you encounter an unusually sour odor, this could indicate root damage; for example, a sour smell is often a telltale sign of rot. Yellowing or molding leaves signal an urgent need for intervention to prevent further deterioration. If the leaves have become mushy or begin to fall off, that too is a critical sign of distress that must be addressed.
Examining your tulips promptly allows you to catch early signs of water damage, which can prevent serious issues like root rot. When waterlogged, the roots can drown, cutting off the oxygen they need for healthy function. A timely intervention can significantly alter the recovery trajectory of your plants. After heavy rainfall, consider checking both surface conditions and about an inch deep to accurately assess soil moisture. It’s important to remember that wet soil feels heavy and compact compared to healthy, aerated soil. If drainage holes or pathways are clogged, that can exacerbate the problem; ensuring these are clear right away can prevent moisture from accumulating further.
A common mistake at this stage is failing to differentiate between natural wilting due to drought stress versus wilting caused by over-saturation. For instance, if you see brown curling leaves, this might signal drought stress rather than excess moisture. When it rains heavily, many gardeners instinctively think additional watering is required, which leads to compounded issues and further stress on the plants, ultimately increasing the likelihood of disease. If this misdiagnosis occurs, the outcome can be severe: while looking for signs of water need may promote surface watering, the roots may still be drowning beneath the soil. Therefore, it’s vital to check soil moisture before taking any action.
Step 2 – Diagnose Excess Moisture in Tulip Roots
Check for waterlogged conditions in the soil surrounding your tulips. You will observe that the soil feels muddy and compacted, which indicates a lack of drainage; this can be confirmed by squeezing a handful of soil to see if water seeps out easily. Ideally, the soil should remain somewhat intact when squeezed lightly; if it falls apart while oozing water, aeration is urgently needed. Supporting structures like mulch should be adjusted accordingly; for example, consider removing heavy mulch layers at this point to allow better evaporation during recovery. Moreover, inspect areas of soil next to the stem for excessive pooling, as this can signal an urgent problem.
Understanding how moisture affects tulip health is vital for recovery. If the soil holds too much water, it essentially cuts off the root’s ability to breathe. Excess moisture can lead to root rot, essentially locking in too much water and creating an anaerobic environment detrimental to the plant’s survival. If roots feel mushy or break easily when tugged gently, that indicates rot is likely present, and the surrounding soil should be examined closely. An immediate move to assess and amend drainage pathways can make a significant difference in your tulip’s survival chances, especially if you can establish whether the issue is localized or impacting a broader area.
If the soil immediately next to the roots smells sour, indicating anaerobic conditions or decay, then it is crucial to remove the affected section and replace it with fresh, well-draining soil or amend the existing soil with sand or perlite to enhance drainage. Additionally, if your area has clay-heavy soils, which can often hold more water, consider incorporating organic matter into it. For instance, mixing in compost can help improve soil structure. Adjusting these conditions is key to preventing future instances of wilting. For example, you might notice better drainage by creating a planting bed elevated with compost, which helps retain moisture while allowing surplus water to escape more readily. If left unaddressed, the risk of fungal growth increases, which can be detrimental to your tulip health.
Step 3 – Revive Wilting Tulips with Drainage Solutions
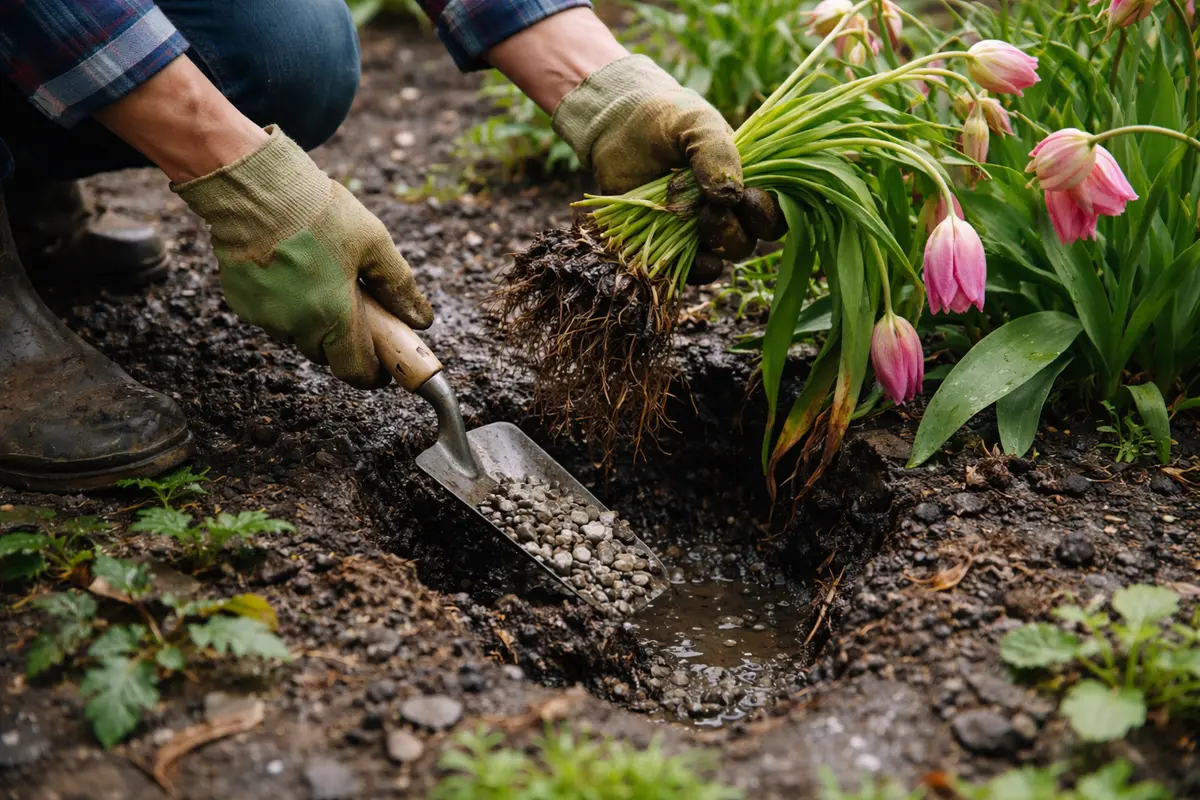
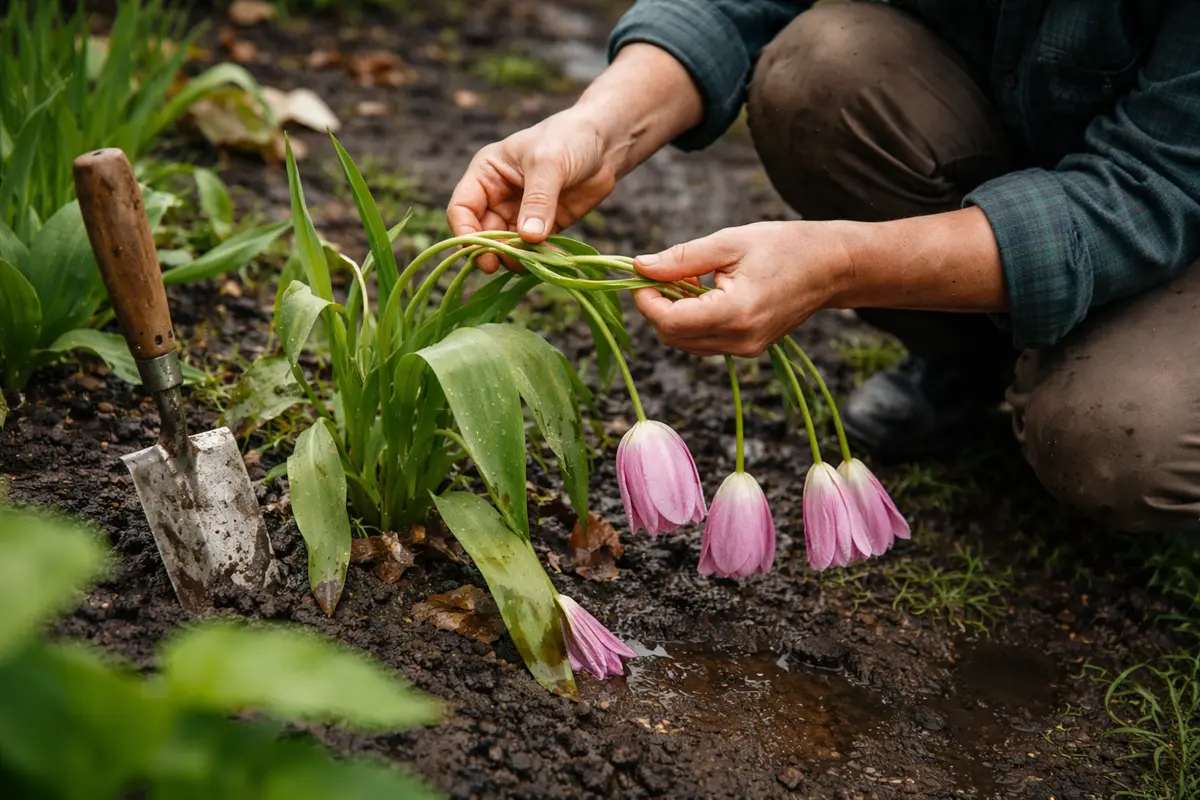
Start by gently lifting the tulip bulbs from the soil to assess their condition, allowing any excess water to drain away. After relieving the soil’s moisture, observe for signs of recovery such as firmed stems and new leaf growth within a week. To prevent future wilting, ensure well-draining soil by mixing in organic matter and water only when the top inch of soil feels dry, ideally just before the blooming season begins.
Recovery from wilting caused by heavy rainfall typically takes a week or two, depending on the soil’s drainage capabilities and weather conditions. If your tulips are visibly wilting even after this recovery attempt, check for root rot, which thrives in persistently soggy soil. If the soil remains overly saturated, your tulips are likely to wilt again, whereas good drainage will promote resilience against similar weather events.
A common mistake during the recovery-prevention transition is over-fertilizing to boost growth, which can exacerbate stress and lead to more wilting. Instead, allow the plant to absorb its existing nutrient base, especially while the bulbs are recovering. If the wilting persists despite soil adjustments, check for pests such as slug infestations that could be stressing the plant further.
Tulips often show signs of wilting after heavy rains due to saturated soil, which limits oxygen access to the roots. Recovery can take several days as the bulbs absorb the oxygen and regain their strength, particularly if the rain is followed by sunny weather that can dry the surface soil quickly. If you find that wilting occurs again, assess if the soil is waterlogged; if not this, check the surrounding drainage systems to ensure they are functioning properly.
A common mistake during recovery is over-fertilizing, believing that extra nutrients will help the tulips bounce back quickly. In reality, applying fertilizer to stressed plants can harm them further. If foliage appears yellow, reduce or eliminate fertilizer applications until you can confirm the soil is well-drained and the tulips are showing signs of healthy growth again.
Incorporating a mix of garden grit or perlite into your soil mix in a ratio of 1 part grit to 3 parts existing soil reduces the risk of waterlogging when the weather turns wet. This helps create space in the soil for air, allowing roots to thrive even after heavy rain. Regular monitoring of drainage and moisture balance during seasonal shifts can help you maintain healthy tulips; additionally, you should ensure that any repairs you make do not disturb the root systems too heavily, which could stress the plants further. After making these amendments, it is advisable to gently work the topsoil to integrate the new materials without damaging the established roots. This delicate balance is crucial — if the roots become exposed, it may lead to further stress and loss of plant vitality.
During the transition from recovery to prevention, some gardeners mistakenly assume that improved drainage means they should increase watering intensity. This can lead to re-saturation that is detrimental. An effective strategy is to allow the top 1-2 inches of soil to dry out before watering again, which effectively balances the moisture needs appropriately. For example, if the soil remains spotty dry in the upper layer, this is an ideal cue to water, whereas consistently wet soil suggests that even more adjustments are necessary. Properly balance your tulip’s water needs by remembering that their requirements vary significantly between dry periods and after significant rainfall. If you find this process challenging, implementing a moisture meter could provide an effective solution to gauge when to water accurately, ensuring you only water when necessary.
Step 4 – Check Tulip Leaves for Health After Rain
Start by checking the soil moisture around your tulips. Dig about an inch down to determine if the soil is overly saturated or waterlogged; this is when the soil retains excess water, leading to root rot. Observe the leaves for drooping or yellowing, and recheck in 24 to 48 hours to see if conditions improve or worsen.
A fully recovered tulip will display vibrant, upright leaves with a firm, glossy texture indicating healthy sap movement. In contrast, early signs of the problem returning include soft, discolored leaves that may start to mush or collapse. If you notice leaves yellowing again while the stems remain firm, it may indicate lingering moisture issues.
If the wilting persists despite following previous steps, consider reducing watering further and improve soil drainage by incorporating perlite or sand. Escalate the situation by removing any visibly rotten bulbs and treating the remaining plants with a fungicide designed for root diseases if symptoms worsen.
When recovering from water stress, check that leaves return to a crisp green rather than remaining limp. Healthy tulips will produce new growth at their tips, signaling progress; in contrast, failure to see new growth suggests ongoing issues with the roots. If you find that lower leaves are discolored but upper leaves are recovering, it indicates the plant is managing stress but still needs attention to improve its health. Regularly applying compost or a balanced fertilizer can benefit overall vitality and replenish any lost nutrients, particularly those that may have been washed away during heavy rainfall. It’s also essential to assess any lingering symptoms closely.
If after a week you still see wilting or notice continuing leaf drop, reevaluate your watering practices and assess for any persistent fungal issues. Observing brown spots on the leaves may indicate fungal concerns, suggesting a need for further treatments. If you suspect a fungal infection, consider applying a fungicide specifically designed for tulips and flowering plants. Ensure that plants have adequate spacing for ventilation to diminish dampness. Make note of any unusual occurrences, such as increased insect activity around the plants, as they may signal underlying problems that require professional intervention. Addressing these issues promptly can prevent further damage and likely aid in your tulip’s recovery.
FAQ
How long does it take for tulips to recover after heavy rain?
Recovery times can vary, but typically, you should see signs of improvement within 3-7 days following adequate drainage measures. If the roots have suffered significant damage due to prolonged water exposure, full recovery could take several weeks; monitoring conditions closely will help gauge their progress and any necessary adjustments. Consider logging observations daily, which could guide your care efforts effectively.
Can wilting spread from one tulip to another?
Yes, if the issue is due to root rot or a fungal infection, it can potentially spread to neighboring tulips, especially if they share the same soil conditions or root space. Prompt remediation is crucial. Regularly inspect not only the affected tulip but also adjacent plants to catch any early signs of distress. If you see signs of yellowing or wilting in nearby tulips, consider taking preventative action soon, as failure to address these issues can have cumulative effects across your tulip bed.
Should I remove wilting tulips immediately after heavy rain?
Evaluate the condition first. If the tulips are showing signs of rot, such as soft, mushy bulbs or roots, it’s advisable to remove the affected plants to prevent the issue from spreading to neighboring tulips. Healthy plants, even wilted, can often recover with proper care, so make a thorough assessment before deciding to remove any plants entirely, keeping in mind that sometimes swift intervention can save the plant without the need for removal. Ensure to inspect the overall bed condition to discern the underlying problems or patterns leading to wilting.