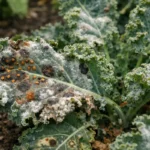
You may notice your herbs starting to yellow after long humidity, which is why you need to know what to do if your herbs yellow after long humidity. This yellowing often results from root stress due to excess moisture, leading to wilting and potential root rot. If left unattended, the issue can worsen, weakening the plant and eventually leading to more damage, but fixing it is possible now if you inspect the soil, reduce watering, and improve air circulation.
Step 1 – Prune Yellowing Herb Leaves Immediately
Start by inspecting the soil moisture and reducing watering if it’s too saturated; lift the pot slightly to gauge weight and drain excess water if needed. You should see a slight improvement in the yellowing foliage within a few days as the plant begins to stabilize and recover.
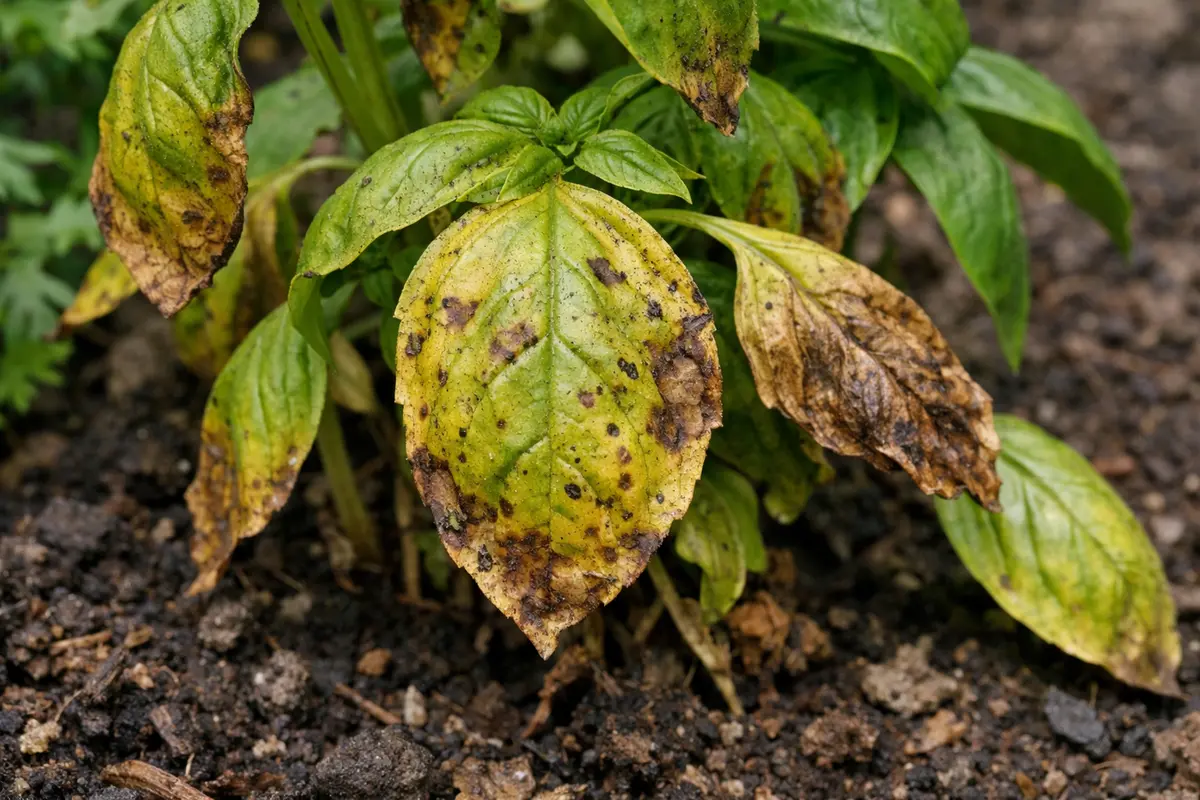
Acting quickly to address yellowing herbs is crucial because prolonged humidity can lead to root rot, which hampers nutrient absorption. If left unchecked, the plant’s ability to photosynthesize diminishes, resulting in a cascading effect of further yellowing and potential death. If the leaves are mushy or translucent, this indicates severe stress—if not this, check for nutrient deficiencies in the soil.
A gardener once noticed her basil wilting in a particularly humid week but delayed adjusting her watering schedule. By the time she took action, half the plant had developed root rot, impacting her harvest significantly. Timing is essential; some gardeners mistakenly think the yellowing is just cosmetic, not realizing it indicates deeper moisture issues in the roots.
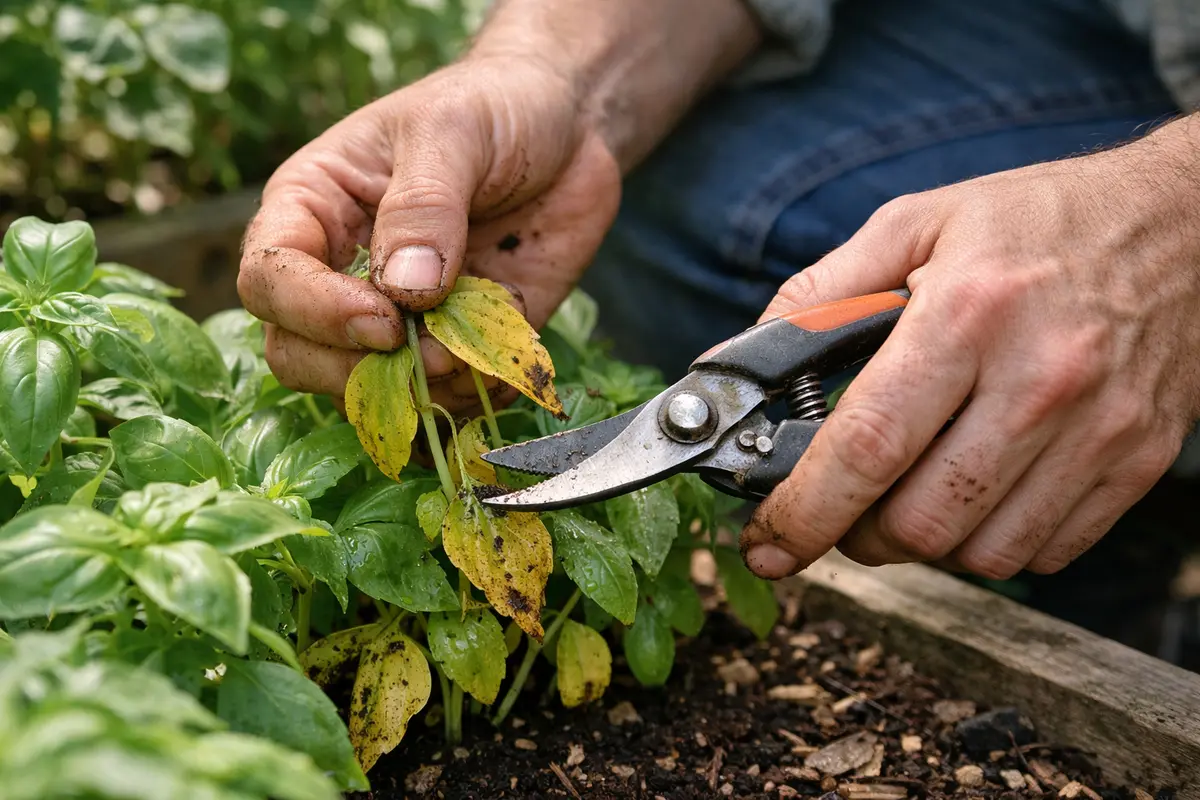
When you prune yellow leaves, you remove parts of the plant that may be contributing to overall decline. Yellow leaves often indicate that the plant is either receiving too much moisture or facing other stressors. If left unaddressed, these leaves can lead to further decline, as the plant will expend energy trying to maintain these damaged parts. Removing these typically makes it easier for the remaining foliage to access nutrients and light. Be on the lookout for signs of new growth within a week, which would indicate that recovery is underway.
A common mistake is to hesitate in pruning, fearing it will do more harm than good. However, removing the yellow leaves allows the plant to redirect its energy, leading to healthier growth elsewhere. Additionally, it’s crucial to ensure that when you are cutting, your tools are clean to prevent introducing any pathogens into the plant. Always use sterilized pruning shears to make clean cuts, which helps avoid any additional stress or infection risks. If leaves remain yellow even after pruning, it could be a sign that the plant is in more serious distress, necessitating further examination. Keep track of the timing; if yellowing persists after several days, it may indicate that other factors are at play.
Step 2 – Check for Root Rot in Herbs
Inspect the root system for signs of root rot by gently removing the plant from its pot. If the roots appear dark and mushy, this is a clear indication of rot due to excess moisture. Act swiftly to remove these blackened roots to prevent further decay. Healthy roots should be white or light brown and firm to the touch; if you find any that are discolored or mushy, it’s crucial to snip them away before they jeopardize the rest of the plant. Aim to check roots at least once a season, especially after a prolonged period of high humidity.
Root rot, typically caused by prolonged wet conditions, leads to a loss of the plant’s ability to absorb nutrients and water effectively. This can cause yellowing leaves, wilting, and in severe cases, plant death. Conversely, if the roots are healthy and firm, and the soil is moist, the yellowing may stem from a different issue, such as nutrient deficiency or pest infestation. It’s vital to differentiate between these causes to avoid unnecessary panic. If rotting is suspected due to excess water retention, consider switching potting mediums to promote quicker drainage.
If the soil feels overly saturated and you find you’re experiencing frequent root rot, consider adjusting your watering schedule. For instance, if your herbs sit in a container without proper drainage, they may require more attention regarding watering frequency to avoid waterlogging. In humid conditions where the air is already saturated with moisture, it’s essential to hold off watering until the top inch of soil feels dry. **As a diagnostic check**: If soil is wet and roots show issues, it likely confirms root rot; if the soil is dry but roots are still mushy, an entirely different issue may be responsible. Conversely, clay-heavy soils can retain too much moisture and may need amending with organic material for better drainage. An easy test is to insert a finger into the soil; if it feels damp an inch below the surface, hold off on watering. Meanwhile, if it’s dry, your plant might be thirsty.
Step 3 – Nourish Herbs to Revive Yellowing Foliage
Start by adjusting the environment of your herbs by providing adequate airflow and slightly reducing humidity levels. To achieve this, you can use a fan or open windows, which will help the plants regain their vibrancy. Within a few days, you should observe the yellowing leaves gradually turning greener and new growth appearing at the base of the plants. If after three days you see no improvement, revisit your watering practices to ensure you aren’t overwatering.
Realistically, recovery from humidity stress can take anywhere from a few days to several weeks, depending on the severity of the yellowing. Healthy regrowth will present as new, bright green leaves emerging alongside existing foliage, while stunted growth and continued yellowing indicate ongoing stress. If humidity remains high without air circulation, recovery may be prolonged; if not improving in a week, check for additional issues such as overwatering or persistent pest infestations.
Avoid overwatering your herbs during this recovery phase; excess moisture can exacerbate diseases that thrive in humid conditions. This becomes particularly critical for sensitive herbs like basil, which can wilt if roots become waterlogged. If the topsoil feels moist but lower roots are still dry, consider adjusting your watering schedule to allow for drier recovery conditions. This will be particularly important if you notice continued yellowing even after adjusting air circulation. Also, remember that certain herbs may react poorly to high humidity even without excess watering; for example, herbs like rosemary prefer drier conditions.
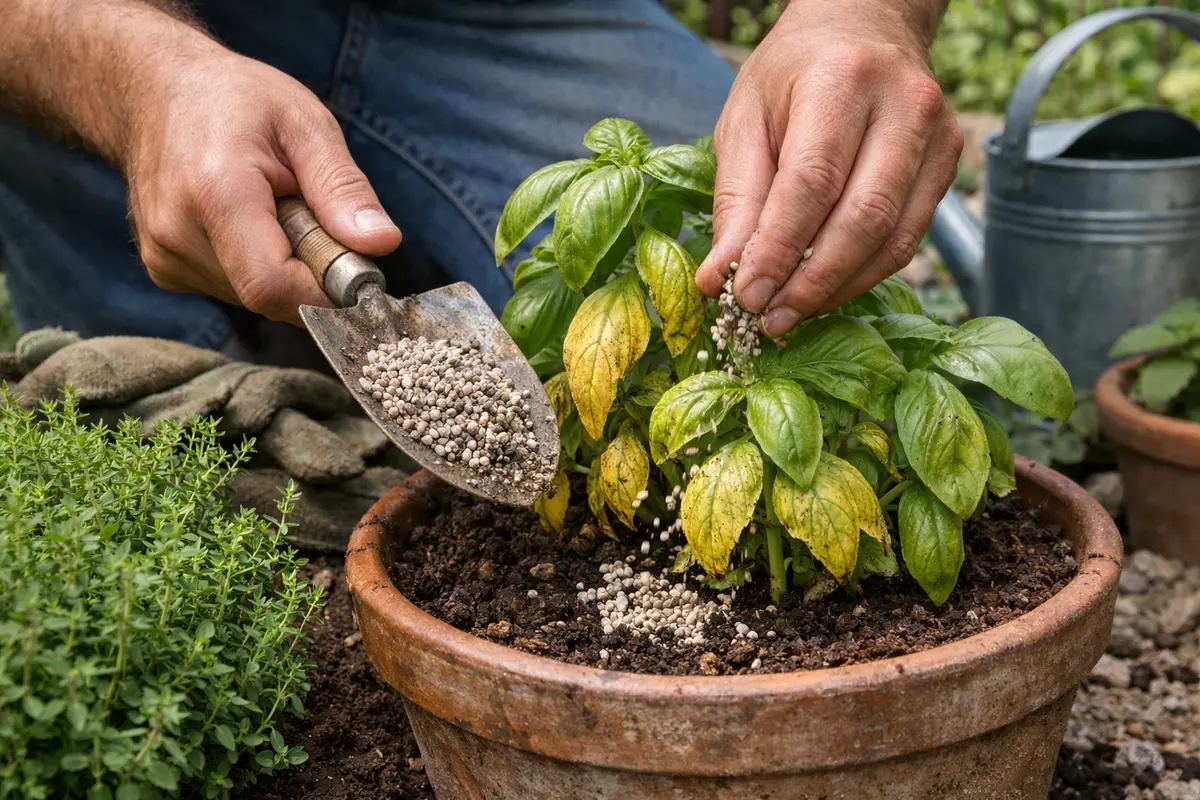
Nourishing your herbs addresses any nutrient deficiencies that may have developed due to the plant’s inability to absorb them during the period of over-saturation. The addition of fertilizer can expedite recovery by replenishing essential elements needed for growth, such as nitrogen, which is crucial for leafy herb development. Pay attention to the fertilizer’s instructions; using too strong a solution can have the opposite effect and may cause further yellowing due to nutrient burn. **As a rule of thumb**: if you find your leaves browning at the tips after fertilizing, it indicates a concentration issue.
However, during recovery, it’s important to avoid over-fertilizing as this can lead to nutrient burn. Once a nutrient-rich solution is administered, monitor the progress closely to avoid overwhelming the plant. New growth should be consistent, and any lethargy in recovery may signify that further adjustments to watering or soil conditions are necessary. You might also consider applying a mild organic solution if chemical fertilizers seem too harsh, especially for younger plants. If no progress is observed after a week of nourishing, check the soil pH, as an imbalance can also prevent nutrient uptake, indicating possible leaching issues with certain fertilizers.
Step 4 – Water Herbs Carefully in Humid Weather

Start by improving drainage around your herbs by incorporating coarse sand or perlite into the soil. As drainage increases, you should see a reduction in yellowing leaves, signaling that excess moisture is being managed effectively. Aim to utilize a potting mix designed for herbs, ensuring it offers both moisture retention and drainage.
High humidity can lead to root rot if the soil does not drain well, causing yellowing leaves as a symptom. By addressing the soil’s drainage capabilities with amendments, the roots gain access to more oxygen, preventing the conditions that trigger yellowing from recurring. If your herbs are still wilting while those are in well-drained soil remain vibrant, you can confirm the role of moisture retention. Specifically, if overwatered soil has a sour smell, this is a strong indicator of anaerobic conditions leading to rot.
During the rainy season, monitor the soil moisture levels more frequently, as it may retain water longer than usual. One practical approach is to dig a small hole and check for waterlogged conditions; saturated soil at one inch down indicates that it could be time to stop watering. To adapt, maintain a watering routine only on truly dry days and potentially use a moisture sensor for helpful accuracy. If you experience a spike in humidity, consider using a fan to increase air circulation around your herbs, providing an additional layer of prevention against fungal issues that can accompany prolonged dampness.
In humid conditions, overwatering is a common compromise as the high moisture level in the air may not require additional watering. Adjusting to water only when necessary helps prevent root rot and keeps the plant in a healthier moisture range, and this habit also supports seasonal growth adjustments. **For example**: during peak summer months when humidity levels are high, it may be best to reduce the frequency of watering compared to the drier winter months to avoid stressing the roots further. Additionally, you might want to consider switching to a potting mix that provides better drainage if your herbs consistently show signs of excess moisture retention despite reduced watering. If your soil retains water excessively, looking into a cactus or succulent mix may also augment drainage without sacrificing moisture retention entirely.
Step 5 – Inspect Herb Leaves for New Yellow Patches
Start by checking the soil moisture levels and the drainage of your herb pots. Observe the color and texture of the leaves; yellowing often indicates overwatering due to humidity. Recheck the soil surface and drainage holes every few days to ensure you’re not retaining too much moisture and that the leaves are regaining their deep green color. Particularly, if leaf areas remain yellow despite soil adjustments, inspect for signs of pests or nutrient deprivation.
A fully recovered plant features vibrant green leaves and adds noticeable thickness to its foliage, while the early signs of returning issues include a mottled yellowing and wilting at the leaf tips. The transition from yellow to green should be gradual and observable within a week of any corrective action taken. If you notice leaves that were once succulent turning dry and brittle again, this could indicate high humidity and poor air circulation. Taking a close look at the lower leaf portions can reveal hidden issues, often associated with pests seeking shelter.
If yellowing returns despite adjusting watering practices, consider moving your herbs to a location with improved airflow to reduce humidity levels. **An effective measure** includes altering the plant’s placement to receive more natural ventilation, potentially near open windows or fans. If that doesn’t resolve the issue, stepping up humidity control through a dehumidifier or fan may also be necessary to stabilize the environment. As a check-in protocol, reviewing new growth within two weeks will indicate the herb’s recovery; healthy regrowth should consistently emerge without yellowing or browning signs.
When the plant is fully recovered, leaves should have a vibrant green color, with no signs of yellowing or wilting. Additionally, assess the health of new growth as a point of reference for recovery, observing the firmness and overall vitality of the stems and leaves. If new yellow patches begin to show up alongside new growth, this may indicate a return to previous conditions or a new issue that needs addressing. It’s worth routinely inspecting for pests, such as aphids or spider mites, which can thrive in warm, humid conditions, detracting from the plant’s health. If you spot infestations, swift action with insecticidal soap can effectively manage the situation while you return to the prior care adjustments.
FAQ
How long does it take for herbs to recover from yellowing?
The recovery period for yellowing herbs can vary, but generally, you should see improvements within a week after correcting care issues. The more quickly you address the potential underlying problems, such as root rot or nutrient deficiency, the better the chances of healthy new growth. However, be patient, as some plants may take longer to regenerate their foliage fully depending on the extent of yellowing and the initial damage.
Can yellowing spread to other plants?
Yes, yellowing can potentially spread to other nearby plants if pests or root rot are involved. It’s crucial to isolate affected plants immediately and ensure they do not share soil or airspace with neighbors prone to similar symptoms. Observing neighboring plants for early warning signs can also prompt early intervention in adjacent herbs, helping to manage the spread effectively.
Should I remove all the yellow leaves at once?
While it’s beneficial to remove most yellow leaves, it is crucial to avoid excessive pruning in one go. Removing too many leaves at once can stress the plant further, so focus first on those that are severely yellowed and let the plant stabilize before tackling other yellowing leaves. This more gradual approach allows the plant to adapt and minimizes shock, encouraging healthier regrowth over time.