You may notice yellow spots appearing on your lawn after weeks of consistent watering, which is why you need to know what to do when my lawn has yellow spots from overwatering. This yellowing occurs due to soil saturation, leading to a lack of oxygen and potential root rot. If left untreated, the issue can spread and worsen, weakening the plant and stalling its growth, but it’s possible to fix by adjusting your watering schedule and improving drainage.
Step 1 – Act Quickly to Clear Waterlogged Grass
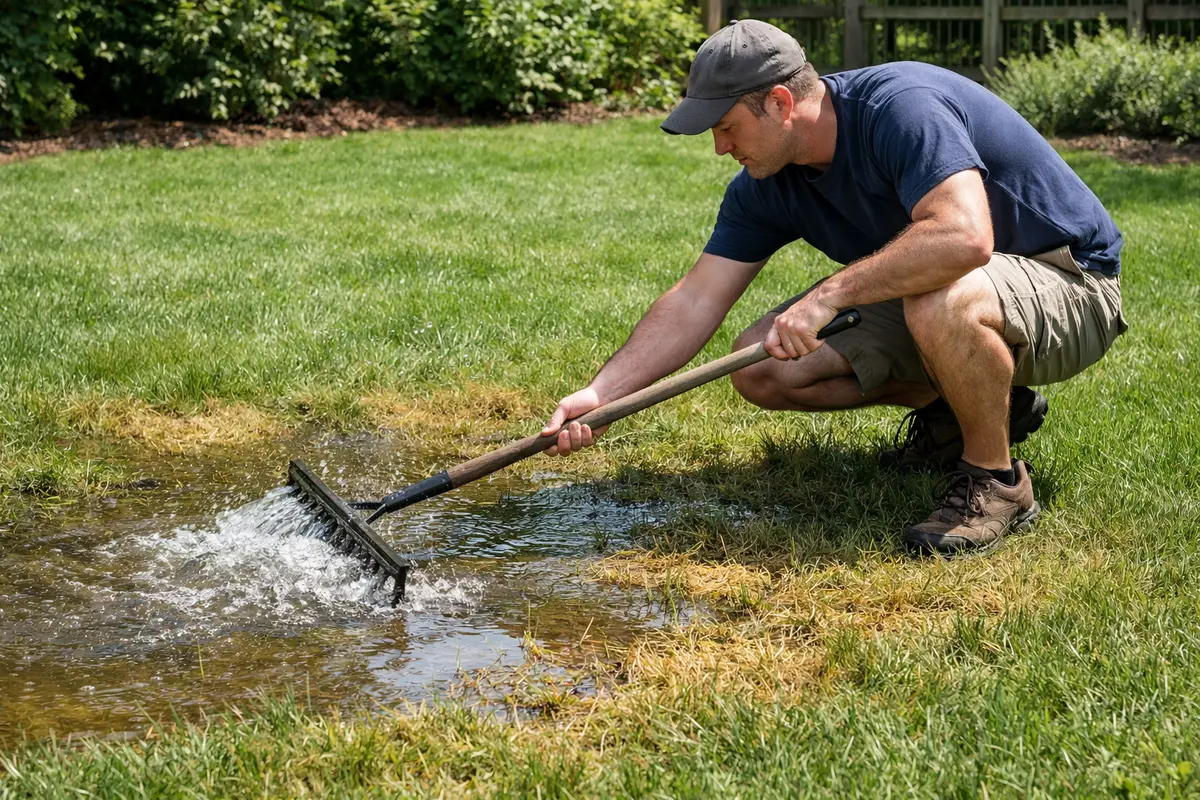
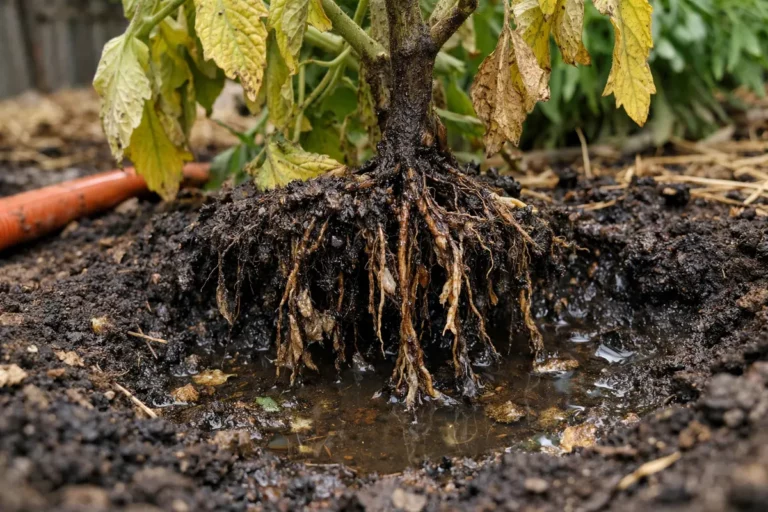
Start by checking for waterlogged areas in your lawn. You will find that some patches are overly soggy compared to others, revealing the signs of excess water. Letting the situation persist could lead to increased root rot and more extensive yellowing of the grass. If the grass feels soft or spongy underfoot, that’s a sign that your lawn is waterlogged and immediate attention is necessary. In more severe cases, you may even notice darkening areas around the roots leading to a foul smell, which indicates anaerobic conditions further harming your lawn.
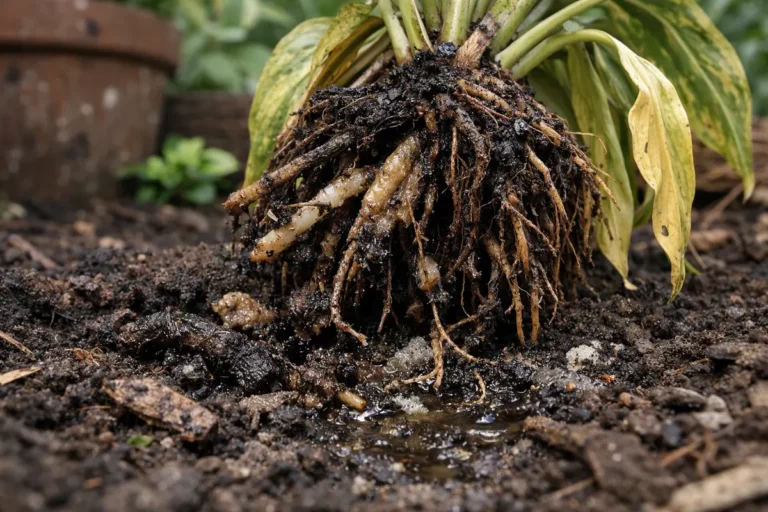
Vegetation suffering from excess moisture can quickly develop root rot because the soil becomes anaerobic, meaning it lacks sufficient oxygen. Without air, the roots can’t absorb vital nutrients, leading to yellow spots that worsen significantly in just a few days. A common symptom of this condition is that grass blades appear wilting or slimy, and they may easily pull out from the soil, indicating severe root distress. Immediate inspection and action can drastically change the outcome for your lawn. Aggressive drainage solutions like digging trenches or installing drainage pipes should be considered if water persists.
A common mistake is to ignore yellowing areas and continue regular watering, thinking they will recover on their own. This often leads to a spread of the issue, particularly in clay-heavy soils, which retain water and drain poorly. Wet, compacted soil can create barriers that prevent air from reaching roots, exacerbating the yellow spot problem. Addressing this quickly can prevent prolonged damage and superficial remedies. If spots continue to expand after you increase attention to drainage, check if surface roots are rotting, as this could lead to a more systemic issue requiring professional intervention. If nearby areas are not waterlogged yet beginning to yellow, evaluate that they are not dry based on their soil moisture with a simple spade test. A related fix is explained in watering humid weather if you want to compare approaches.
Step 2 – Diagnose Overwatering in Lawn Areas
Check the soil moisture levels by inserting a garden spade into the ground. You will observe that if the soil is excessively moist, it will feel sticky and heavy. This predicament often results from watering schedules that are too frequent or heavy rains that the soil cannot handle. If the spade pulls out mud instead of dirt, that indicates that your soil is indeed saturated. Ideally, soil should crumble and not stick together in clumps. If it does stick together, it’s crucial to assess how deep the saturation goes—if it is beyond 4 inches, your lawn is at risk of severe root damage.
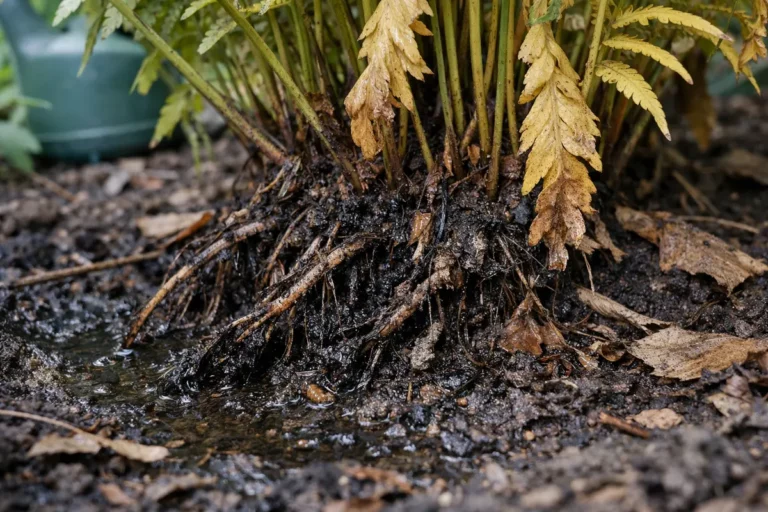
If the soil remains soggy days after the rain, it indicates poor drainage or possibly compacted soil. Grass roots require oxygen, and standing water prevents them from getting it, leading to compromised plant health. Observing if water pools in certain areas after rain is vital; this could suggest that specific sections may need further examination for subsurface roots or gravel layers that inhibit drainage. Checking for proper drainage involves observing if water pools in certain areas after rain; if it does, you may need to consider installing drainage solutions. This condition creates an environment ripe for diseases, and adjusting your watering habits is crucial for fixing the underlying issue.
If you discover that the soil smells sour or has a foul odor, it could indicate anaerobic bacteria thriving in the wet conditions—this calls for a different approach, such as amending your soil with organic matter to improve drainage. Heavy clay soils may require the addition of sand or compost to enhance their drainage capacity. Ensure that you are not mixing incompatible amendments, as it may worsen soil conditions. Meanwhile, if the yellow spots persist after diagnosing the issue, consider aerating to alleviate soil compaction and encourage better water infiltration and root development. If you see visible pooling around or deep within the grass roots, this indicates that more drastic measures are needed than simply adjusting watering habits.
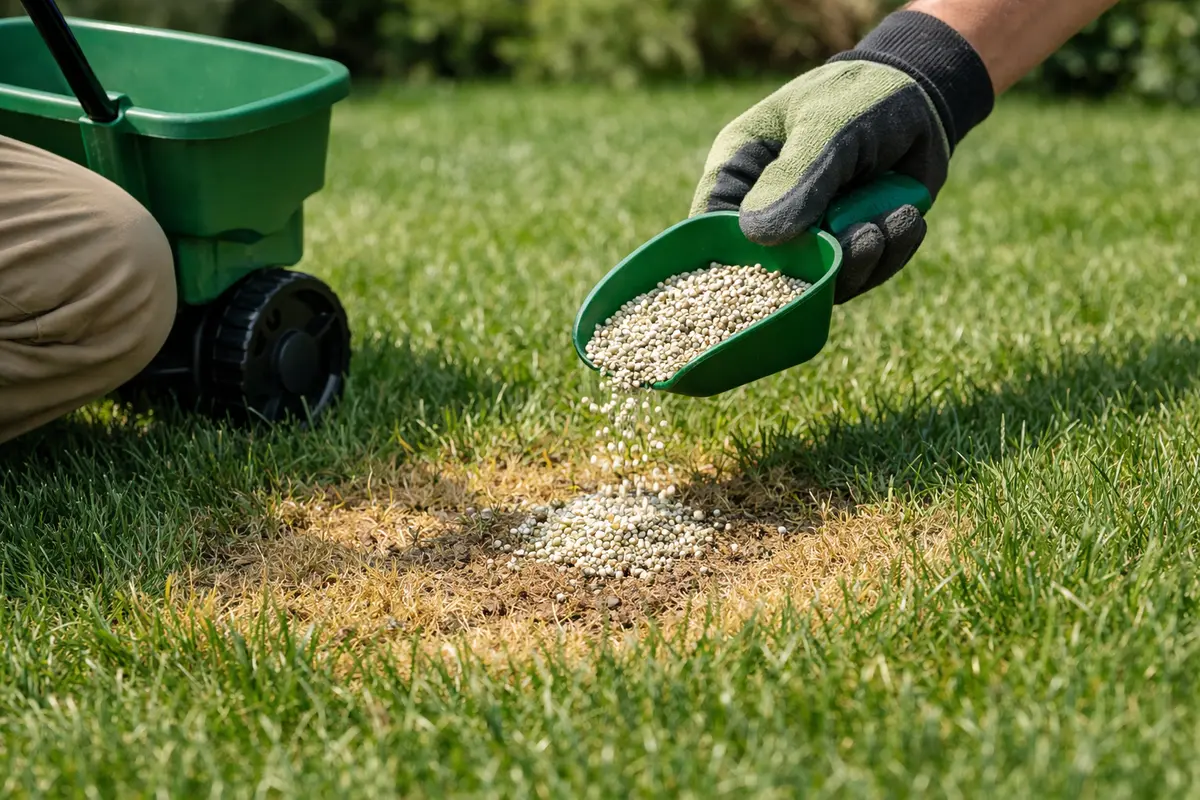
Step 3 – Fertilize Affected Spots for Recovery
Start by reducing the frequency of watering to allow the soil to dry out. Check the moisture level a few inches down—if it feels damp, hold off on watering. In a week or so, you should observe the yellow spots starting to green up as the excess water drains and the grass recovers. Look for grass blades perking up and taking on a healthier hue, which are indicators of nutrient and moisture restoration. However, if no change occurs, it may indicate that drainage issues persist or that further intervention is required.
Realistically, full recovery from overwatering can take anywhere from a few weeks to a couple of months, depending on the lawn’s condition and environmental factors. Healthier regrowth usually appears as a deeper green color and increased density. Warm, sunny weather can accelerate this recovery, while cooler temperatures and excessive shade can slow it down. If the grass remains yellow even after alterations in watering, check drainage issues or soil compaction as additional problems that might be hindering recovery. If regrowth is slow, consider verifying that surrounding soil doesn’t still exhibit signs of waterlogging, as that can actively stunt growth.
A mistake to avoid during recovery is overcompensating with excessive watering or fertilizer, as this can exacerbate the situation. Instead, focus on providing just enough moisture without saturating the soil. If the grass appears limp or thin, check your fertilizer’s nitrogen level—too much can lead to more yellowing instead of revitalizing the grass. A side note: when applying fertilizers, stick to organic options where possible, as they provide nutrients over time without immediate burns. A well-timed fertilizer application can significantly speed up recovery by providing immediate nourishment to struggling grass. Grass plants in stressed conditions require extra nutrients to regenerate, especially if they were overwhelmed by saturated soil conditions. For a closely related scenario, see petunia plants turn.
However, be cautious not to over-fertilize, as this can create a new set of problems like burning the grass roots. If grass tips turn brown shortly after fertilization, it’s a sign that too much fertilizer has been applied. It’s essential to follow the recommended application rates, as excessive fertilizer input can also lead to nutrient runoff, further complicating lawn health. Regularly assess the recovery process, ideally every few days after fertilization to monitor grass resilience and adjust further care as necessary. If yellow spots return consistently, a soil test can determine if nutrient balance is problematic.
Step 4 – Adjust Watering Schedule to Avoid Yellow Spots

Start by adjusting your watering schedule to ensure deep but infrequent irrigation, applying water only when the top inch of soil feels dry. This change will decrease moisture retention in the soil and prevent yellow spots from forming, resulting in a greener, more uniform lawn over time. Utilize a moisture meter or a simple finger test to evaluate moisture levels before re-watering, with the goal to only irrigate if the soil is completely dry beyond the top one inch.
Excessive watering often occurs during periods of high humidity or in shaded areas, where water evaporates more slowly. By transitioning to a less frequent watering regime, you address the underlying issue of waterlogged soil, which can lead to root rot and yellow patches. If your lawn appears dry and yellow despite controlled watering, check for signs of compacted soil or inadequate drainage. Consider that improper irrigation practices, such as watering during morning or evening coolness, could also fall short of preventing yellowing, so refine your scheduling as necessary. You may also find rain drainage becomes useful if this problem persists.
During warmer summer months, heat stress can exacerbate the yellowing. Incorporate a layer of mulch around the grass to retain moisture during hot spells and reduce the need for additional watering, creating a more consistent moisture level that prevents stress and yellow spots. This not only keeps soil temperature down but also adds beauty to your landscape.
Using a moisture sensor can help you determine when it is time to water and how much water your lawn requires. Typical recommendations suggest about one inch of water weekly, including rainfall—this approach helps to mitigate issues associated with overwatering. Observing soil moisture with a spade can reveal moisture retention levels. Consistent and even watering patterns support healthy grass without overwhelming it.
Additionally, consider seasonal changes, as hotter months may require more frequent checks of soil moisture. Be aware that during the cooler seasons, grass requires significantly less moisture. Adjusting your routine for rainy periods by reducing watering or allowing natural rainfall to provide necessary moisture can keep yellow spots at bay. Avoid watering during the hottest part of the day to minimize evaporation loss—this often leads to inadequate moisture reaching the root zone. Overly saturated soil can lead to more extensive damage and further distinguish where the yellow spots appear, reinforcing the necessity of correct timing in irrigation adjustments.
Step 5 – Check for Regrowth After Follow-Up Watering
Start by checking the moisture levels in your lawn using a soil moisture meter or by inserting your finger into the soil about 2 inches deep. Observe if the soil is consistently damp, which indicates overwatering or if it’s drying out, signaling recovery. Recheck moisture levels every two to three days to track changes and adjust your watering schedule accordingly. If you find the moisture levels remain consistently high without signs of improvement, consider elevating drainage efforts through aeration or trenching.
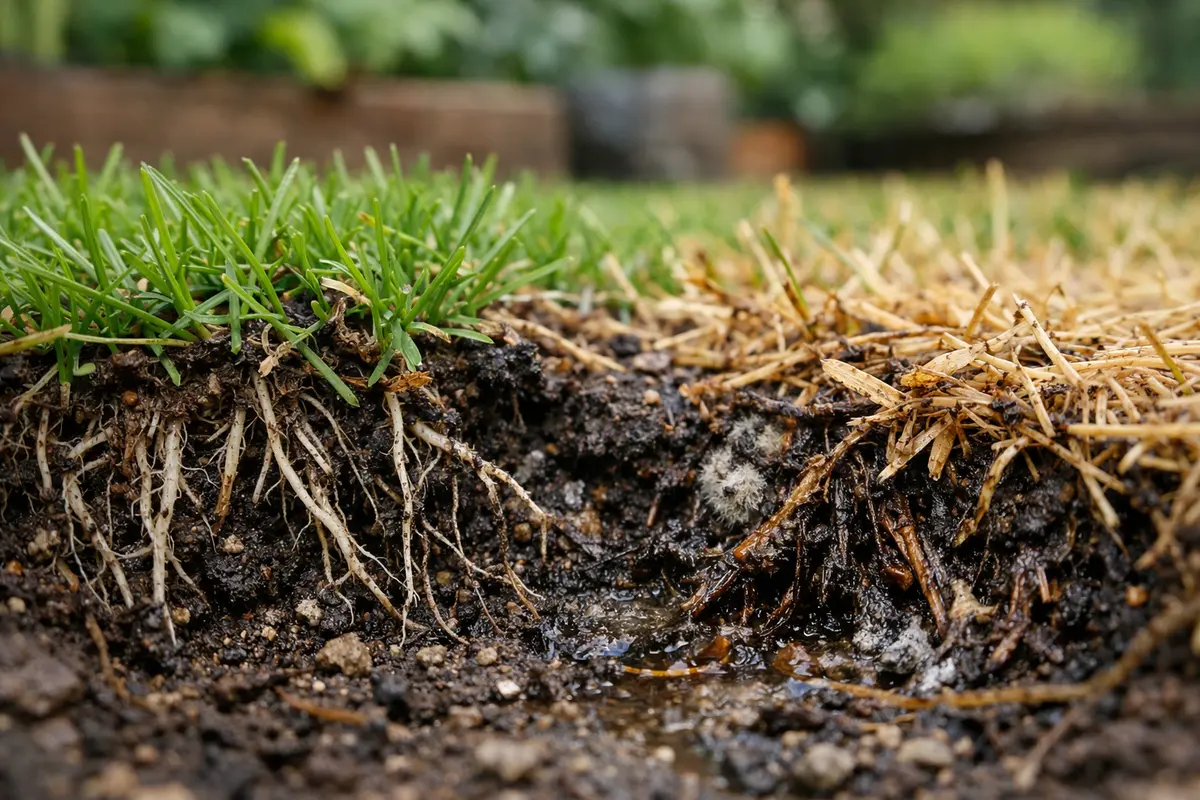
A fully recovered lawn will exhibit a rich, vibrant green color, with blades standing tall and firm to the touch, indicating proper hydration. Early signs of the problem returning include a dull yellow hue and soft, limp grass blades, which feel spongy rather than firm. If the grass starts to show patches of brown again rather than maintaining its color, it suggests that excessive moisture is once again a concern. Analyzing for returning symptoms allows you to proactively address them quickly rather than waiting for severe yellowing.
If the yellow spots return despite following the monitoring steps, consider reducing your watering frequency even further and examining your irrigation system for any leaks or inefficiencies. Additionally, as seasonal changes occur, certain areas may heat up differently and lead to localized watering issues, requiring specific attention. Apply a balanced fertilizer to help restore nutrients being leached away, and if the issue persists, seek advice from a local gardening expert to determine if there could be other underlying issues, such as soil compaction. It’s wise to perform a gentle aeration to enhance air and moisture circulation if that’s a possible factor.
Look for fresh green blades of grass and a healthy, even texture across the lawn. A successful recovery should include soil that is firm and drains well, rather than soggy or spongy to the touch. If recovery appears slow or new yellow spots emerge, revisit your watering practices to check for soil compaction or retention issues that may have been overlooked. If there are still signs of rot or yellowing in spots, consider further aeration of the soil to allow air and moisture to penetrate and stimulate root growth. Create a structured follow-up plan every couple of weeks, especially in changing seasons, to maintain optimal lawn health.
Should you find that the yellow spots return despite vigilant care and watering adjustments, it may be time to consult a professional for soil testing or lawn treatment options. Persistent issues can indicate underlying problems that require expert assessment to resolve. Regular monitoring every few weeks is essential to ensure your lawn remains healthy and adjustments in care are promptly made when necessary.
FAQ
How long does it take for grass to recover from yellow spots?
Recovery can typically take from one to three weeks, depending on the severity of overwatering and the grass type. If you maintain proper watering and fertilization, noticeable improvements should appear within a week. Regular monitoring for visual changes can indicate whether adjustments are effective or further intervention is needed.
Can yellow spots spread across my lawn?
Yes, yellow spots can spread if overwatering continues or if the grass becomes susceptible to diseases. It’s crucial to manage watering habits and lawn conditions promptly to prevent the issue from expanding further. If you notice any new areas of yellowing grass appearing, immediately assess those spots and take corrective actions to prevent further deterioration.
Should I remove the yellow grass?
Only remove severely damaged or dead grass when you see no chance of recovery. This allows the rooting system to regenerate and can facilitate better growth in surrounding healthy areas. Assess if the yellow grass has any green growth before removing it, as some sections may still be viable and can recover with proper care.