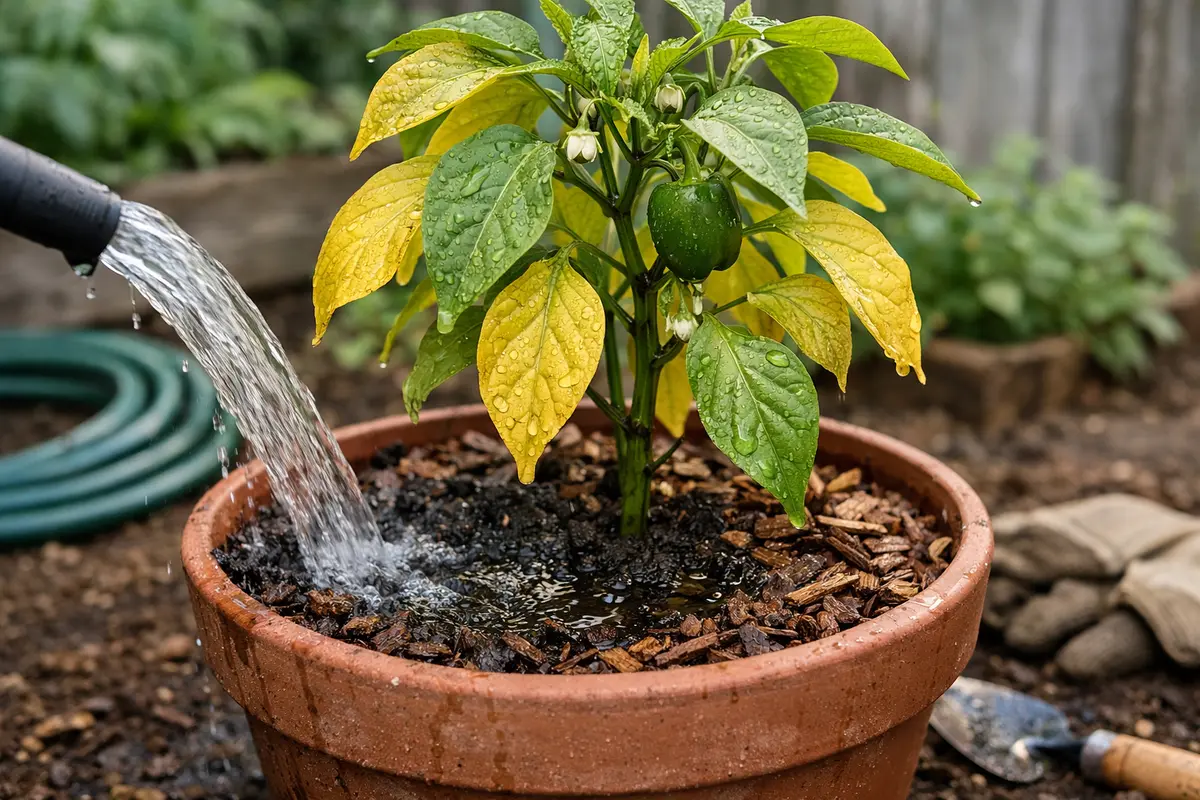
You may notice that your bell pepper plants show signs of distress when the leaves turn yellow in pots during hot summer days, which is why you need to know what to do when bell pepper leaves turn yellow in pots. This yellowing indicates potential nutrient deficiencies or environmental stress that can weaken the plant significantly. If left unchecked, the problem can spread and lead to more damage, impacting your harvest, but fixing it is possible now if you check the soil conditions and adjust your care routine accordingly.
Step 1 – Remove Yellowing Leaves from Bell Pepper
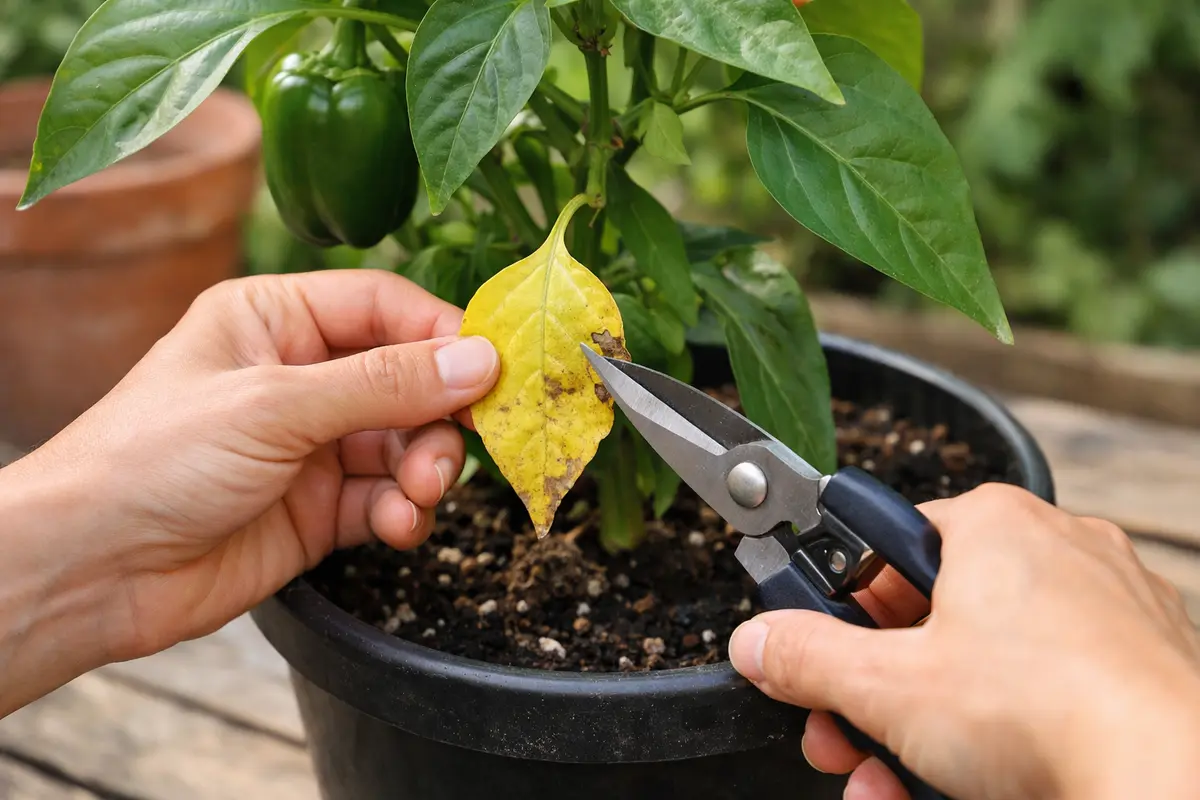
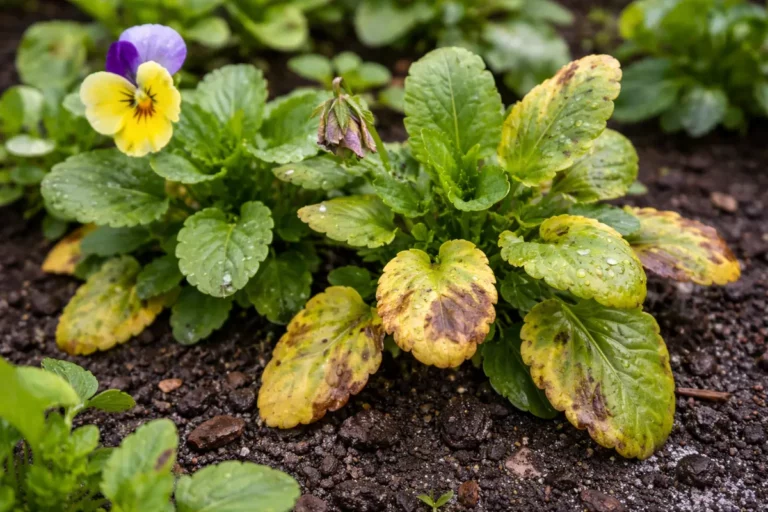
Start by removing any yellowing leaves from the bell pepper plant immediately. You will see an improvement in the overall appearance of the plant, as the remaining leaves will stabilize and reduce further yellowing once the stressors are addressed.
Next, closely inspect the plant for signs of pests or disease, such as aphids, spider mites, or fungal infections. If you observe any pests, be sure to apply insecticidal soap to limit damage and prevent them from spreading. Take note of whether the leaves are yellowing uniformly or if it’s localized; yellowing that begins at the tips and edges usually indicates a nutrient deficiency, while a more widespread yellowing may signal overwatering or root issues.
Acting quickly is crucial because bell peppers are particularly sensitive to changes in their environment, and delayed intervention can lead to irreversible damage. For example, if you neglect yellowing leaves for several weeks, you risk a significant decrease in fruit production and may ultimately sacrifice the entire plant. If you notice leaf drop along with yellowing, this may indicate excessive moisture in the potting mix, which can lead to root rot.
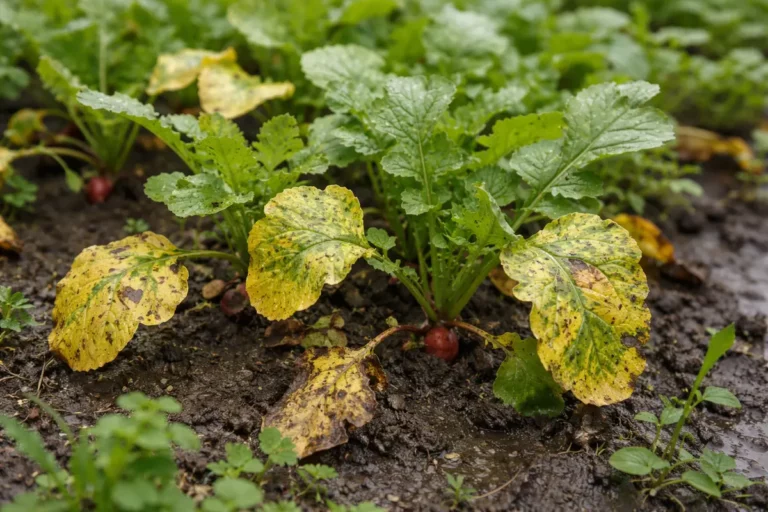
Removing damaged leaves is vital for the health of your bell pepper plant. Leaves that are left on can attract pests and diseases, compounding the stress on your plant. Conversely, when damaged leaves are promptly removed, the plant can redirect energy toward new growth and fruit production, improving its overall vitality. Pay attention to the speed of yellowing—if a leaf turns yellow at the tips but remains green near the base, this often signals a nutrient deficiency rather than decay. If you are dealing with a related issue, petunia plants turn covers a similar problem in detail.
Many gardeners mistakenly believe they can postpone this action, but delaying removal can worsen the condition and allow the symptoms to spread to healthy foliage. This risk is particularly heightened after heavy rainfall, which creates favorable conditions for diseases like blight or root rot. Thus, addressing yellowing leaves right away is paramount, especially if you notice lesions or dark spots on removed leaves, which may suggest a fungal infection and require further treatment solutions to prevent the issue from escalating.
Step 2 – Diagnose Nutrient Deficiency in Bell Peppers
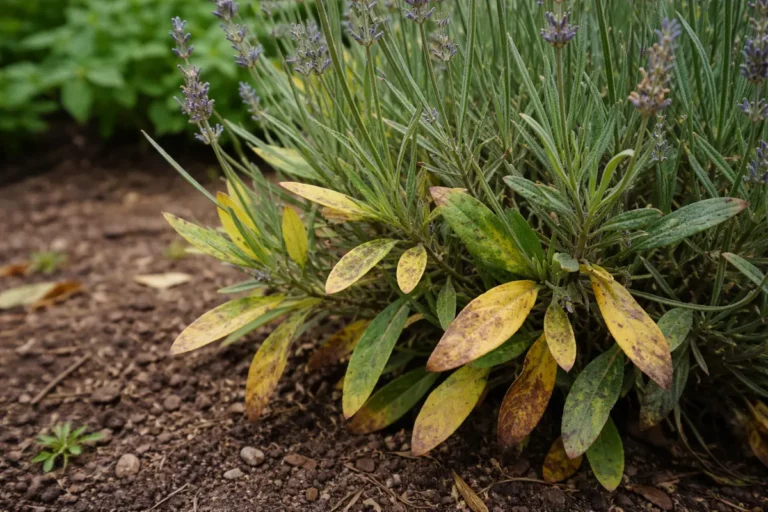
Begin by inspecting the leaves for signs of nutrient deficiency; yellowing typically indicates a lack of essential nutrients. You should observe whether the yellowing is evenly distributed or concentrated at the tips, as this can hint at specific deficiencies.
Nitrogen deficiency, for instance, causes older leaves to yellow from the bottom up, while potassium deficiency can result in yellowing at the leaf edges. Conversely, if you notice yellowing accompanied by wilting or a droopy appearance, this might indicate the effects of overwatering rather than nutrient issues. A related fix is explained in drooping leaves watering if you want to compare approaches.
If the soil smells sour, it suggests a case of overwatering; cease watering until the soil dries out significantly before reintroducing moisture. Alternatively, if the soil is moist but the leaves remain yellow, it’s time to check for nutrient deficiencies, especially nitrogen and potassium.
Address nutrient deficiencies by applying a balanced fertilizer tailored for vegetables to provide necessary nutrients back to the soil. Bell peppers thrive with a nutrient-rich composition, so incorporating a fertilizer high in nitrogen will support leaf development and overall vigor. Additionally, conducting a soil test can clarify which nutrients are lacking, allowing for targeted amendments. Should your test show low nitrogen levels, using a nitrogen-rich organic compost can help replenish nutrients while enhancing the soil structure.
If you encounter poor nutrient retention in your soil, mix in organic compost thoroughly to encourage better moisture and nutrient availability. On the other hand, if the plants are struggling due to waterlogged conditions after heavy rains, aerate the soil using a hand cultivator or garden fork to improve oxygen access to the roots. A wrong assumption at this stage is that additional watering will help; however, it may worsen the condition by suffocating the roots. Should the yellowing continue despite these interventions, you may also need to assess for root-binding, as this can hinder proper nutrient uptake.
Step 3 – Water Bell Peppers to Encourage Leaf Regrowth
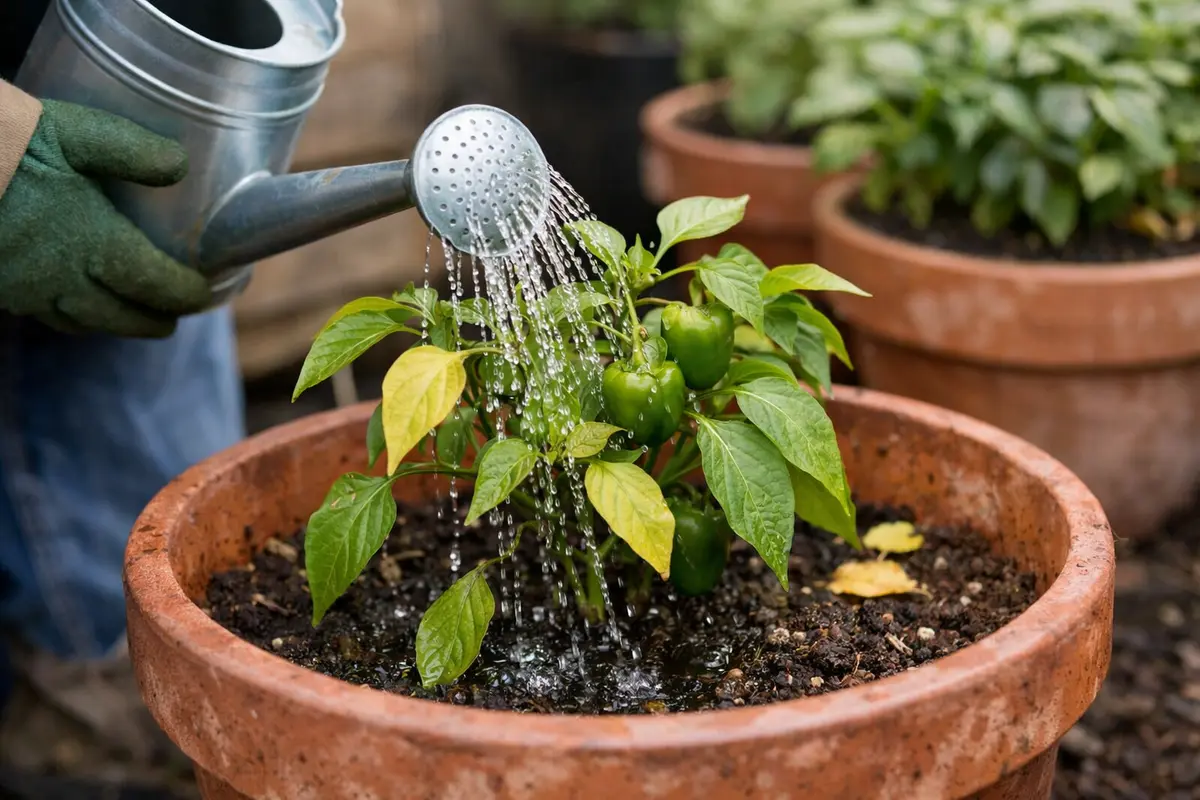
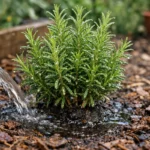
Start by watering your bell pepper plants deeply to encourage leaf regrowth. You should notice new growth appearing within a week, signifying that the roots are beginning to absorb the necessary moisture and nutrients effectively.
Continue to monitor your watering schedule, as consistent moisture is vital for recovery. Healthy regrowth will manifest as new leaves emerging with a vibrant green color, a clear contrast to the yellowing leaves that preceded them. If you observe that the yellow leaves are persisting, check for signs of root-binding, as this can inhibit nutrient uptake even after correcting watering practices.
Stick to a watering regimen that allows the top inch of soil to dry out before watering again. This not only prevents overwatering but also helps to maintain adequate oxygen levels around the roots. If you see improvements such as the presence of sturdy new leaves or leaf tips turning green, you’re on the right track. In contrast, if the growth remains weak or yellowing continues, reassess your watering method.
Recovery can take anywhere from one to three weeks based on the extent of the initial damage; however, each plant is different. Look for visual indicators like thicker leaves and more robust plant structure as signs that recovery is underway. Should you notice any leaf curling or browning after watering or fertilization, reconsider your watering frequency and ensure that the soil drains well.
During the recovery phase, avoid using too much fertilizer, as this can exacerbate nutrient imbalances. Instead, focus on watering correctly and allow the plant to naturally restore its nutrient levels. If you see no improvement in a week, measure soil moisture levels; if the soil feels consistently wet, you may need to adjust your watering frequency or possibly the drainage setup to encourage healthier conditions.
Ultimately, a deep watering technique is vital for bell peppers under stress, as it fosters better root development and nutrient access. Observe the moisture draining from the bottom of the pot; if water pools, you may need to re-evaluate your watering approach. Efficient water management is key to facilitating recovery without risking root rot or stress-induced yellowing. For a closely related scenario, see strawberry plants develop.
Remember that realistic recovery timelines depend on attentive care. As new green shoots and vibrant leaves begin to showcase progress, ensure that you remain vigilant for any signs of persistent yellowing. If leaf color does not improve or new growth appears weak, it may also be beneficial to check pot size and soil quality to ensure they meet the demands of your bell pepper plants.
Step 4 – Implement Proper Soil Drainage for Pot Plants
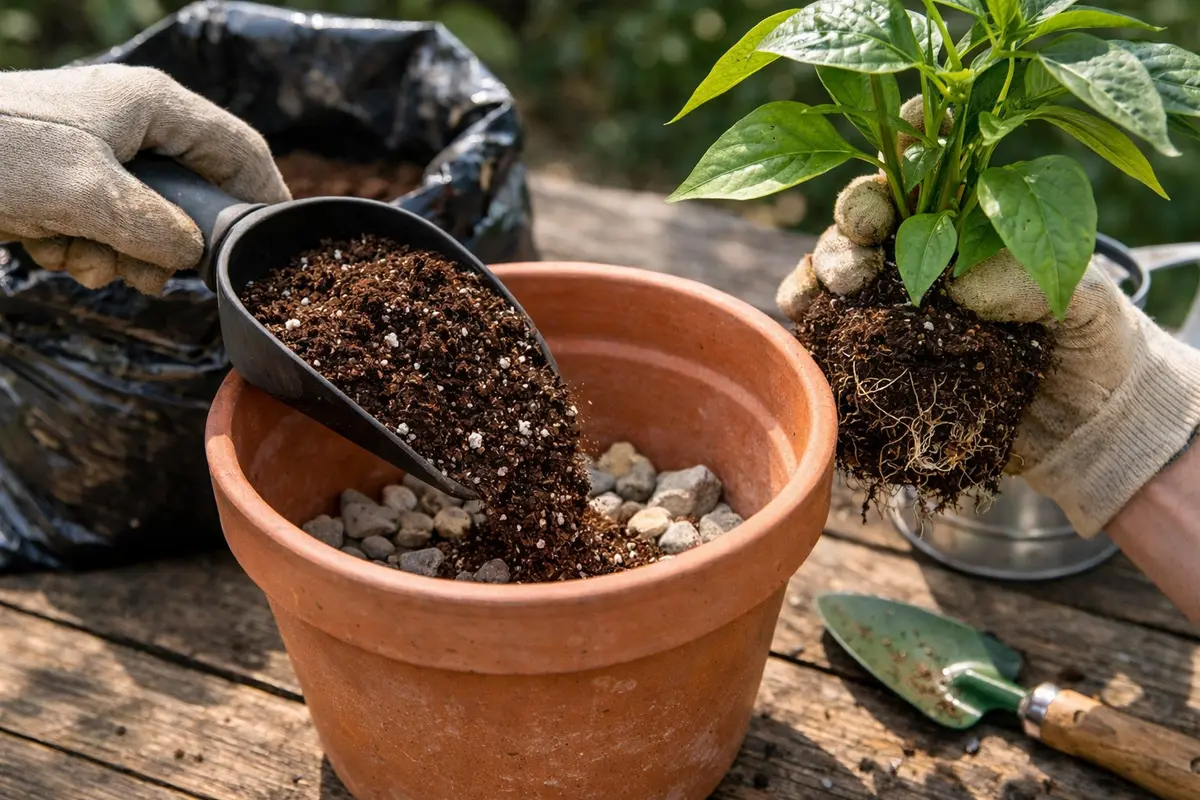
Begin by checking your pots for adequate drainage holes and ensure they contain well-draining soil. This practice will prevent excess moisture buildup, allowing your plants to thrive instead of struggle with yellowing leaves.
Establish a routine for assessing soil conditions every week; if the top inch of soil feels overly wet or soggy, it’s a sign to adjust your watering approach. Maintain consistent watering, ensuring that the top layer of soil dries out slightly between waterings to prevent root stress and promote healthy foliage.
- Inspect drainage holes: After each heavy rainfall, check that drainage holes are free from obstructions to ensure proper water flow.
- Adjust watering schedule: If rain exceeds one inch, delay watering for at least one week or until the soil feels dry to the touch.
- Monitor sunlight exposure: Confirm that your pots receive at least six hours of sunlight daily; if not, relocate them to a sunnier spot.
- Seasonal adjustments: In cooler months, reassess your watering frequency; as temperatures drop, reduce watering frequency to prevent the risk of over-saturation.
A quick way to test drainage effectiveness is to water the plants and observe how long it takes for excess water to escape the pot; delays over 2-3 minutes suggest a need for improved drainage. If you struggle with persistent yellowing conditions despite these measures, consider switching to a potting mix designed for enhanced aeration or using slightly larger pots to give roots more space and discourage water retention.
If your plant begins to exhibit drooping or wilting despite these adjustments, check for signs of root rot, as this could indicate the necessity of checking soil consistency more frequently. A proactive approach to drainage can make the difference between vibrant, healthy plants and those suffering from stress.
Step 5 – Inspect Bell Pepper Foliage for New Yellowing Weekly
Inspect the leaves of your bell peppers weekly for new yellowing or signs of stress. A healthy recovery shows vibrant green leaves and robust growth, which are indicators that your care has been effective. During your weekly check, pay attention to leaf turgidity; droopy or limp leaves indicate a potential issue needing further investigation.
Reassess the foliage every week, looking closely for any returning yellowing or other abnormalities. Ideally, the leaves should maintain a rich green hue, signaling resilience and health. If yellowing resurfaces shortly after you’ve implemented your care routine, it may suggest persistent nutrient deficiencies or drainage problems that need addressing. If you observe wilting or browning leaves, investigate for potential pest issues or soil compaction that could be impeding root growth.
If symptoms of yellowing reemerge despite maintaining your routine, revisit the previous corrective actions thoroughly. Such recurrences may reveal unresolved underlying problems, including inconsistent watering or pest infestations. Additionally, check the root condition; gently remove the plant from its pot to inspect for rot or overcrowding. Maintaining vigilance is essential for your bell pepper’s health, making regular monitoring vital. Finally, keep a record of changes throughout the recovery process to help identify trends and enhance your overall gardening strategy.
FAQ
How long does it take for yellowing bell pepper leaves to recover?
Recovery can begin within a few days to a week, depending on the steps taken and the underlying issues. You will see visible signs of improvement, such as new green leaves, if the plant is receiving adequate nutrients and water. However, some environmental adjustments may take longer to show noticeable effects, particularly if the plant is still adjusting to alterations in soil composition or moisture levels.
Can yellowing leaves spread to other plants?
Yes, if the yellowing is due to a disease or pest attack, it can potentially spread to other plants. Proper sanitization of tools and careful monitoring is essential to prevent cross-contamination. Moreover, maintaining good airflow between plants reduces the risk of fungal diseases transferring from one plant to another. Observing whether your other plants have started showing similar symptoms can also indicate an environmental issue affecting multiple pots.
Should I remove all yellowing leaves?
No, only remove the most damaged ones immediately to limit stress. Regular inspection will help you decide on which leaves are no longer benefiting the plant, while ensuring it maintains healthy growth. It’s wise to assess the overall health of each leaf rather than just the color when determining what to remove, as some leaves may require more time to recover. Additionally, if you are uncertain, leave borderline leaves for a longer duration to see if they improve after nutritional adjustments.