You notice small black flies hovering around your indoor plants during winter; this situation leads to the question of how to stop fungus gnats in soil of indoor plants during winter. These gnats thrive in moist soil, which can cause root rot and impede plant growth. If left unaddressed, the gnat population will increase, worsening the problem for your plants, but immediate action can resolve this issue. Ignoring their presence can exacerbate the issue, leaving you with a more significant infestation and potential harm to your plants.
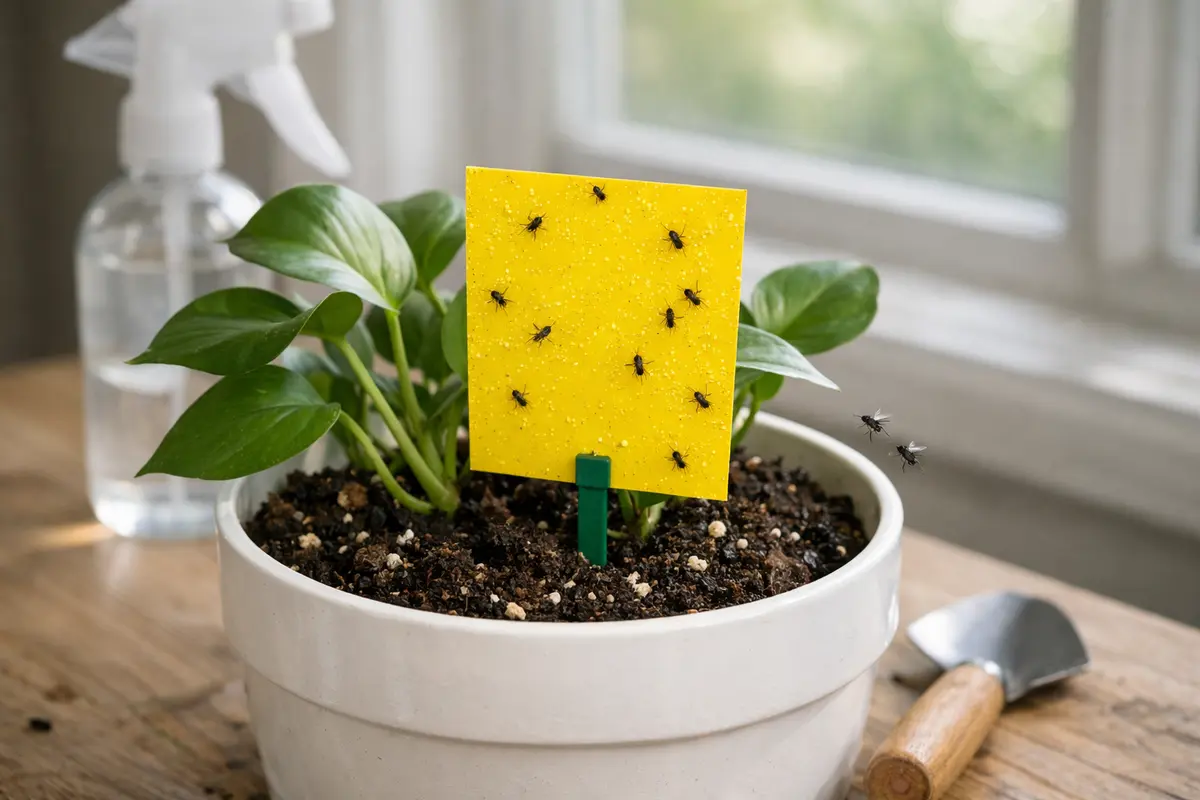
Step 1 – Trap Fungus Gnats with Sticky Cards
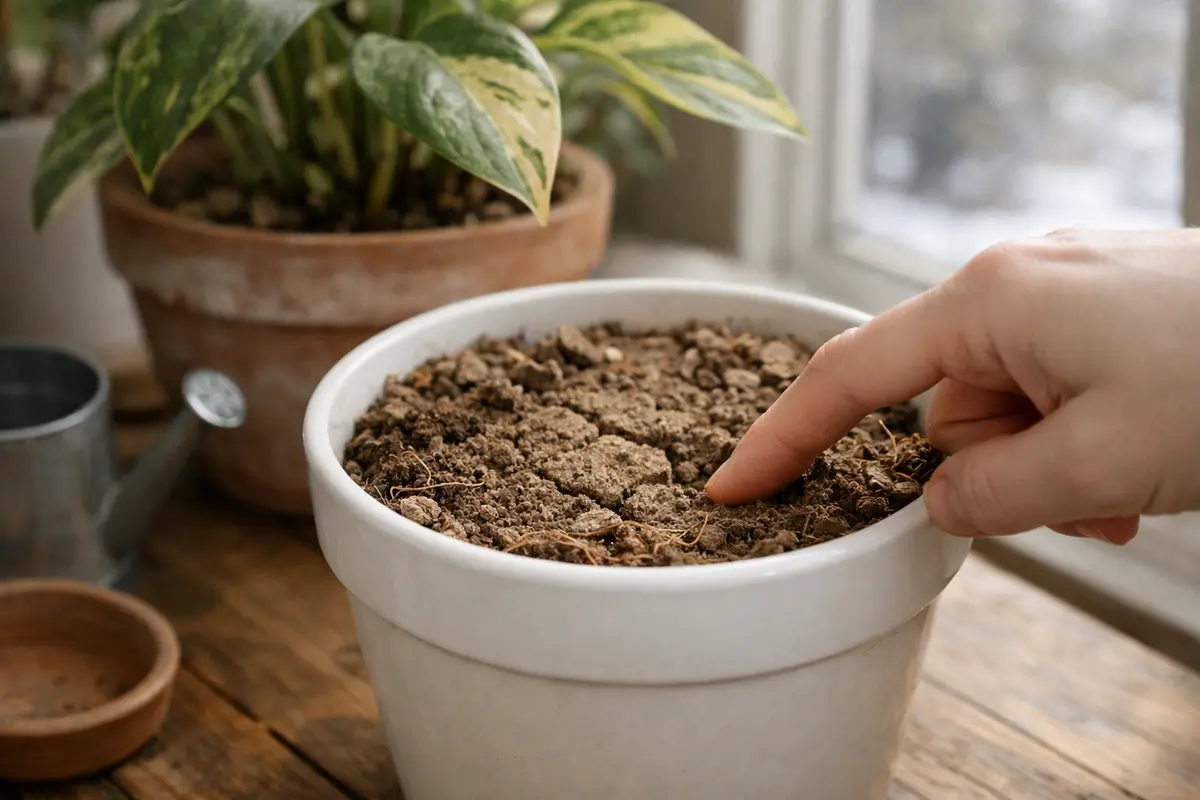
First, remove the top inch of the soil from your indoor plants and replace it with fresh, dry potting mix. This action limits the fungus gnat larval population, as they thrive in damp soil, and within a day or two, you should notice fewer gnats flying around the plant. The surface appearance will also change, as the new soil will look lighter and fresher compared to the old, discolored top layer.
Acting swiftly is crucial because the larvae of fungus gnats can decimate root systems, leading to wilting and stunted growth in plants like African violets. If you delay, the fungus gnats will continue to breed, resulting in an overwhelming population that can severely destabilize the plant’s ability to absorb nutrients. If you notice yellowing leaves, check the soil’s moisture levels and reduce watering immediately to deter further gnats. If you are dealing with a related issue, drooping leaves watering covers a similar problem in detail.
A gardener once faced an infestation that started with a few visible gnats. By promptly replacing the topsoil, they managed to halt further damage and saved their potted begonias from serious root rot. In contrast, a neighbor delayed action, allowing the gnat population to explode, which necessitated an entire repotting and caused considerable stress to the rooted plant.
Using sticky traps is crucial because adult fungus gnats are drawn to the color and scent of the traps, stopping them from laying more eggs in your plants’ soil. The reduction of adults decreases the likelihood of further outbreaks, allowing the plants time to recover. Timing matters here; trapping them right away can prevent the situation from escalating into a larger infestation. If you notice a high adult count initially, placing multiple traps can help capture more gnats. After a few days, review the traps; a high capture rate indicates an excessive infestation that might require additional measures like insecticides or biological controls.
A common mistake many gardeners make is placing the traps too far from the plants. The traps need to be positioned directly above or beside the affected plants, where they are most active. Also, be sure to replace traps every couple of weeks to maintain their effectiveness. If the traps become filled or lose stickiness, they can’t effectively trap new adults, prolonging the problem. A visual check every week is suggested to monitor their efficacy by noting not only the total count of trapped gnats but also any changes in populations. If traps fill quickly, investigate additional breeding sites in the vicinity, as this indicates a broader issue. On the other hand, if the traps capture few or none while you still see adult flies, consider adjusting their placement and perhaps integrating other control methods.
Step 2 – Diagnose Overwatering in Indoor Plants
Start by thoroughly examining your indoor plants’ soil for signs of excessive moisture or poor drainage, as these conditions create a breeding ground for fungus gnats. Remove any top layer of soggy soil and allow the remaining soil to dry out before watering again. After a few days, you should notice a reduction in gnat activity and healthier soil conditions.
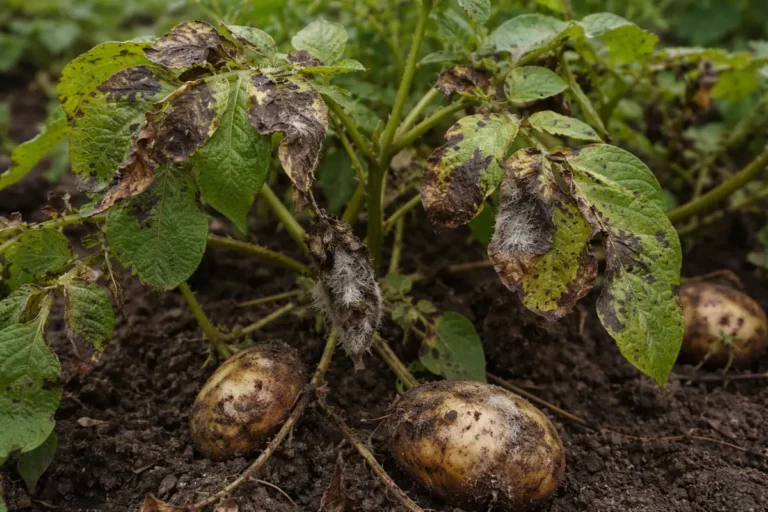
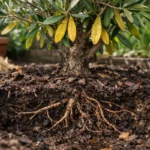
The underlying issue with fungus gnats largely stems from the over-saturation of soil, which can lead to root rot and anaerobic conditions. In waterlogged soil, fungal growth becomes rampant, attracting gnats that lay their eggs in this damp environment. If you observe healthy, well-drained soil, you’re less likely to encounter infestations, contrasting sharply with soil that emits a foul smell or has visible root decay. A related fix is explained in compacted soil around if you want to compare approaches.
If you notice a sour smell emanating from the soil, it’s essential to act quickly by repotting the plant in fresh, dry soil to halt the gnat life cycle. Alternatively, if the top layer of soil appears dry but gnats persist, check for root rot or root-bound conditions that can also contribute to gnat attraction, prompting a different management approach.
Overwatering leads to conditions that fungus gnats thrive in, as they prefer damp environments for breeding. The saturation prevents roots from getting adequate airflow, and damaged roots can become ineffective at nutrient uptake. Without addressing this root cause, the problem is likely to return after the adults are temporarily controlled. Checking for waterlogging is essential, as fungus gnats thrive in anaerobic conditions where oxygen is scarce. Inspect for signs such as wilted leaves, which may indicate root issues as a direct consequence of your watering practices. If neglected, overwatering can lead to larger issues like root rot.
If you find a sour smell coming from the soil, it’s a clear indicator of anaerobic conditions. In such cases, consider allowing the plant to dry out a bit more than usual to promote healthier conditions. If the soil appears overly moist but does not smell bad, simply reduce your watering frequency to allow proper air circulation. If soggy soil persists for more than a week, it could signify poor drainage or compacted soil, necessitating a re-evaluation of the potting medium or even the container’s drainage holes. In the case of older plants residing in the same soil for some time, you may encounter compacted layers that have degraded. In such situations, repotting the plant with fresh soil and ensuring adequate drainage can create a healthier growing environment.
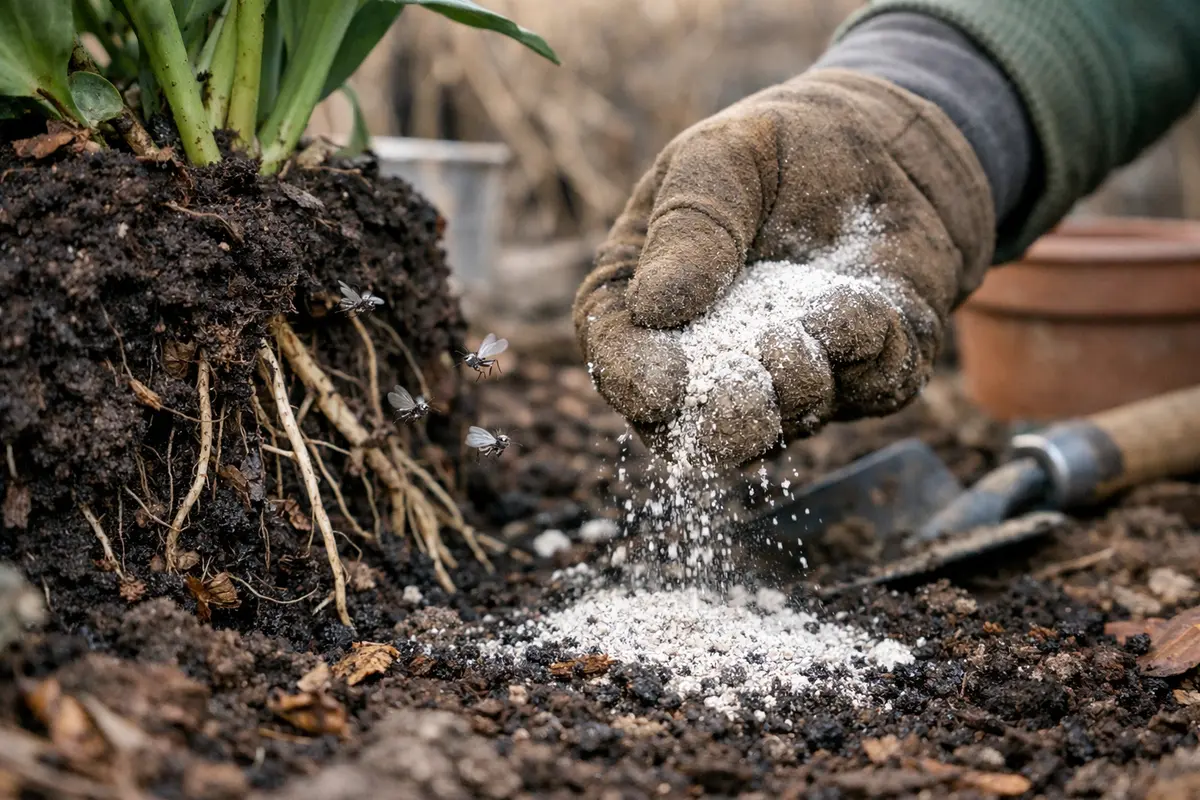
Step 3 – Replace Soil to Eliminate Fungus Gnat Larvae
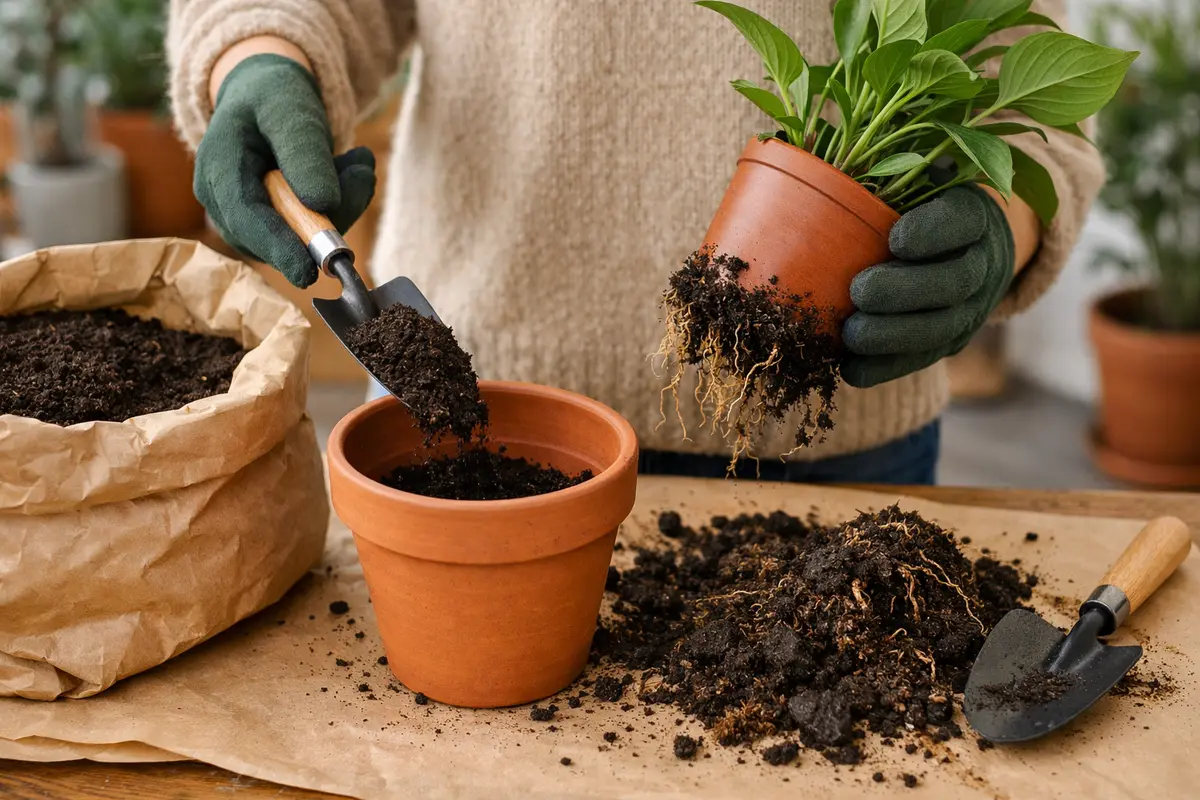
Remove the plant from its pot and replace the old soil with fresh, dry potting soil. You should see immediate signs of health restoration as the plant begins to perk up within a week, particularly if you ensure no roots were broken during the process. Carefully assess the root system; if the roots are brown or mushy, this is an indicator of rot, necessitating trimming before placing the plant back into the new soil.
Replacing the soil is essential because it eradicates any larvae that are present in the old soil. New soil helps reestablish the nutrient balance for the plant while also providing a cleaner environment free from pests. The recovery timeline can vary depending on the plant type; most recoveries become noticeable within a week, appearing more vibrant and strong. Observing for new root growth can be an indicator that the plant is adapting well in the new soil. If the recovery appears slow, it may indicate that the plant is still stressed from poor conditions; additional gentle care choices may include adjusting light exposure to reduce stress during this transition.
A common mistake during recovery is overcompensating with fertilizer or extra water, thinking it will boost regrowth. However, it’s better to maintain regular watering habits and observe the plant—any new growth will indicate successful recovery. If you notice yellowing leaves or drooping, reduce the watering again to avoid further stress on the plant. Waiting at least two weeks after soil replacement before introducing fertilizer allows the plant to adjust without nutrient overload, which can sometimes exacerbate stress rather than alleviate it. If conditions allow, placing the plant in a spot with indirect sunlight can also support new root growth, helping the plant acclimate to the fresh environment.
Step 4 – Allow Soil to Dry Thoroughly in Winter
Start by allowing the top layer of soil in your indoor plants to dry out completely between waterings. As the soil dries, you will notice a significant reduction in fungus gnat activity, as these pests thrive in overly moist conditions.
Fungus gnats are often triggered by damp environments and overwatering; their larvae require moist soil to survive. By establishing a routine of letting the soil dry out, you disrupt the lifecycle of the gnats, preventing them from breeding. If you find the gnats persisting despite dry soil, reassess your watering habits, as too much moisture might still be accumulating in the bottom of pots.
During colder months, consider using a fan or a dehumidifier to maintain lower humidity levels in your indoor space. High humidity paired with warm indoor temperatures can still create a perfect breeding ground for fungus gnats. If you are using a heat source like a radiator, keep it away from the plants to prevent soil moisture from rising again. For a closely related scenario, see petunia plants turn.
Fungus gnats prefer moist environments, particularly when the soil remains consistently damp. By following the drying routine, you disrupt their breeding conditions since larvae require wet soil to survive. If your soil feels consistently wet and you notice adult gnats flying, adjust your watering schedule promptly.
During winter months, when indoor air tends to be drier, consider introducing a layer of sand on top of the soil. This barrier helps deter gnats while promoting effective soil drying. If you’re not seeing improvement, check if your pots have drainage holes or if you are overwatering during cold spells.
Drier conditions during winter are essential for preventing fungus gnat infestations since they thrive in moist soil. If you water less frequently, it will break the life cycle of the gnats as their larvae need moist conditions to survive. By adjusting your watering schedule, you are investing in long-term maintenance solutions aimed at combating overpopulation. If you usually water every week, extending this to every two weeks based on moisture readings can disrupt the gnats’ breeding cycle effectively. Using pots with adequate drainage can also greatly affect how long the soil stays wet, reducing the chance of standing water.
Seasonally, humidity levels can fluctuate, especially if using heaters in winter. If you normally water every week, consider extending this to every two weeks, testing the soil moisture first. This adjustment is vital to enforce a drier environment that is inhospitable for gnats. If your area experiences high humidity during winter, using a dehydrator or fan to circulate air around the plants can also help keep the soil drier for longer periods, especially in a poorly ventilated room. Conversely, if the air is too dry, you might want to add a humidity tray filled with pebbles and water beneath the pot, ensuring the pot never sits directly in water, thus preventing a souring effect on the soil.
Step 5 – Inspect Plant Soil for New Gnat Activity
Start by checking your indoor plants’ soil moisture levels every few days during winter, as overwatering can promote fungal growth. Look for signs of sticky residue on the soil surface or the presence of small, flying gnats around the plant. Recheck this condition weekly to catch any changes early and adjust your watering schedule accordingly.
A fully recovered plant will exhibit vibrant leaves that are firm and free of discoloration, contrasting with early signs of distress such as yellowing or wilting leaves. If the plant’s leaves feel soft or mushy, it indicates root rot caused by overwatering and possible fungus gnat activity. If not this, check for tiny black larvae in the soil, which signal ongoing fungal issues.
If you notice fungus gnats returning despite following previous steps, consider switching to a different soil mix that is less prone to retaining moisture. Additionally, introducing beneficial nematodes to the soil can help eliminate larvae effectively. Escalate to using insecticidal soap or horticultural oils if the problem persists and other remedies fail to show results.
Successfully maintaining the soil will reveal signs such as new growth and healthy foliage. A desirable leaf texture shows that the plant is bouncing back after previous stress, indicating that your water management is effective if it holds firm and vibrant. If you notice tiny flies again, it’s a clear signal to adjust your approach. Waiting too long to notice these signs can allow the problem to grow unnoticed, leading to a more challenging situation. Setting aside specific days for detailed inspections can help ensure you don’t miss subtle signs of returning gnat activity.
If signs of new gnat activity arise—such as seeing more adult flies or observing small larvae hiding in moist spots—immediately set additional sticky traps and consider a more proactive method like applying beneficial nematodes to target larvae in the soil. If the situation worsens despite these measures, it may be time to consult a local gardening expert or consider replacing the plant. If recognizing consistent and sudden increases in gnat activity occurs, ensure that all plants in proximity are evaluated for similar conditions to prevent re-infestation. Use of a microscope can sometimes reveal the very early signs of larval activity. As a precaution, discussing preventative measures with a knowledgeable friend can also yield further tips on managing these pests effectively.
FAQ
How long does it take to eliminate fungus gnats from indoor plants?
Eliminating fungus gnats can take anywhere from a week to a month, depending on the severity of the infestation and the steps taken. Following a consistent regime of trapping and proper soil care can significantly reduce their presence in as little as two weeks. If conditions remain favorable, some larvae could survive long enough to mature, so patience is key during the process.
Can fungus gnats spread to other plants?
Yes, fungus gnats can easily spread to neighboring plants if their breeding conditions are favorable. Maintaining proper soil moisture and using trapping methods will minimize the chances of spreading from one plant to others. Observing the surrounding plants will help you catch any emerging issues early before they develop into another significant infestation. Regularly inspecting the closest plants can provide early indicators of any developing problems.
Should I remove affected parts of the plant to help it recover?
If the plant shows significant damage, such as yellowing leaves or root issues, removing those affected parts can help it focus its energy on recovery. This process should be monitored to ensure the plant does not become too stressed. Careful pruning of dead or decaying sections can promote healthier overall growth, but excessive trimming could stress the plant further, so proceed with caution. Additionally, observing how the plant responds in the week following pruning will guide if further intervention is needed.