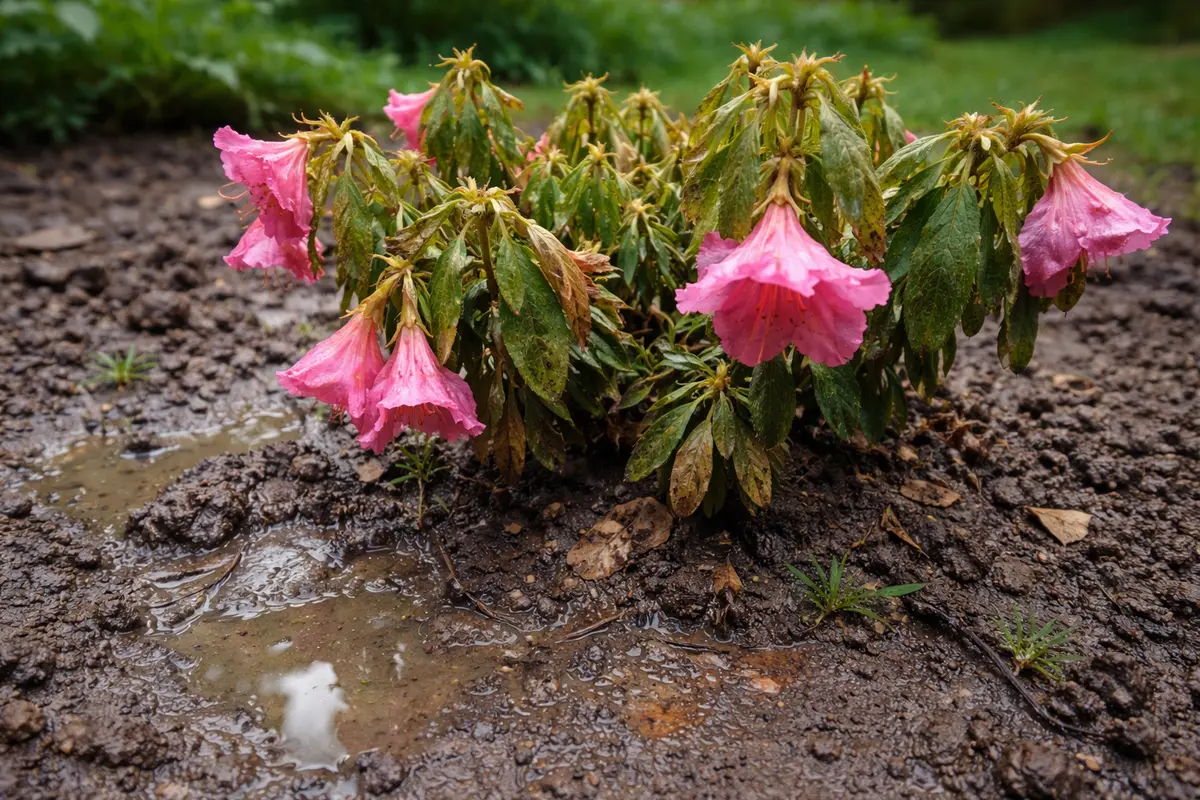
You may notice your azaleas drooping and looking less vibrant during periods of high humidity, which is why you need to know why are my azaleas wilting during excessive humidity. This wilting often results from root oxygen deprivation, leading to yellowing leaves and drooping stems. If left unaddressed, the problem can worsen and weaken the plant’s overall health, making it harder to fix in the future; however, you can improve their condition by checking the soil moisture and adjusting your watering practices now.
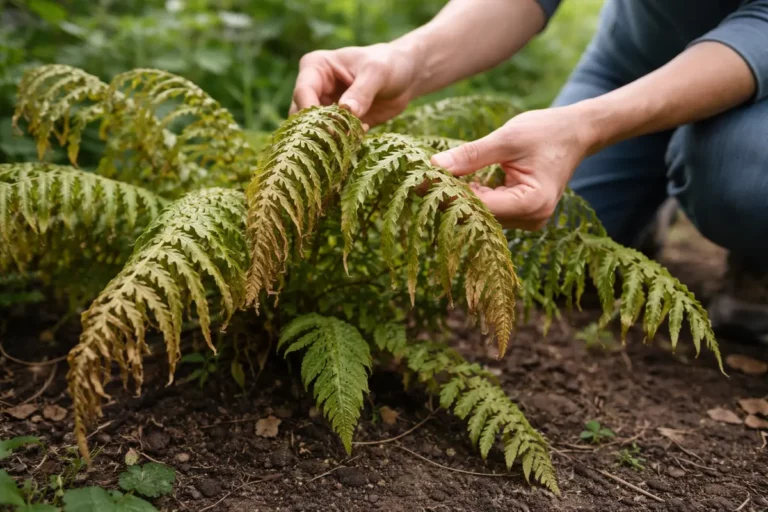
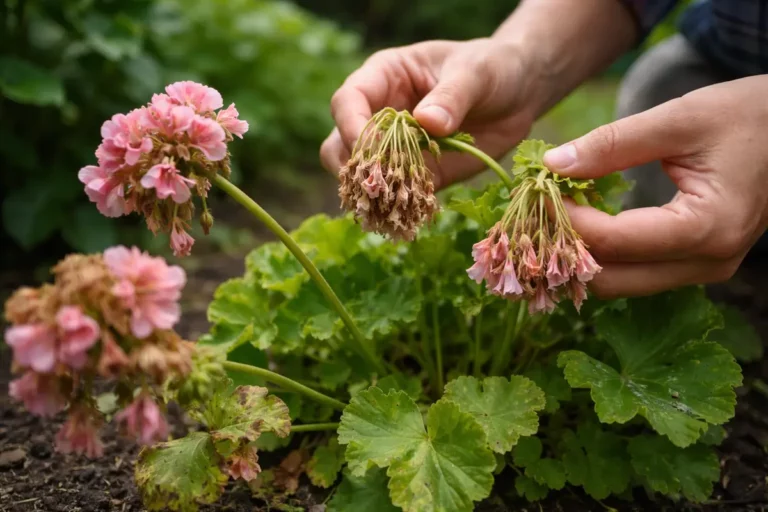
Step 1 – Trim Wilting Azalea Blooms Immediately
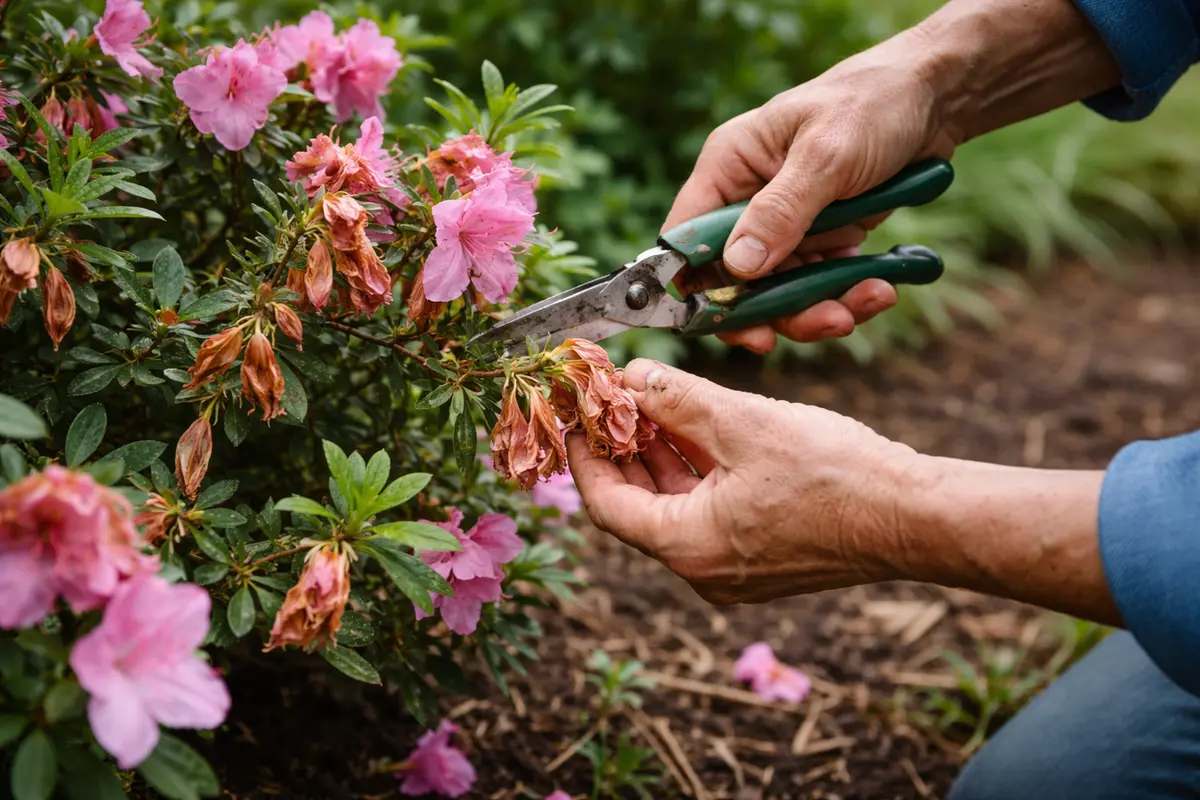
First, remove any wilting leaves and inspect the base of your azaleas for signs of root rot or excessively wet soil. If you notice dark, mushy roots, it indicates overwatering and potential root failure. Prune away these damaged areas to mitigate further decline, and you should immediately see a slight lift in the remaining leaves and a reduction in overall droopiness.
Acting quickly is crucial because azaleas are sensitive to both humidity and waterlogged conditions. If roots are left to rot, they begin to lose their ability to absorb nutrients and water, leading to widespread plant decline. Conversely, azaleas with healthy roots can recover faster and regain their vigor even in humid conditions. If your azaleas continue wilting after removal, check for signs of pests like root aphids that could disrupt root function.
A common scenario is when gardeners overlook early signs of wilting due to humidity, thinking their plant is simply stressed from the heat. For example, one gardener waited too long to prune damaged roots, leading to complete plant loss in two weeks. In contrast, a proactive approach allowed another gardener’s azaleas to rebound swiftly by promptly addressing root issues and providing adequate drainage.
Timely intervention prevents stress on your azaleas by eliminating the energy drainage caused by the wilting blooms. Excess moisture in the air during high humidity can exacerbate issues like powdery mildew, which can worsen if these blooms are left intact. Cutting off the affected areas allows the plant to concentrate on recovery, fostering new growth more efficiently. Aim to remove all wilting flowers as soon as they show signs of drooping. Once you’ve pruned the blooms, regularly monitor the remaining ones for signs of stress, such as discoloration or further wilting, as these can also occur under the same conditions.
In many cases, gardeners overlook the necessity of immediate pruning. They might hesitate to cut back blooms, fearing they’ll lose the plant’s aesthetics. However, timely action not only rejuvenates your azaleas but also prevents the spread of complications, ensuring a healthier plant. If you notice wilting flowers but are unsure about your approach, remember that removing the blooms enhances the plant’s overall vitality and encourages robust recovery. Failing to act promptly could lead to more extensive die-off of both blooms and leaves if conditions do not improve. If blooms remain wilting for more than a few days post-pruning, it’s crucial to assess the environmental conditions, such as soil and watering practices, to ascertain if other underlying issues need attention.
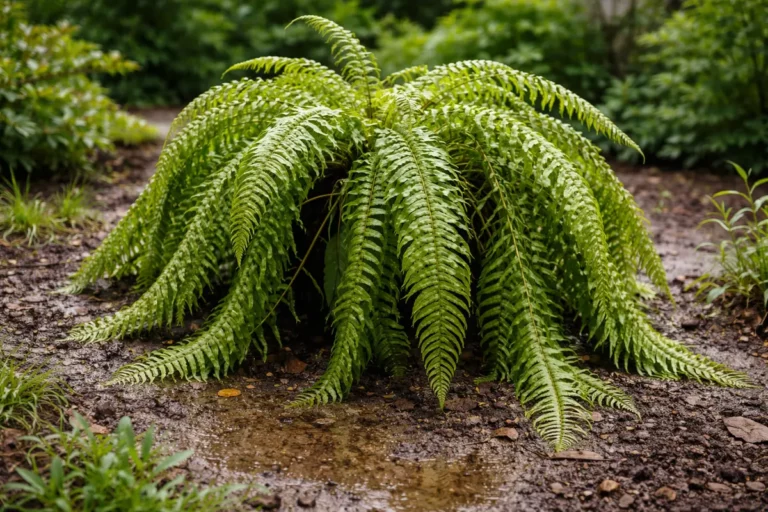
Step 2 – Examine Soil for Excessive Moisture
Inspect the soil moisture around your azaleas urgently. If the soil feels soggy or waterlogged, you must improve its drainage to promote healthy root activity again. Start by taking a handful of soil from around the base of the plant at a depth of about two inches. If you observe that water pools on the surface after heavy rain or prolonged watering, immediate action is crucial to prevent further root stress. The presence of standing water or consistent sogginess typically indicates poor drainage or compacted soil conditions that may be contributing to the wilting. Feel for unusual hardness or compactness; if the soil is hard and dry just beneath the surface, this may also indicate drainage problems.
Excessive moisture commonly arises from high humidity combined with inadequate drainage, leading to compaction, poor oxygen availability, and ultimately root rot. When roots are submerged in water, they struggle to uptake vital nutrients and oxygen, causing the azaleas to wilt due to lack of nourishment. If the soil feels overly moist beyond two inches, then drainage is likely a concern. Ideally, the top inch of soil should allow for airflow and have a crumbly texture that promotes proper drainage capabilities. If you detect a lack of aeration, try inserting a thin stake or garden fork gently into the soil to disturb compaction without harming the roots. Assessing soil conditions allows you to take necessary steps for recovery before humidity causes irreversible harm.
Should the soil emit a sour smell or feel overly saturated, opt for amending it with organic matter, like compost or peat moss, to enhance aeration and drainage. This step will create porousness in the soil, which is critical in preventing root drowning. However, in cases where the soil remains consistently wet, even after amending, it may indicate that the root system has been damaged. If this happens, consider evaluating the roots by gently lifting the azaleas from the soil, inspecting for signs of rot such as mushy texture or foul smell. In situations where the waterlogged condition extends over several days without significant drainage improvement, it may warrant seeking professional advice on whether the azaleas need relocation to better-draining soil.
Step 3 – Fertilize Azaleas to Encourage Recovery
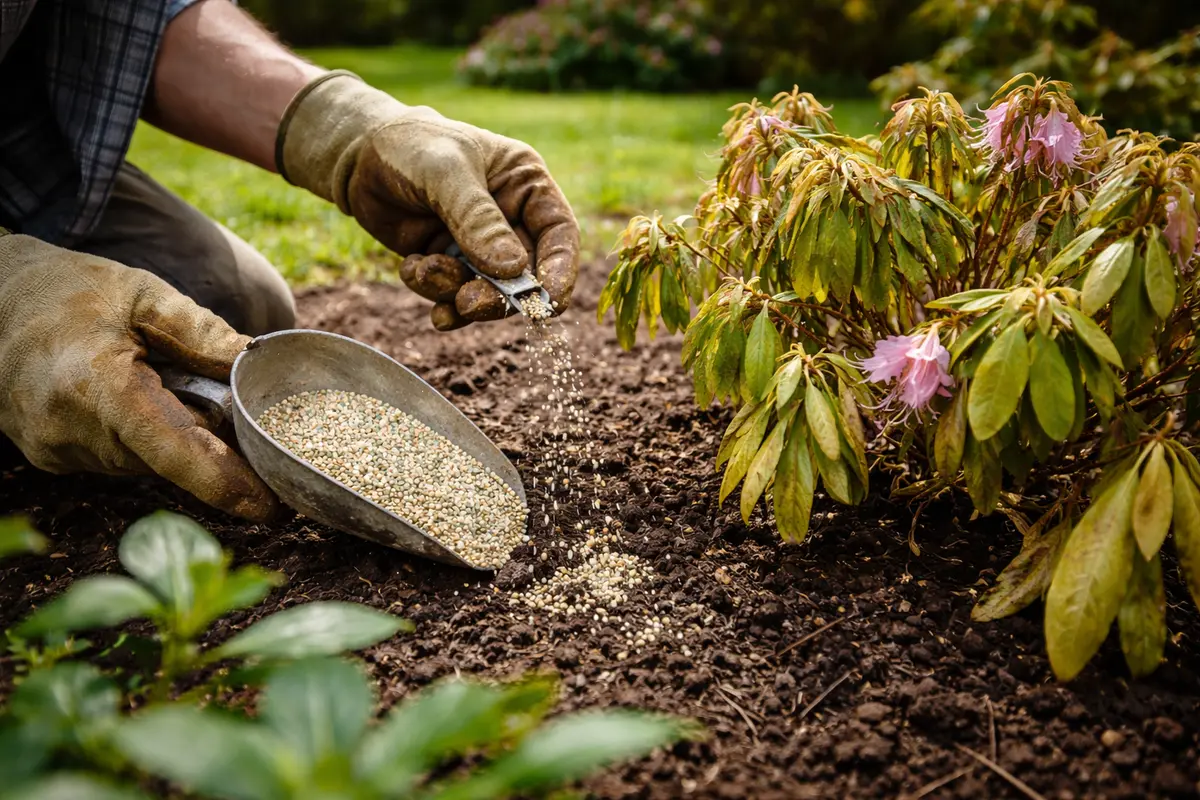
Apply a balanced fertilizer specifically designed for azaleas to encourage recovery from the stress of high humidity. You should see new growth emerging from the plant within a week, indicating successful nutrient absorption. During periods of high humidity, nutritional needs increase as plants expend energy managing stress, so adequate fertilization can be pivotal. It’s crucial to check the fertilizer’s instructions for dosage to avoid over-fertilizing, which can lead to root burn. Use a slow-release granule that accommodates the azalea’s specific growing conditions and ensures nutrients are available over an extended period.
This fertilizer action provides vital nutrients that promote recovery and healthy foliage growth, counteracting any deficiencies caused during periods of extreme humidity. When azaleas suffer both humidity stress and lack of essential elements such as nitrogen and iron, stunted growth ensues. Frequent fertilization allows for the development of robust tissues capable of withstanding future humidity spikes. Ensure the fertilizer contains enough micro-nutrients, as a lack of iron can lead to leaf chlorosis, manifesting as yellowing between veins. Always apply the fertilizer to well-drained soil, avoiding direct contact with the roots to minimize the risk of damage. Monitor moisture levels closely, as over-saturation can cause fertilizer runoff and reduce nutrient availability.
Some gardeners still under-fertilize or use an incorrect formulation, which can lead to poor recovery results. For azaleas, ensure a balanced N-P-K (nitrogen, phosphorus, potassium) ratio, typically around 10-10-10. Applying this every 6-8 weeks during the active growing season helps mitigate stress and improve overall resilience against humidity. Commonly, gardeners may overlook the need for timely follow-up fertilization once initial bloom recovery occurs; however, continuous monitoring of the plant’s health is essential. If after a week the leaves appear paler or still show signs of wilting, consider adjusting your fertilizer choice or increasing the frequency. If no visible improvement persists after two weeks despite following care instructions, it may be time to reassess not just nutrition, but overall cultural practices for your azaleas.
Step 4 – Check for Pests on Azalea Leaves Regularly
Check your azaleas for any signs of pests at regular intervals, particularly after extreme humidity periods. Observe your plants closely for returning wilting or discoloration, and examine both leaf surfaces for any sticky residue or fine webbing, which can indicate pests such as aphids or spider mites. Early detection significantly impacts the health of your plants; pest populations can explode dramatically following a high-humidity event. For instance, spider mite populations that may have hibernated can become rampant in drying conditions, compounding stress on the azaleas. Use a magnifying glass if necessary to see finer details, such as tiny webs or flecks on the leaves that suggest infestations.
A healthy azalea will showcase firm leaves and vibrant color, standing in stark contrast to a plant under pest stress where leaves may feel limp or display discolored spots. It’s essential to check for pest activity every few days, especially after high humidity events, to prevent a small problem from escalating into a more significant issue. If left unchecked, a small aphid colony can cause rapid wilting due to its feeding, leading to severe leaf loss and reduced vitality in the entire plant. If you find pests, isolate the affected azaleas to prevent spreading before treatment begins, as this will help to contain the issue.
If pests are detected, immediate treatment with insecticidal soap or neem oil can usually resolve the issue; however, if the infestation persists or worsens, consider consulting a local gardening professional for advanced treatments. Some pesticide products may only offer temporary relief while countering the benefits of your recent soil improvements. As you treat, closely monitor the plant’s health and recovery; failing to act promptly could threaten the plant’s vitality or result in death. Regular inspections enhance pest detection and build overall resilience against future environmental stressors. If the pest presence does not resolve after two consecutive treatments, reconsider the overall environment for stressors that may weaken your azaleas further. Establishing a routine pest management schedule could significantly improve overall plant health.
FAQ
How long does it take for azaleas to recover from wilting?
Recovery can take anywhere from a few days to a week, depending on the level of initial stress and the care given afterward. Adequate watering, proper fertilization, and maintaining mild humidity and temperature conditions are crucial for them to regain their health. It’s essential to stay vigilant and observe for any signs of recurring wilting, as significant weather changes or prolonged humidity spikes could delay this process further. Depending on the specific variety, some may respond faster than others, but consistent monitoring is key to ensuring you catch any setbacks early.
Can excess humidity cause root rot in azaleas?
Yes, excessive humidity combined with poor drainage can lead to root rot. Roots sitting in saturated conditions begin to decay, which ultimately causes significant wilting and health decline in azaleas. To prevent root rot, ensure the soil is well-draining and promptly adjust your watering habits during high humidity periods. Using mulch in the top layer can help manage moisture levels and buffer the soil against sudden temperature shifts that can arise due to moisture spikes. Additionally, evaluating the specific drainage conditions around your planting can help identify root rot problems before they escalate.
Should I remove all the affected leaves from my azaleas?
Only remove visibly damaged leaves and blooms. Pruning excess foliage helps direct the plant’s energy toward recovery without inducing further stress. If you’re uncertain, observe the plant’s response post-cutting to assess if further cuts are necessary. While individual leaf removal can reduce stress, excessive cutting could lead to additional issues by depleting the plant’s potential energy stores. Striking a balance is crucial; focus on visibly damaged areas while monitoring the overall response to ensure the plant is stabilizing well before considering further cuts.