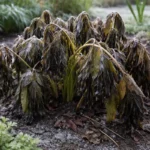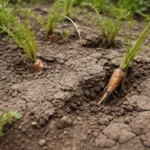
You may notice your houseplants showing signs of distress, such as drooping leaves or yellowing, during the winter months, which is why you need to know how to prevent root rot in houseplants during winter. This condition often occurs when the soil remains overly moist in cooler temperatures, leading to mushy roots and potential damage to the plant. If left unaddressed, the problem can worsen, weakening the plant and making recovery much harder to achieve, but you can fix it now by checking the moisture levels and adjusting your watering routine accordingly.
Step 1 – Trim Overwatered Plant Roots Immediately
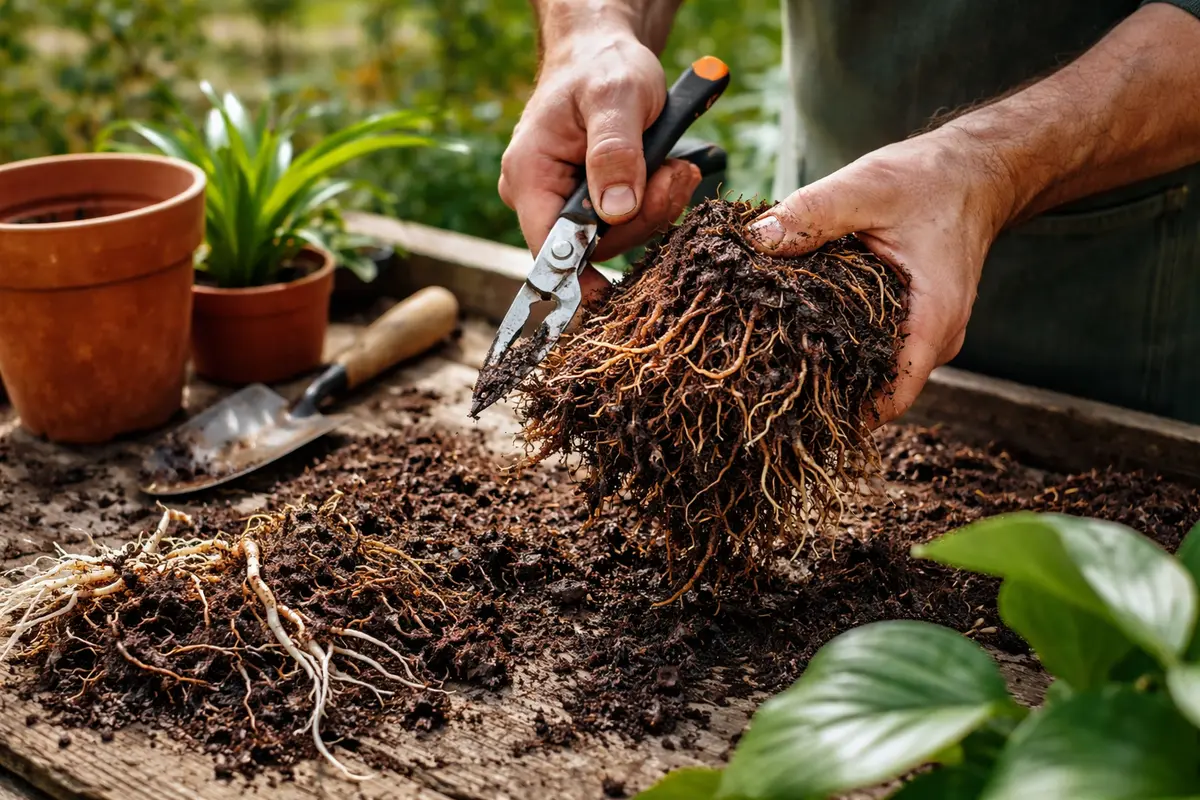
Start by removing any dead or mushy roots from your houseplant immediately. You should see the remaining healthy roots looking firm and plump after this action. Acting quickly reduces the spread of decay and helps the plant recover by maintaining healthy root systems. If you wait too long, the decay can spread to the healthy portions of the roots, risking a total loss of the plant. Always ensure to have sterilized scissors or pruning tools on hand, as this will minimize the risk of introducing more pathogens during the trimming process.
Fungal infections thrive in wet conditions, causing roots to break down and creating a smelly, soggy environment. When roots are trimmed swiftly, it halts further spread of rot and allows the plant to focus its energy on new growth. Moreover, healthy roots can absorb nutrients more effectively, which is vital for the plant’s recovery. The key is to ensure that the remaining roots are free of any brown or soft spots, as this can indicate ongoing decay. Aim to trim back until you reach roots that are consistently white and firm, as these are the most likely to support future growth.
A common mistake gardeners make is failing to check the roots soon enough, especially during winter when overwatering is prevalent due to lower evaporation rates. If you notice wilting and brown leaves, this could be a signal of root damage that needs immediate attention. Often, people delay this step, thinking their plants might bounce back on their own. This typically leads to more severe root damage and can create a cascading effect, where healthy roots begin to deteriorate within days. To prevent this, establish a regular schedule to check plant roots, ideally every couple of weeks, especially during the winter months when the environment supports excess moisture retention.
Step 2 – Diagnose Excessive Soil Moisture Issues
Check the soil moisture levels to confirm if excessive watering is causing root rot. You will observe a difference in soil texture—it should feel less soggy and more crumbly after adjustments are made. Additionally, if the soil stays wet for more than a week, it indicates poor drainage or too frequent watering. Ensuring proper soil moisture levels is critical to preventing the conditions that can lead to root rot. You can use your finger or a moisture meter; it should feel dry an inch down for optimal results.
Overwatering happens frequently in winter due to a lower light intensity and cooler temperatures, leading to slower evaporation rates. It’s essential to monitor moisture levels closely, especially if your plant sits in a container without adequate drainage holes. Regulating soil moisture helps create a balanced environment for healthy root growth and reduces the chance of fuzzy, white fungal growth. If water collects in the saucer below the pot, it should be emptied immediately, as this is a breeding ground for root rot. Be proactive by checking the saucer after each watering session to ensure no water stagnates.
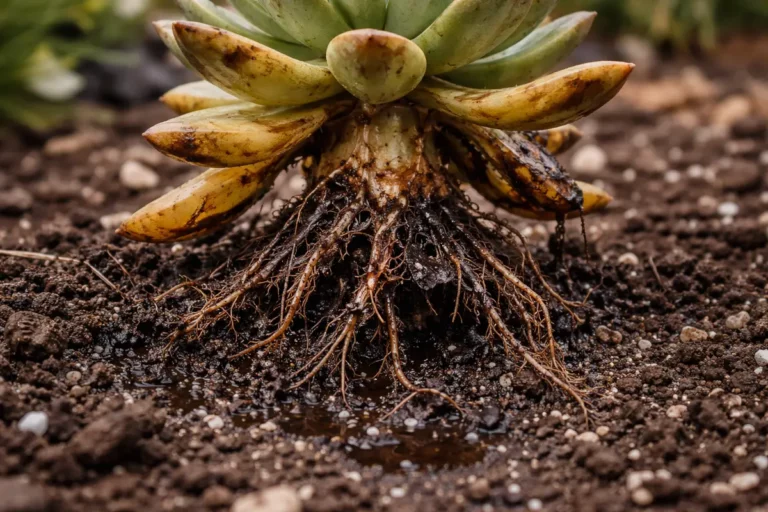
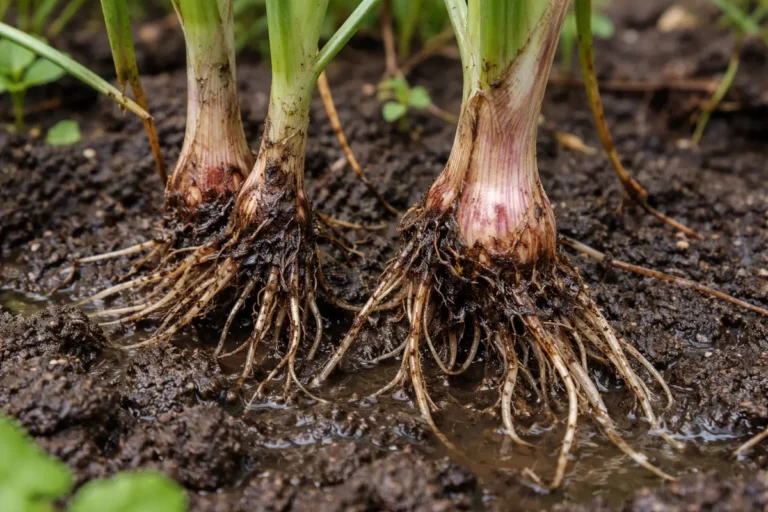
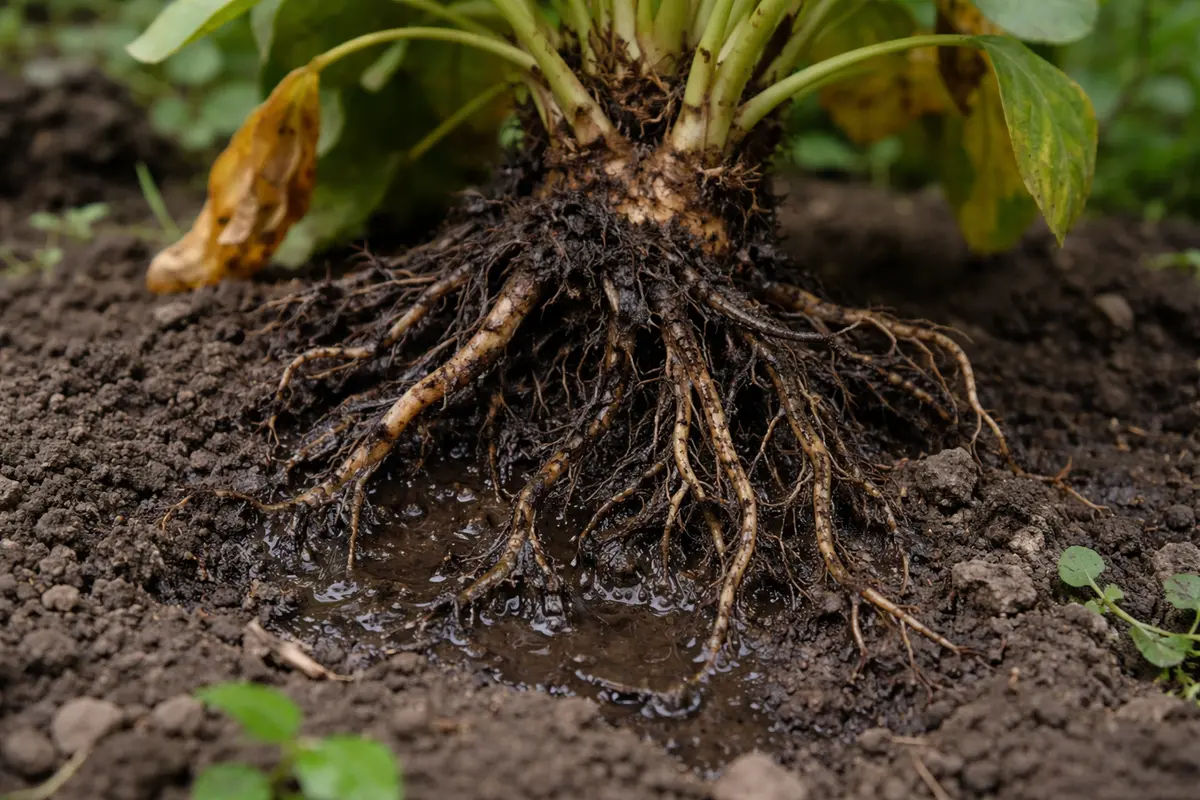
If the soil appears muddy and gives off a sour odor, consider removing the plant from its pot to check the roots closely. Healthy roots should be white and firm, while spoiled roots will appear brown or black and will feel mushy. If you find any rotten roots, you must trim them back and replace the potting soil with fresh, dry soil to increase aeration and drainage. Remember, using soil that drains well and contains materials like perlite or sand can significantly improve the situation. Also, be cautious with the amount of fertilizer mixed into the soil; excessive nutrients can further complicate moisture retention and root health.
Step 3 – Rehydrate Thriving Pothos After Root Damage

Water the plant moderately, allowing the top inch of soil to dry out before the next watering. You should notice visible signs of improvement, including the leaves perking up and a healthier green color returning within days. This careful approach ensures the roots aren’t flooded as they begin their healing process. If the leaves continue to droop or develop spots, it may indicate there’s still too much moisture retained in the soil, signaling you to delay watering further.
After trimming damaged roots, a moderate watering schedule is crucial to promote recovery. New roots will begin to grow, allowing the plant to absorb moisture without becoming overwhelmed. During recovery, provide bright, indirect light to further stimulate healthy growth while avoiding additional stress from direct sunlight, which can scorch new growth. If indoor lighting is insufficient, consider using grow lights to support the plant’s recovery. Installing a light timer can help you provide a consistent light cycle, which is beneficial for recovery.
A common mistake during the recovery phase is overcompensating with water, thinking it will help revive the plant more quickly. Instead, this can reintroduce conditions suitable for root rot. Instead, exercise patience while checking soil moisture regularly; if you notice the leaves dropping again, it may signal prolonged moisture retention or insufficient drainage. Keep an eye on the temperature of the room as well; if it’s too cold, this may hinder root recovery negatively. Ensure your plant doesn’t sit too close to drafts or heating vents which can dry out the soil unevenly, causing further stress.
Step 4 – Water Succulents Sparingly in Winter

Start by ensuring that your houseplants are in well-draining pots and using a potting mix designed to reduce moisture retention. You will notice a decrease in water pooling at the bottom, leading to healthier roots.
Excess moisture, often caused by overwatering and inadequate sunlight during winter months, can trigger root rot. By using pots that enable drainage and choosing the right soil mix, you create an environment where excess water does not linger, effectively combating the conditions conducive to root decay.
As temperatures drop, remember to adjust your watering schedule based on the plant’s light exposure. If you notice the soil remaining damp longer during shorter daylight hours, cut back on watering to prevent saturation and further risk of root rot.
Environmental factors, like cool indoor temperatures, contribute to reduced evaporation rates, creating conditions ideal for root rot, particularly in succulents. By watering only when the top two inches of soil feel dry, you’re allowing the natural ebb and flow of moisture that succulents thrive on. This approach teaches your plants how to conserve moisture while preventing disease. Ideally, you want to recognize any signs of stress, such as wrinkling leaves, which indicate underwatering, but be vigilant not to let overwatering occur. If leaves begin to feel soft rather than firm, it should prompt an immediate review of your watering habits.
During winter, it’s essential to adjust your watering routine more frequently, especially in dry indoor conditions. Note that if the planted room experiences humidity from heating systems, this might alter how quickly the soil dries out. Keep an eye on the conditions for your specific houseplant type to ensure healthier growth without inviting root rot. If you’re in doubt, a moisture meter can provide accurate readings and prevent you from over or under-watering. Check the meter’s readings from various depths to assess overall soil moisture, particularly in deeper pots.
Step 5 – Inspect Soil for Fungal Growth Weekly
Check the soil for signs of fungal growth every week to catch any regrowth or issues early. Look for changes in soil texture or any visible mold. By monitoring closely, it becomes easier to catch problems and remedy them before they escalate. Early detection is crucial; once you notice any white fungus on the surface, you’ll need to act quickly to prevent it from becoming entrenched in the soil. Pay attention to soil color, particularly for shifts from dark earthy tones to lighter, more ashen appearances which can denote fungal activity.
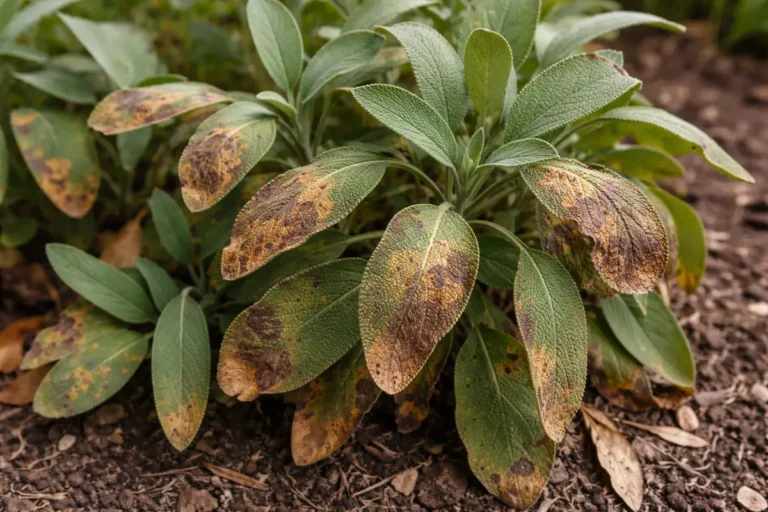
A fully recovered plant will display vibrant leaves and robust root structures. Early signs of trouble returning may include yellowing leaves or a sticky film forming on the surface of the soil. These indicators warrant immediate attention to prevent further spread of rot and maintain the plant’s health. If detected in time, these issues can often be resolved by improving airflow around the plant and ensuring adequate drying time between waterings. To promote airflow, consider gently teasing apart dense clusters of foliage when watering or repotting.
If you notice any returning symptoms even after all corrective actions, consider moving the plant to a drier location with better airflow. Additionally, when inspecting the soil, check for any hidden rot within the root system; if conditions persist, it may require repotting into new, well-draining soil to secure its recovery. Remember, regular soil aeration can also aid in reducing moisture retention and the buildup of harmful pathogens. Rotating the plant periodically can help it access more even light to encourage healthier growth and dry down the topsoil layer more consistently.
FAQ
How long does it take for houseplants to recover from root rot?
The recovery process for houseplants from root rot can take anywhere from a few weeks to several months, depending on the severity of the damage. Expect to see new growth as an indication of recovery, which typically can start appearing in 2-4 weeks. However, more severely damaged plants might require more extended care and time to fully bounce back. Consistent monitoring will help ensure the plant is on the path to recovery; keep an eye on leaf color and firmness as indicators.
Can root rot spread to other plants?
Yes, root rot can spread to neighboring plants, especially if they share the same potting medium. It’s critical to isolate affected plants and take preventive measures to stop the spread, including disposing of contaminated soil. Fungi can thrive unnoticed, so vigilance is the best strategy for protecting other nearby houseplants. When working with multiple plants, always wash hands and tools between handling to reduce cross-contamination risks.
Should I remove all affected roots at once?
No, it’s best to be gradual and remove the most affected roots first to avoid shocking the plant. This careful trimming allows healthy roots to take over without overly stressing the plant system. Ensure to monitor the plant closely after initial trimming to avoid excessive shock as it adjusts to the changes. Taking a phased approach helps the plant adapt better and can provide insights on how well it is recovering based on its responses to lesser interventions.