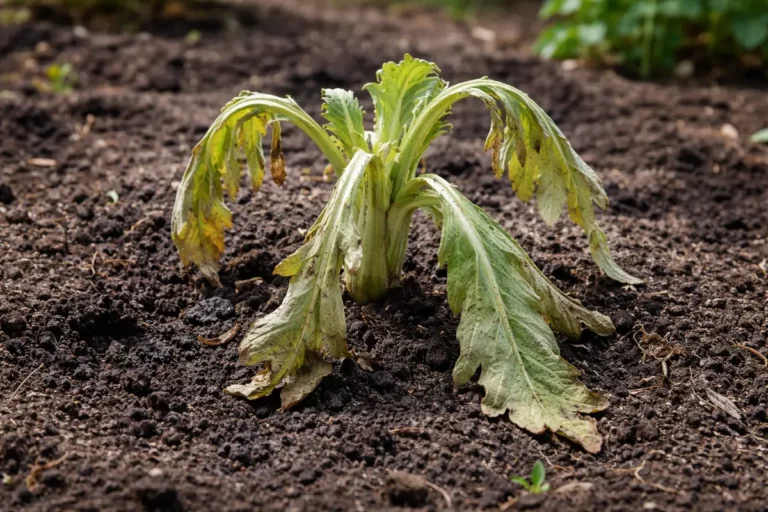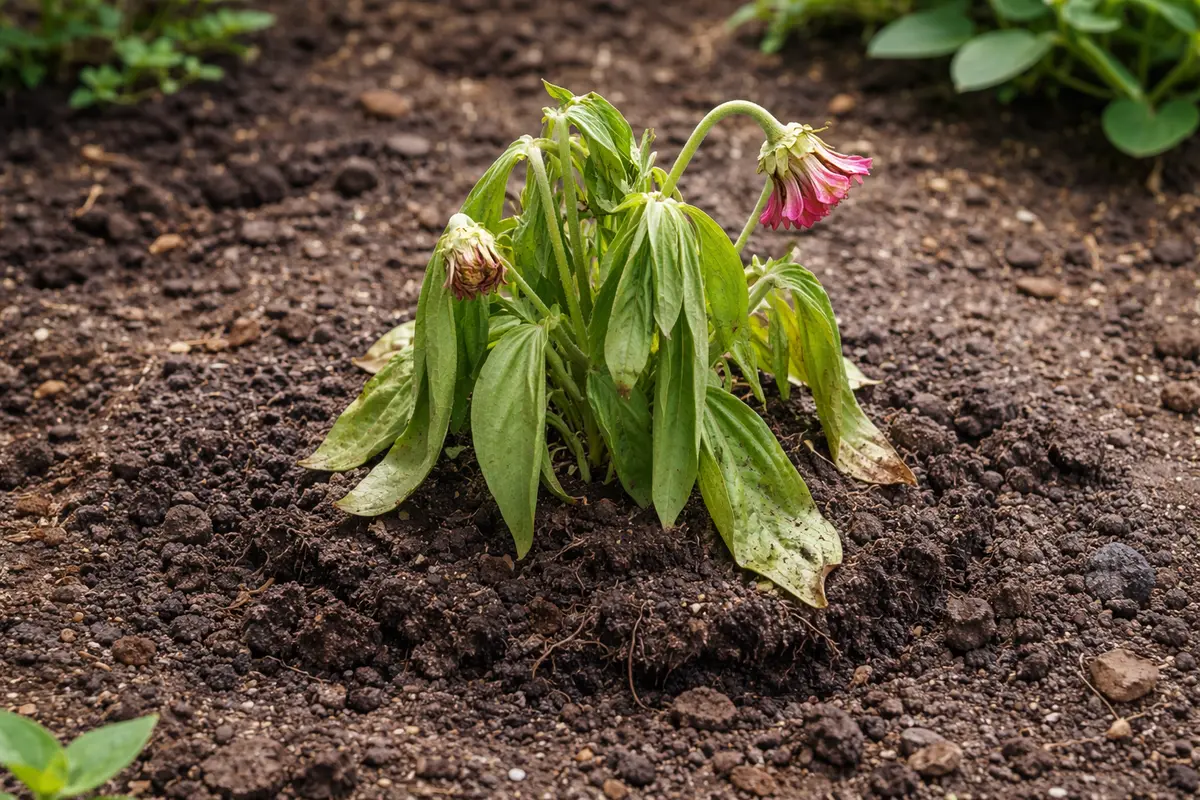
You may notice your zinnias drooping and losing their vibrant color after transplant, which is why you need to know how to fix wilting zinnias after transplant shock. This wilting is often due to the stress of being moved, leading to issues like drooping leaves and weakening stems. If left unattended, the condition can worsen and make recovery harder, ultimately stalling growth and leading to more damage. However, improving their health is possible now if you inspect the soil moisture and adjust their watering schedule.
Step 1 – Water Wilting Zinnias Immediately
Start by relocating your wilting zinnias to a shaded area if they are currently exposed to direct sunlight. This immediate action will help prevent further stress from intense heat while you prepare to stabilize their condition. Within a few hours, you should observe some minor relief in the leaves as they begin to perk up slightly, indicating they are no longer in immediate distress.
Acting quickly on wilting zinnias is crucial because these plants are particularly sensitive to changes in their environment after being transplanted. If not addressed promptly, the plant may continue to lose turgor pressure, leading to irreversible damage as cells collapse from dehydration. Without immediate shade and moisture, wilting zinnias can quickly shift from recoverable to lethargic and non-viable.
For example, a gardener who once moved zinnias into full sun right after transplanting noticed their flowers drooping significantly, despite initial signs of life. By contrast, another gardener shaded their zinnias immediately and saw them rebound within a day. If you observe leaves turning brown and crispy, check soil moisture; if it’s too dry, water thoroughly to replenish hydration.
Acting quickly matters for zinnias because their roots can become increasingly damaged by stress, leading to cellular collapse if left in a harsh environment too long. When stressed, zinnias lose critical moisture and nutrients, causing them to wilt dramatically; resolve this swiftly to prevent permanent harm. If not adjusted for shade and airflow quickly, yellowing leaves may follow; check for signs of root rot if another shift doesn’t help.
One common mistake gardeners make at this stage is continuing to handle or move the plants after transplanting; this can worsen wilting and set back recovery. For example, a gardener who neglected to secure zinnias in a quiet corner found that their once vibrant garden diminished rapidly because of the repeated exposure to harsh wind and sun. Make sure to limit disturbance for the first few days to allow them to stabilize.
A common mistake that gardeners make is assuming that zinnias only need water once a day. For instance, one gardener noticed their zinnias reviving after immediate watering while another left them without attention, resulting in stunted growth. If the leaves remain droopy despite watering, check the drainage; poor drainage can lead to root rot, which will exacerbate wilting symptoms and further hinder recovery. If the soil feels dry an inch below the surface, continue watering to ensure the roots get the hydration they need.
Acting quickly matters because zinnias, being sensitive to environmental changes, will start to stress internally when exposed to unfavorable conditions. If you delay this action, the plant may continue to wilt as cells lose turgor pressure, resulting in irreversible damage. An observable contrast is evident when comparing plants quickly moved to shade versus those left in direct sunlight; the latter may succumb to wilting much faster.
A common error gardeners make at this stage is moving zinnias multiple times without giving them a chance to acclimate. For example, a gardener who transplanted and then shifted the flowers frequently might notice they continue to droop, whereas another who allowed them to settle in one location often sees quicker recovery. If there are ongoing issues like drooping after the initial adjustments, check for pest infestations or signs of disease.
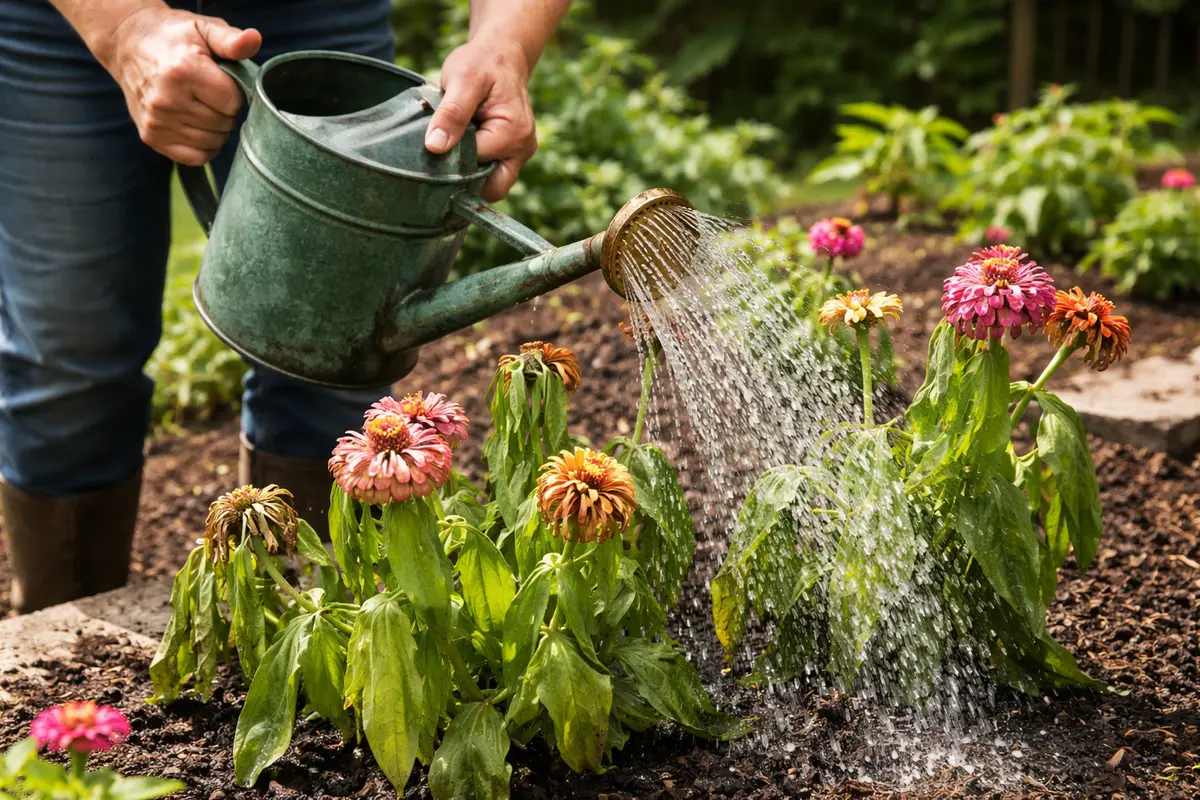
For added security, water your zinnias in the early morning or late afternoon when temperatures are cooler, reducing evaporation losses. This technique helps maintain soil moisture, allowing the roots to absorb water effectively before the heat of the day accelerates dehydration.
If you notice yellowing leaves along with wilting, it indicates prolonged stress; if leaves are merely limp but green, prompt care is likely to reverse the issue. Acting fast is crucial for zinnias, as they are sensitive to changes in their environment. If left unattended, wilting can worsen due to cell dehydration, leading to permanent damage and stunted growth. Quick rehydration can revive the plant, while delayed action may result in irreversible wilting and yellowing of leaves.
For example, a gardener once noticed zinnias wilting after planting but hesitated to water them, thinking they could wait until the next day. By morning, the plants were beyond revival, displaying signs of severe stress. If your zinnias are still drooping after watering, check the surrounding soil for proper drainage to prevent waterlogged roots. Ensure you are addressing the surrounding soil, as compaction can hinder water absorption; investigate if the soil texture allows for good drainage and infiltration.
Acting quickly to hydrate the plants prevents them from further suffering due to dehydration caused by transplant shock. Wilting occurs because the roots have been disturbed or damaged, limiting their ability to uptake water. By watering generously, you help re-establish moisture levels in the soil, which is essential for the plants’ recovery. The soil should feel moist an inch down, which indicates that the roots can access the water they need. If the topsoil remains dry, you should definitely keep watering and perhaps increase the amount to ensure deep penetration. Achieving a saturated root zone not only supports immediate recovery but also helps the roots re-establish.
A common mistake at this stage is underwatering. Gardeners might fear overwatering and skip this critical first step, thinking that the plants can adjust without help. This often leads to prolonged stress for the zinnias, causing them to struggle even more. For instance, if the soil feels dry an inch down before watering, you are not saturating the root zone enough. Consider using a soil moisture meter for accuracy. If no improvement is noted by the next day, increase the water level slightly and observe the plants’ condition closely, taking note of how quickly they respond.
Step 2 – Diagnose Underlying Soil Issues
Check the soil moisture surrounding your zinnias’ roots. You’ll notice the plants begin to perk up as they receive sufficient water within a few hours.
The cause of wilting zinnias post-transplant is often linked to inadequate moisture availability due to poor soil conditions. Transplant shock can stress their roots, limiting their capability to absorb water and nutrients, resulting in drooping leaves and stems. For example, if the soil is excessively dry, it creates a barrier that prevents moisture access, compared to conditions where overly wet soil suffocates roots and causes similar drooping symptoms.
If the soil emits a sour smell, it indicates potential root rot or overwatering and requires immediate corrective action to enhance drainage. Begin by repotting the zinnias into fresh, well-draining soil to avert further damage. If the soil is wet but the roots are damaged, gently loosen the soil around the base to improve aeration.
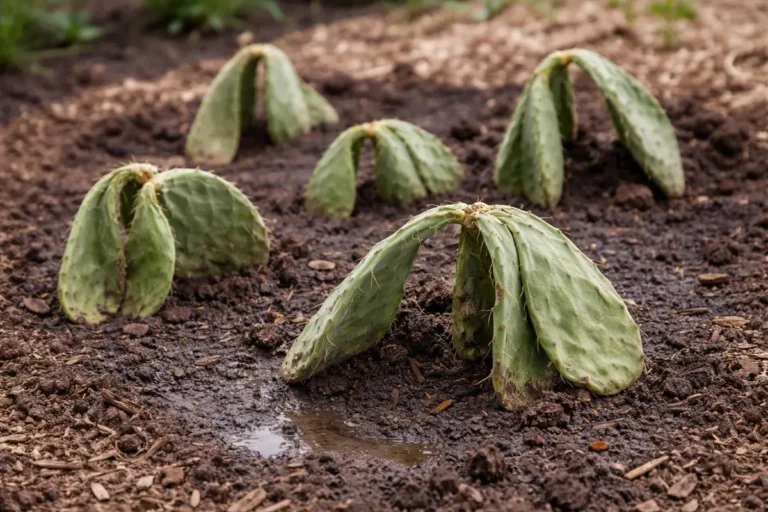
Transplant shock can also arise from compacted or poor-quality soil, both of which hinder root growth and access to moisture. It’s vital that the soil drains well; standing water suffocates roots, while compacted soil stunts root expansion, both leading to wilting and stress. If you see puddles forming after watering, drainage issues may be at play. Perform a simple drainage test by pouring water into a hole in the ground and observing how quickly it absorbs—slow absorption indicates inadequate drainage. This situation may necessitate remediation by incorporating organic material or adjusting the planting depth.
If your zinnias are situated in clay soil, amend it with organic matter such as compost or peat moss to enhance drainage and aeration. Additionally, a foul smell from the soil points to root rot, prompting you to gently inspect the roots for decay. Healthy roots should be firm and white; mushy brown roots will require immediate intervention. In this case, remove the afflicted roots before replanting and treat the surrounding soil with fungicide. Should soil tests reveal poor drainage, mixing in sand or perlite will help lighten the soil and facilitate water flow. This amendment should be performed carefully to avoid disturbing existing roots excessively. Aerate compacted areas with a garden fork, but be cautious not to damage the roots of nearby plants.
Step 3 – Fertilize Zinnias for Accelerated Recovery
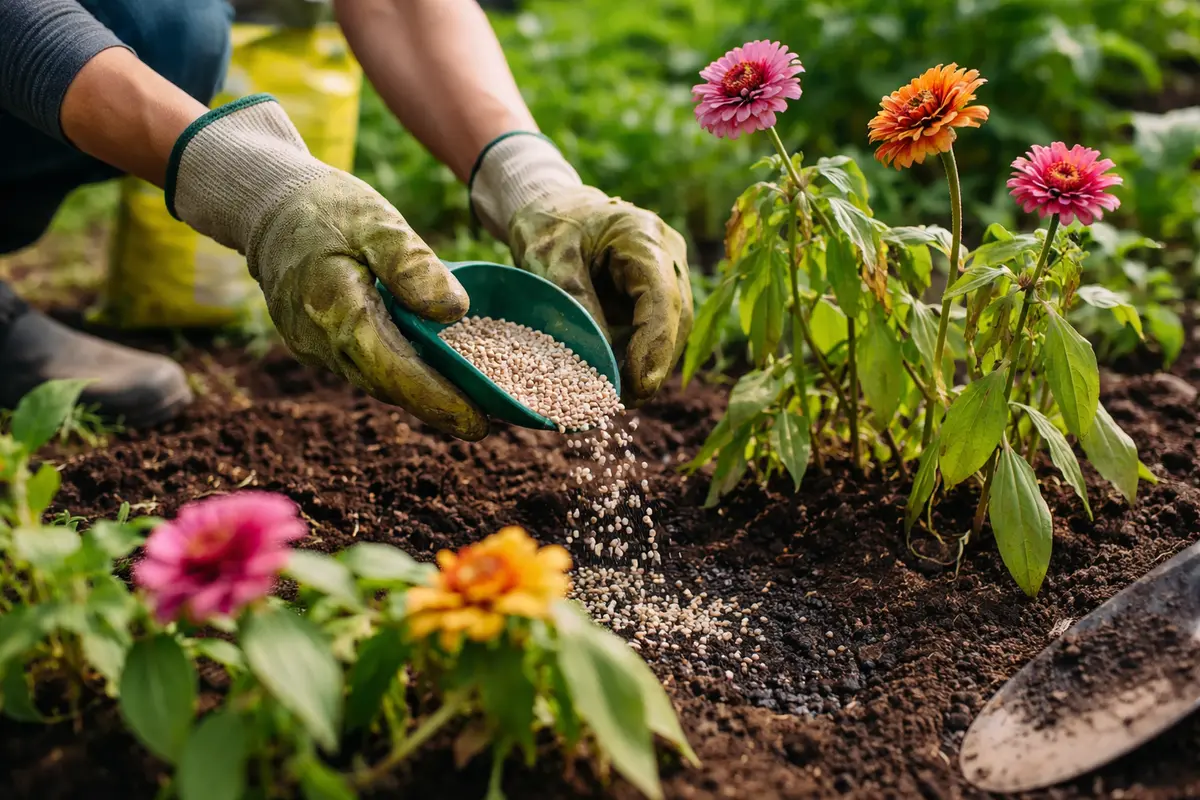
Start by applying a balanced, diluted fertilizer to your wilting zinnias, ensuring even distribution at the base of the plants. Within a few days, you should notice new leaf growth and an overall improvement in vigor, indicating enhanced nutrient uptake. Fertilizer applications should be done cautiously; consider this step after confirming your plants are receiving adequate moisture and light to promote recovery.
Visible signs of recovery generally occur within a week, indicating healthy growth patterns as your zinnias respond positively to the care. If the leaves remain limp despite fertilization, check the surrounding soil—overly compacted soil can hinder root expansion, resulting in continued wilting. Make sure the soil allows for good aeration; if you find it too dense, consider loosening it to enhance air and moisture flow to the roots.
A frequent mistake during this phase is over-fertilizing, which can lead to nutrient burn, especially if the roots are stressed. Monitor the soil moisture and adjust the frequency of fertilizer applications accordingly; if the soil feels dry and leaves are still droopy, a diluted feeding every two weeks can help moderate recovery. Conversely, avoid fertilizing if the soil is overly saturated, as this can lead to further stress on the roots.
To prevent future wilting, implement a standard schedule for watering and nutrient application. Initiating this regimen immediately after transplanting helps establish a robust root system and encourages peak health in your zinnias. Consider adding mulch around the base to maintain consistent moisture levels, particularly in the weeks following transplanting.
Your ongoing care should also account for timing triggers; for instance, assess watering needs during hot spells or after heavy rainfall. If you notice persistent signs such as yellowing leaves, it may be time to adjust your fertilization strategy. Adding slow-release fertilizers can provide steady nutrient supply while reducing the risk of over-application, which is crucial for long-term plant health.
Step 4 – Inspect Zinnias for New Growth Regularly
Check your zinnias every few days for new growth and improvements in leaf color. Healthy zinnias exhibit bright green leaves and robust new stems within 7-10 days post-fertilization. For the next few weeks, watch for signs such as increased leaf size and vibrant color that indicate recovery. If new growth appears, this means your zinnias are re-establishing their root systems effectively. If, however, you continue to see yellowing leaves or persistent wilting after this period, these symptoms may signal deeper issues that need to be addressed.
Monitor your zinnias closely, especially during the initial 14 days post-fertilization. New growth confirms positive changes, while negative signs like stunted growth or ongoing discoloration could indicate inadequate light exposure or unresolved pest problems. If you still notice these adverse signs, assess the light conditions; too much direct sunlight or inadequate moisture can hinder recovery. If new growth fails to materialize, consider adjusting the watering schedule or addressing nearby plants that may be casting unwanted shade.
If your zinnias do not improve within 14 days, assess their soil conditions, light exposure, and watering habits again. Pay attention to environmental factors such as sudden temperature changes, which might necessitate relocating your plants to more suitable areas. Keep regular checks for pests or diseases in focus, as a common issue like an aphid infestation can significantly impact plant health. A light application of neem oil or insecticidal soap can be effective if pests are present. Furthermore, always stay vigilant for other environmental stresses that might affect your zinnias, ensuring they remain healthy and thriving.
FAQ
How long does it take for zinnias to recover from transplant shock?
Typically, zinnias can take anywhere from 1 to 3 weeks to fully recover from transplant shock, but this depends on various factors such as weather conditions, soil quality, and overall plant health. If signs of recovery do not begin within this timeframe, it is prudent to explore possible underlying issues further, such as root damage or nutrient deficiency. In some cases, particularly with adverse soil conditions, recovery may span longer, indicating a need for more drastic interventions.
Can transplant shock spread to other nearby plants?
Transplant shock itself doesn’t spread, but if the underlying issues such as root rot or poor soil conditions persist, they can affect nearby plants. It’s essential to maintain healthy soil and plant care to prevent issues from escalating since similar conditions can lead to root stress in adjacent plants as well. Ensuring proper distance between plants during early growth allows for easier monitoring and reduces the likelihood of shared nutrient deficit among neighboring plants.
Should I remove leaves from wilting zinnias?
It is advisable to remove severely wilting or damaged leaves to redirect energy toward healthy growth. However, avoid over-pruning; the zinnias need as much healthy foliage as possible to photosynthesize effectively during recovery. Removing too many leaves could hinder their recovery by reducing their overall photosynthetic capacity, which is critical for regrowth. Monitoring how much leaf area you remove will help gauge the plant’s recovery trajectory, allowing it to focus its energy on producing new growth instead.