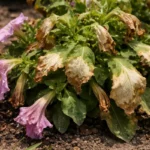
You may notice your tomato plants drooping and looking lifeless after a heavy rain in the garden, which is why you need to know, “Why are my tomato plants wilting after heavy rain in the garden?” The excess moisture can lead to wilting due to root rot or a lack of oxygen in the soil, causing serious damage to the plants. If ignored, this condition can weaken the plant, making recovery harder later, but you can fix this by inspecting the roots and adjusting your watering practices to improve drainage.
Step 1 – Assess Wilting Tomato Plants Quickly
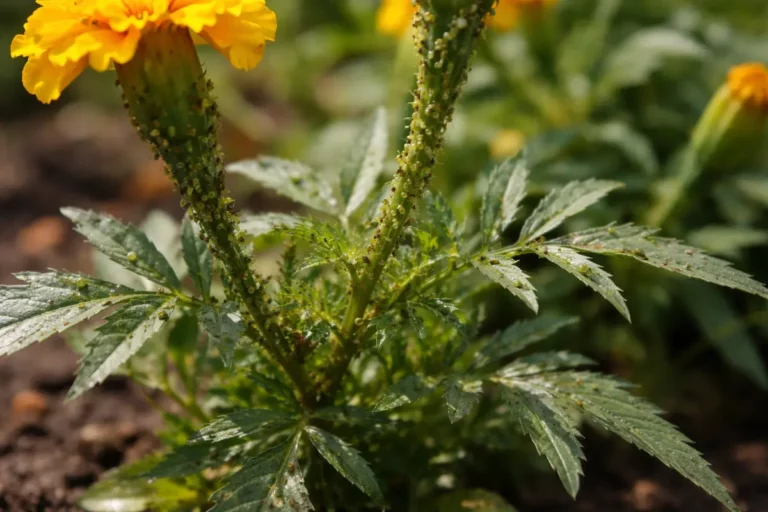
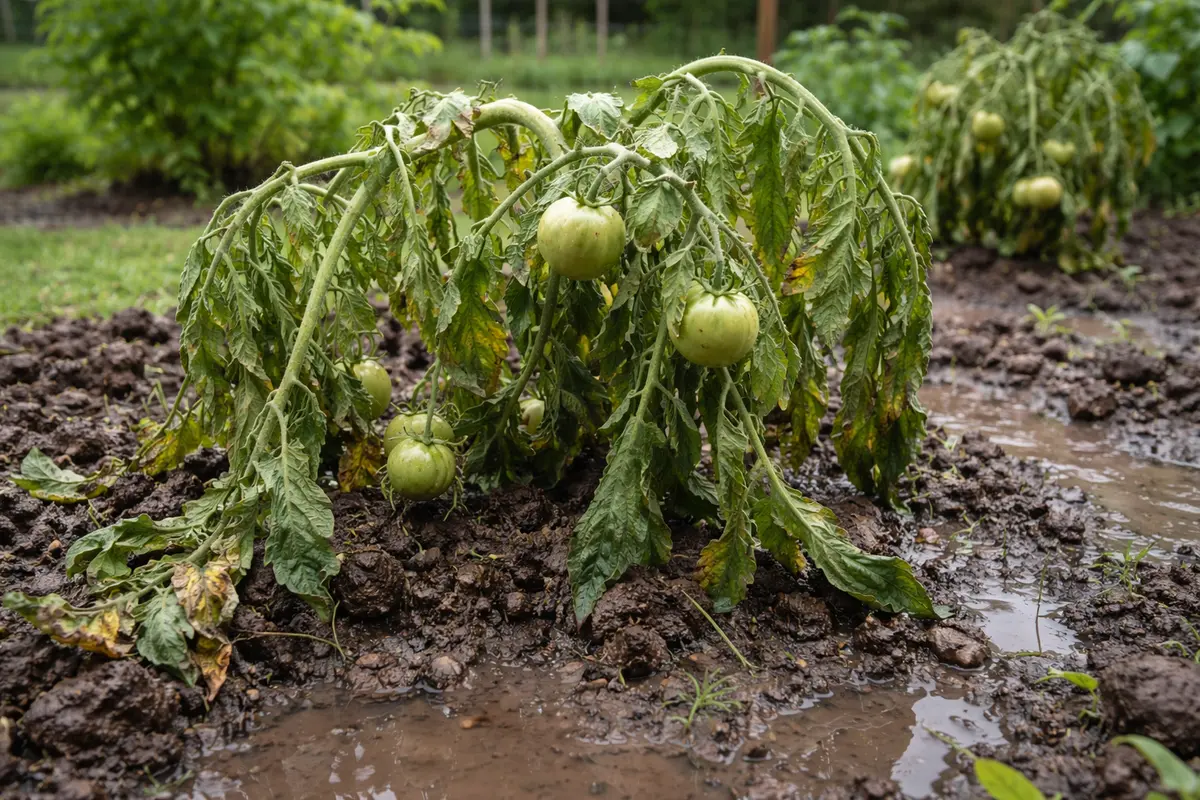
Start by inspecting the soil around your wilting tomato plants. Feel the soil’s moisture level and observe the plant’s overall condition within minutes. If the top inch of soil feels overly saturated and the plant appears droopy, it indicates excess water has negatively impacted the roots. This is a critical moment—timely assessment can be the difference between recovery and irreversible decline. If the soil feels like mud or is slick between your fingers, recognize that the roots are likely deprived of oxygen.
Immediate inspection is crucial as wilting can progress quickly; roots deprived of oxygen due to waterlogging can begin to rot within 24-48 hours. Tomato plants usually exhibit signs like drooping, soft stems, and a loss of turgor pressure, indicating they are suffering. The sooner you identify the problem and take effective action, the higher the chances of saving your plants from further distress. Make a note of the drooping angle; if it’s severe (more than 45 degrees), this often indicates significant stress.
A common mistake at this stage is to assume that just waiting it out will help. Many gardeners might opt for cosmetic fixes, like staking the plants, without addressing the root cause. However, if the soil remains soggy for an extended period, it can exacerbate the risk of root rot and lead to further stress and damage to the plants. If the plants remain wilting after a few days of drying conditions, it will be necessary to address the root conditions to potentially save them. Furthermore, if wilted plants are coupled with a foul odor emanating from the soil, this indicates a further deterioration that needs immediate attention; a sour smell often signifies anaerobic bacteria thriving in waterlogged conditions. Ensure that you take immediate action if foul odors are present, as this often signifies a critical state of root health.
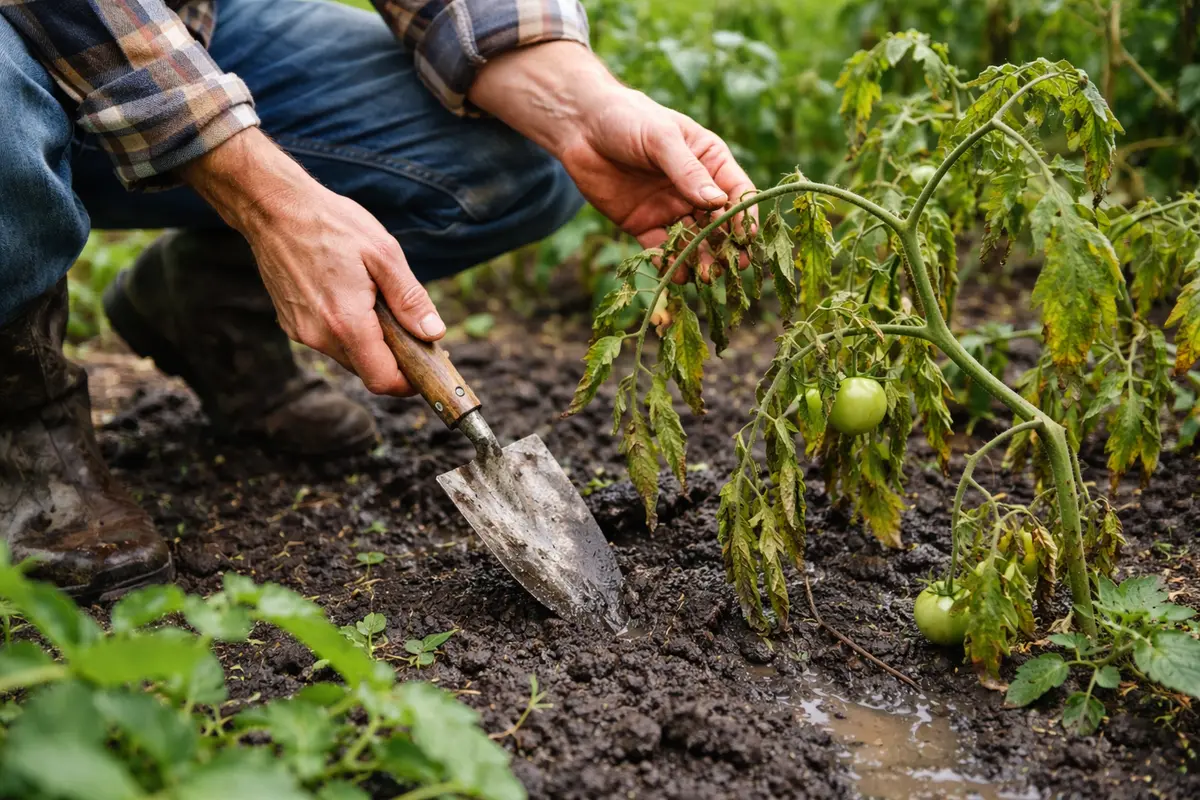
Step 2 – Investigate Excess Water Around Roots
Check for pooled water near the roots and assess drainage conditions. If you notice water sitting around the base of the plants, excess moisture is impacting their health. This will reveal whether poor drainage is the cause of your tomato plants’ wilting. Carefully remove any mulch or debris that may be blocking drainage paths to get a clearer view. Also, determine whether water flows away from the area within a half hour of rainfall; stagnant water indicates a severe drainage issue.
Poor drainage leads to conditions conducive to root rot, where the roots suffocate and soil-borne pathogens take hold. Dense soils, particularly clay or compacted soil, trap water and hinder proper drainage, exacerbating the problem. Take note of how long the water lingers; if it hasn’t evaporated within a couple of hours after heavy rain, the soil type may be contributing to the situation. Make sure to distinguish between soggy soil and simply damp soil; a clear distinction here is critical for determining the next steps. Without prompt correction, the roots may effectively drown, leading to permanent plant damage. Ensure that any containers used offer proper drainage holes; a common oversight is to assume store-bought pots will suffice, but their drainage efficacy can vary widely.
If the soil smells sour or you find roots feel mushy, those are signs of root rot. In contrast, if the soil is just damp but not soaked, you might just need to wait for natural drying. If you experience consistent waterlogging, consider transitioning to raised beds or amending your soil with organic matter for better aeration, as this change will greatly enhance drainage. One quick test is to dig down about six inches; if this area remains dry compared to the top layer, it could indicate that water is not penetrating efficiently below the surface. Additionally, using a soil moisture meter can provide a more accurate reading. Overall, if water remains pooled and the plants display consistent wilting, take immediate action to amend soil conditions. Consistent saturation can weaken the plants, making them more vulnerable to pests and diseases. Consider rooting a few cuttings or planting new seeds as a contingency, especially if recovery seems unlikely.
Step 3 – Fertilize Wilting Tomatoes to Aid Recovery
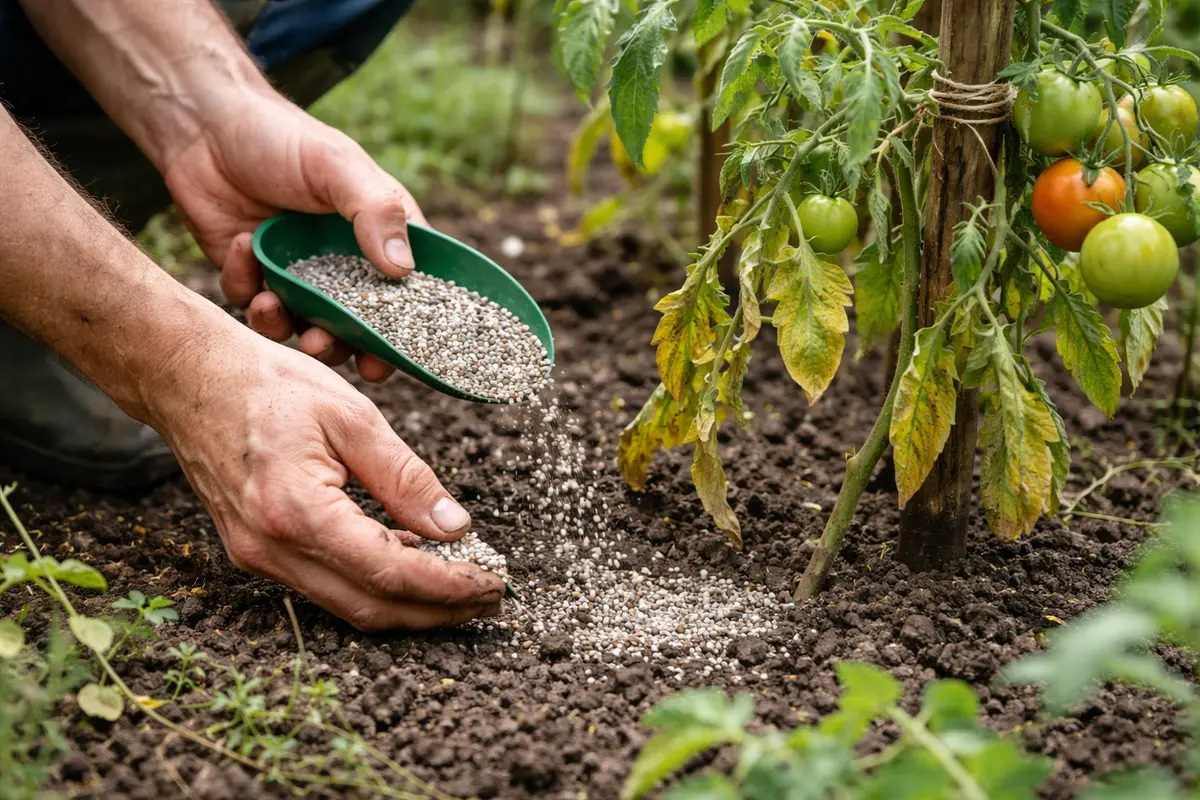
Apply a balanced fertilizer with added potassium to your wilting tomato plants to help them recover. Aim for a ratio around 5-10-10 for a balanced nutrient boost, which can help revive the health of your plants. Observe the plants for changes; you will likely see improved firmness in the stems and potentially new foliage growth within a few days. This action nourishes the plants, promoting healthier recovery from water stress. If symptoms do not improve after a week, reassess to identify potential nutrient absorption issues related to waterlogged roots.
Using a nutrient boost helps to replenish what may have been leached away during excessive rainfall. Potassium plays a crucial role in strengthening plant cells and enhancing overall resilience against various environmental stressors, including diseases that can arise from waterlogged conditions. Regular fertilization during the growing season enhances nutritional availability, which is particularly valuable following a heavy rain event. Be mindful of checking the fertilizer’s compatibility with your soil type to avoid exacerbating moisture issues; some fertilizers can further retain excess water if not appropriate for your specific soil conditions. For example, if using a fertilizer with high nitrogen content, you might inadvertently promote leafy growth at the expense of root health.
However, avoid over-fertilizing, which can lead to nutrient burn if the plants are still dealing with excess moisture. Only fertilize when the soil feels slightly dry to the touch after addressing drainage if necessary. Keep a close eye on your plants; increased temperatures and humidity can increase their nutrient requirements rapidly. A good practice is to apply liquid fertilizers mixed with water during hot afternoons; this method allows for absorption and minimizes the risk of root burn. Also, monitor your plants for changes in color; if you see any leaf curl or browning on the edges, it may signal that your plants are undergoing stress from too many nutrients rather than not enough. In this case, scale back on fertilization temporarily and focus on improving drainage to ensure the plants can recuperate effectively.
Step 4 – Inspect Leaves for New Signs of Stress
Start by checking the soil moisture levels immediately following heavy rain. Observe if the soil is overly saturated or muddy, which can lead to root rot. Recheck the moisture after a few hours, as drainage may improve over time and allow you to assess if the plants are recovering adequately. If there are any signs of leaf blistering or persistent drooping after a few days, it may indicate deeper root system issues.
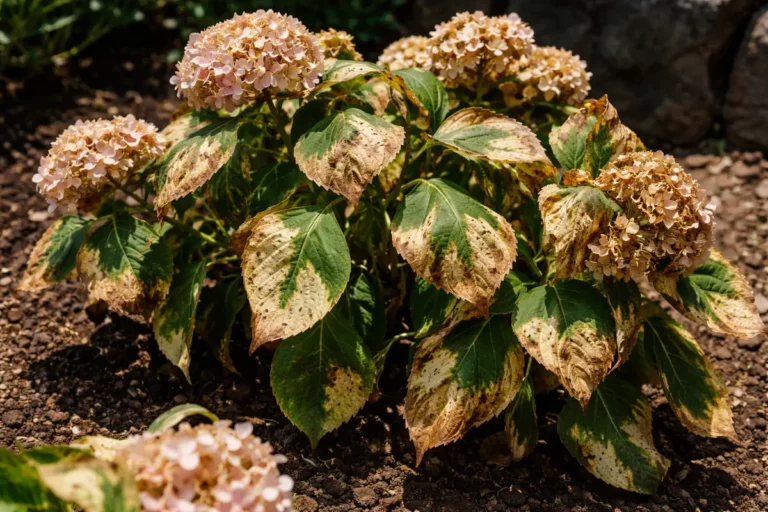
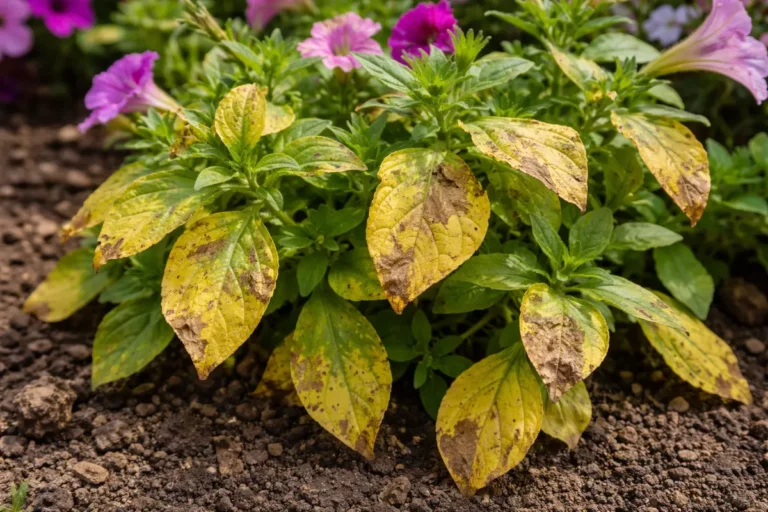
A fully recovered tomato plant showcases lush green leaves that are firm to the touch, with a robust upright posture. In contrast, early signs of wilting manifest as droopy leaves, possibly with a slightly mushy texture, indicating waterlogged roots. If you notice the leaves becoming yellow or the stems softening again, this could signal that the problem is returning. If there’s a significant change in leaf color or texture within a week’s timeframe, it may be essential to reassess your care plan.
If wilting persists despite your care and conditions have improved, consider addressing potential overwatering or fungal issues. A fallback action would be to improve drainage around the root zone or apply a fungicide if fungal diseases are suspected. If problems continue, escalate by consulting a gardening specialist to explore further options. Keep your monitoring consistent, checking the plants at least every other day during the critical recovery phase. A fully recovered plant will display firm, vibrant foliage and new healthy growth. Conversely, if the yellowing persists or new growth fails to develop, it might indicate nutrient deficiencies or continued root issues. Symptoms like wilting or browning can signal that the problem has not been resolved, and you may need to reevaluate your watering practices or consider soil amendments. If you observe a high prevalence of yellowing leaves in areas that are consistently well-watered, it may suggest a more systemic issue related to nutrient uptake, indicating that the root system could still be compromised. Regular monitoring and adjusting your care routine are key to ensuring the long-term health of your plants.
Investing in a soil test kit to gauge nutrient levels can provide invaluable insights into environmental conditions if symptoms continue without resolution. Additionally, comparing the health of your tomato plants with that of neighboring plants can yield quick assessments; if they are also exhibiting symptoms, it may point to a broader environmental issue needing to be addressed. Documenting your recovery attempts will help track successful interventions or recurring problems that arise each growing season, giving you a tailored approach going forward.
FAQ
How long does it take for wilted tomato plants to recover?
Recovery time for wilting tomato plants can vary based on several factors, including the severity of the condition and environmental conditions. In ideal circumstances, you might start noticing improvements within 3-5 days after taking corrective actions, such as adjusting irrigation practices and enriching the soil. However, if root rot has set in, it could take longer, and you may need to reassess drainage systems or consider replanting if damage is extensive. It’s important to stay vigilant during this period to maximize recovery chances; a lack of improvement within a week often indicates a deeper issue.
Can root rot spread to other plants in my garden?
Yes, root rot can spread, especially if the pathogens are present in your garden soil. It’s essential to prevent water pooling and ensure adequate drainage to protect other plants from similar conditions. Regularly inspect neighboring plants for similar symptoms, as early intervention is key in preventing widespread issues. Implementing crop rotation and maintaining healthy soil can also help mitigate risks associated with waterlogged conditions affecting multiple plants; this can often mean the difference between preservation and loss.
Should I remove wilted leaves from my tomato plants?
Removing severely wilted or damaged leaves can encourage new growth and improve airflow around the plant. However, only trim foliage once you have addressed the underlying issues to avoid further stress on the plant and potentially worsening its condition. Make precise cuts at the base of the affected leaves to minimize injury. Additionally, monitor for any new growth; if healthier leaves develop, they may fill the gaps left by those that were removed, aiding in recovery. It can also be beneficial to use sterilized scissors or razor blades for clean cuts, reducing the likelihood of introducing pathogens during pruning.