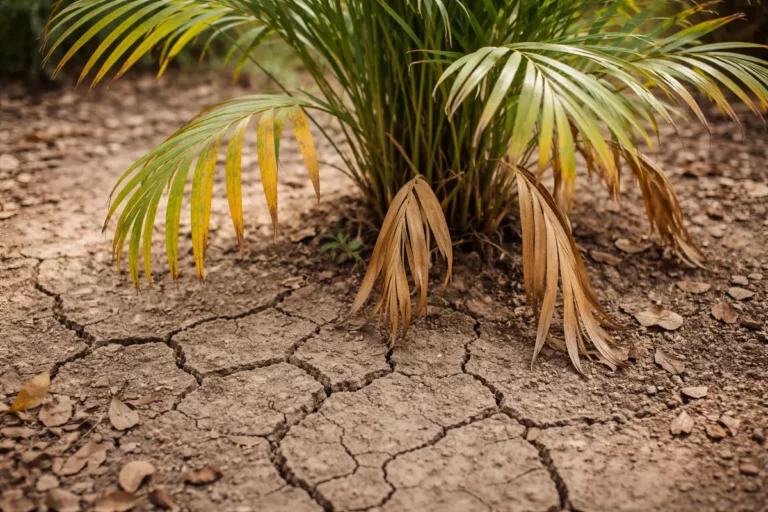
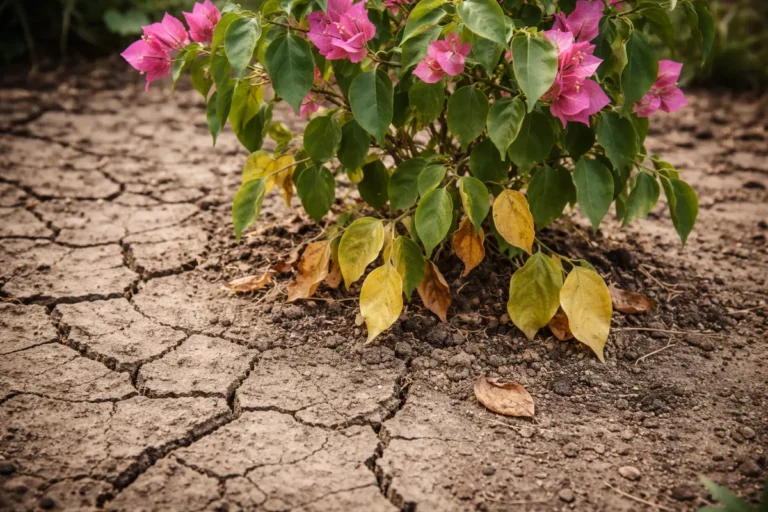
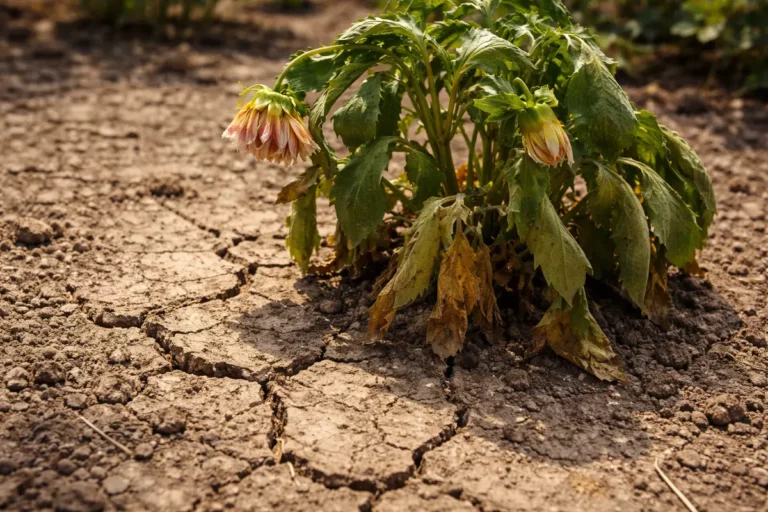
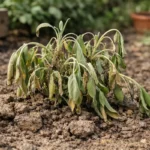
You may notice curled leaves on your clematis during dry spells, which is why you need to know how to fix curled leaves on clematis after drought. This curling occurs due to water stress, causing damage that manifests as wilting and drooping leaves. If left unaddressed, this issue can worsen and lead to more damage, so now is the time to inspect and water your plants to improve their health.
Step 1 – Water Clemmatis Deeply to Revive Leaves
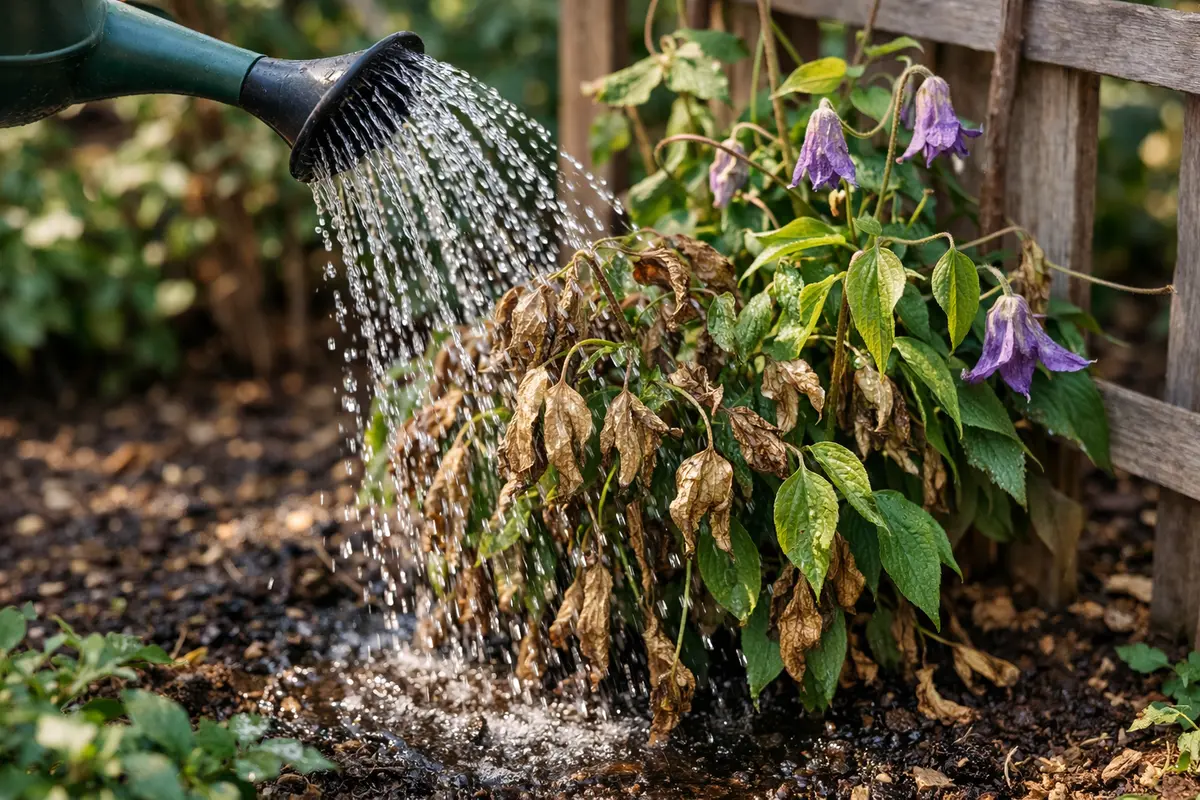
Water the clematis thoroughly until moisture saturates the soil down to at least 6 inches. You will see the leaves begin to perk up within a few hours, showing signs of relief from drought stress. Make sure to target the base of the plant and apply approximately 1 to 2 gallons of water to ensure effective absorption throughout the root zone. This specific quantity helps to mitigate any further dehydration, ensuring the roots can access moisture efficiently.
Deep watering revitalizes the plant by ensuring that roots receive the moisture they desperately need. Clematis, like many climbing plants, thrives in consistently moist soil, so providing adequate hydration stimulates cellular processes that promote leaf recovery. Notably, if the plant does not receive enough water, it may struggle to absorb nutrients, causing symptoms of leaf curling and wilting to worsen over time. This lack of hydration usually manifests visibly, with the leaves curling inward or becoming brittle. You may also observe that the soil around the roots appears dry or crusty, indicating that the root zone is not adequately hydrated. A related fix is explained in yellowing leaves shallot if you want to compare approaches.
Many gardeners often water only the surface, which can lead to frustration as the deeper roots remain parched. It’s crucial to ensure that the entire root zone is well-hydrated. Additionally, some mistakenly believe that introducing fertilizers during drought recovery will help; however, nutrient uptake is also impaired without adequate moisture in the soil. Thus, focus first on deep watering to halt any further damage. If leaves do not respond after 24 hours, it indicates that deeper issues may exist in the soil structure or drainage that need attention. For troubleshooting, if there’s a significant delay in recovery, try checking for signs of soil compaction or retaining moisture that could hinder proper drainage within the root zone.
Step 2 – Assess Soil Moisture Levels for Uneven Drought
Check the soil moisture beneath the surface to identify inconsistent dryness by digging down about 3-4 inches. You will either find that the soil is still dry or has taken on a sponge-like texture; both results indicate how to adjust your watering strategy going forward. For more precision, consider using a moisture meter to gauge exact levels, helping you determine the need for further irrigation accurately. If the meter displays a reading of 2 or lower, it may indicate a need for immediate water application.
Assessing soil moisture is essential because it helps pinpoint whether your watering habits promote uneven moisture distribution around the roots. Clematis roots need consistent soil moisture to thrive, and dry pockets in the root zone can lead to continued leaf curling. If the soil is too dry, it limits the plant’s ability to absorb water, while overly saturated conditions can suffocate the roots. A common misconception is assuming that if the top layer feels moist, the roots are hydrated; this assumption often leads to inadequate watering. Over time, if excess water remains standing, it could create conditions that lead to root rot, marked by a foul odor or mushy roots.
If you discover compacted, dry soil, consider aerating around the root area to improve moisture absorption. Utilize a garden fork, poking holes about 6 inches apart and 6 inches deep to allow air and moisture to reach deeper roots. Avoid shallow watering, as it fails to nourish the entire root ball. On the other hand, if the soil feels overly waterlogged with a sour smell, refrain from further watering and allow the soil to dry out a bit, as this indicates potential root rot, which requires different treatment to resolve. If root rot is suspected, easing up on watering until the soil stabilizes helps to prevent a total decline of the plant. Observe your plant closely after taking corrective actions; improvement should be visible in 1-2 weeks if conditions have stabilized.
Step 3 – Test Leaf Flexibility for Drought Stress Confirmation

Examine the flexibility of the clematis leaves by bending them gently. If they snap or feel rigid, this confirms that drought stress is affecting the plant. On the other hand, if they bend easily without breaking, it indicates better health. Consistently measuring this flexibility over time can provide a solid indication of hydration levels within the plant, acting almost like a hydration gauge. Take the time to note any changes weekly for a clearer understanding of hydration patterns.
Checking leaf flexibility is critical since this can indicate how hydrated the plant tissues are. Leaves that are rigid or brittle have low turgor pressure due to dehydration, while flexible leaves suggest adequate moisture and cell hydration. If flexibility does not improve within a week despite adequate watering, it signals deeper issues within the root systems or possible pest infestations affecting hydration. Often, inspecting the back of the leaves might reveal any signs of pests, such as small webbing or discoloration, suggesting that the plant is under duress from both drought and pests. For a closely related scenario, see drooping sunflower stems.
If you are uncertain about assessing leaf flexibility, look for other symptoms such as overall wilting or discoloration of the plant. In circumstances where leaf curling persists despite adequate watering, you might need to dig a little deeper and check the root system for any signs of rot or disease that might have arisen from previous overwatering conditions. Monitoring multiple symptoms often clarifies the plant’s overall health, allowing you to determine whether intervention or expert evaluation is needed. If leaf curling continues, consider implementing pest deterrent measures to ensure the plant’s resilience against such threats.
Step 4 – Apply Fertilizer to Recover Curled Clematis Leaves
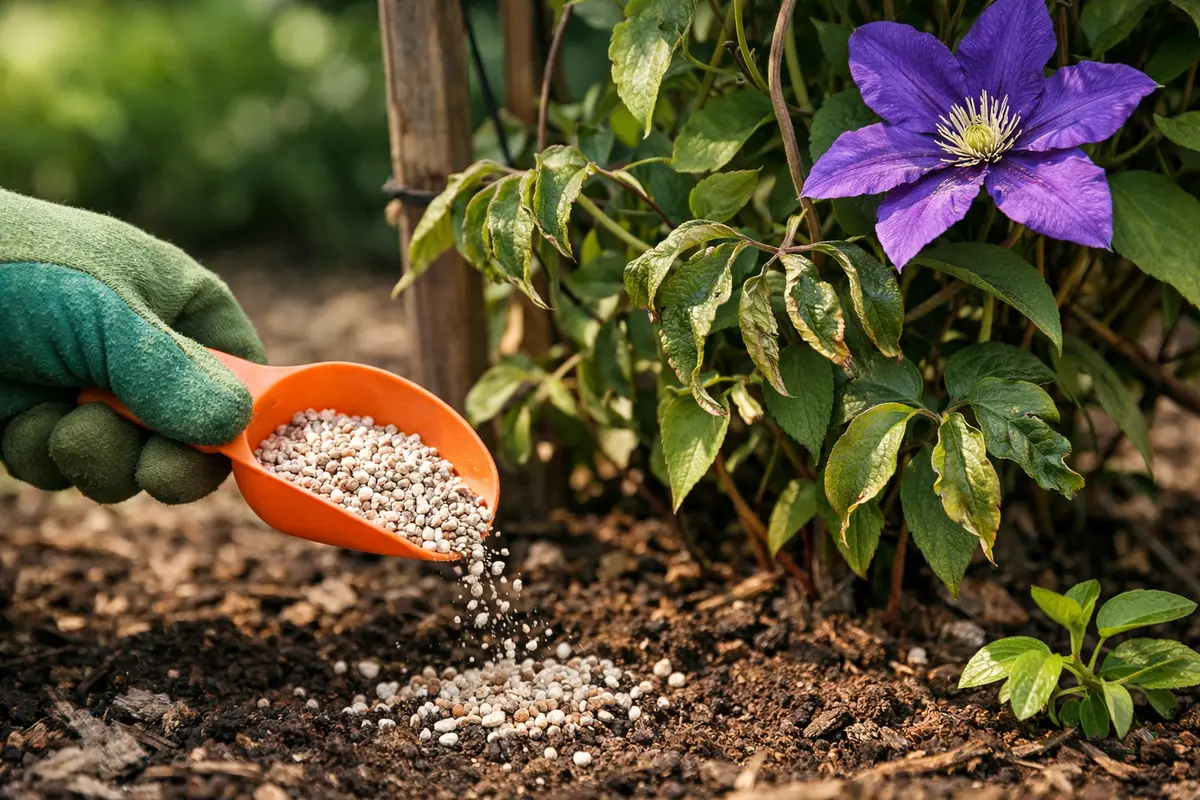
Apply a balanced, slow-release organic fertilizer around the base of the plant once it shows signs of improved hydration. Within a week, you should see new growth starting to emerge and the existing leaves may regain some turgidity. Use a fertilizer with an NPK ratio of around 10-10-10, applying it according to label directions for your plant’s size and age. This specific formulation provides the necessary essentials without overloading the plant.
Feeding clematis after adequately watering revitalizes nutrient uptake, which aids in recovery from drought. Organic fertilizers break down over time, providing a steady nutrient supply essential for growth. This step supports the plant as it works to replenish lost energy and produce new shoots, essential for climbing and flowering. If you notice any leaf burn from fertilizer application, you may need to adjust the nutrient concentration or timing of application for future feedings. An important consideration is that over-fertilization can lead to rapid leaf curling as excess nutrients can create a toxic environment and lead to root burn.
While fertilizing, be cautious not to overcompensate with nutrients, as this can lead to fertilizer burn, which manifests as browning leaf tips. Wait to apply fertilizer until you’ve observed a marked improvement in leaf flexibility and texture; attempting to rush recovery may lead to more damage. A regular fertilization schedule is recommended every 6-8 weeks throughout the growing season, adjusting for weather conditions and overall plant health. If issues continue after fertilization, it becomes necessary to reassess watering practices or check for pest infestations that might interfere with nutrient absorption. Keeping a detailed care log helps track how your plant responds to feeding and watering efforts over the growing season.
Step 5 – Water Regularly to Prevent Future Leaf Curl
Start by implementing a consistent watering schedule, ensuring your clematis receives approximately an inch of water weekly. After a period of adherence to this routine, you’ll observe a reduction in curled leaves and more stable foliage. Consider using a rain gauge to effectively measure the water levels received, helping to optimize your watering schedule further.
Drought conditions can lead to curled leaves in clematis due to dehydration, causing the plant to conserve water by curling its foliage. By watering consistently, you address the root cause of water loss, preventing the recurrence of this issue during prolonged dry spells. For instance, newly planted clematis may show severe leaf curling due to inadequate moisture, whereas well-established plants with sufficient water will maintain their leaf structure. If newly installed plants continue suffering, consider providing additional protective shade during the hottest part of the day.
In the summer months, especially during heatwaves, increase watering frequency slightly to combat higher evaporation rates. Additionally, applying a layer of mulch around the base of the plant can help retain soil moisture, providing a secondary layer of protection against drought-related leaf curling. Always keep the mulch at least a few inches away from the stem to prevent rot.
Regular watering prevents the issue from recurring and supports the plant throughout its growth cycle. Ensuring that the clematis receives water before the soil completely dries out is essential, especially during hot, dry spells. Keeping a routine that checks the soil moisture before watering can significantly reduce the chances of drought stress-related symptoms. If soil consistently dries out quicker than expected, consider adjusting the depth of your irrigation or increasing the amount of water per session. If the plant begins to show stressed symptoms again soon after you’ve adhered to these strategies, it may be worth exploring surrounding environmental factors or local pest pressures affecting growth.
Step 6 – Inspect Leaves for Signs of New Curling Post-Watering
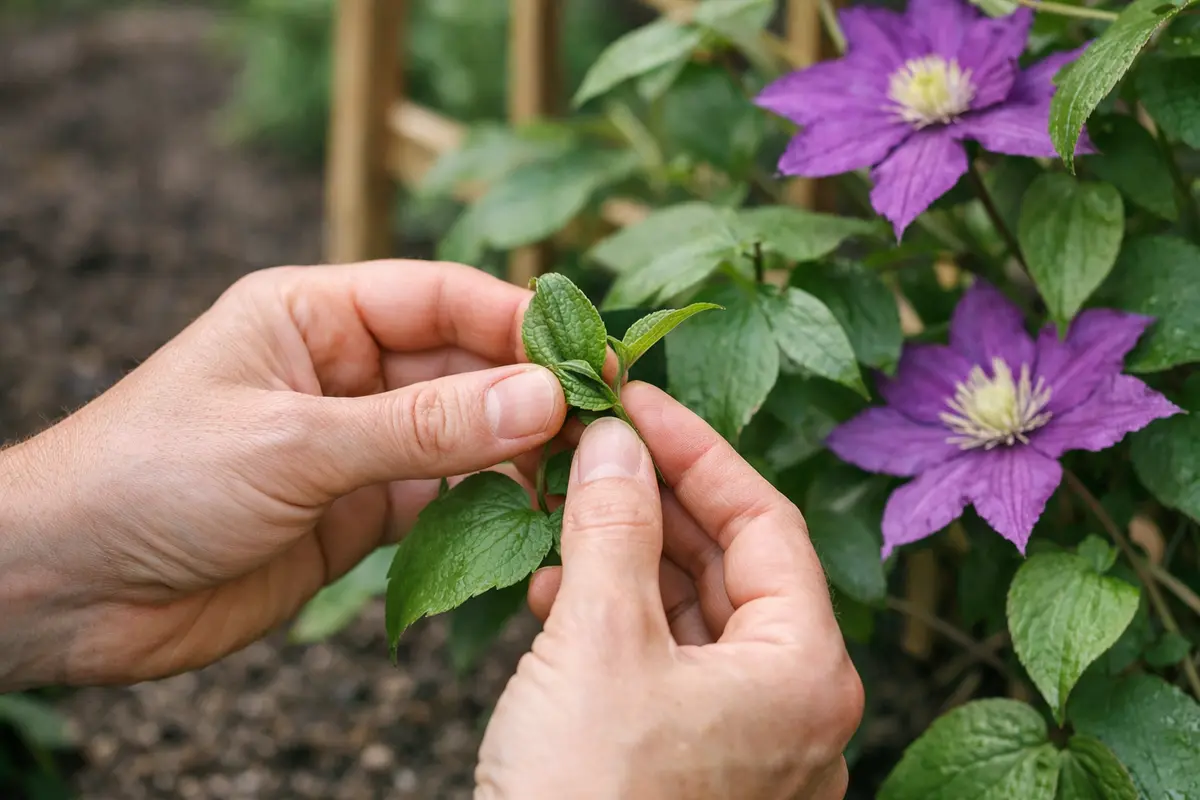
After implementing your care routine, check the clematis leaves every 2-3 days for any signs of curling returning. You should observe whether the leaves remain firm and healthy, with any signs of new curling indicating further issues. If the leaves appear to hold their turgor and show new healthy growth, it’s a positive sign that the clematis is recovering. You can verify this vibrancy by checking leaf coloration; a shift from dull to vibrant green indicates a successful comeback.
Regular inspection allows you to intervene faster if the curling returns, which might indicate underlying soil issues or inadequate watering practices. A fully recovered plant will show new growth and healthy, vibrant leaves. Conversely, if you notice renewed curling, it becomes crucial to revert to previous steps and investigate for soil moisture levels or root health. Consistent monitoring of multiple aspects of the plant increases your chances of intervention before major damage occurs. If the problem persists beyond a couple of weeks of regular checks, there may be a need to consult a gardening professional for more severe systemic issues.
If new curling manifests alongside vibrant growth, ensure the watering schedule remains consistent while also checking for pests or diseases that could impact the plant’s recovery efforts. In many cases, persistent leaf curling after treatment may also be a sign of other stress factors, like temperature or light fluctuations. Engaging in routine care and observation can ensure long-term health, and remember that any newly developing environmental stress can exacerbate existing conditions. By balancing proactive watering and deep monitoring, you’ll foster a thriving environment for your clematis.
FAQ
How long does it take for clematis leaves to recover from curling?
Typically, with proper care, you can see signs of recovery in about a week after starting deep watering and fertilization. However, complete recovery may take several weeks as the plant compensates and regrows new leaves. Observing environmental consistency will also play a role in the recovery process.
Will additional fertilization help if the leaves continue curling?
If the leaves are curling despite fertilization, refrain from adding more at this stage, as it may contribute to further stress. Instead, assess water levels and root health to ensure your clematis is receiving adequate hydration and is free from root diseases. Pests may also require treatment, which can mislead watering therapy.
Should I remove curled leaves from the plant?
Yes, removing curled leaves can improve overall appearance and prevent potential pests from targeting stressed areas. However, do not remove them until you see improvements in the plant’s health. Prioritize checking for water and nutrient levels before making any cuts. Remaining vigilant could help preserve energy while the plant works to rejuvenate.